
Crochet Bee
This post may contain referral/affiliate links. Please read my disclosure for more info.
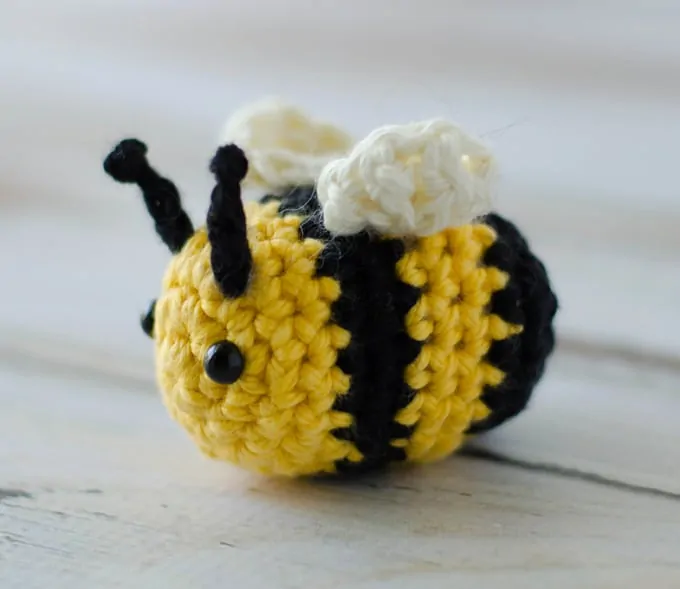
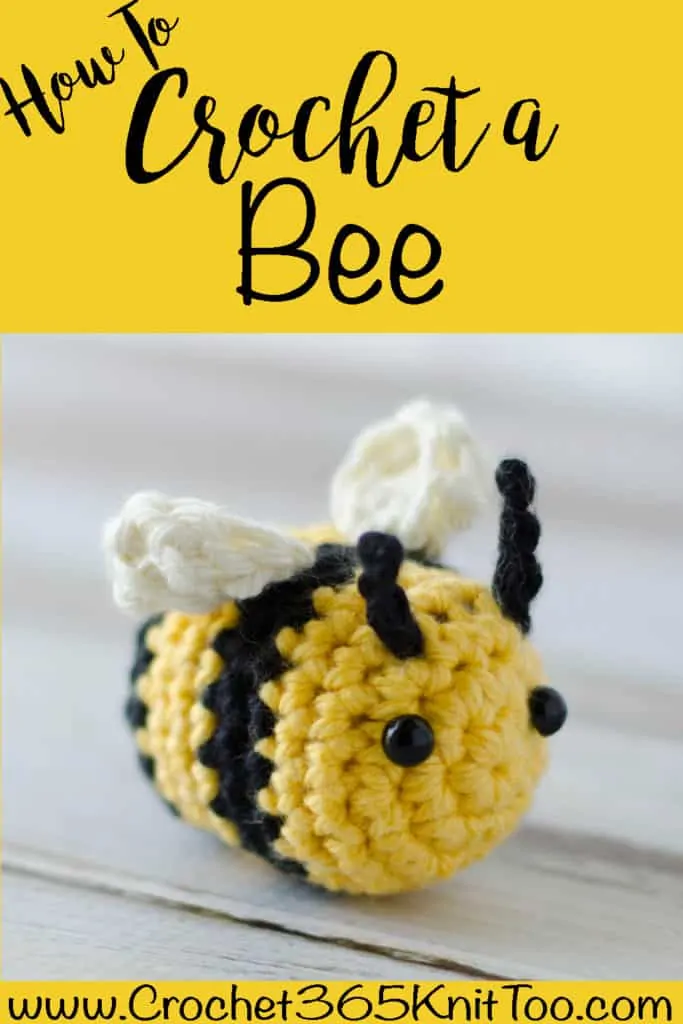
I love him. This crochet bee, that is! Isn’t he cute? I had so much fun crocheting him.
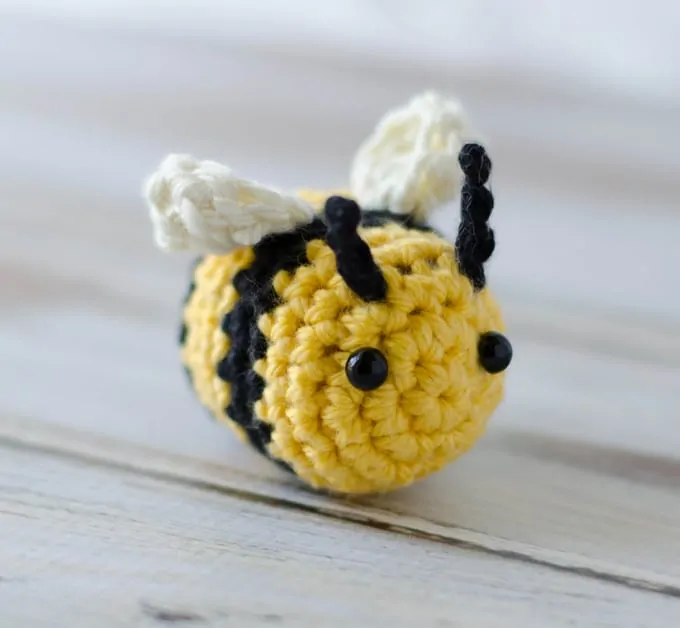
I’ve added some fun touches to make this guy just right and I think you’ll enjoy this crochet bee pattern as much as I do!
What is it about bees? A real bee? Yeah. No, thank you. I stay out of their way. But an adorable drawing of a bee, a bee in a logo or on a sign, or a stuffed toy? Yeah. I love that! There’s something about that high contrast of yellow and black that oozes cuteness.
And this little guy.. this crochet bee? Yep. He stole a little piece of my heart, I think. He’s a little guy. He’ll fit right into your hand. And I can almost imagine a little one zooming him off to great adventures!
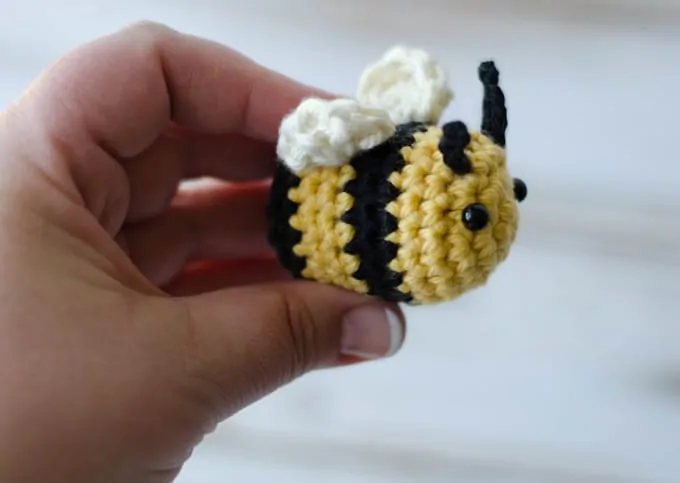
This fun bumblebee design is very quick and easy to make. You’ll have one done in an evening. I made my guy out of Hobby Lobby’s ‘I Love This Cotton’ yarn. This crochet bee would also work up nice in an acrylic or wool worsted weight yarn or even crochet thread for a mini bee.
For a bigger amigurumi bee, try working the pattern in chunky yarn or jumbo-sized chenille yarn. Just be sure to choose a crochet hook appropriate for the size yarn you choose. You’ll also need larger sized plastic safety eyes and, of course, more yarn and fiberfill stuffing.
Purchase the Beautifully Formatted AD-FREE PDF DOWNLOAD
This popular crochet bee pattern starts with a magic ring and uses basic crochet skills such as the chain stitch, single crochet stitch and double crochet stitch. For perfect stripes be sure to read how to crochet a jogless join. And if you haven’t tried an single crochet invisible decrease, this is the prefect project to try out the technique!
Crochet Bumble Bee Pattern
Here is what you will need:
- US G6/4mm crochet hook. (Did you know you can purchase my favorite crochet hooks on Amazon?)
- 1/4 oz each of Yellow, Black and Ivory color yarn, I used Hobby Lobby I Love This Cotton in Black, Curry and Ivory
- 6mm safety eyes
- tapestry needle and scissors.
Resources and tutorials you may find helpful in following this pattern: Crochet Abbreviations, US to UK Crochet Conversion Chart. Find links to stitches on the “Tutorial” menu: Getting Started will show basic stitches used in many patterns and Crochet Stitch Dictionary shows our growing collection of crochet stitch tutorials.
**Be sure to read how to crochet a jogless join for perfect stripes!**
Size: 2-1/2” long (end to end) by 2” tall (from bottom of belly to tip of wing)

Body
With yellow yarn, make a magic ring
R1: 6 sc into ring (6 sts).
R2: 2 sc in ea st around (12 st)
R3: *sc in next st, 2 sc in next st, repeat from * around (18 st)
R4-5: sc around (18 st) Change to black in very last stitch.
R6-7: With black, sc around. Change to yellow in last stitch
R8-11: With yellow, sc around (18 st) Change to black in last stitch
R12: With black, sc around. (18 st)
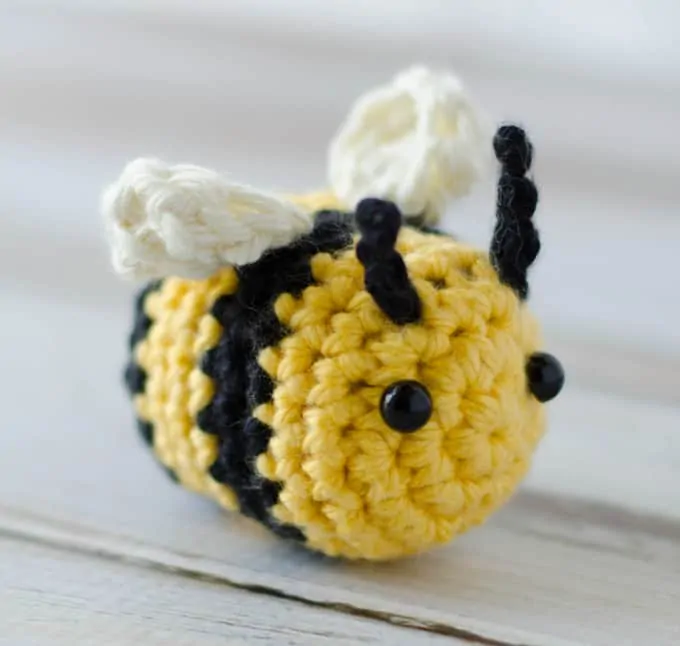
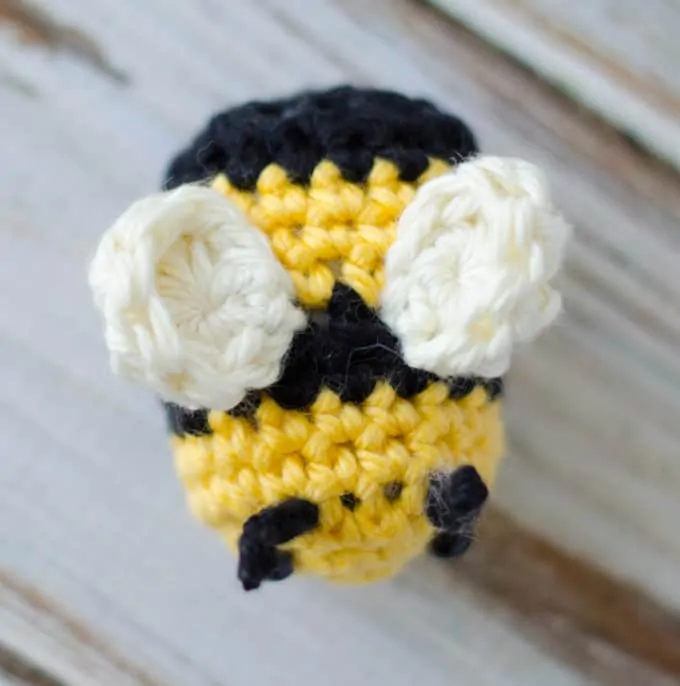
Take time out to insert safety eyes. The safety eyes go between rounds 2 & 3 and there are about 7 stitches in between. Refer to photo for placement. Stuff bee body with toy stuffing and continue stuffing as you finish up the body.
R13: *sc in next st, sc next 2 st together. Repeat from * around (12)
R14: sc next 2 st together (6).
R15: sc next 2 st together (3). Fasten off, leaving a long strand for sewing. Make sure bee is firmly stuffed, then thread the yarn end onto the tapestry needle. Weave opening closed. Fasten off and weave in end.
MORE LITTLE CROCHET PATTERNS
If you are loving this bee pattern so far you might also like to check out these other cute patterns:
Related: Small Crochet Projects
Antennae
With black yarn, chain 10. Fasten off, leaving a long end. Take this end and tie a knot very close to the end of the chain. Pull tight and cut yarn close to knot. Carefully take the other end (the one without the knot) and pull it through the head and stuffing. Pull out enough so that it looks like there are 2 antennae sticking out from the bee’s head. There are about 3 stitches in between the antennae and they are located right above the eyes.

When you are satisfied with the antennae placement, carefully make a knot close to the opposite end of the chain and cut yarn close.
Wings (make 2)
The wings are made by making a magic ring and working several stitches into the magic ring as follows:
With ivory color yarn, make a magic ring.
R1: Inside the ring, work the following: sc, hdc, dc, 3 tr, dc, hdc, sc. Cut yarn, leaving some length for sewing, using an invisible join, attach the end and start of the wing together. Weave in end to make join secure, then sew the wing onto the top of the body. Repeat for the 2nd wing.
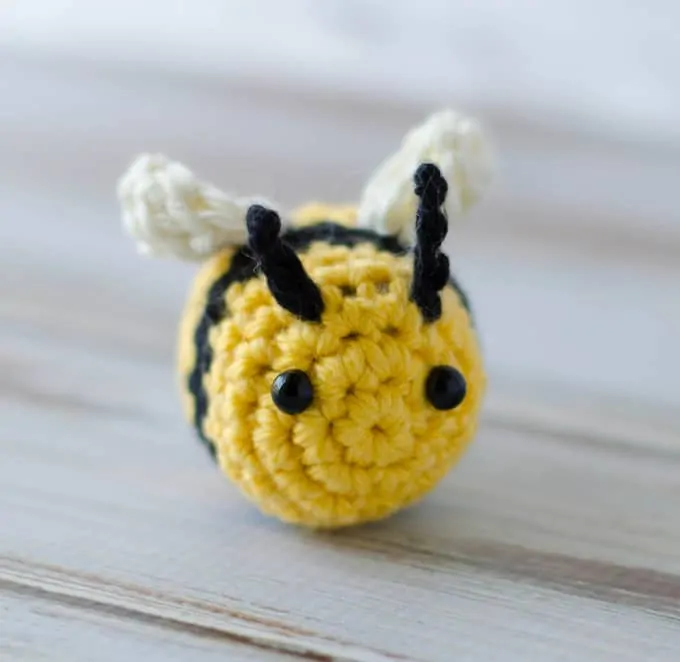
Take a moment to adore your Crochet Bee Plush Amigurumi! Love him so much! You just might want to fill up a whole crochet beehive with them! Am I right?
Explore More Crochet Patterns
Do you love crochet as much as I do? I think you’re going to love these other fun crochet patterns:
- Sweet Summer Sunflower Bag
- Crochet Stitches perfect for your next project
- Crochet Cat Hats
- Crochet Washcloth great for dishes
- Crochet Easter Eggs
- Crochet Bunny
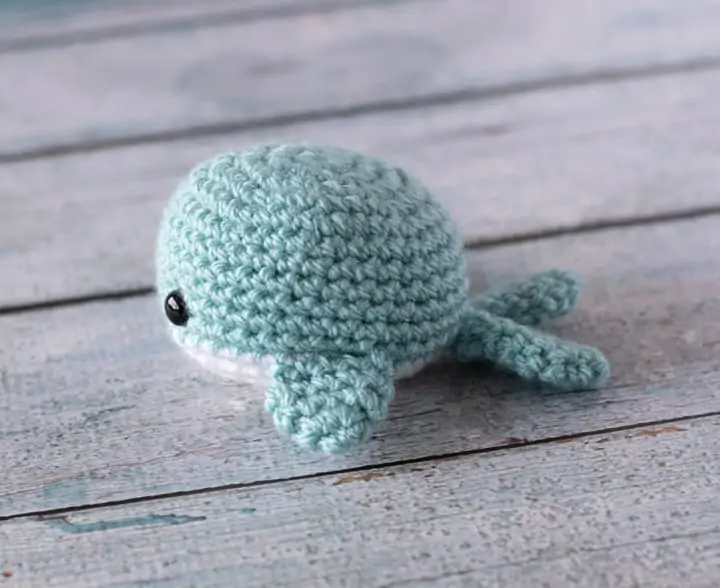
- Crochet Turtle
- Crochet Cow
- Frog Crochet Pattern
- Crochet Gnome Patterns
- Crochet Dragon
- Crochet Frankenstein Squish Ami
If you’re game for a little crochet amigurumi kit you might enjoy my Woobles review too! So fun!
I love seeing your finished projects! If you enjoyed making the Crochet Bee toy pattern I’d love to see yours on Instagram, be sure to tag me @crochet365knittoo. If you are on Facebook, stop over to the Crochet 365 Knit Too Facebook page or pop over to the Crochet365KnitToo Club and share a photo! I’d love to see your work!
Thank you for this little Bee! I love bees too and will be making one for myself (I’m 82 years young) as well as one to include with a hexagon bee hive blanket for a baby soon. I need to complete at least two of my 13 WIP’s before I can begin this project. The question is am I disciplined enough? Hmmm!
I will definitely be trying your method for a jogless join. I have been making chemo caps for about 11 years and always struggle with an invisible color change. Thank you so very much.
You are very kind and generous in sharing so many patterns. On a limited income this helps a whole bunch.
hugs
You’re so disciplined! I have probably more than a dozen WIPs but that won’t stop me from starting this bee (or anything else that catches my eyes and makes my heart skip a beat)! Enjoy the summer. RS
Oh this does not mean I am caught up on my WIPs. LOL! I love this bee too! 🙂
So cute, you made my day today…my granddaughter wanted a bee to give her third grade teacher. When I say this I was so excited!!! Thank you so much 😊
This bee is so cute. Thank you for sharing so many of you creations. I love so many of them.
Thank you so much for sharing this. I have only just started with Amigurumi and this was easy to follow so I am full of confidence to try some more projects.
I love your little bee! In the Hebrew language my nane, Debra, means “The Bee”. Over the past 3 years I have acquired quite a few “Bee”items ranging from teapots to jewelry. Thank you for sharing.
I’m a Melissa, Greek for honeybee. I can relate to the bee fascination!
This was fun and fairly easy for me to make in an evening. I’m fairly new to crochet and I wanted to jump in with amigurumi animals. I need to work on changing colors more smoothly and getting a more consistent magic circle closure but overall I was really happy with my little bee. Thanks!
I got an order for Bees and I’ve made about 20 so far I love it so much thank you
I love this pattern! I would like to add a keychain and sell finished products on etsy. Would you mind that? I’ll credit you for making the pattern.
You are welcome to sell finished items from my pattern (and yes, please do credit me for the pattern).
Awesome and so easy to follow. Thank you.
This pattern is so cute and I love how mine turned out!!!!
How do you make the bee’s antenna stand up?
The cotton yarn and tight chain help the antenna stand up, but they are not super rigid. Many crochet bee patterns leave the antennae off altogether for this reason. I recommend seeing how your yarn behaves and making the decision based on that.
I am in love with this bee! I found your pattern a few days ago and decided to make them to give out with Valentines for both my girls. Wish me luck making about 50 of these before the 13th, haha! I have help I can enlist thankfully if it doesn’t look like I’ll finish. I can’t wait to have a little bin full of bees!
I love that idea! I hope your girls and all their valentines love them!