
Tina The Crochet Turtle
This post may contain referral/affiliate links. Please read my disclosure for more info.
You know what you totally need in life? A crochet turtle, that’s what!
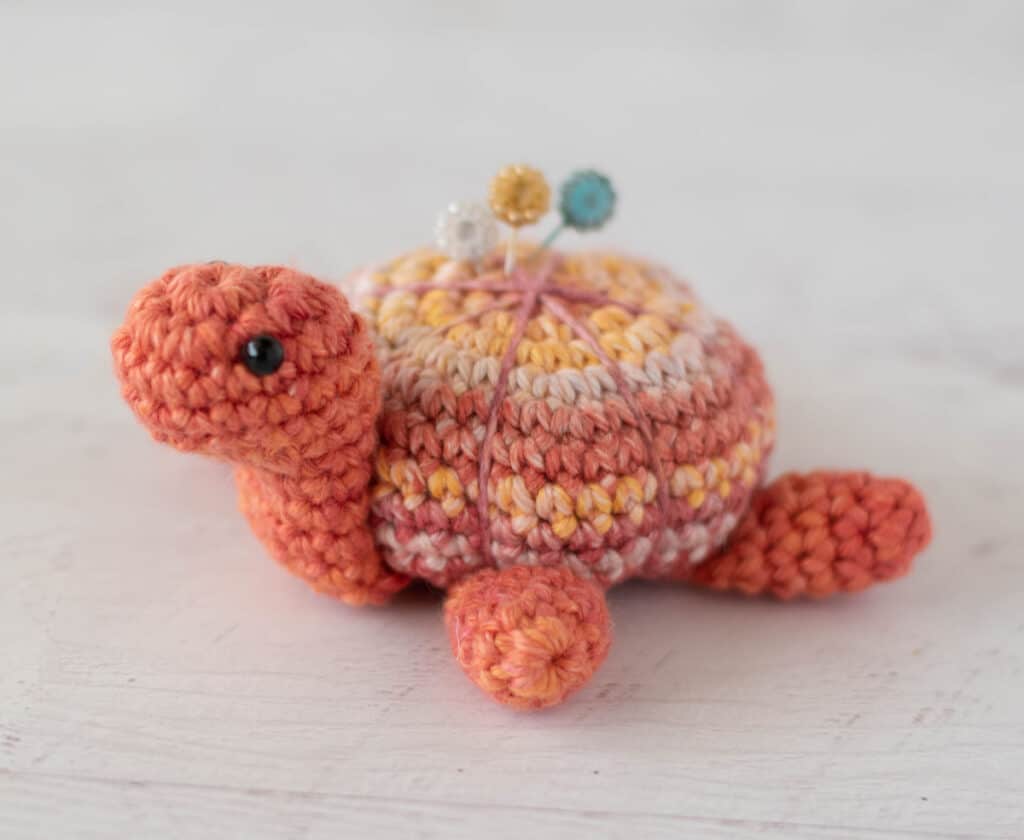
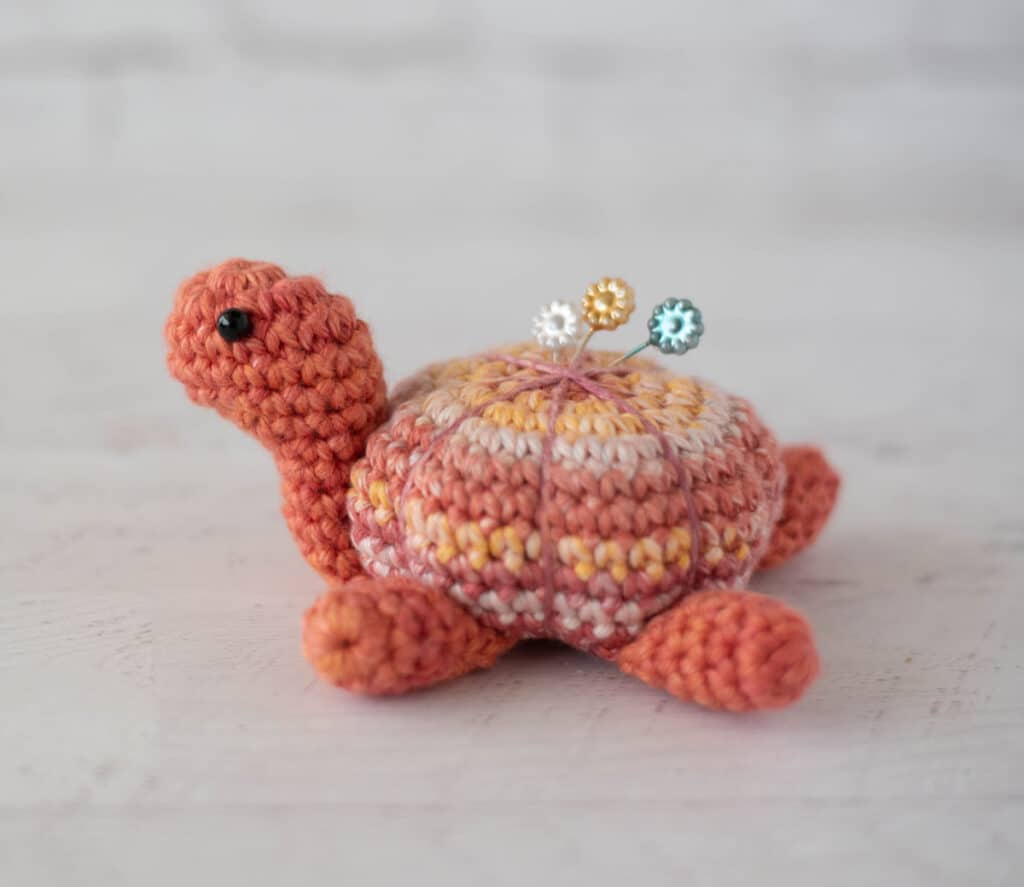
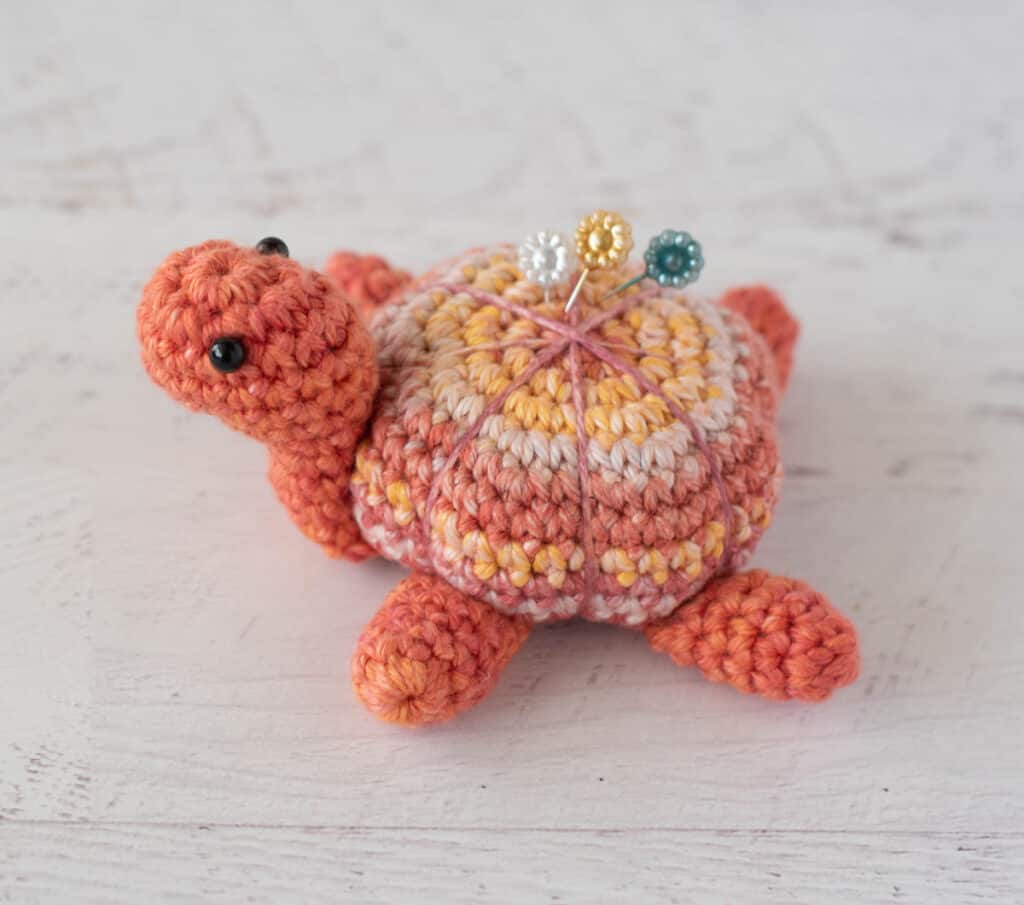
Introducing my newest little darling: Tina the Turtle. I’m kind of in love with this little sweetie.
And let me tell you… this little turtle is a long time coming.. which I think is ironic and kind of amusing.. considering she’s …well… a slow moving… TURTLE!
Let me explain.
Remember my darling, squat little crochet pumpkin? I’ve got a whole set of pumpkins actually, that blow up the internet every fall. For years… YEARS.. I tell you, I’ve been looking at that littlest of pumpkins and thinking, “YOU would make such an adorable, little turtle.”
I even made her whole cute little crochet turtle body. Uhm.. YEARS ago. Years? Yeah.. I think so. And then my designer brain got stuck and she got tucked away.
Side note.. this is seriously a secret crochet designers don’t tell you. They have a stash of UFOs (Unfinished Objects) stashed away just waiting for inspiration to strike. At least I hope they do.. because that’s how I roll.

In any case, I finally figured out how I wanted to design Tina’s cute little turtle head and neck. Her head needed to protrude a bit without the neck being too prominent. Problem solved with some quick decreases for the underside of her head and then we stuff the head but leave the neck unstuffed.. and well.. perfection!
I used 6mm tiny buttons for eyes, but you could also use 6mm safety eyes or embroider eyes with black yarn if you wish!
Add some easy front legs and back legs and your little guy is complete!
I designed darling little Tina so that she can be made for two equally adorable purposes: Stuff her with fiberfill and she’s a sweet little amigurumi. She’s the perfect size for tucking into any little space in your home or office or even make these little turtles as a great gift for a baby shower.
OR you can make this cute crochet turtle into a darling crochet turtle pincushion as I did! As a pincushion, this crochet pattern is the best gift ever for the sewer, quilter or crafter in your life.
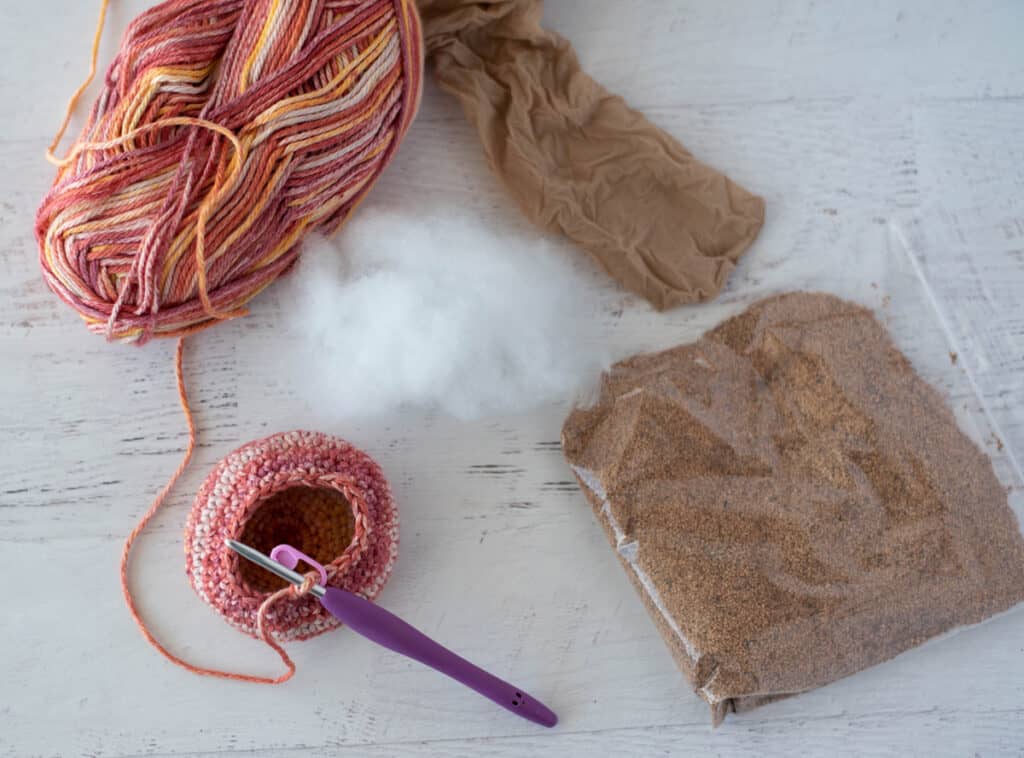
I used purchased ground walnut shells in a bit of pantyhose as the main body stuffing material. Ground walnut shells are great for pincushions. Not only do they give a bit of weight to a pincushion, but they also help keep pins and needles perfectly sharp. I add a bit of additional stuffing too for a perfectly shaped puffy shell.
I’ve got a complete tutorial with step-by-step instructions on that for you too.
You can make these little creatures in just about any adorable color combination you can imagine! I went with a variegated and coordinating solid cotton worsted weight yarn, but you could go with different colors from a traditional green color to bright colors to whatever sparks your creative joy.
More Amigurumi Patterns
If you love this turtle crochet pattern, you might also like to check out these darling patterns:
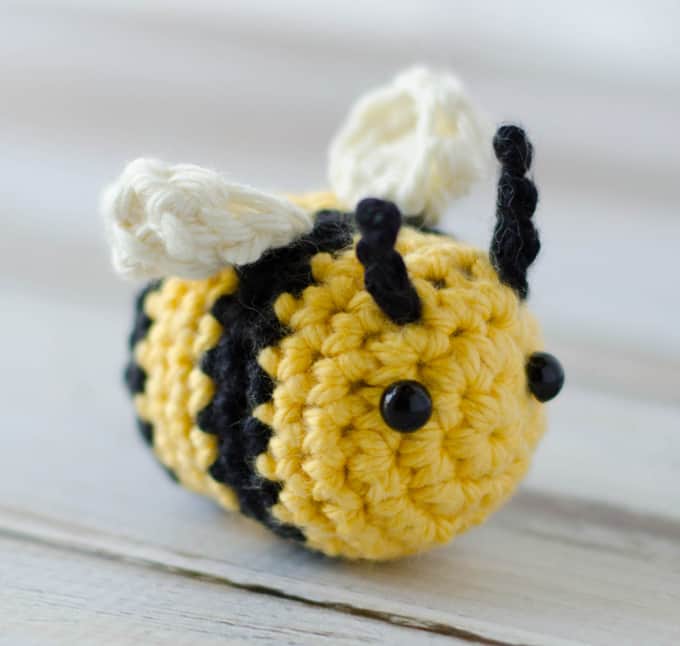
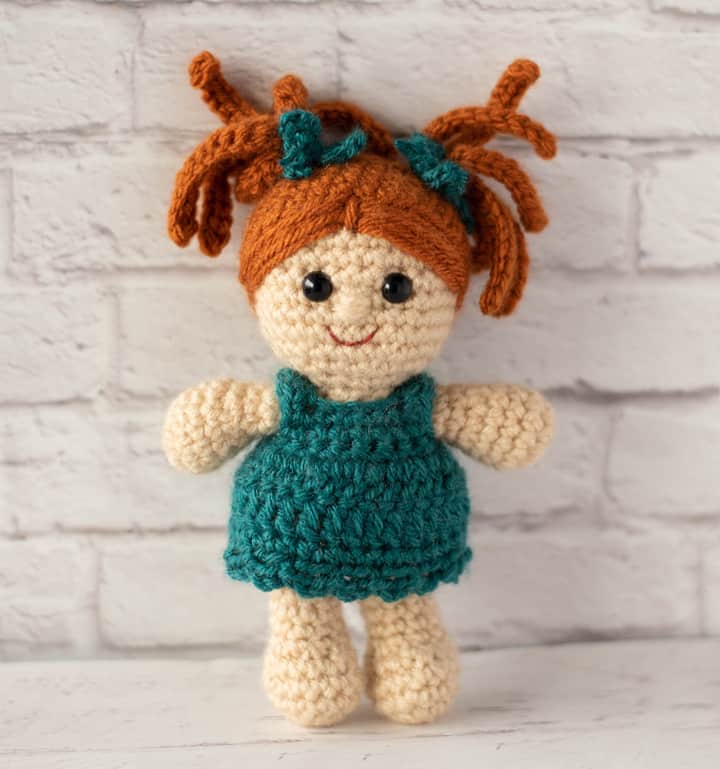
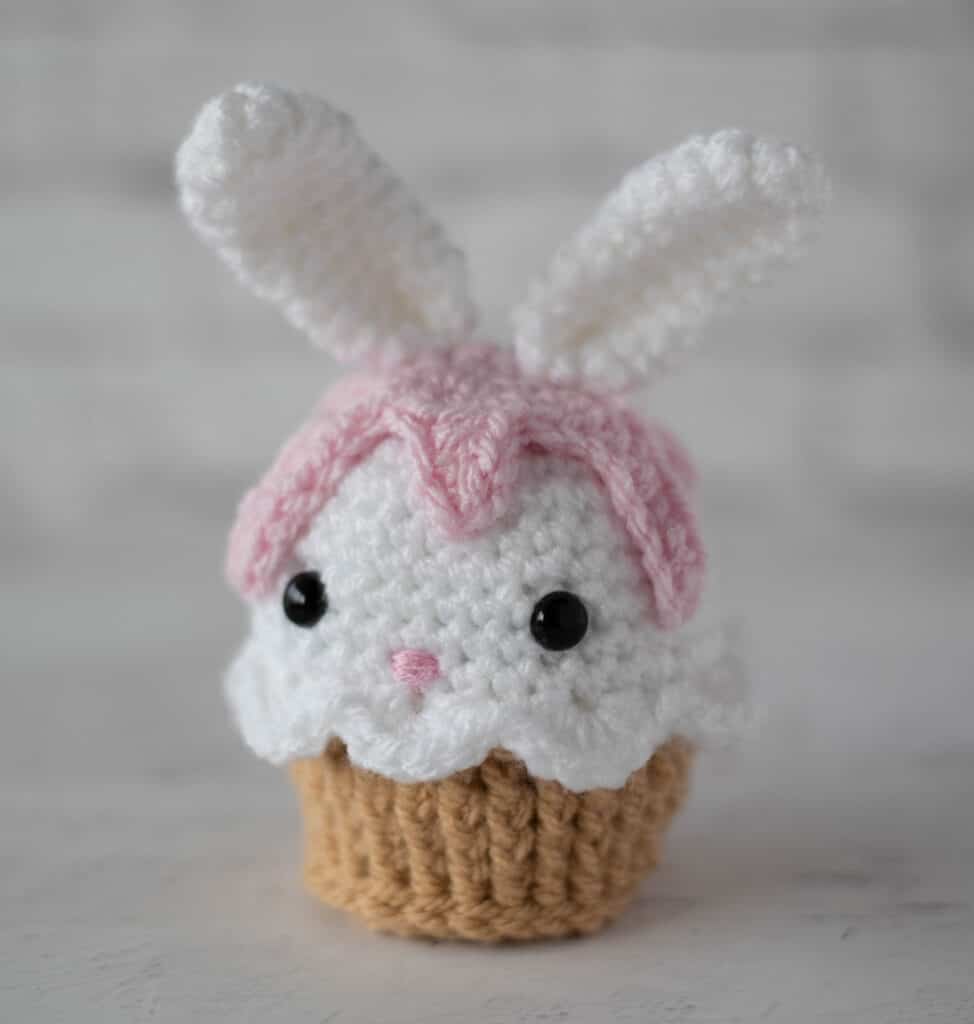
Crochet Bee // Rachel Crochet Doll // Bunny Crochet Cupcake
All the pieces for this mini turtle crocheting project are worked in continuous rounds, so pick your favorite color as a shell color and a coordinating color for the head and limbs.
So cute that you might just find yourself with a whole army of these little creatures before you know it!
Let’s dive into this completely adorable turtle crochet pattern.
Turtle Crochet Pattern
Here is what you will need:
- US G 6/4.00 mm crochet hook (these are my absolute favorite crochet hooks I recommend to everyone!).
- Worsted weight #4 cotton yarn:
- Body: 3/4 oz, sample used Hobby Lobby I Love This Cotton in Harvest
- Head and Limbs: 3/4 oz, sample used Hobby Lobby I Love This Cotton in Tart Orange
- Small, round, shank type buttons for eyes (I used LaMode Style #21010 6mm buttons)
- Small amount of Ground Walnut Shells (optional), see Note
- Pantyhose for walnut shell bag (optional), see note
- Fiberfill Stuffing
- Stitch Marker to keep track of rows, if desired
- Tapestry needle and scissors
- Sewing Needle and Thread (to sew buttons)
Gauge:
My gauge is 9 sc to 2 inches. However, gauge is not important in this pattern. However, gauge is not important in this pattern. You may use other weights of yarn. Adjust hook size to fit your needs.
Note: Use a stitch marker to mark the last stitch of each round as you work, moving the stitch marker as you work each round.
Resources and crochet tutorials you may find helpful in following this pattern: Crochet Abbreviations, US to UK Crochet Conversion Chart. Find links to stitches and basic crochet skills on the “Tutorial” menu: Getting Started will show basic stitches such as the slip stitch, single crochet, double crochet and chain stitch used in many patterns and Crochet Stitch Dictionary shows our growing collection of crochet stitch tutorials.
Crochet Abbreviations:
- sc = single crochet
- sc 2 tog = single crochet 2 stitches together
- st = stitch(es)
Finished Crochet Turtle Size
Turtle shown measures 2-1/4” tall (to the top of the head) by 4-1/4” long (head to back of shell).
If you’re looking to learn how to make the best amigurumi, be sure to check out my Amigurumi: A Beginner’s Guide. It’s a massive 165 page ebook of detailed tutorials, tips and tricks (plus exclusive patterns). You’ll learn everything you can think of from the magic ring and working in continuous rounds to invisible decreases and other pro tips. .

Turtle Body
Using variegated yarn, make a magic ring
R1: 8 sc into ring (8 sts).
R2: 2sc in ea st around (16 st)
R3: *sc in next st, 2sc in next st, repeat from * around (24 st)
R4: *sc in next 2 st, 2sc in next st, repeat from * around (32 st)
R5: *sc in next 3 st, 2 sc in next st, repeat from * around (40 st)
R6-11: sc around (40 st)
R12: *sc in next 3 st, sc 2 tog, repeat from * around (32 st)
R13: *sc in next 2 st, sc 2 tog, repeat from * around (24 st)
**If using ground walnut shells, set aside your crochet and follow the instructions below to make the stuffing bag; otherwise skip past the crushed walnut section to continue with round 14 of turtle body, stuffing with fiberfill instead**
Crushed Walnut Shell Insert
I used a small bag of crushed walnut shells along with stuffing in my pincushion. This is optional. If you don’t want to use walnut shells, stuff your pincushion with stuffing instead (and skip this section).
To make a crushed walnut shell insert, after round 13 of turtle body, set aside your crochet and prepare a small bag of crushed walnut shells as follows:
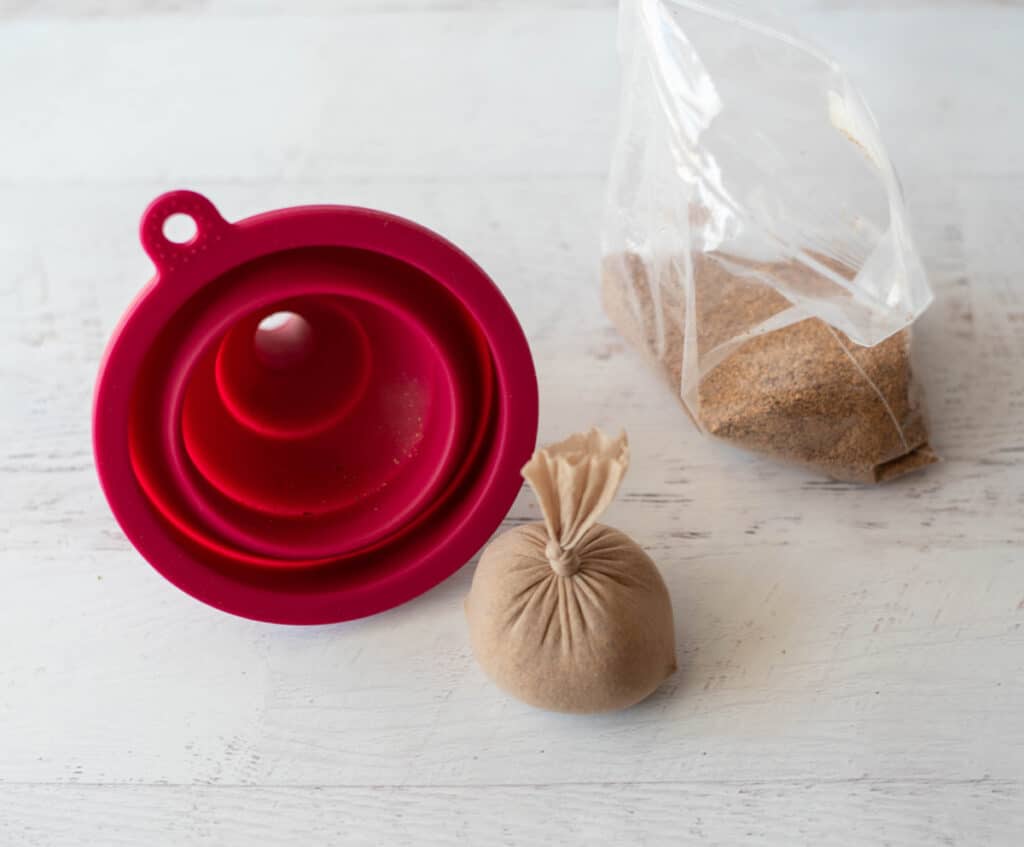
First cut an 8 inch section of pantyhose from the toe up to form a bag. Fill the toe portion of pantyhose with crushed walnut shells. A funnel is helpful for this, or you can pour carefully.
Fill the pantyhose a little at a time and try it in the turtle body. Make sure there will be enough room in the turtle body for a little bit of stuffing. When satisfied with the amount of crushed shells knot the pantyhose close to the shells. Cut off any excess pantyhose above the knot.
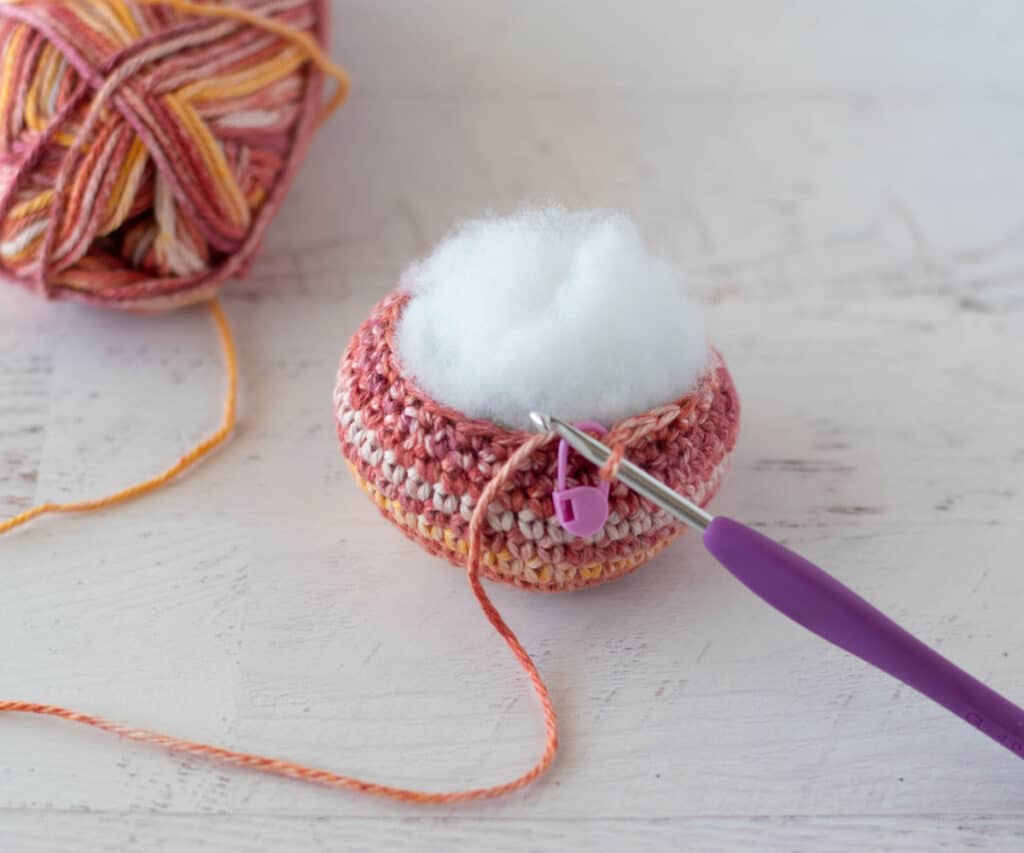
Then place a very small amount of stuffing into the turtle body, followed by the bag of walnut shells. Continue to stuff the body as you crochet the remaining rounds of the body.
Turtle Body Continued
R14: *sc in next st, sc 2 tog, repeat from * around (16 st)
R15: sc 2 tog around (8 st)
Fasten off, leaving a long tail for sewing segments.
Finish stuffing the turtle body. Then gather up and close the opening; this will be the bottom of the body.
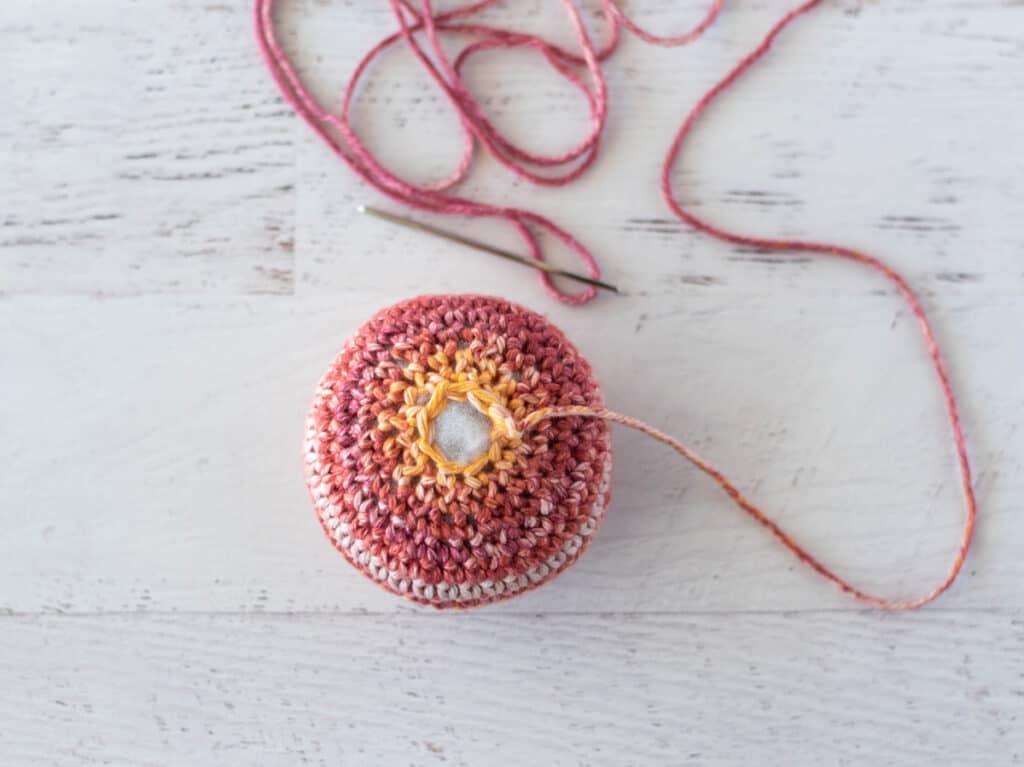
Make the sections of the body (as if for a pumpkin) as follows: Wrap yarn over and around body to starting point to divide in half. Pull tight and knot at center. Now divide in half again to form 4 equal sections, wrapping the yarn up and around.
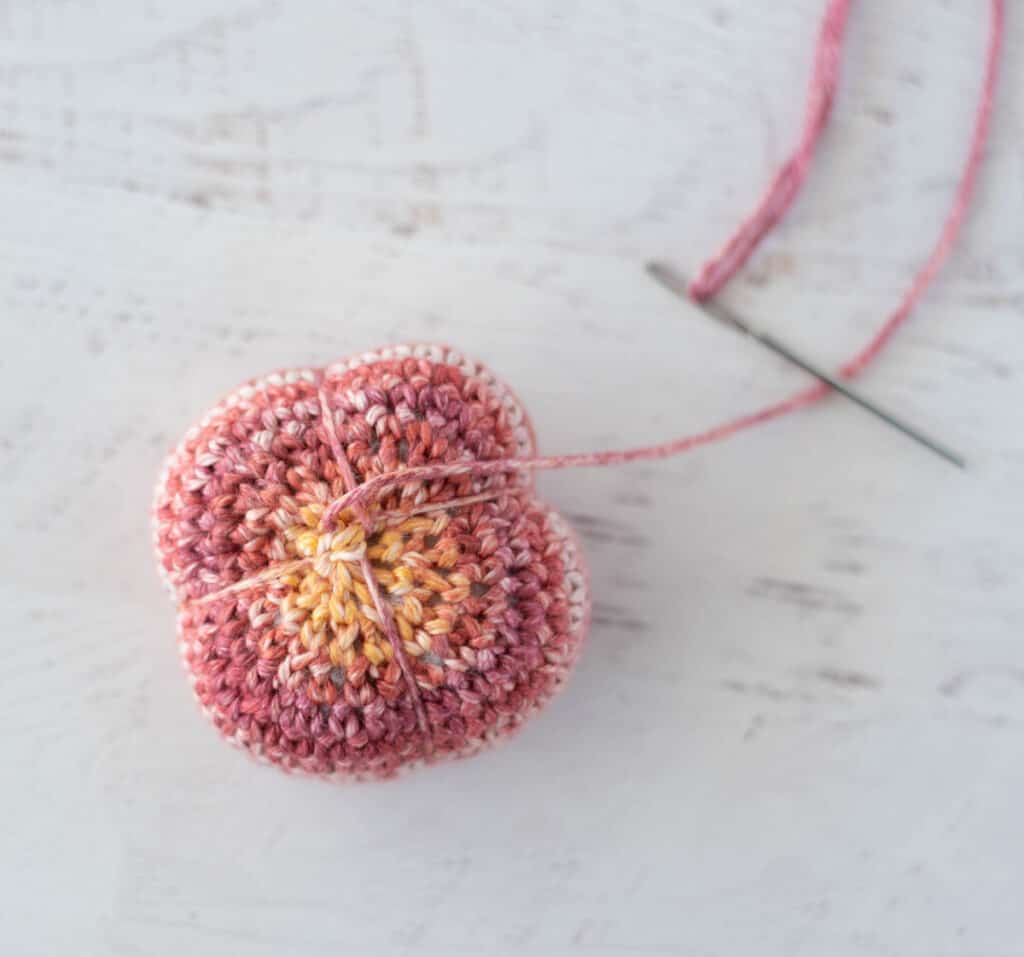
Loop under the knot you made and tighten it up. Knot whenever you feel like you need to hold the yarn and the end of a wrap. Divide the body 2 more times to have a total of 8 sections. Knot securely at center and finish off.

Crochet Turtle Head
Using solid color yarn, make a magic ring.
R1: 8 sc into ring (8 sts). Work in rounds
R2: 2 sc in ea st (16 st)
R3-5: sc around (16 st)
R6: sc in next 4 st, (sc 2 tog) 4 times, then sc in last 4 st (12 st)
Start stuffing head with fiberfill stuffing.
R7: sc in next 4 st, (sc 2 tog) twice, then sc in last 4 st (10 st)
R8-12: sc around (10 st).
Make sure head is stuffed, but leave neck unstuffed and fold piece closed so that head protrudes outward.
R13: Sc across folded head (5 st). Fasten off, leaving a long strand for joining.
Sew flattened end of head to underside of front of turtle body. Make several stitches to secure to the bottom of the body. Then push needle up through the neck to attach the neck at the top of the body with a few more stitches.
To fasten off yarn, insert needle into body and knot off yarn, burying end inside before cutting yarn close to body.
Use sewing needle and thread to sew eyes between rounds 2 and 3 of turtle’s head.
Turtle Legs (make 4)
Using orange yarn, make a magic ring.
R1: 8 sc into ring (8 sts). Work in rounds
R2-6: sc around (8 st)
Stuff lightly and fold top of leg closed.
R7: Sc across folded leg (4 st). Fasten off, leaving a long strand for joining.
Position legs under the turtle body and carefully sew to the underside of the turtle. You may wish to carefully tack one stitch from the top of the leg to the side of the body to help the legs stay in place. Fasten off.
Purchase an ad-free printable version of the Turtle Crochet Pattern Here
I love seeing your finished projects! If you enjoyed making this Crochet Turtle or any of my crochet patterns, I’d love to see yours on Instagram, be sure to tag me @crochet365knittoo. If you are on Facebook, stop over to the Crochet 365 Knit Too Facebook page or pop over to the Crochet365KnitToo Club and share a photo! I’d love to see your work!

I love this pattern. Unfortunately the yarn you used is no longer available. Can you please recommend an alternative brand I can order on line
Thanks for sharing Tina. I plan to name mine Myrtle the turtle
Hobby Lobby cotton yarn is still available in other colors if you want to stick with the same brand. Otherwise you can substitute another brand. Just know that the turtle may turn out a bit bigger or smaller depending on how the replacement yarn works up.
Tina is adorable. I’ve stuffed fabric pincushions with plain old steel wool from the hardware store, a very thrifty option which also keeps your pins and needles shiny and sharp. I’d bet it would work with crocheted pieces too.
I haven’t tried that. My concern would be the sharp edges of the steel wool poking through the crochet stitches.