
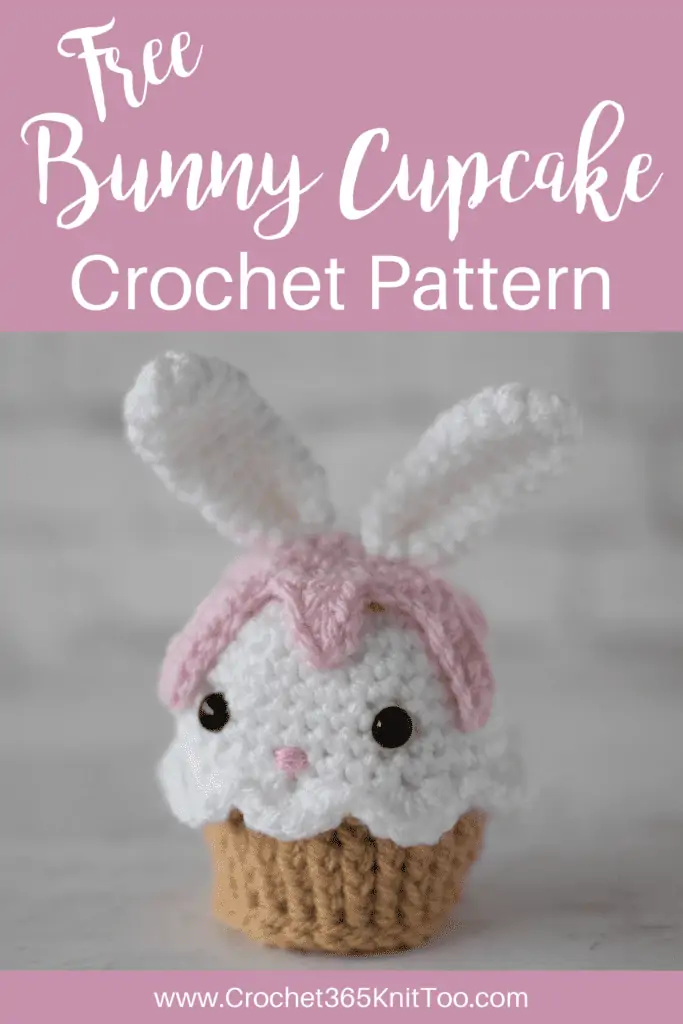
Crochet Cupcake: A Bunny To Love
This post may contain referral/affiliate links. Please read my disclosure for more info.
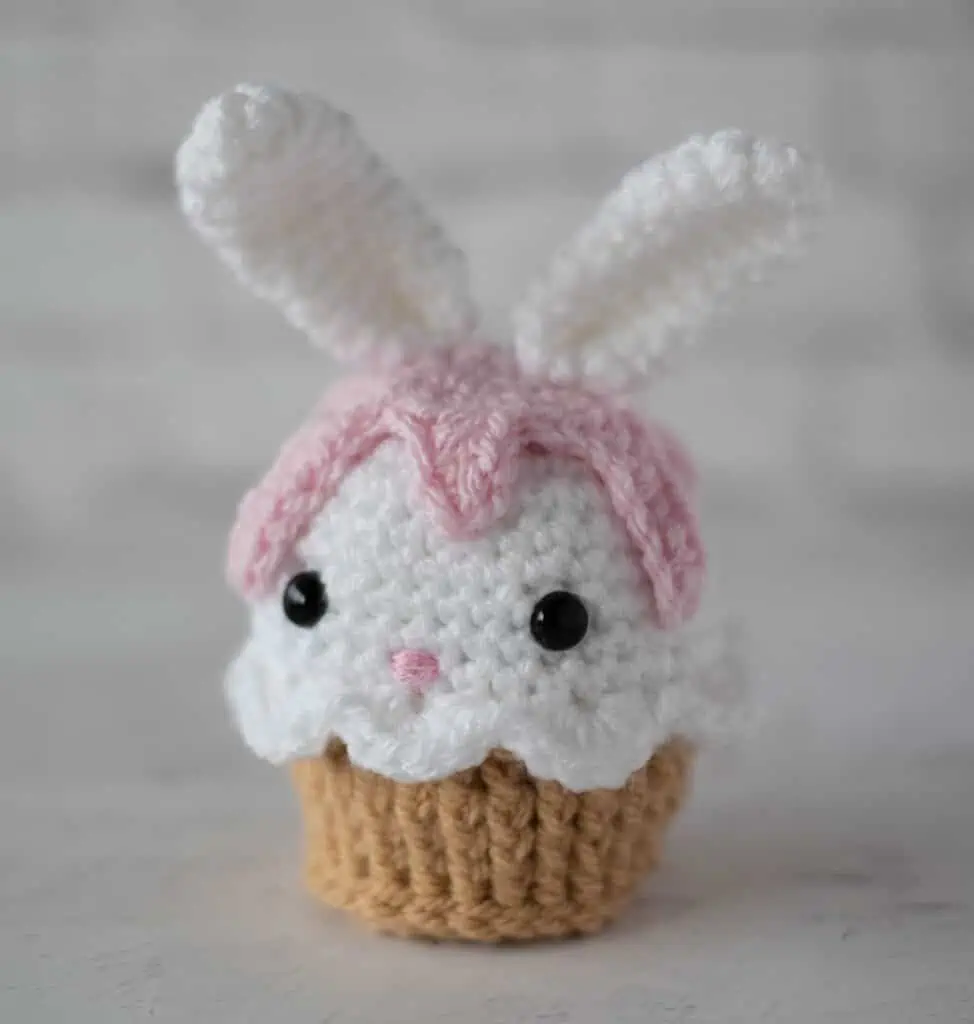
Sometimes we all just need a little sweetness in life. And today, that delectable bit of goodness is this darling bunny crochet cupcake.
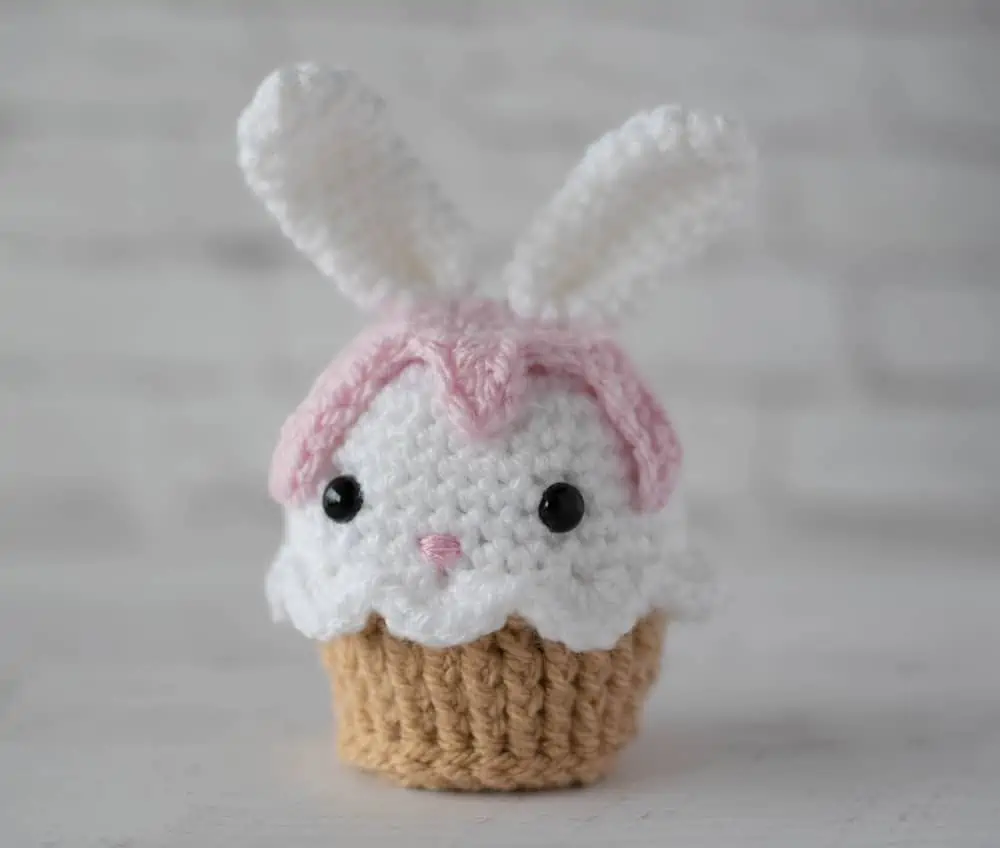
Sigh. Looking at this bit of adorable just makes me so happy. I’m in love with the soft spring colors. That crochet cupcake wrapper looks pretty darn ‘for real’. And those pink frosting drips look good enough to eat!
I’m also loving that this little number is a perfect little scrap project. Think “cupcake”, head to your yarn stash and go crazy. Crochet bunny ears and facial features for a fun little Easter Gift.. or hey, tuck it into a spot in your home décor.
Or adapt it to any season or occasion. Leave off the ears and facial features and embellishments for Valentine’s Day or really any other holiday. Hey it could even be a birthday cupcake crochet pattern! I mean.. go wild with it! Why not?
Make one or make a gazillion because it’s a super fun make too!

The construction is fun. We start with white with a magic ring at the top, increasing and working several rounds of single crochets. Then work into the back loops and transition to the brown yarn.
Then we let go of the brown yarn for a minute and reattach the white yarn to work the scallops in those leftover front loops. It is so much easier doing this now rather than after this little cutie is stuffed.
Then once the cupcake wrapper is complete (thanks to some adorable post stitches), we attach the eyes, stuff this little number and slip stitch the bottom piece to the rest of the cupcake.
What bottom piece, you ask? Well, you will be making that as the very first step in this crochet pattern and setting it aside. Sure it’s not a fun thing to start with.. but it is nice to have it ready to go when you need it at the end.
And then everything comes together. A frosting sort of ‘hat’ and then the cute little ears borrowed from our Bernadette Bunny go on top!
Delicious perfection! Let’s dive into this free crochet pattern!
Crochet Cupcake
Here is what you will need:
- US G 6/4.00 mm crochet hook (these are my absolute favorite hooks I recommend to everyone!)
- Worsted Weight Yarn (Sample used Paintbox Simply Aran)
- 3/4 oz White, sample used Paper White
- 1/4 oz Brown, sample used Light Caramel
- 1/4 oz Pink, sample used Candyfloss Pink
- 9 mm Black Safety Eyes
- Embroidery Floss for Nose (I used DMC floss in 3689)
- Fiberfill
- Tapestry needle and scissors
Resources and tutorials you may find helpful in following this pattern: Crochet Abbreviations, US to UK Crochet Conversion Chart. Find links to stitches on the “Tutorial” menu: Getting Started will show show basic stitches including the single crochet stitch, chain stitch and post stitch used in this pattern. And the Crochet Stitch Dictionary shows our growing collection of crochet stitch tutorials.
Bunny Cupcake Size:
Approximately 3.5″ tall from top of head (excluding ears) to bottom of cupcake
Special Stitches:
Front Post Half Double Crochet: A front post half double crochet stitch is a half double crochet worked AROUND the indicated stitch. Check out my crochet post stitch tutorial for more details.

Cupcake Bottom:
With Brown Color yarn, make a magic
R1: 6 sc into ring (6 sts). (Do not join, worked in rounds)
R2: 2 sc in ea st (12 st)
R3: *sc in next st, 2 sc in next. Repeat from * around. (18 st)
R4: *sc in next 2 st, 2 sc in next. Repeat from * around. (24 st)
Slip stitch to next stitch. Then fasten off brown yarn, weave in end and reserve this piece to attach later.
Cupcake:
With White Color yarn, make a magic ring
R1: 6 sc into ring (6 sts). (Do not join, worked in rounds)
R2: 2 sc in ea st (12 st)
R3: *sc in next st, 2 sc in next. Repeat from * around. (18 st)
R4: *sc in next 2 st, 2 sc in next. Repeat from * around. (24 st)
R5: sc in next st, 2 sc in next *sc in next 3 st, 2 sc in next. Repeat from * around until last 2 stitches then work a sc in next 2 st. (30 st)
R6: *sc in next 4 st, 2 sc in next. Repeat from * around. (36 st)
R7-10: sc around. (36 st)
R11: sc around to last st, then sl st in last st
R12: continuing with white yarn, sc in back loop only around, changing to brown yarn in last stitch.
R13: With brown yarn and working over both loops again, *sc in next st, sc 2 tog. Repeat from * around. (24 st).
Now, without cutting brown yarn, drop it behind work to work the scallop around the cupcake with white yarn as follows:
Reattach white yarn in a front loop from row 12. Working in the front loops, *skip next st, 5 hdc in next st, skip next st, sl st in next st. Repeat from * around. At end of round fasten off white yarn.
Pick up the brown yarn to continue crocheting bottom of cupcake.
R14-16: Ch 1 (does not count as a stitch here and throughout), front post hdc around each stitch. (24 st)
R17: Ch 1, front post hdc around each stitch. At end of round, sl st to next st. Do NOT fasten off yarn (24 st)
Eyes and Stuffing:
Insert safety eyes between rows 9 and 10, leaving 6 stitches between them. Be mindful to place eyes so that a scallop is centered in the front of the cupcake. Then stuff cupcake.
Attach Cupcake Bottom:
Crochet the cupcake to the cupcake bottom as follows: Place cupcake bottom on bottom of stuffed cupcake. With brown yarn, slip stitch through both pieces, working through the front loops of the cupcake and both loops of the bottom. Work slip stitches in this manner all the way around. Fasten off and weave in ends.
Frosting:
With Pink Color yarn, make a magic ring
R1: 6 sc into ring (6 sts). (Do not join, worked in rounds)
R2: 2 sc in ea st (12 st)
R3: *sc in next st, 2 sc in next. Repeat from * around. (18 st)
Now make frosting “drips” around as follows:
Frosting drip A: ch 4, sc in 2nd ch from hook, hdc in next 2 ch, skip next st on row 3, slip st in next 2 st.
Frosting drip B: ch 5, sl st in 2nd ch from hook, sc in next ch, hdc in next 2 ch, skip next st on row 3, slip st in next 2 st.
Frosting drip C: Ch 7, sc in 2nd ch from hook, sc in next 3 ch, hdc in next 2 ch, skip next st on row 3, slip st in next 2 st.
Frosting drip D: Repeat Drip A instructions
Frosting drip E: Repeat drip C instructions
Frosting drip F: Repeat drip B instructions
Fasten off pink yarn, leaving a very long tail for sewing.
Place frosting on top of cupcake, using pins to hold in place. Then carefully sew down.
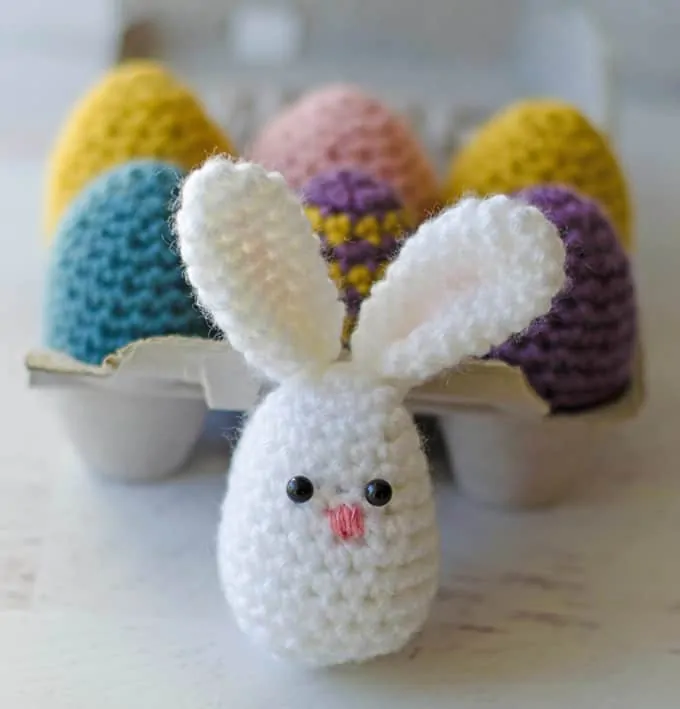
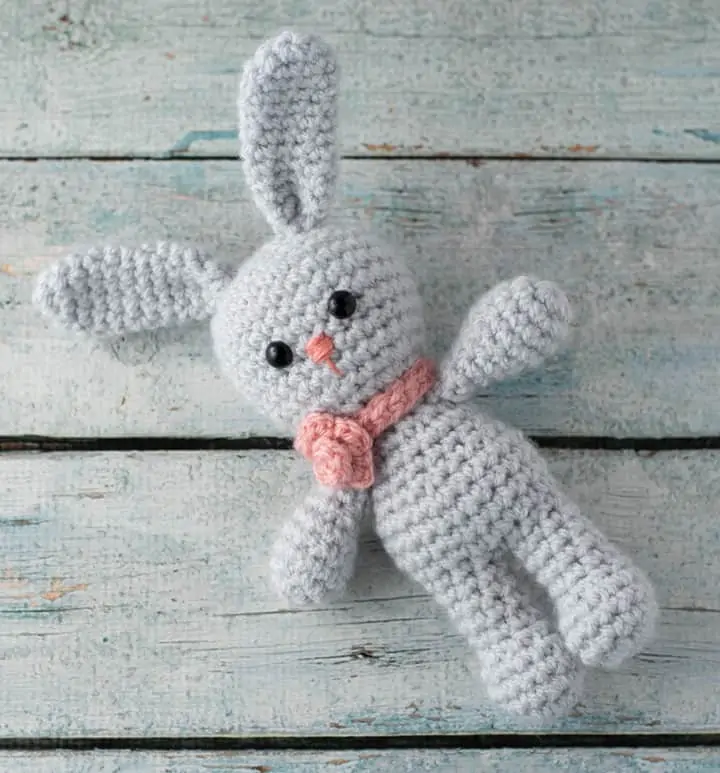
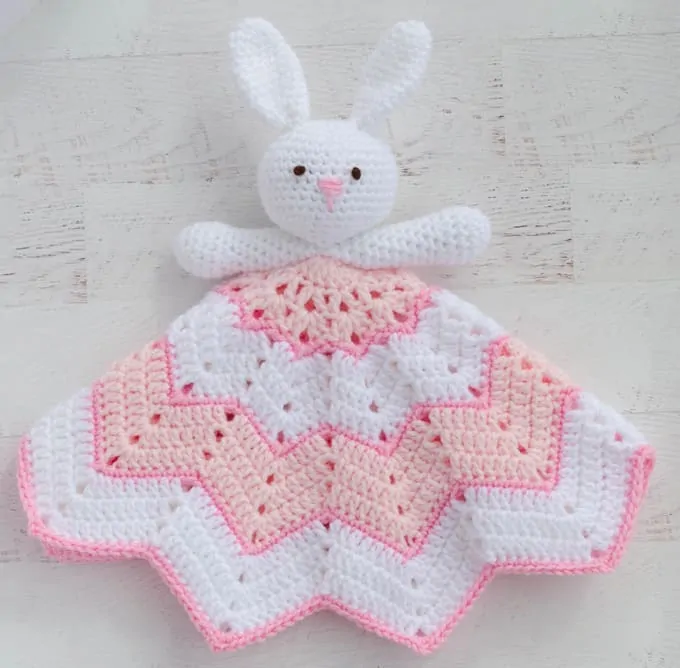
More Free Crochet Bunny Patterns
If you love this Bunny Crochet Cupcake pattern, you might also like to check out these other bunny patterns perfect for your crochet hook!
Ears (Make 2):
With White Color yarn, make a magic ring
R1: 5 sc into ring (5 sts). Work in rounds
R2: *2sc in ea st*, repeat * to * around (10 st)
R3-11: sc around (10 st)
R12: *sc in next 3, sc 2 tog, repeat from * once. Sl st in next st and fasten off, leaving a long strand for sewing. (8 st)
Fold ear in half and sew bottom closed. Then, using same strand of yarn, sew to top of cupcake.
Repeat for 2nd ear.
Bunny Cupcake Facial Features:
Use pink floss to embroider a satin stitch nose. Make one stitch vertically below the nose.
Weave in any remaining ends.
I love seeing your finished projects! If you enjoyed making the Bunny Crochet Cupcake pattern, I’d love to see yours on Instagram, be sure to tag me @crochet365knittoo. If you are on Facebook, stop over to the Crochet 365 Knit Too Facebook page or pop over to the Crochet365KnitToo Club and share a photo! I’d love to see your work!
Magnifique cupcake pour Pâques. MERCI Félicitations