
Crochet Lovey Blanket ~ A Bunny to Love
This post may contain referral/affiliate links. Please read my disclosure for more info.
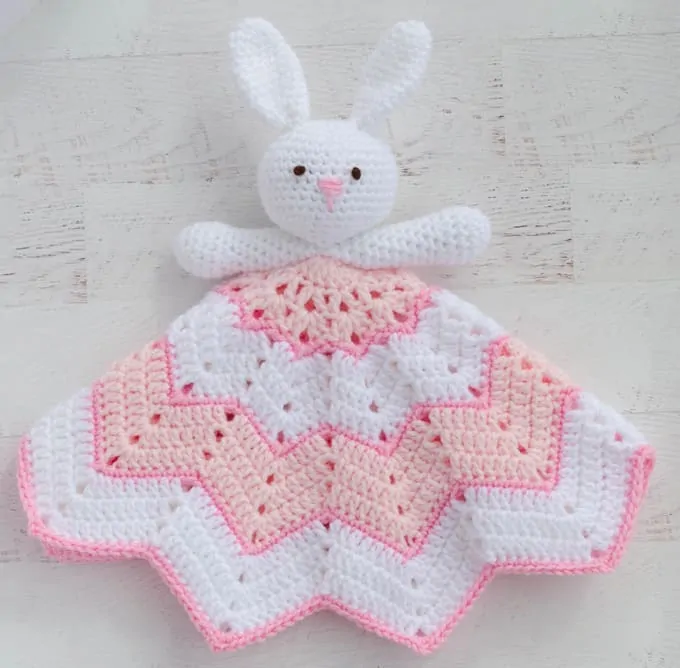
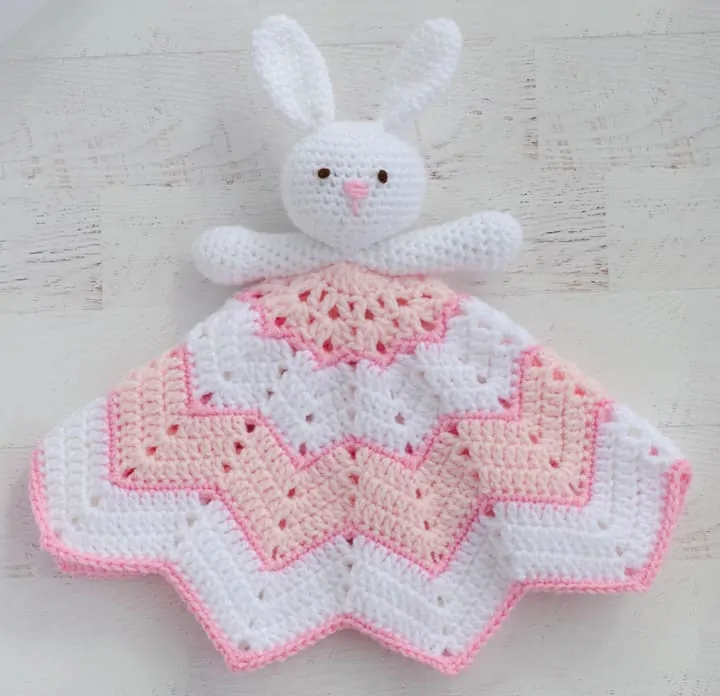
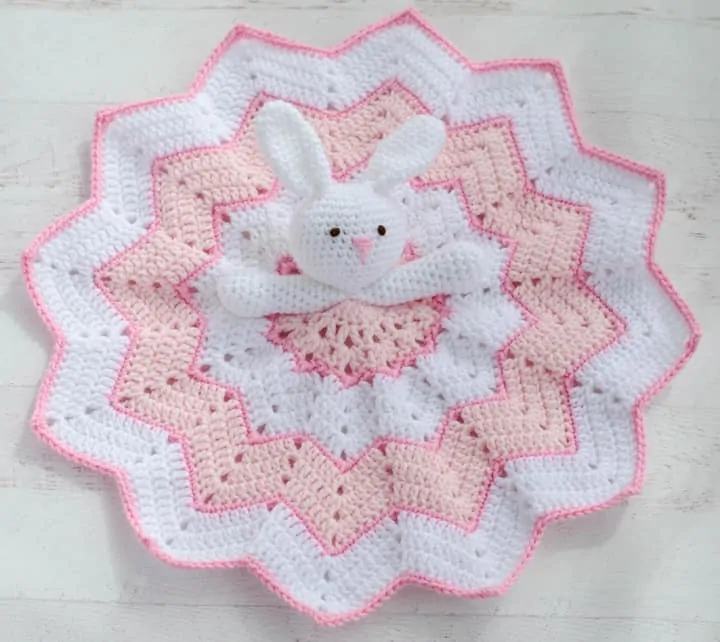
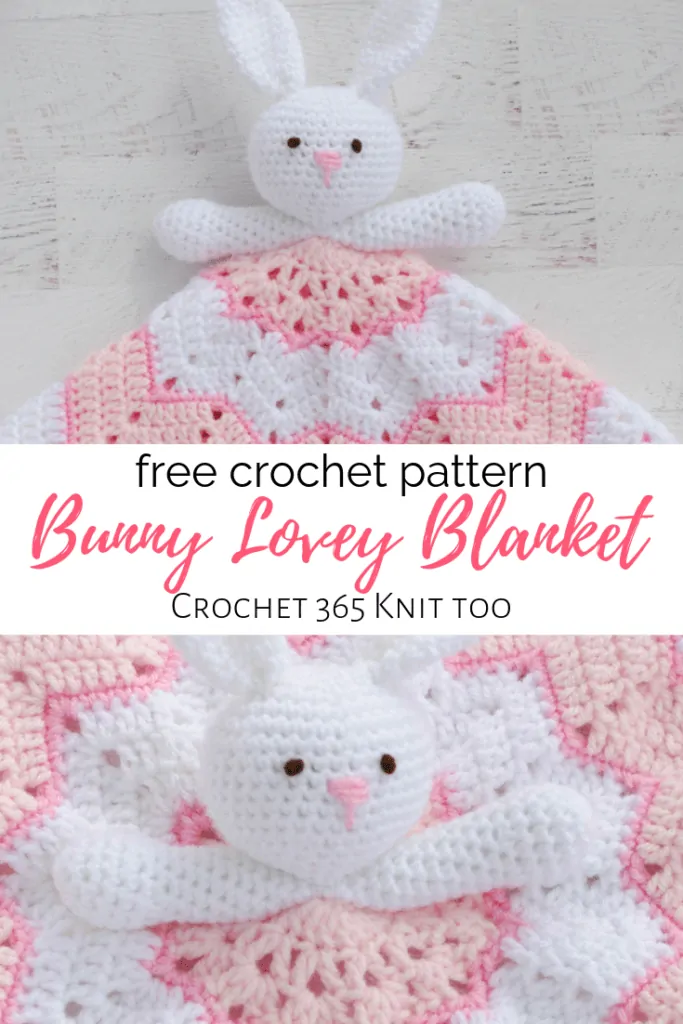
Bouncing into spring and ready to be your next go-to baby pattern, meet this adorable Bunny Crochet Lovey Blanket.
I’ve wanted to put a basic crochet lovey blanket pattern on the blog forever. At first glance, this guy is a cute bunny lovey just perfect for Easter. But this pattern is REALLY a gateway to creativity. It’s meant to be a springboard for all your crochet lovey creations!
Simply swap out colors, change ears and embroidered features and the lovey is easily transformed into a completely different design. Go one step further with your crochet lovey blanket and try out a different blanket style. The easiest way to do this is to look for an afghan pattern worked in the round and then simply stop when you reach the appropriate size. Or, go for a different shape altogether, starting with something like this easy crochet baby blanket. Just remember to stop when the lovey is about 18″-22″ across at it’s widest point (or really..whatever size looks good to you!)
Purchase the Beautifully Formatted AD-FREE PDF DOWNLOAD
Let’s get started with this adorable crochet lovey blanket!
Crochet Lovey Blanket
Here is what you will need:
- US H8/5.00 mm crochet hook (here are my favorite crochet hooks)
- Worsted weight yarn: White, Light Pink, Dark Pink, about 150 yards each; Dark Brown (for eyes): 1 yard
- Polyfil stuffing
- Tapestry needle and scissors
Resources and tutorials you may find helpful in following this pattern: Crochet Abbreviations, US to UK Crochet Conversion Chart. Find links to stitches on the “Tutorial” menu: Getting Started will show basic stitches used in many patterns and Crochet Stitch Dictionary shows our growing collection of crochet stitch tutorials.
Crochet Lovey Blanket shown measures about 13-1/2” when folded (excluding ears). Blanket is approximately 20” across at widest point.
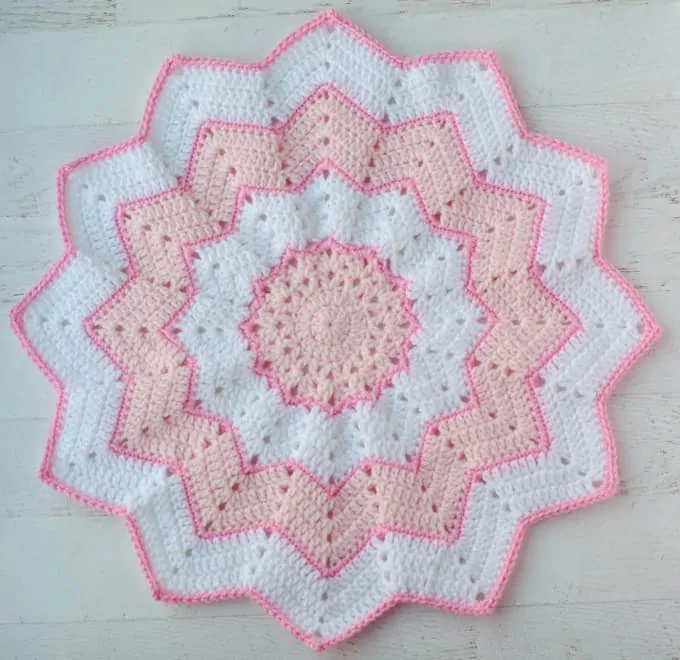
Lovey Blanket
R1: With light pink, ch 4, join to form ring, ch 3 (counts as 1st dc here and throughout), 11 dc in ring, join w/sl st to top of beginning ch 3 (12 dc)
R2: Ch 3, 1 dc in same st, 2 dc in ea st around. Join w/top of ch 3. (24 dc)
R3: Ch 3, *skip next st (1 dc, ch 2, 1 dc) in next st, repeat from * around. End row with a dc in base of ch 3, ch 2, join with sl st to top of ch 3.
R4: Sl st into ch 2 sp, ch 3 (1 dc, ch 2, 2 dc) in ch 2 sp, *(2 dc, ch 2, 2dc) in next ch 2 sp, repeat from * around. Join. Fasten off light pink.
R5: Attach dark pink to next ch 2 sp. *(2sc, ch 2, 2 sc) in ch 2 sp, 1 sc in next st, skip next 2 st, 1 sc in next st, repeat from * around, end w/sc. Join. Fasten off dark pink.
R6: With white, join w/sl st in next ch 2 sp, ch 3 (1dc, ch 2, 2 dc) in ch 2 sp, 1dc in next 2 st, skip 2 st, 1 dc in next 2 st, *(2dc, ch 2, 2 dc) in ch 2 sp, 1dc in next 2 st, skip 2 st, 1 dc in next 2 st, repeat from * around. End w/2 dc. Join.
R7: Ch 3, dc in next dc, *(1 dc, ch 2, 1 dc) in ch 2 sp, dc in next 3 st, skip 2 st, dc in next 3 st, repeat from *, end with dc in last st and join.
R8: Ch 3, dc in next 2 dc, *(2 dc, ch 2, 2dc) in 2 sp, dc in next 3 st, skip 2 st, dc in next 3 st. Repeat from * around. Join w/top of ch 3. Fasten off white
R9: With dark pink, join w/sl st in next ch 2 sp, ch 1, *(2sc, ch 2, 2 sc) in ch 2 sp, sc in next 4 st, skip 2 st, sc in next 4 st, repeat from * around. Join. Fasten off dark pink
R10: With light pink, join w/sl st in st before a ch 2 sp, ch 3 (counts as dc), *(1dc, ch 2, 1 dc) in ch 2 sp, 1dc in next 5 st, skip 2 st, 1 dc in next 5 st, repeat from * around. End by dc in last 4 st, join.
R11: Ch 3, dc in next dc, *(2 dc, ch 2, 2dc) in ch 2 sp, dc in next 5 st, skip 2 dc, dc in next 5 st, repeat from * around and end by dc in last 3 st & join.
R12: Ch 3, dc in next dc 3 st, *(2 dc, ch 2, 2dc) in ch 2 sp, dc in next 6 st, skip 2 st, dc in next 6 st, repeat from * around and end by dc in last 2 st & join. Fasten off light pink.
R13: Join dark pink in ch 2 sp, ch1, *(sc, ch 2, sc) in ch 2 sp, sc in next 7 st, skip 2 st, sc in next 7 st, repeat from * around. Join. Fasten off dark pink.
R14: Join white in sc before a ch 2 sp, ch 3, *(2 dc, ch 2, 2dc) in ch 2 sp, dc in next 7 st, skip 2 sc, dc in next 7 st, repeat from * around. End row by dc in last 6 st & join.
R15: Ch 3, dc in next 2 dc, *(2 dc, ch 2, 2dc) in ch 2 sp, dc in next 8 st, skip 2 st, dc in next 8 st, repeat from * around. End row by dc in last 5 st & join.
R16: Ch 3, dc in next 4 dc, *(dc, ch 2, dc) in ch 2 sp, dc in next 9 st, skip 2 st, dc in next 9 st, repeat from * around. End row by dc in last 5 st & join. Fasten off white.
R17: Join dark pink in ch 2 sp, ch1, *(2sc, ch 2, 2sc) in ch 2 sp, sc in next 9 st, skip 2 st, sc in next 9 st, repeat from * around. Join. Fasten off and weave in ends
MORE EASTER CROCHET PATTERNS
If you are loving the Bunny Lovey Pattern so far, you might also like to check out these other Easter patterns:
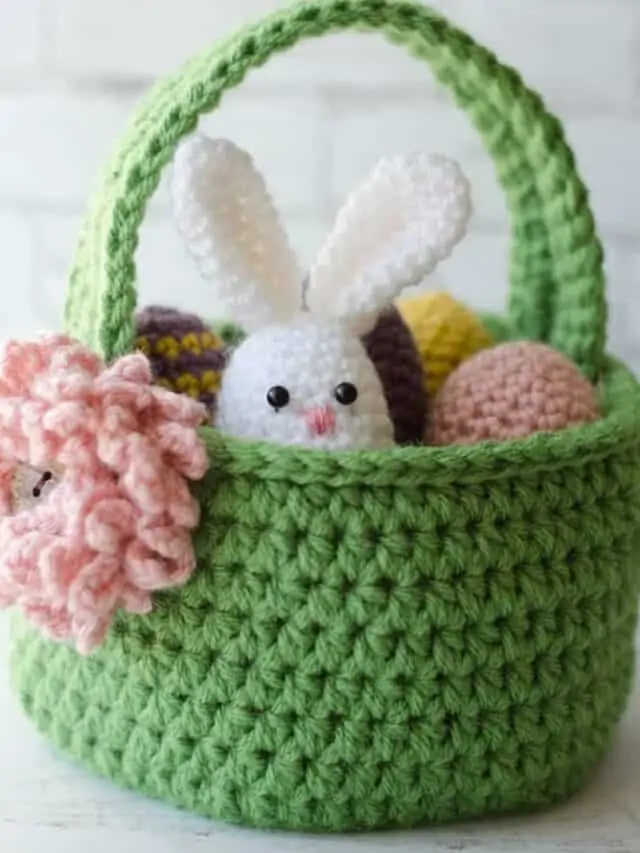
- Crochet Easter Basket
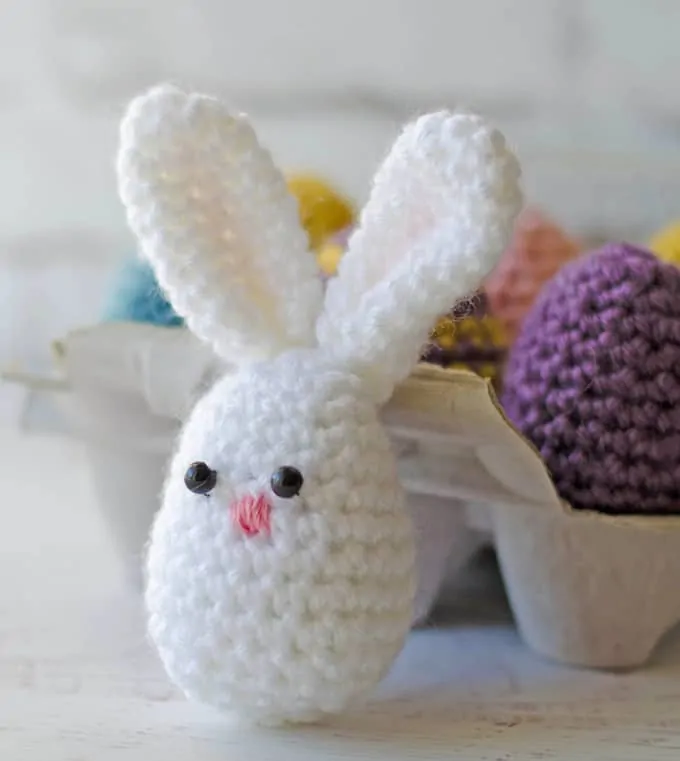
- Easter Egg Bunny
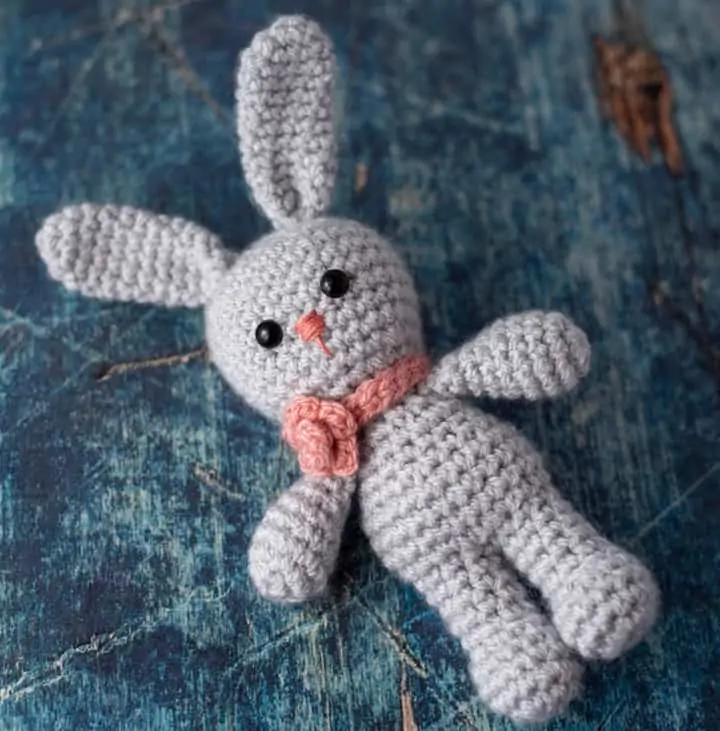
- Crochet Bunny
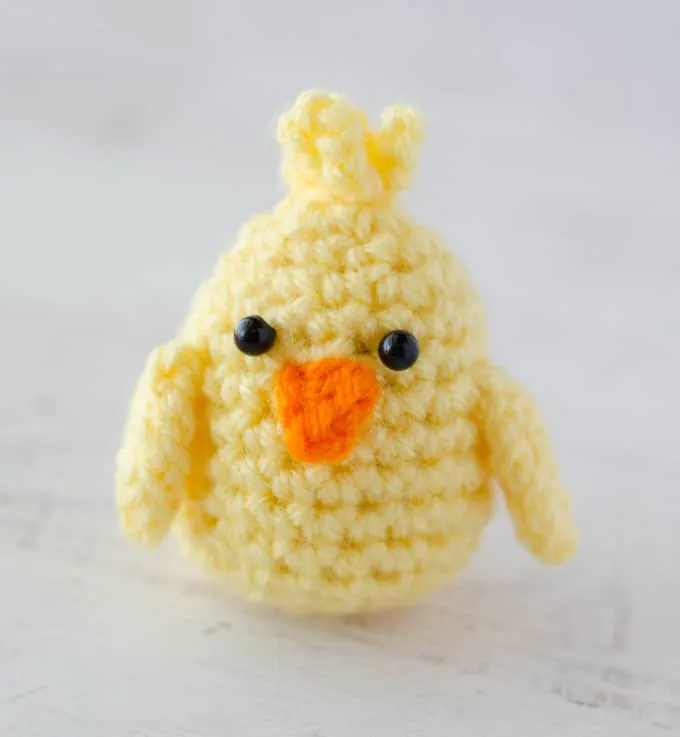
- Crochet Chick
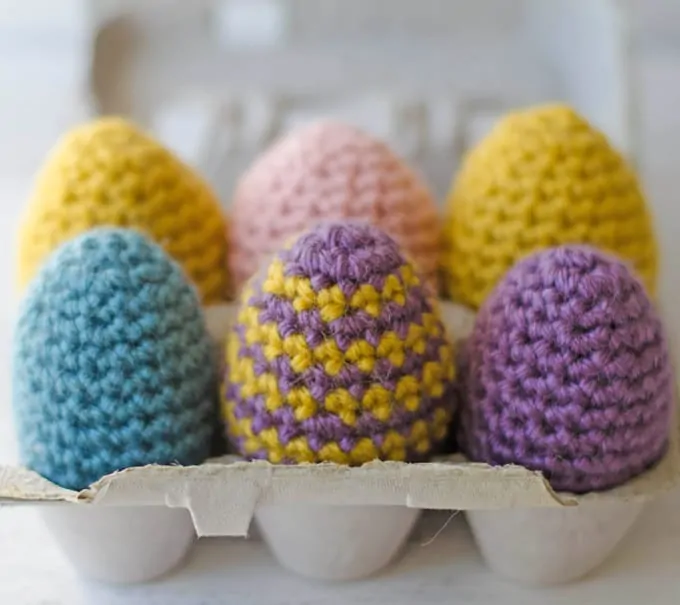
- Crochet Easter Eggs
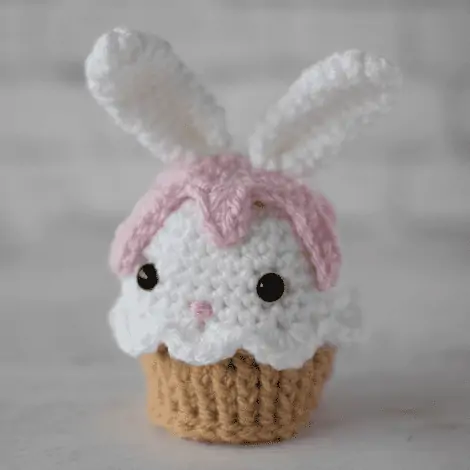
- Crochet Cupcake Bunny
Crochet Bunny Head:
R1: With white, ch 2, 6 sc in 2nd chain from hook. (6 st) Work in rounds.
R2: 2 sc in ea st (12 st)
R3: *sc in next st, 2 sc in next. Repeat from * around. (18 st)
R4: *sc in next 2 st, 2 sc in next. Repeat from * around. (24 st)
R5: *sc in next 3 st, 2 sc in next. Repeat from * around. (30 st)
R6: *sc in next 4 st, 2 sc in next. Repeat from * around. (36 st)
R7-14: sc around. (36 st)
R15: *sc in next 4 st, sc next 2 st together. Repeat from * around (30)
R16: *sc in next 3 st, sc next 2 st together. Repeat from * around (24)
R17: *sc in next 2 st, sc next 2 st together. Repeat from * around (18) Stuff.
R18: *sc in next st, sc next 2 st together. Repeat from * around (12)
R19: *sc next 2 st together. Repeat from * around (6 st).
Fasten off, leaving a long strand for finishing. Weave through last 6 stitches, pull tight, weaving in ends or knotting of to secure.
Ears (make 2):
With white yarn, make a magic ring
R1: 6 sc into ring (6 sts). Work in rounds
R2: *2sc in ea st, repeat from * around (12 st)
R3-5: sc around (12 st)
R6: *sc in next 3 st, 2 sc in next st, repeat from * around (15 st)
R7-9: sc around (15 st)
R10: *Sc in next 3 st, sc 2 tog, repeat from * around (12 st)
R11-12: sc around (12 st)
R13: *Sc in next 2 st, sc 2 tog, repeat from * around (9 st)
R14: sc around (9 st).
Fasten off, leaving a long strand for sewing.

Arms (make 2):
R1: With white, ch 2, 5 sc in 2nd ch. (5 st) Work in rounds
R2: 2 sc in ea st (10 st)
R3: *sc in next st, 2 sc in next st. Repeat from * around (15 st)
R4-6: sc around (15 st)
R7: *sc in next st, sc next 2 st together. Repeat from * around. (10 st).
R8-17: sc around (10 st).
Sl st to next sc and fasten off leaving a long strand for finishing. Stuff firmly, leaving the top ½” unstuffed.
How to Assemble Crochet Lovey Blanket:
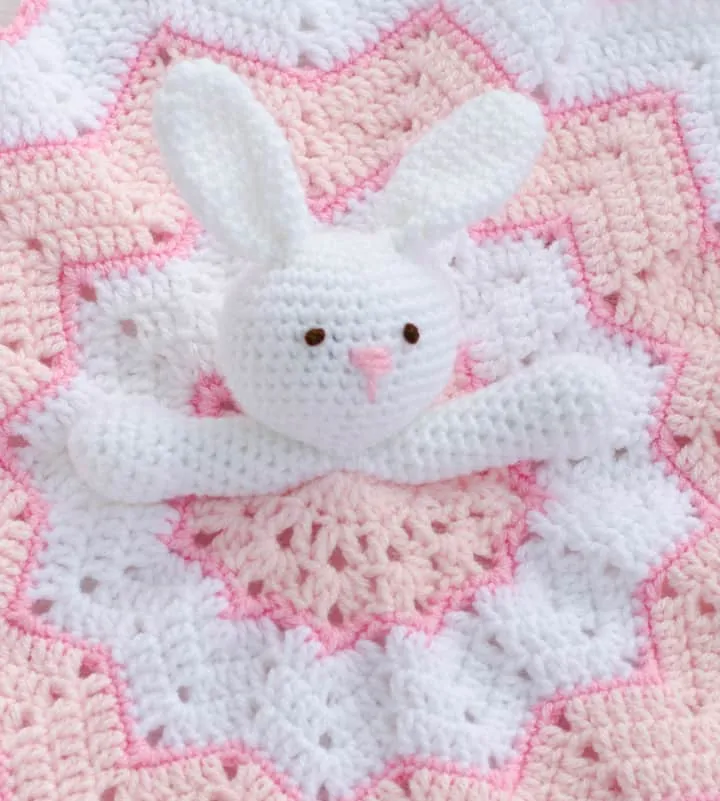
For nose, find approximate center of head. Using pink yarn, stitch over 2 stitches several times to form nose (mine covers 1-1/2 rows starting with row 10). Before fastening off, make one stitch downward from the bottom of the nose, covering 2 stitches.
Use dark brown yarn to make 2 french knots for eyes above the nose. There are approximately 5 stitches between the eyes.
Fold bottom of each ear together in half and sew together, then sew on to head between rows 3 & 4 or wherever it looks pleasing to you.
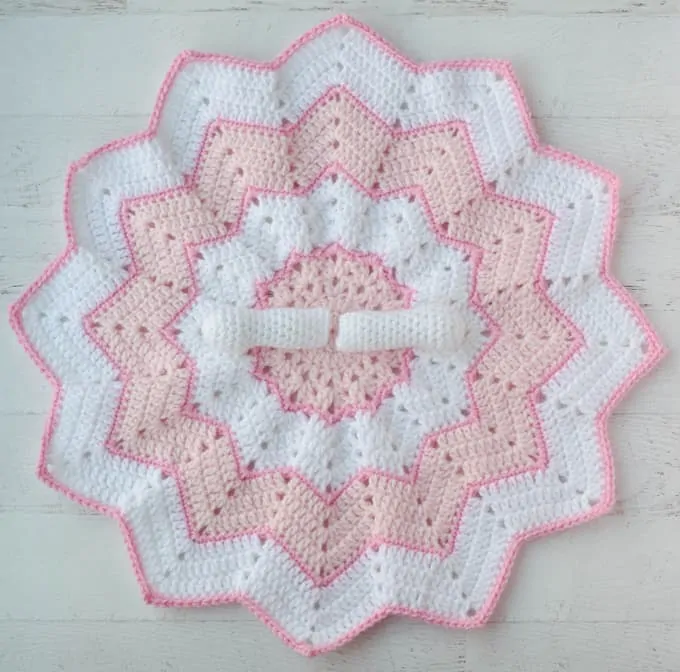
Position arms so that tops of arms touch in center of blanket to form a straight line to opposing points on the blanket, referring to photo below. Sew arms down where they join (shoulder/armpit area) to the blanket, leaving the rest of the arms free. Sew head on top of arms. Sew through arms and blanket to secure.
Perfect Pairings
If you love this crochet bunny lovey, you might also enjoy:
- Blossom Bunny (perfect Easter companion!)
- Crochet Easter eggs
- Buttercup the Chick
They all work beautifully together for a coordinated handmade Easter set.
This collection of Crochet Easter Patterns is pretty great to check out too!
I love seeing your finished projects! If you enjoyed making the Crochet Lovey Blanket, I’d love to see yours on Instagram, be sure to tag me @crochet365knittoo. If you are on Facebook, stop over to the Crochet 365 Knit Too Facebook page or pop over to the Crochet365KnitToo Club and share a photo! I’d love to see your work!
Fabulous pattern, absolutely loved making it and I’m sure the little girl it is for will adore it, thank you for posting
So can this be washed
Refer to the washing directions on the band of yarn to determine if your project would be washable.
Love the pattern! Easy to follow… well written! Thank you so much..
I’m so glad you are enjoying the pattern! Thanks for the kind words!
Hi there, this is so lovey! I’m relatively new to crochet and not sure what you mean by ch 2 sp? Is this every 2 chain spaces? Sorry, still getting to grips with the different terms! Thank you
So in the previous row you chained 2, and in this row you want to do the steps in that chain rather than in a stitch. Hope that makes sense!
This crochet project is so cute! I have enjoyed making this little lovey bunny.
I am learning how to crochet and it is very fun.
Thanks so much for the help 🙂
No problem! Happy to help! 🙂
I love this pattern! Can you give more specific instructions on how to sew it together? Especially how to sew the arms and head to the blanket in a secure way.
The stitches are hidden under the blanket, and I do knot things off. First I sort of “audition” where the arms and head need to go on the center of the blanket. Then, I position the two arms so the finished off ends touch each other and then sew those down through the blanket, working through the finished off ends (because you want the arms to move a bit). Once they seem secure, I add the head and then just work several stitches through the bottom of the head, over the arms and through the blanket. I take time to stop and review my work. Sometimes an extra stitch is needed to more fully cover up the arms. When done, I knot off the yarn on the back and then weave in the ends.
Fun project! I added a cotton tail by crocheting lots of dragon stitches together until it formed a ball then sewed it to the back of the blanket part.
do you join after row 2 prior to starting row 3?
Yes. All the rows are joined.
I needed a little more than 150 yds of white, I bought 3oz/164yds and couldn’t finish the head :/ but it came out SO STINKIN CUTE!! I made it for my cousins 1st birthday 🙂
Can I start this with a magic ring
You can, if you wish. Just make sure to secure the end in since the lovey will likely get a lot of wear and tear!
I love your patterns, they are so easy to follow and turn out beautifully. Thank you
Perfect size. I made a traditional granny square with various coordinating colors size 12×12 and followed your bunny pattern. How adorable! Wish you would consider making a video of the sewing. Otherwise cuteness overload thanks for sharing!
I would love to see this pattern in a bigger blanket form. All the other patterns I found for this shape I don’t like because it’s to open and Holley. Can you please help in this matter. I would love to make a rug for my living room out of this pattern. Thanks!
I haven’t tried this shape in a rug. However, if you wanted to experiment you could just continue the stitch pattern on subsequent rows.
Thank you for a beautiful pattern! Completed today!
Please explain R8 if the blanket, shouldn’t that be dc in next 4 (not 3) stitches. Also R10, why is it 1 dc, ch 2, 1dc in ch 2 so instead of 2 dc, ch 2, 2 dc as all the other rows… typos? All other rows will be off as well. Is really adorable, but instructions are confusing. Also, what hook size for the bunny? Surely not H….
The pattern is correct as written. The points are different on some of the rows so that the blanket lays flat (otherwise there would be too many stitches and it would ripple). That affects the number of stitches between points in the rows. This pattern was crocheted with the same size hook throughout. You can drop a hook size for the head and arms if you find your gauge is looser than mine. Hope that helps!