
Crochet Easter Egg Bunny
This post may contain referral/affiliate links. Please read my disclosure for more info.
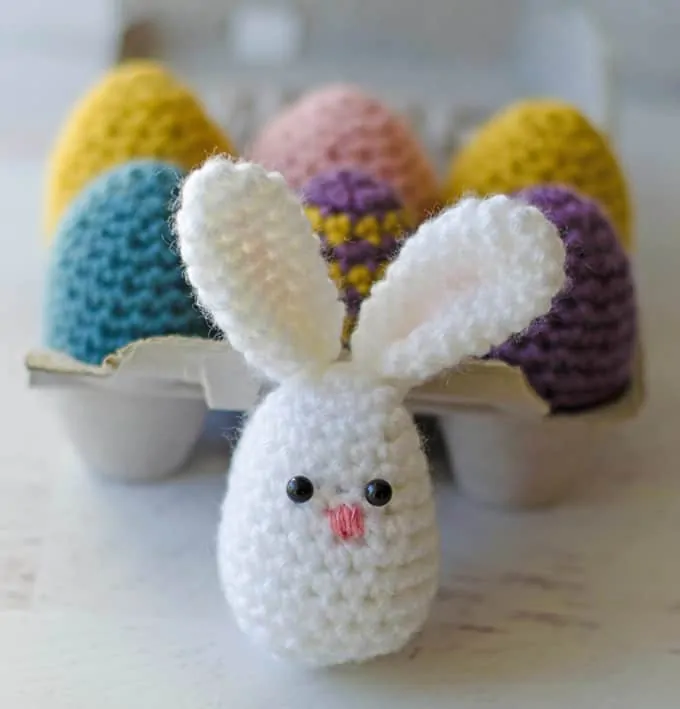
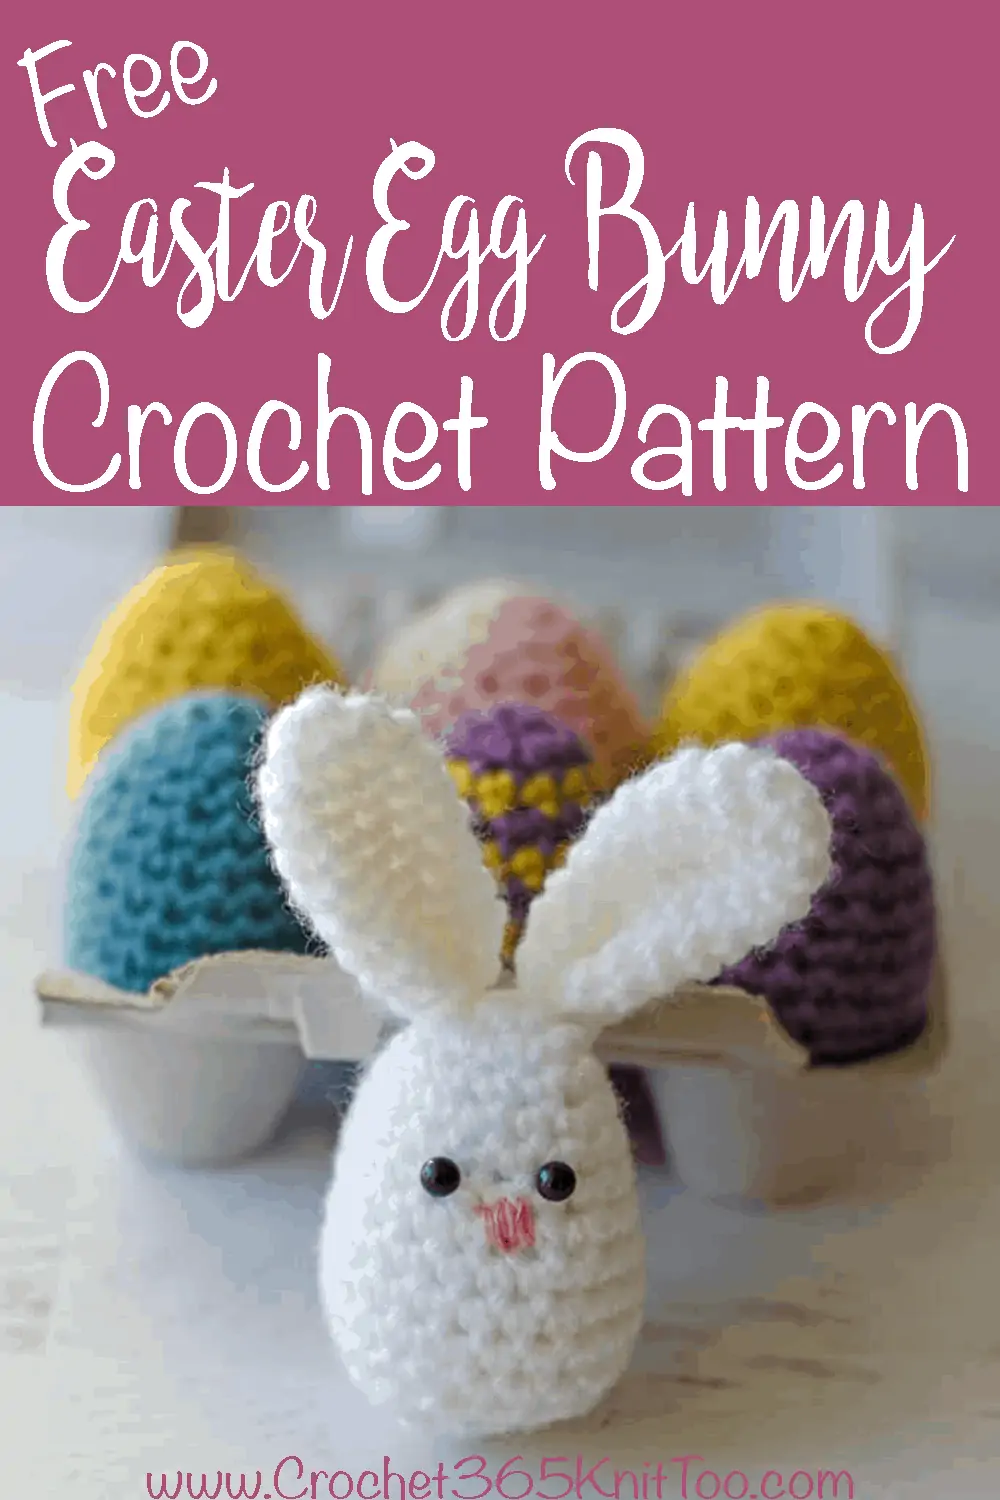
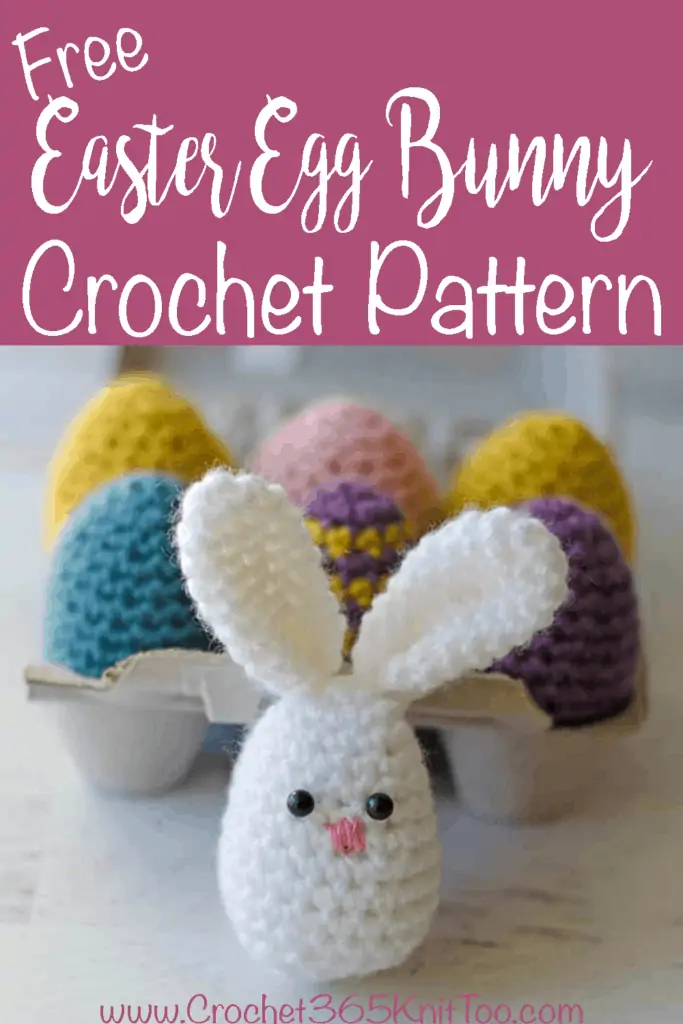
I’m in love with this Crochet Easter Egg Bunny. I seriously could put him on my desk and look at him all day long. It makes me smile every time. What a way to welcome in spring!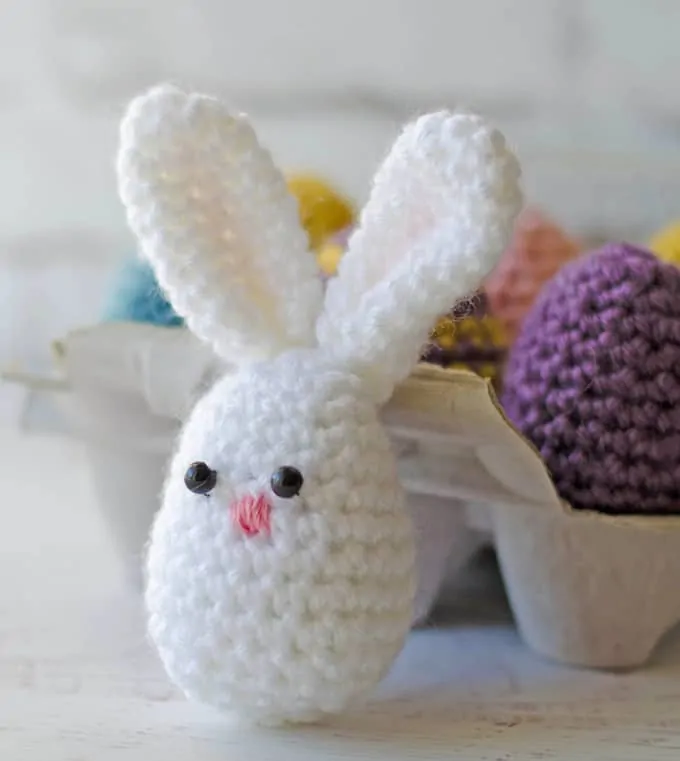 There are so many things to love about this cutie pie crochet egg bunny. I love the sweet pastel pink nose against the white and bright yarn. And the hint of pink in the ears makes me smile! The bunny egg could also be dressed up with the little flowers or bow tie from the Peas in A Pod Get Married pattern too. Put one at a jaunty angle by an ear or even at the neck. So, so cute!
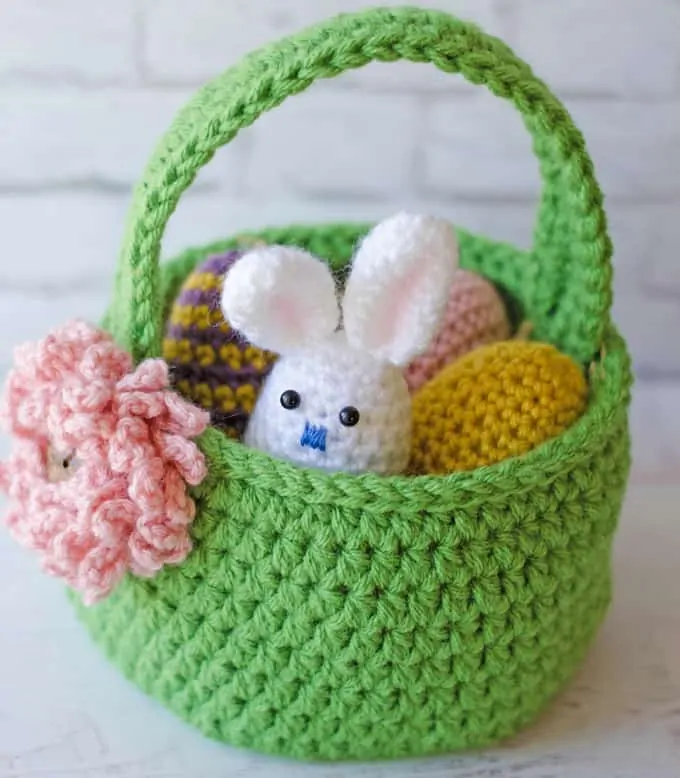
Plus the Crochet Easter Egg Bunny makes a perfect set with some solid or striped eggs from the crochet Easter Egg Pattern nestled in the darling crochet Easter basket to hold all the goodness! And if you really want to go all out, make Bernadette Bunny. I mean, let’s get serious now, who DOESN’T need a crochet Easter Egg bunny in their life?
A Crochet Easter Egg Bunny is also a perfect introduction to making amigurumi! You can practice the magic ring to start and the best amigurumi finish for a perfect finish. And work on your stuffing technique, facial features and sewing on pieces—all in one simple project!
If you’re looking to learn how to make the best amigurumi, be sure to check out my Amigurumi: A Beginner’s Guide. It’s a massive 165 page ebook of detailed tutorials, tips and tricks (plus exclusive patterns). You can read about that right here
MORE CROCHET EASTER BUNNY PATTERNS
If you love the Crochet Easter Egg bunny pattern, you might also like to check out these other spring patterns:
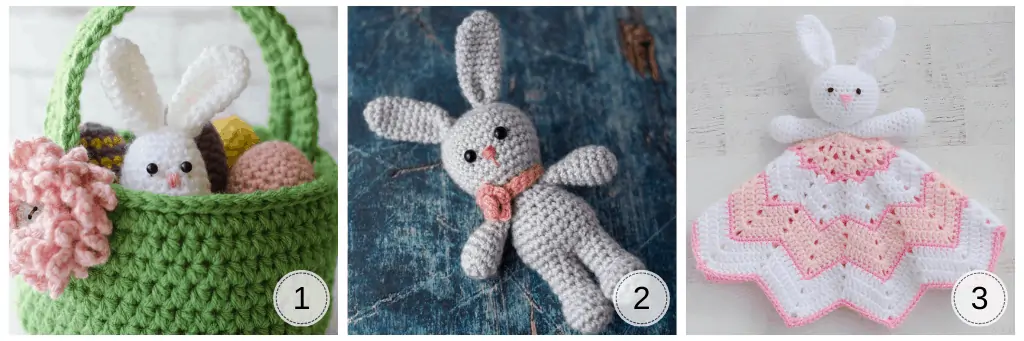
1. Crochet Easter Basket // 2. Crochet Bunny // 3. Bunny Lovey
Purchase an ad-free Printable version of the Basket, Egg and Bunny Egg Set Here
Crochet Easter Bunny Pattern
Here is what you will need:
- US H8/5.00 mm crochet hook (here are my favorite crochet hooks)
- 1/2 oz Worsted Weight Yarn, sample used Vanna’s Choice Yarn in white
- Polyfil Stuffing
- Small 6mm Buttons for Bunny Eyes (or embroider instead)
- Embroidery floss (bunny noses & eyes if not using buttons)
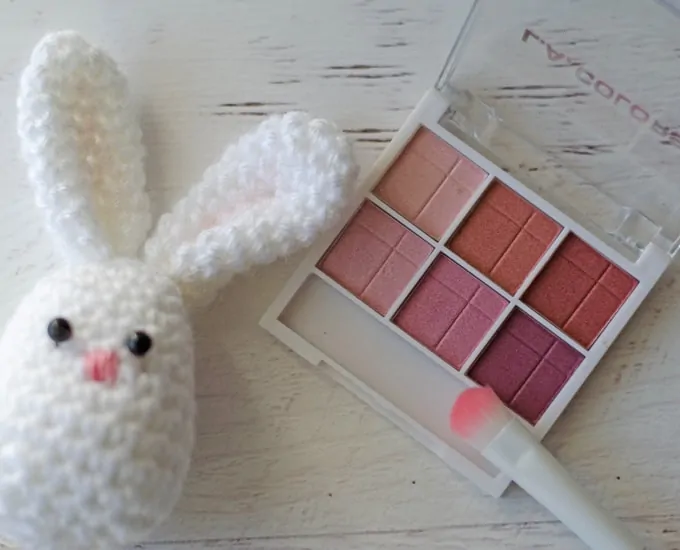
- Blush or pink eye shadow & brush (optional)
- Tapestry needle, sewing needle, thread (for button), and scissors
Resources and tutorials you may find helpful in following this : Abbreviations, US to UK Conversion Chart. Find links to stitches on the “Tutorial” menu: Getting Started will show basic stitches used in many patterns and Dictionary shows our growing collection of tutorials.
For amigurumi specific tutorials be sure to read about the , how to (), (or )

Crochet Egg Bunny Body
The bunny body is simply the Easter Egg pattern which has directions for the solid color egg as well as how to work the striped egg. Here are instructions for the solid color egg we’re using for our Crochet Easter Egg Bunny. I used white but the bunny would also be adorable in a gray or pastel color.
Make a magic ring
R1: 6 sc into ring (6 sts). Work in rounds
R2: *2sc in ea st*, repeat * to * around (12 st)
R3: sc around (12 st)
R4: *sc in next st, 2sc in next, repeat * to * around (18 st)
R5-6: sc around (18 st)
R7: sc in next 4 st, 2 sc in next st, sc in next 8 st, 2sc in next st, sc in last 4 st (20 st)
R8: *sc in next 9 st, 2sc in next*, repeat * to * once (22 st)
R9-10: Sc around (22 st)
R11: *sc in next 3 st, sc 2 tog, sc in next 4 st, sc 2 tog, repeat from * once (18 st)
R12: *sc in next 2 st, sc 2 tog, sc in next 3 st, sc 2 tog, repeat from * once (14 st) Stuff firmly.
R13: *sc in next st, sc 2 tog, sc in next 2 st, sc 2 tog, repeat from * once (10 st)
R14: sc 2 tog around (5 st), sl st to next st. Fasten off, leaving tail for closing (bottom of egg) Add any additional stuffing. Weave the yarn through the opening to gather closed. I like to use the perfect amigurumi finish instructions to make a nice finish!
Crochet Easter Bunny Ears (make 2):
Make a magic ring
R1: 5 sc into ring (5 sts). Work in rounds
R2: *2sc in ea st*, repeat * to * around (10 st)
R3-9: sc around (10 st)
R10: *sc in next 3, sc 2 tog, repeat from * once. Sl st in next st and fasten off, leaving a long strand for sewing. (8 st)
Fold ear in half and sew bottom closed. Then, using same strand of yarn, sew to top of head.
Repeat for 2nd ear.
Sew on button eyes between rows 5 & 6 of egg, or alternatively, use embroidery floss and a French knot to sew on eyes.
Referring to photo for placement, embroider a satin stitch nose over row 7 of egg.
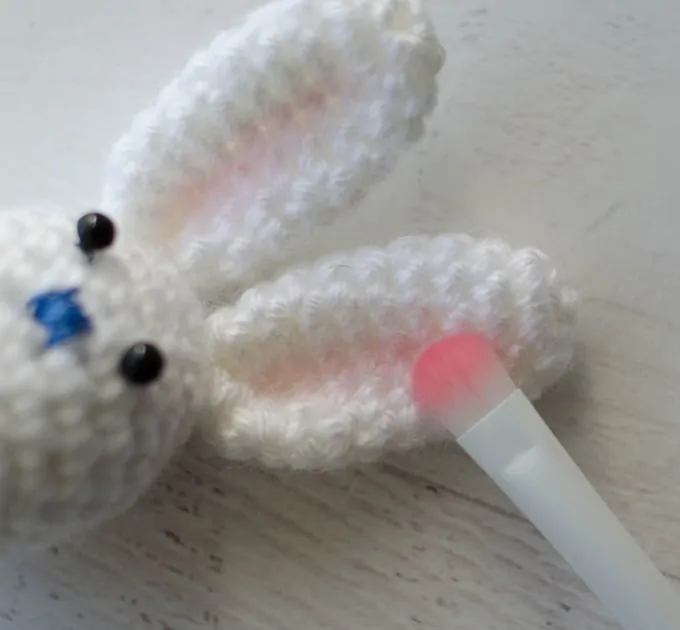
If desired, add pink to inside of bunny ear using pink blush (or pink eyeshadow) and a brush. I purchased pink eyeshadow and a brush from the dollar store just to use on crochet dolls and amigurumi. When you’re done, just add the adorable crochet easter bunny to the basket along with the crocheted eggs and all is right with the world!
Purchase an ad-free Printable version of the Basket, Egg and Bunny Egg Set Here
I love seeing your finished projects! If you enjoyed making this Crochet Easter Egg Bunny Pattern I’d love to see yours on Instagram, be sure to tag me @crochet365knittoo. If you are on Facebook, stop over to the Crochet 365 Knit Too Facebook page or pop over to the Crochet365KnitToo Club and share a photo! I’d love to see your work!
Pin Now Crochet Later ⇨
How can I print a pattern without all the other advertisement? Would like pattern only.
I’m glad you like the pattern. I do offer a low cost ad-free PDF pattern for those readers who want to print the pattern, but don’t like the ads and large photos. There are links right in the post for that. Hope this helps!
Love your Easter basket your Easter egg bunny in your carrot I appreciate the patterns so very much thank you love love love them all
Your basket, eggs and both Bernadette and the egg bunny are simply some of the most adorable crafts I have seen lately. Thank you so much for making the patterns available to your followers. I can hardly wait to make them!
I followed your pattern without thinking and once the body/egg was completed I realized your pattern never stated where or when to put the safety eyes in. Now it has no eyes unless I sew them on which doesn’t look as nice.
This bunny has small button eyes and not safety eyes. Instructions for sewing them on are at the end of the pattern.