
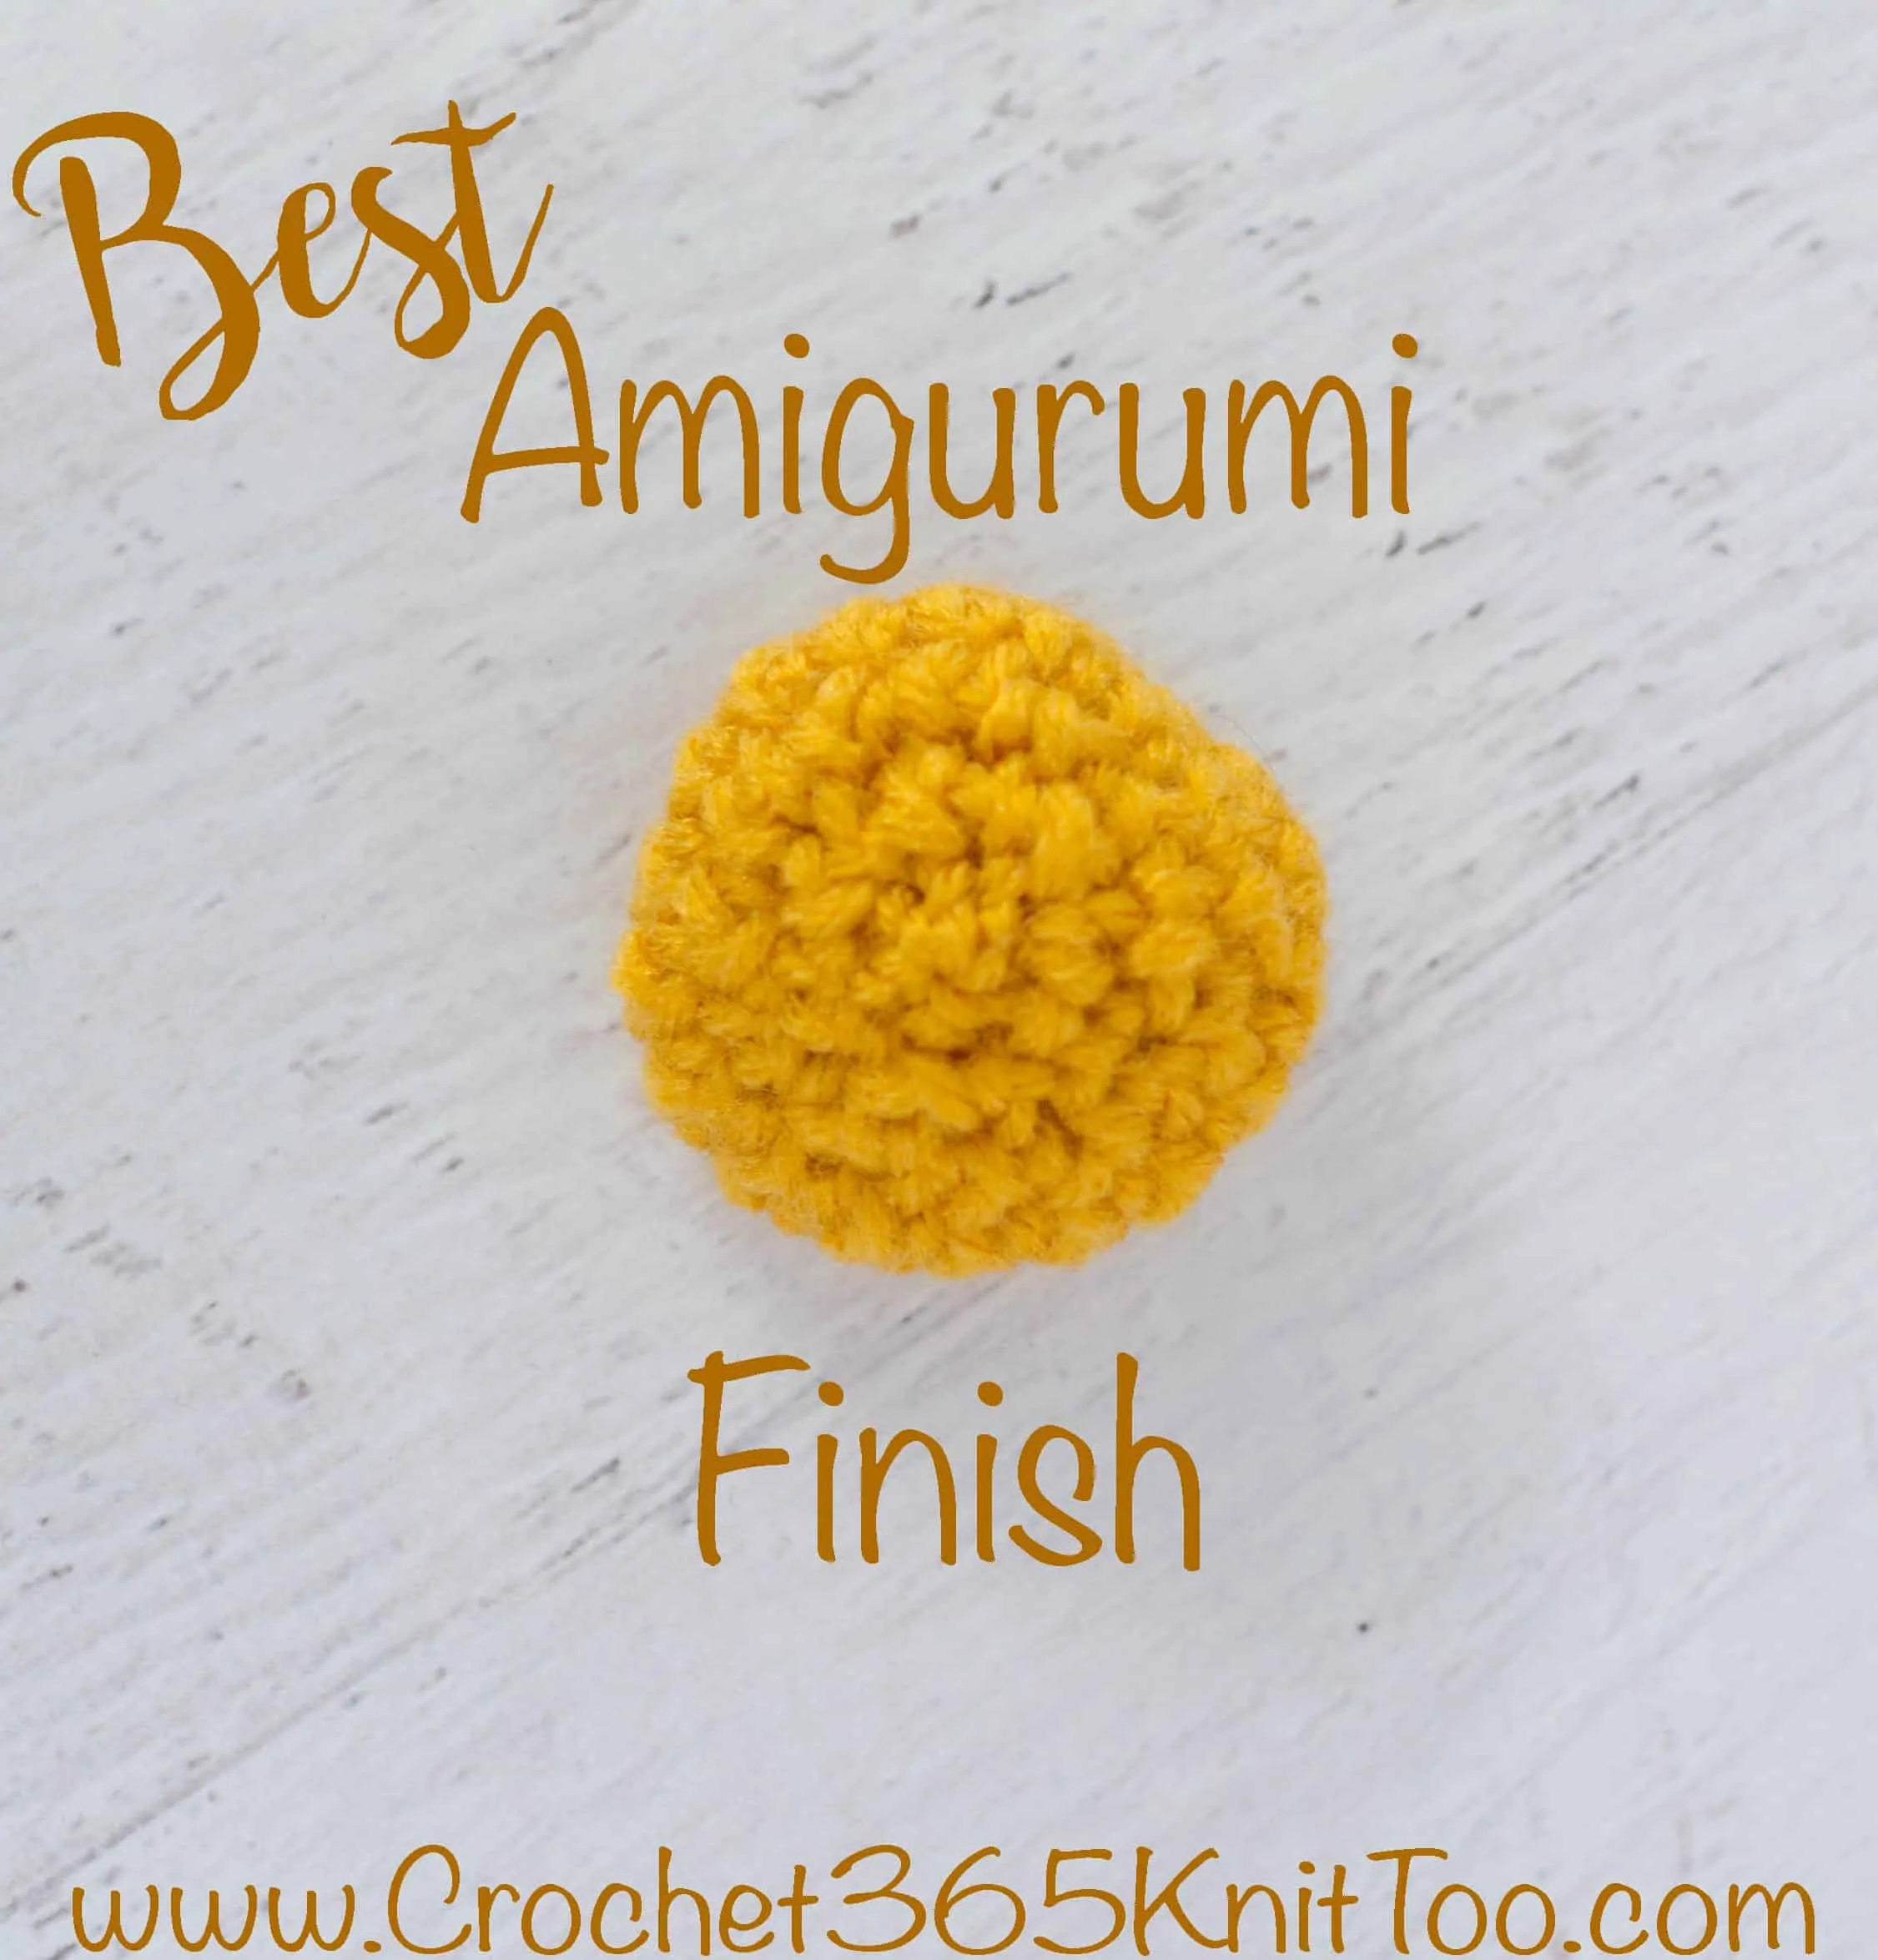
Best Amigurumi Finish
This post may contain referral/affiliate links. Please read my disclosure for more info.
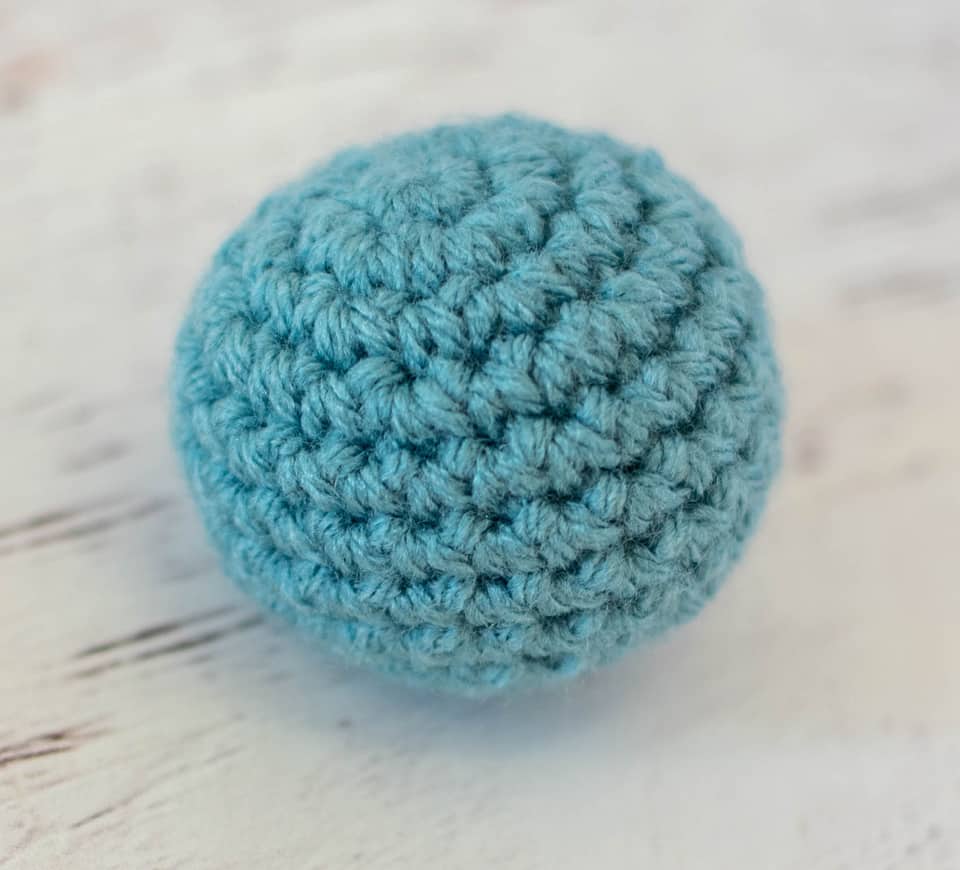
Looking for the best Amigurumi Finish? Finishing an amigurumi piece in a neat fashion is a great skill to add to your toolbox of crochet skills.
If you’ve ever crocheted a 3 dimensional crochet object you know that the normal finishing method can leave unsightly gaps between stitches.
Amigurumi (or stuffed toys as we sometimes call them here in the U.S.) are my favorite things to crochet. I loved making them as a child crocheter and I love making them now. For awhile, in my adult life, I thought I had to make them for children. Then I thought.. to heck with it… and now I make them for myself too!
In our old home, all of my little creatures resided in the antique cradle my husband and his siblings slept in and his mother before him and his grandmother before that. My son was long grown when I met my husband and he never had any of his own children to sleep in that cradle. But maybe someday a little grandchild will come along to lay his or her head on that family tradition.
In our new home, my Amigurumi are mostly in my blog/craft room space where they bring a smile to my face every time I see them!
More Amigurumi Techniques
If you love this neat amigurumi finish, you might also like to check out these amigurumi techniques:
1. Jogless Join // 2. Magic Ring // 3. Invisible Decrease
Closing Up an Amigurumi Piece
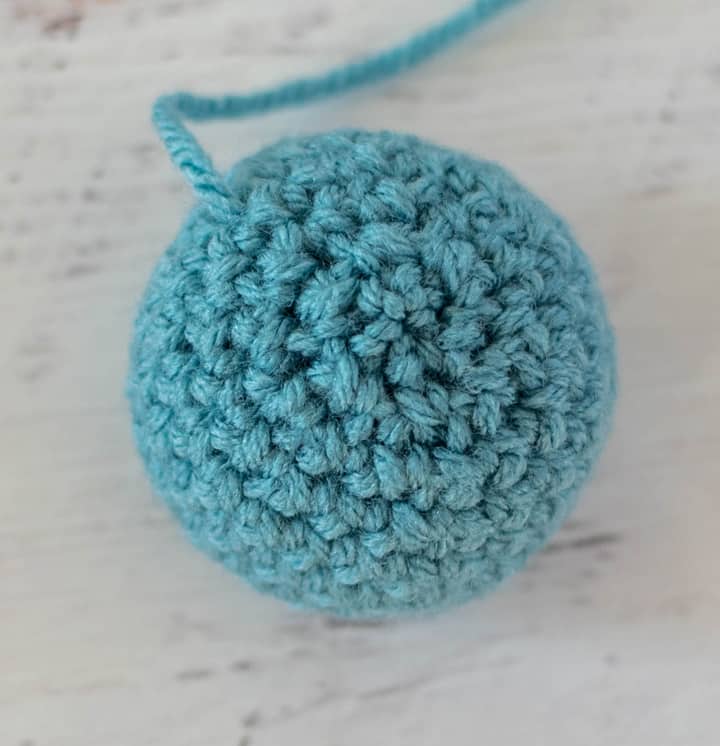
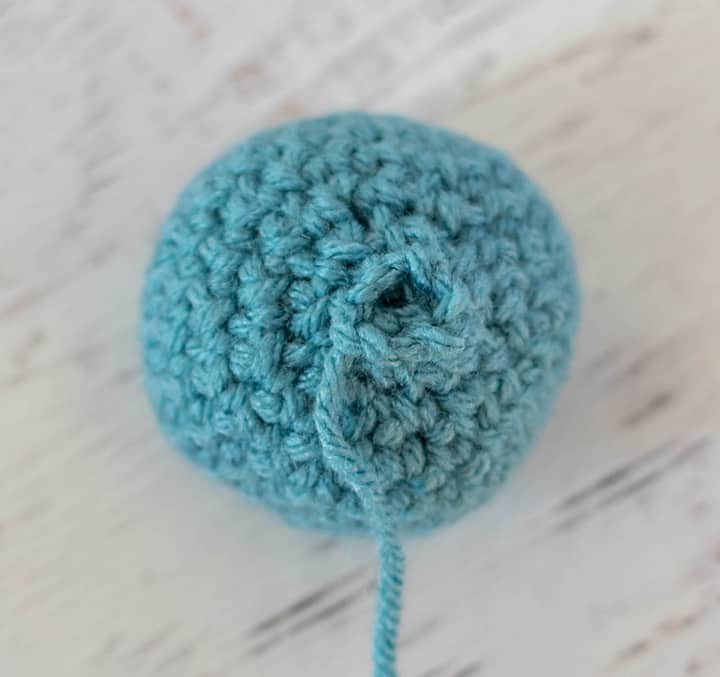
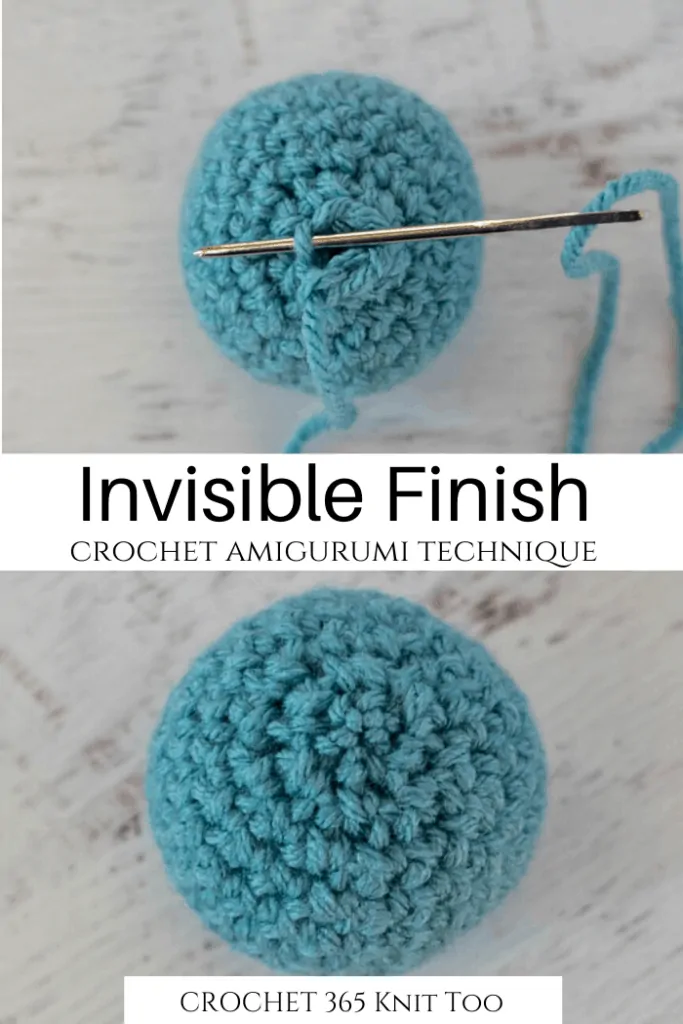
When you are decreasing to finish up a stuffed piece of work, you will usually decrease down to 6 stitches, depending upon the pattern. Fasten off your work, leaving a long strand for sewing and then thread the strand onto a tapestry needle. Insert the needle from the center of the work to the outside through the front loop of the last row.
If you look closely at the above photo you can see that the needle is ONLY going through the front loop AND that it is starting at the center of the work and going to the outside edge. Repeat this over and under the front loop of every stitch in the last row.
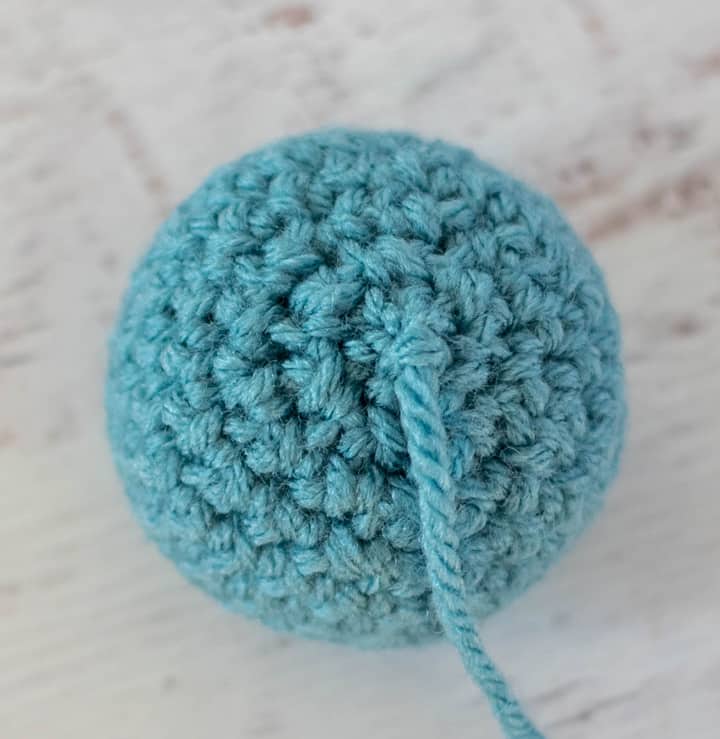
The below photo is how the last row looks before tightening everything down:
Then simply pull tight. See how nicely the stitches come together in the center? No gaps of stuffing showing through!
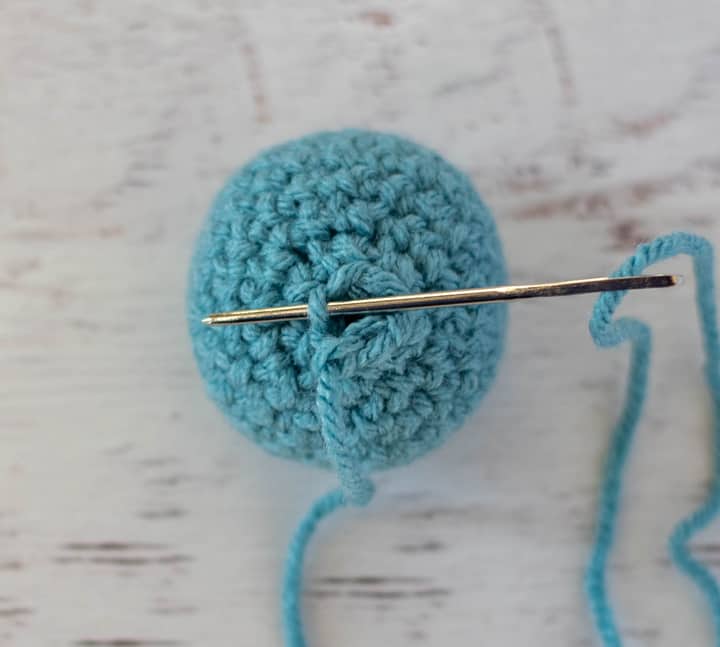
After pulling tight, just insert the needle into the center and pull through to the other side to bury the end into the work!

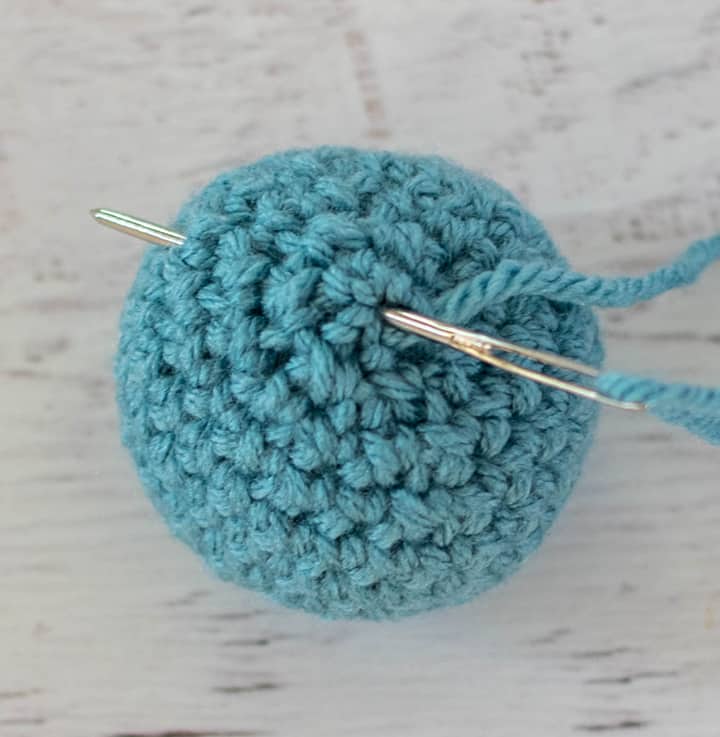
Some crocheters stop at this point and cut the strand close to the work.
I like to do one more step. I make a knot close to the piece. Then I insert the needle back through the same hole, through the stuffing, out the other side. I pull tight and let the knot “snap” into the stuffing. Then cut the yarn close to the work.
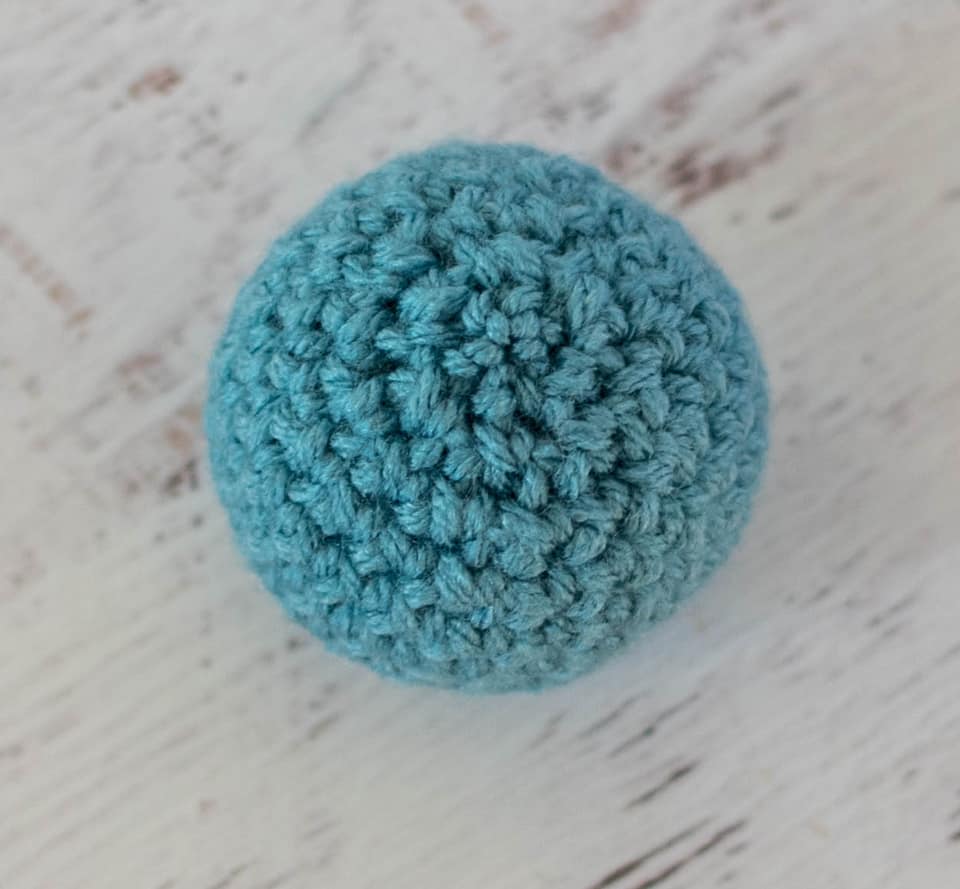
And there you go! The best amigurumi finish and it was so easy!
I love seeing your finished projects! If you enjoyed this best amigurumi finish, I’d love to see it in action on your own crochet! On Instagram, be sure to tag me @crochet365knittoo. If you are on Facebook, stop over to the Crochet 365 Knit Too Facebook page or pop over to the Crochet365KnitToo Club and share a photo! I’d love to see your work!
Pin Now Crochet Later ⇨
Thank you for sharing this! I love it! I’m getting ready to start a bunny lovey and will definitely be trying out this technique! I look forward to it. :)))
I would like to get the amigurumi ebook, but I am a person who likes to have a book in front of my eyes to read and take with me. Rather than an ebook to you sell it any other way or can I print it from the ebook.
The book is available by ebook only right now BUT you CAN print the ebook and even have it bound at a print shop if you would like. Once you purchase on the Teachable pattern, it will take you inside where you can view from any device OR you have the option of downloading the ebook and bonus patterns to your device.
Thank you so much for all the hints and tips! I’ve made several ‘stuffies,’ as my grandsons call them. They say ‘Nana can you make me…’ They’re fun to do and usually don’t take a lot of time. Using your tips have enabled me to make them look so much nicer! I’ve made 10 AMONG US characters (5 for each of them) in different colors & each time I’ve used a technique I’ve learned from you.
Thank you for this tip. When you say “repeat this over and under each front loop in the last row”, is it kind of a whip stitch around? Thanks very much.
Yes. Exactly!