
Crochet Snowman Hat
This post may contain referral/affiliate links. Please read my disclosure for more info.
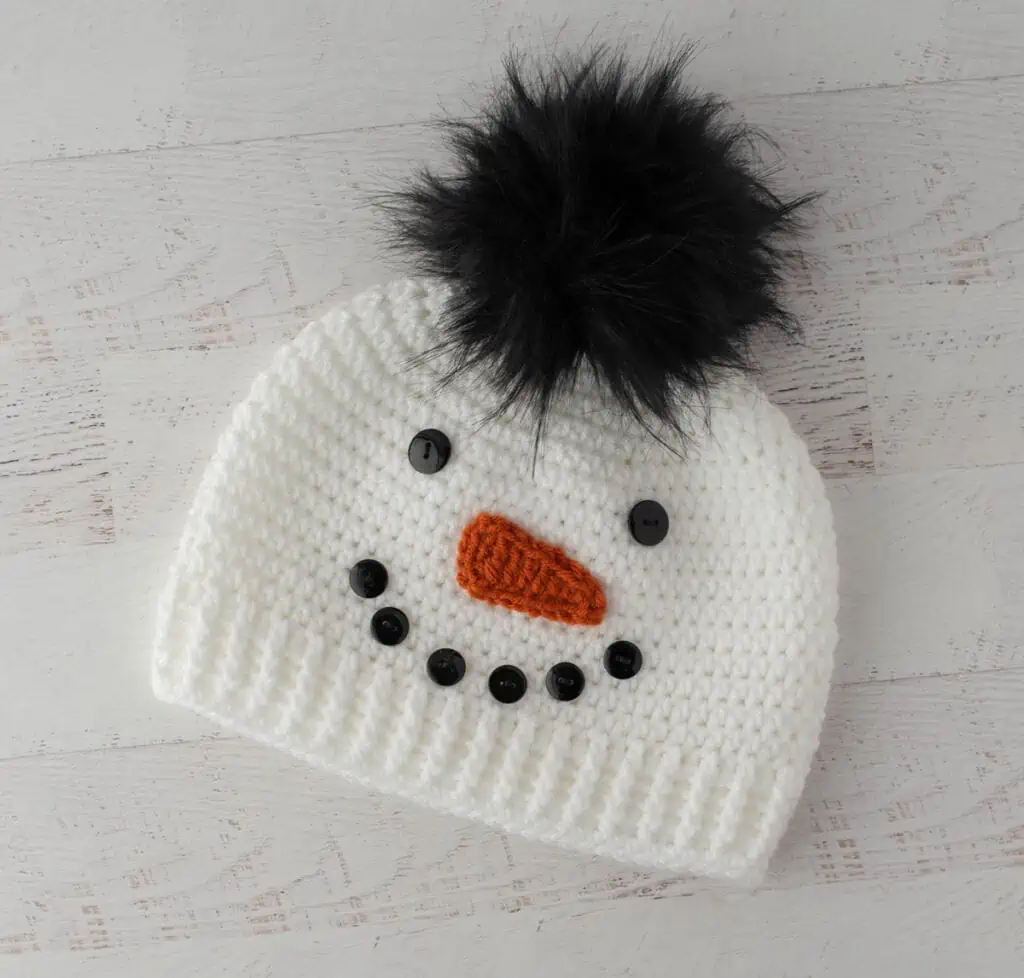
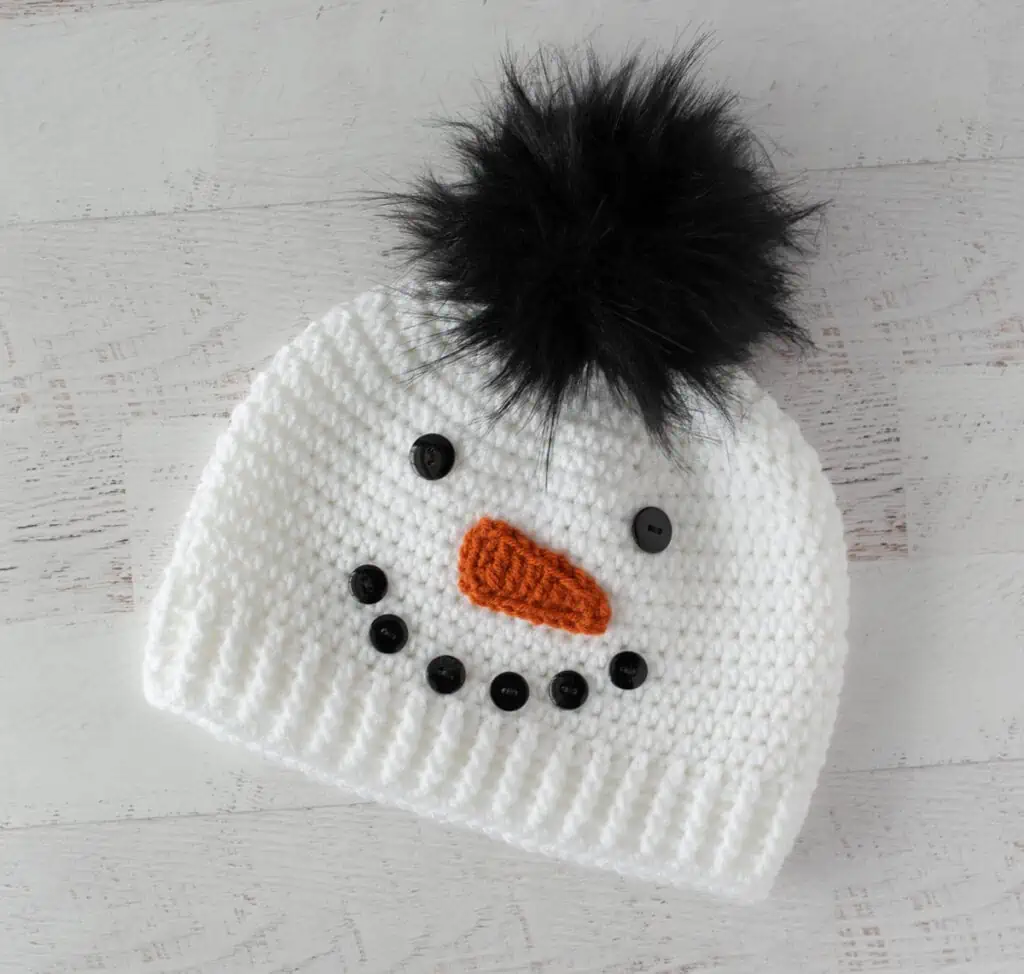
Well hello there, cuteness! If you’re looking for something adorable on your hook, this Crochet Snowman Hat is it!
This easy crochet hat has all the things I love: adorable. fast. easy. Does it even get better than this?
No, I tell you, it does not.
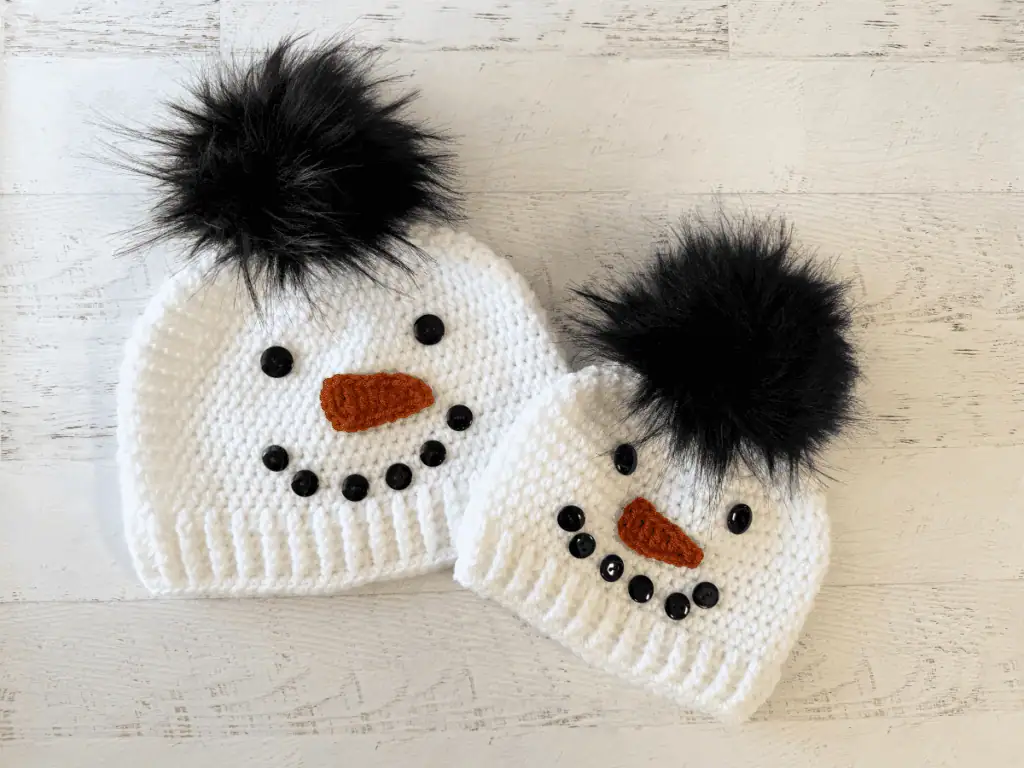
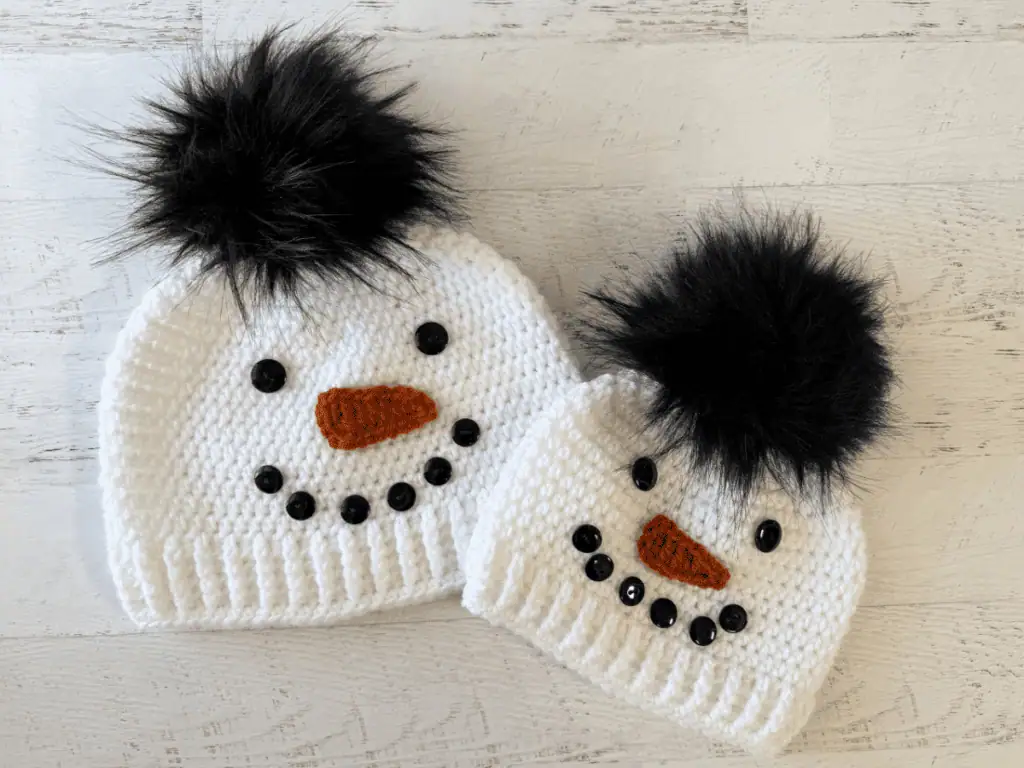
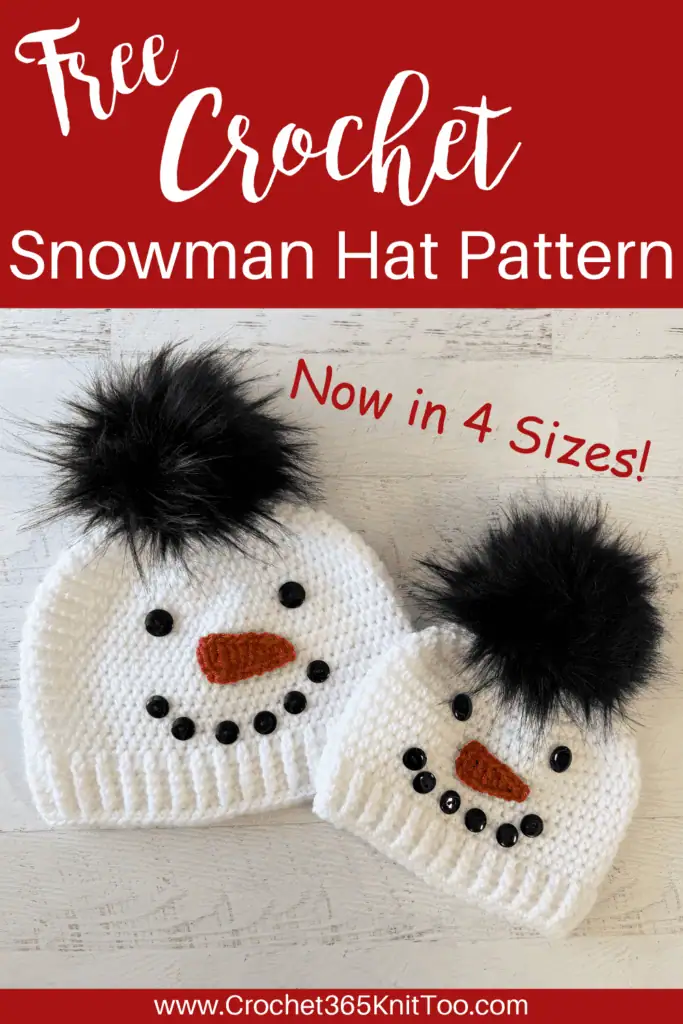
Well… actually… two years later, I’m here to tell you it DOES get better. How, you may ask, do you take a wildly popular snowman hat and make it EVEN better? You add MORE sizes so that every single person in the family can have their very own crocheted snowman beanie!
You asked and I listened.
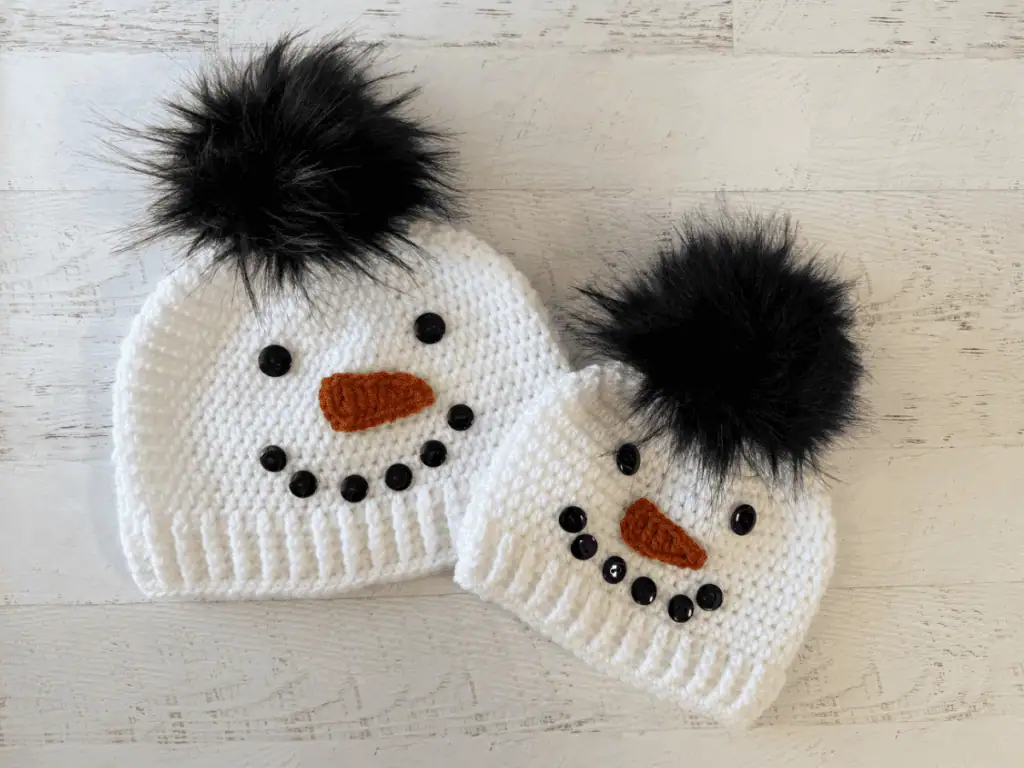
Now this darling snowman hat comes in 4 perfect sizes for baby, child, teen and adult. It is a very stretchy hat so each size will fit a range of head sizes. I’ve even included crochet button directions so you can crochet your buttons instead of buying them. Use the crochet buttons on the baby size hat for safety but feel free to use them on all the hats as a design alternative.
How to Crochet a Snowman Hat
Crocheting a snowman hat is so easy. Start with a worsted weight yarn in white. Crochet one of the simplest hats you’ll ever have on your hook. And then.. the magic happens!
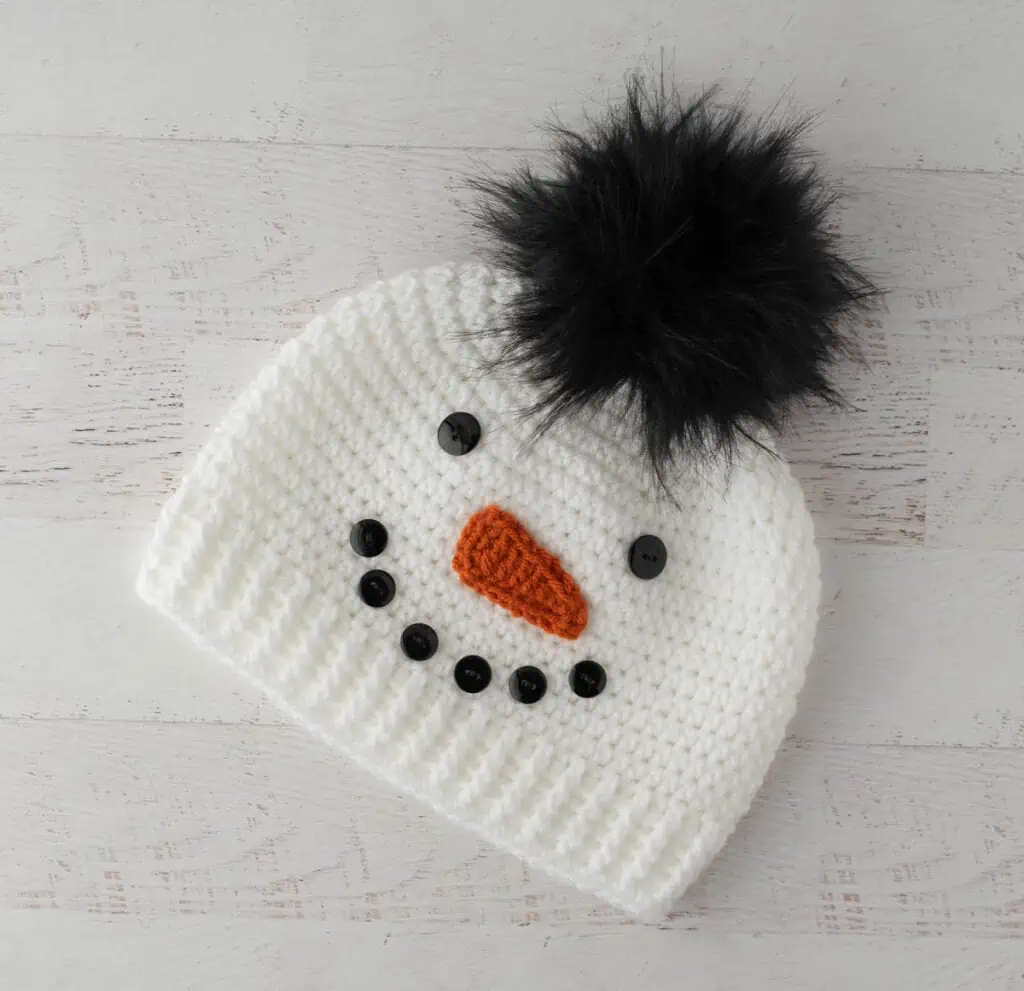
Crochet an adorable carrot nose, using a yard or two of leftover orange yarn from your fall crochet pumpkins. Then sew on some lovely black buttons for eyes and a mouth. And that deliciously beautiful black Pom Pom? Perfection!
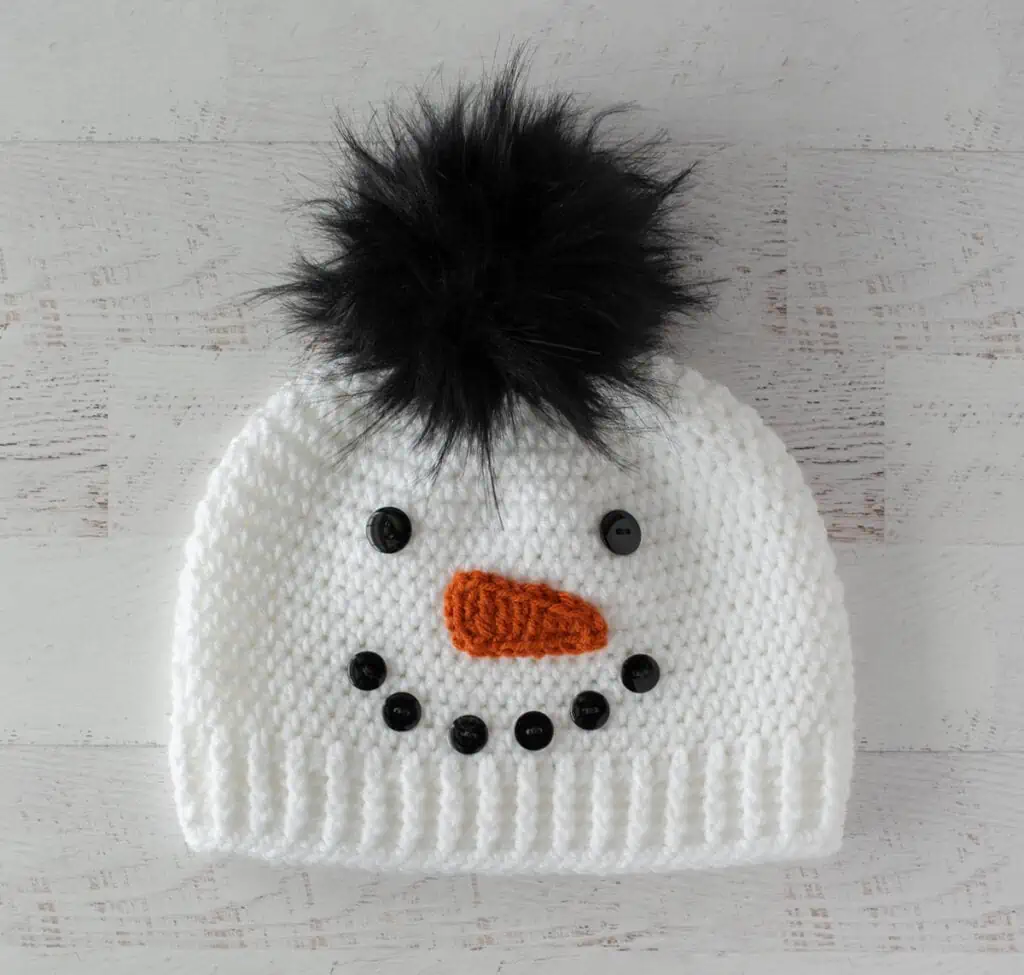
If you’ve never used a snap on fur pom pom, you are so in for a treat. I bought this Knitting Fever Furreal Pom from Sticks and Strings, a sweet local yarn shop in Old Town in Lansing, Michigan. Old Town, by the way, is such a fun place to explore if you’re ever in mid-Michigan. You can also find the pom pom on Amazon.
Sewing on the pom is so easy. Just unsnap the pom pom from its packaging. Take the loose snap piece and sew it on the top of the hat. On the outside of the hat. I don’t know why, but I needed that little tidbit to “get” how this actually works.
But.. you know.. maybe you’re smarter than me and already figured that part out. In any case.. you then.. simply snap ON the furry pom pom to the top of the hat. So easy!
It’s a big, secure snap that holds the pom pom firmly in place while also making the pom completely removable if you want to wash your hat.
Purchase the Beautifully Formatted AD-FREE PDF DOWNLOAD
This snowman hat starts with a Magic Ring. Then it’s some easy half double crochet continuous rounds for the body of the hat. We finish things off with some post stitches for the brim.
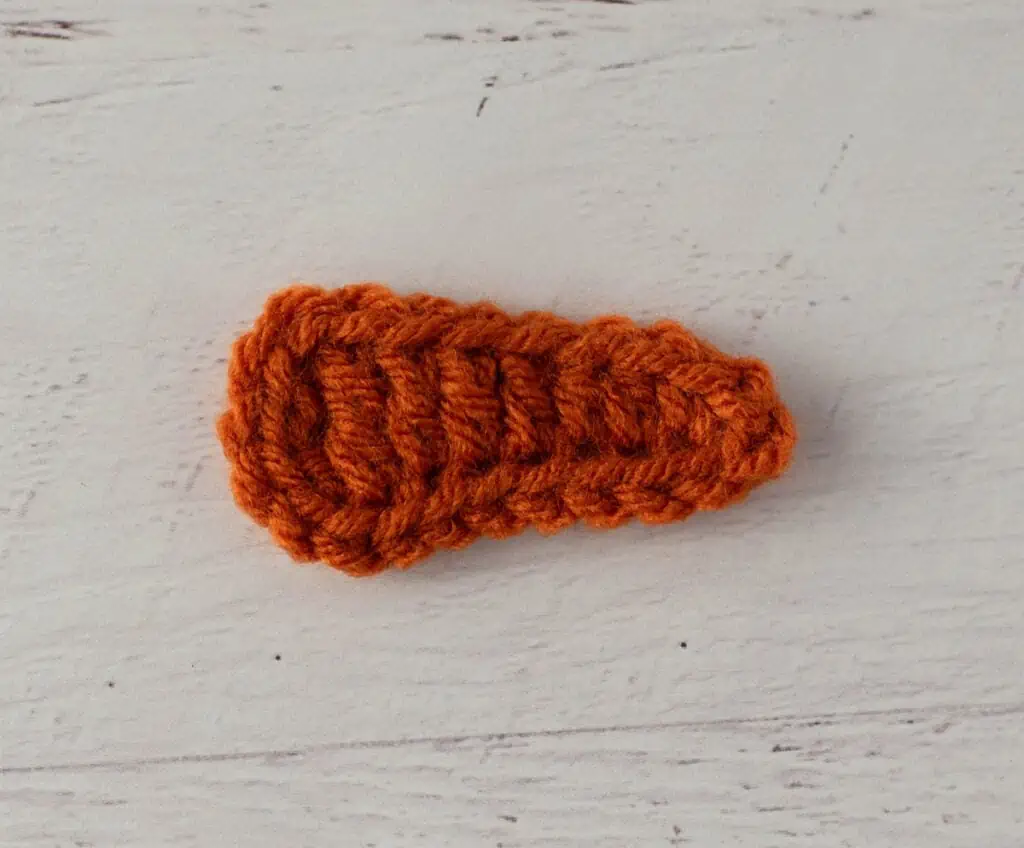
The nose is a quick project featuring basic stitches of increasing sizes: single crochet, half double crochet, double crochet and treble crochet. Then you continue back around the piece, working slip stitches to give it a finished look!
More Crochet Snowman Patterns
If you love this Crochet Snowman Hat Pattern, you might also like to check out these cute crochet patterns:
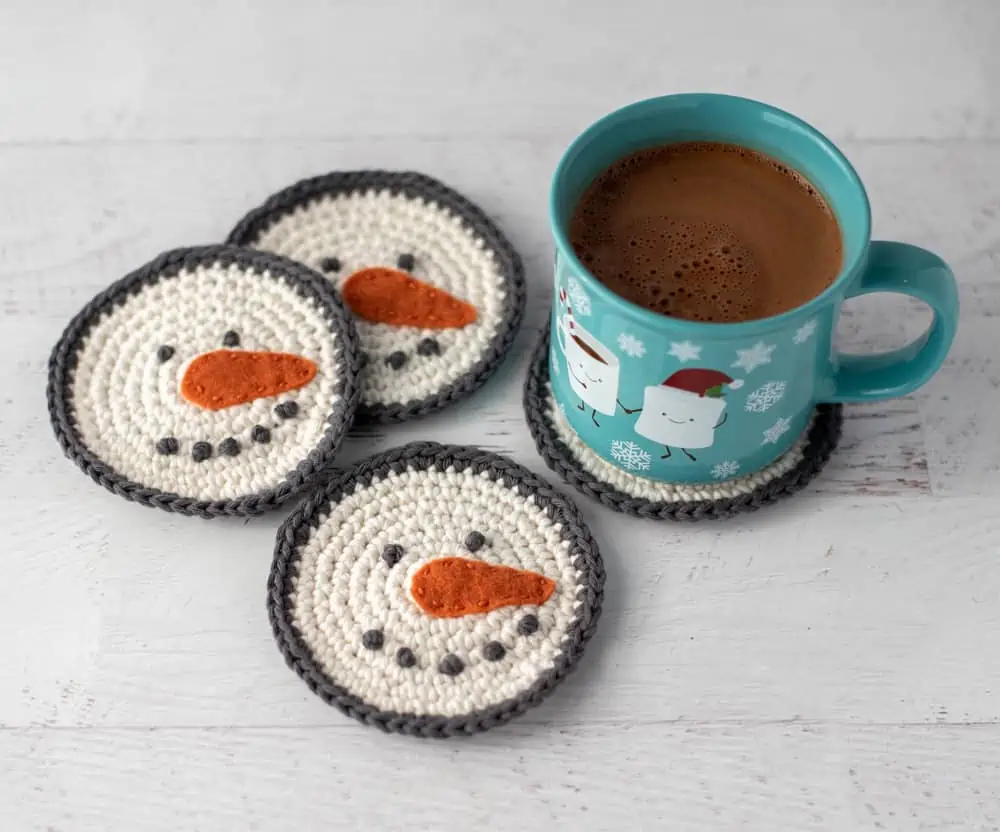
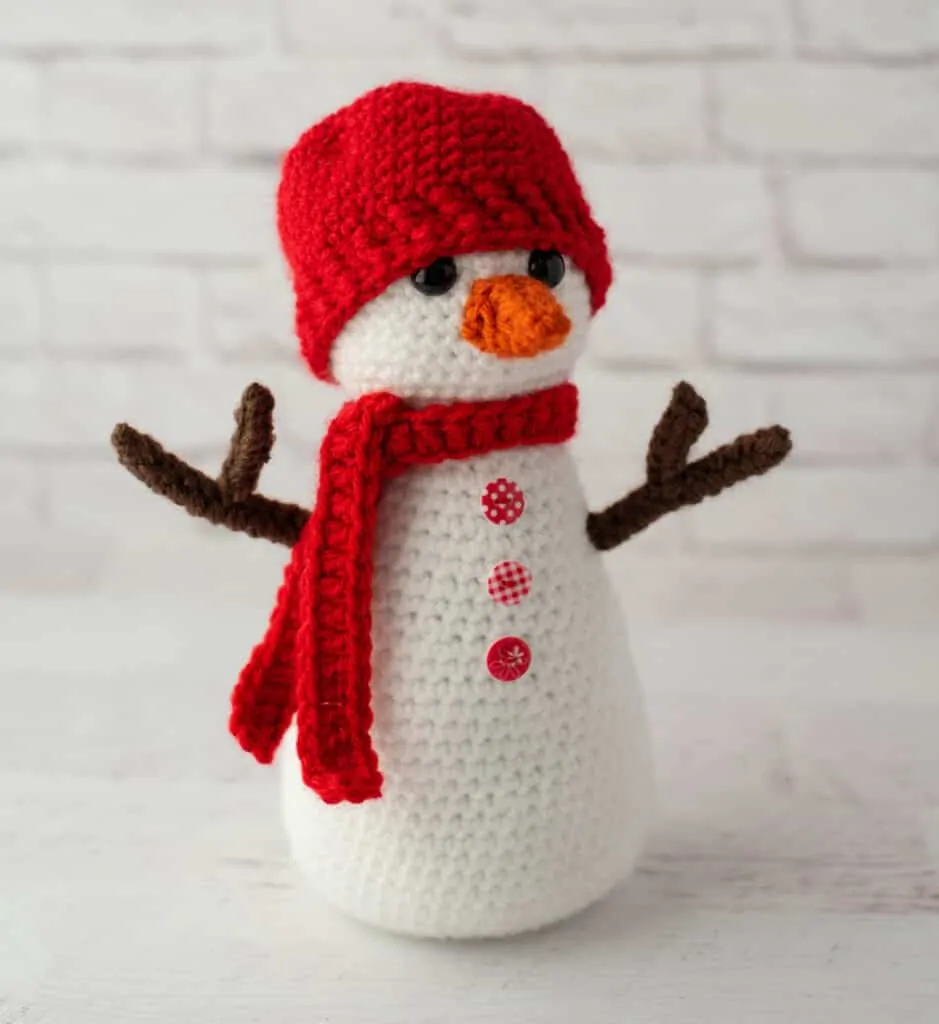
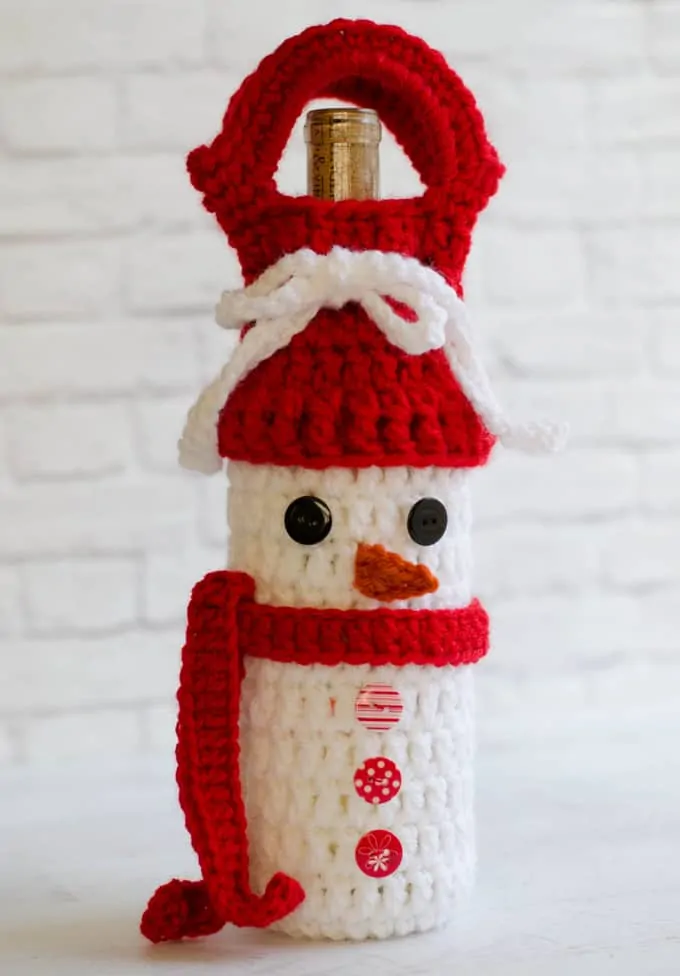
Crochet Snowman Coasters //Crochet Snowman // Snowman Wine Cozy
Let’s dive into this fun Crochet Snowman Hat
Snowman Crochet Hat Pattern
Materials
- Hobby Lobby I Love This Yarn, size 4 worsted weight, 100% acrylic, 355yds/325m per 7oz/199g skein
- 1 skein White color, 1.5 – 3 oz used per hat
- 1.5 yards Burnt Orange color per hat
- Scraps of black yarn for eyes and mouth (alternative to buttons)
- US H8/5.00 mm crochet hook these are my absolute favorite hooks I recommend to everyone!)
- (2) 11/16” (or ¾”) black buttons, sample used Sewology #194985 buttons
- 6) 5/8” black buttons, sample used Sewology #194894 buttons
- Black Fur Pom Pom, sample used Knitting Fever Furreal Pom, 08 Panther
- Stitch markers to keep track of rows
- Tapestry needle and scissors
Gauge:
Gauge: 7 stitches per 2 inches
Resources and crochet tutorials you may find helpful in following this pattern: Crochet Abbreviations, US to UK Crochet Conversion Chart. Find links to stitches and basic crochet skills on the “Tutorial” menu: Getting Started will show basic stitches such as the slip stitch, single crochet, double crochet stitch and chain stitch used in many patterns and Crochet Stitch Dictionary shows our growing collection of crochet stitch tutorials.
Crochet Abbreviations:
- ch(s) = chain(s)
- BPHDC = back post half double crochet
- dc = double crochet
- FPHDC = front post half double crochet
- hdc = half double crochet
- sc = single crochet
- sl st = slip stitch
- st = stitch(es)
- tr = treble crochet
Finished Snowman Hat Size
Sizes listed as Adult (baby, child, teen)
Circumference 20.5 (13.5, 16, 18)” around. Stretches to fit heads measuring 22-23” (16-17”,18-19”, 20-21”)
Height 8.5 (6.5, 7.5, 8)” tall
Adult Snowman Hat
With white yarn, make a magic ring
R1: 8 Hdc into ring. Place stitch marker and work in continuous rounds. (8 sts)
R2: 2 Hdc in ea st. (16 st)
R3: *Hdc in next st, 2 hdc in next. Repeat from * around. (24 st)
R4: *Hdc in next 2 st, 2 hdc in next. Repeat from * around. (32 st)
R5: *Hdc in next 3 st, 2 hdc in next. Repeat from * around. (40 st)
R6: *Hdc in next 4 st, 2 hdc in next. Repeat from * around. (48 st)
R7: *Hdc in next 5 st, 2 hdc in next. Repeat from * around. (56 st)
R8: *Hdc in next 6 st, 2 hdc in next. Repeat from * around. (64 st)
R9: *Hdc in next 7 st, 2 hdc in next. Repeat from * around. (72 st)
R10-18: Hdc around. (72 st)
Proceed to Ribbing
Baby Snowman Hat
With white yarn, make a magic ring
R1: 8 Hdc into ring. Place stitch marker and work in continuous rounds. (8 sts)
R2: 2 Hdc in ea st. (16 st)
R3: *Hdc in next st, 2 hdc in next. Repeat from * around. (24 st)
R4: *Hdc in next 2 st, 2 hdc in next. Repeat from * around. (32 st)
R5: *Hdc in next 3 st, 2 hdc in next. Repeat from * around. (40 st)
R6: *Hdc in next 4 st, 2 hdc in next. Repeat from * around. (48 st)
R7-14: Hdc around. (48 st)
Proceed to Ribbing
Child Snowman Hat
With white yarn, make a magic ring
R1: 8 Hdc into ring. Place stitch marker and work in continuous rounds. (8 sts)
R2: 2 Hdc in ea st. (16 st)
R3: *Hdc in next st, 2 hdc in next. Repeat from * around. (24 st)
R4: *Hdc in next 2 st, 2 hdc in next. Repeat from * around. (32 st)
R5: *Hdc in next 3 st, 2 hdc in next. Repeat from * around. (40 st)
R6: *Hdc in next 4 st, 2 hdc in next. Repeat from * around. (48 st)
R7: *Hdc in next 5 st, 2 hdc in next. Repeat from * around. (56 st)
R8-16: Hdc around. (56 st)
Proceed to Ribbing
Teen Snowman Hat
With white yarn, make a magic ring
R1: 8 Hdc into ring. Place stitch marker and work in continuous rounds. (8 sts)
R2: 2 Hdc in ea st. (16 st)
R3: *Hdc in next st, 2 hdc in next. Repeat from * around. (24 st)
R4: *Hdc in next 2 st, 2 hdc in next. Repeat from * around. (32 st)
R5: *Hdc in next 3 st, 2 hdc in next. Repeat from * around. (40 st)
R6: *Hdc in next 4 st, 2 hdc in next. Repeat from * around. (48 st)
R7: *Hdc in next 5 st, 2 hdc in next. Repeat from * around. (56 st)
R8: *Hdc in next 6 st, 2 hdc in next. Repeat from * around. (64 st)
R9-16: Hdc around. (64 st)
Proceed to Ribbing
Ribbing
Before starting 1st row of ribbing, sc in next st. Mark this stitch as your new end of the round stitch. Then sl st in next stitch.
Adult and Teen Size Ribbing
R1: Ch 2 (counts as 1st st throughout ribbing), hdc in ea st around. Join with sl st to 1st stitch in round.
R2-5: Ch 2, *FPHDC around next st, BPHDC around next st. Repeat from * around. Sl st to top of 1st st.
R6: Ch 1, sc around, join to 1st st.
Fasten off and weave in ends.
Baby and Child Size Ribbing
R1: Ch 2 (counts as 1st st throughout ribbing), hdc in ea st around. Join with sl st to 1st stitch in round.
R2-4: Ch 2, *FPHDC around next st, BPHDC around next st. Repeat from * around. Sl st to top of 1st st.
R5: Ch 1, sc around, join to 1st st.
Fasten off and weave in ends.
Carrot Nose
Each size carrot nose is crocheted similarly. First chain as directed, then work varying stitch heights from small to large from the tip of the nose to the widest point. From there, you’ll rotate your work to slip stitch around the left side of the nose and rotate again to slip stitch around the bottom of the nose. You’ll finish off with a beautiful invisible join for a seamless look. Here is the large carrot nose:
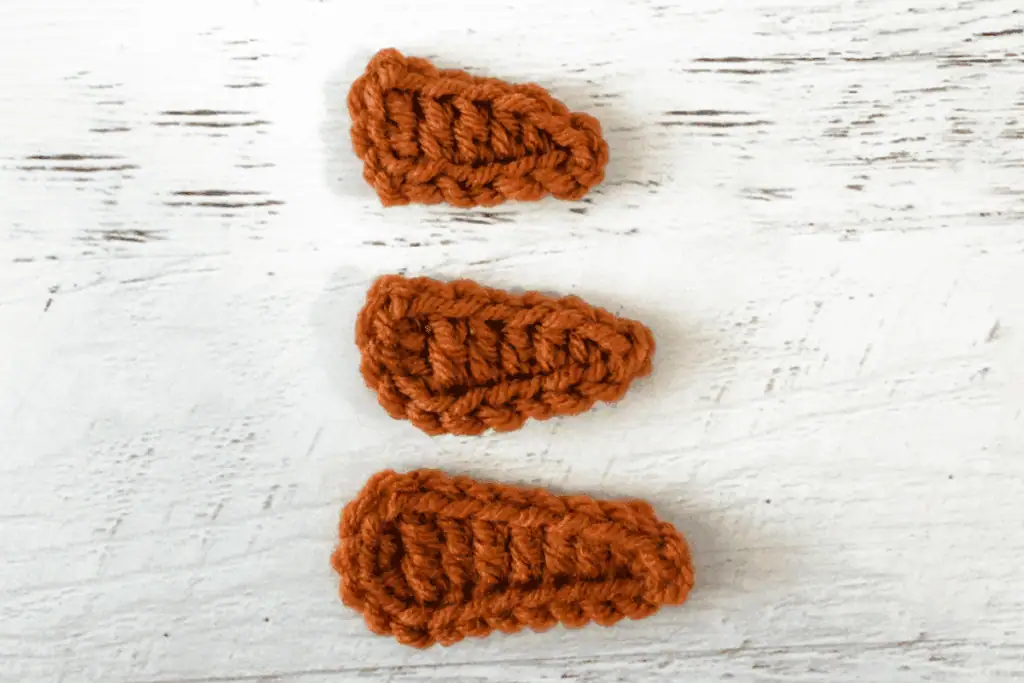
Carrot Nose, Large (Adult and Teen)
Chain 10.
R1: Sl st in 2nd chain from hook, sc in next st, hdc in each of the next 2 stitches, dc in each of the next 3 stitches, tr in each of the next 2 stitches. Note that the last treble crochet forms the larger left side of the carrot. Rotate work and work 4 slip stitches along side of last tr worked. Rotate work again and work slip stitches along foundation chain. When you come to the point of the carrot tip nose, slip stitch to the 1st st in the round. Then invisible join to finish off carrot.
Carrot Nose, Medium (Child)
Chain 8.
R1: Sl st in 2nd chain from hook, sc in next st, hdc in each of the next 2 stitches, dc in each of the next 2 stitches, tr in last stitch. Note that the last treble crochet forms the larger left side of the carrot. Rotate work and work 4 slip stitches along side of last tr worked. Rotate work again and work slip stitches along foundation chain. When you come to the point of the carrot tip nose, slip stitch to the 1st st in the round. Then invisible join to finish off carrot.
Carrot Nose, Small (Baby)
Chain 7.
R1: Sl st in 2nd chain from hook, sc in next st, hdc in next stitch, dc in each of the next 2 stitches, tr in last stitch. Note that the last treble crochet forms the larger left side of the carrot. Rotate work and work 4 slip stitches along side of last tr worked. Rotate work again and work slip stitches along foundation chain. When you come to the point of the carrot tip nose, slip stitch to the 1st st in the round. Then invisible join to finish off carrot.
Optional Crochet Buttons (Make 8)
If you’re making this snowman hat for a little one, skip the purchased buttons and crochet the buttons instead! They’re soft, safe, and just as cute.
Note: If you wish the mouth buttons to be smaller than the eye buttons, simply use a one size smaller hook.
With black yarn, make a magic ring
R1: 6 Sc into ring. Use an invisible join to finish off button. (6 sts).
Crochet Snowman Hat Finishing
Carefully position button eyes, mouth and nose on hat. Using orange yarn, sew nose into position. Use needle and thread to sew down button eyes and mouth. Note that it may be helpful to mark the button placement or use a bit of fabric glue to hold in place before sewing.
Sew Pom Pom to top of hat.
Explore More Crochet Patterns
Do you love holiday crochet season as much as I do? I think you’re going to love these other free crochet patterns:
I love seeing your finished projects! If you enjoyed making this Snowman Crochet Hat or any of my crochet patterns, I’d love to see yours on Instagram, be sure to tag me @crochet365knittoo. If you are on Facebook, stop over to the Crochet 365 Knit Too Facebook page or pop over to the Crochet365KnitToo Club and share a photo! I’d love to see your work!
I really enjoyed looking at the snowman hat. I hope mine looks as good as yours when I am done. Thanks so very much.
Any chance you have this pattern for a baby, toddler or child size hat?
Currently I don’t, but I’ve had a LOT of requests for this pattern in multiple sizes, so stay tuned….
hi! Just purchased this off of Etsy….could you provide it in childsize also? I want to make it for my grandchildren.
Currently the pattern is only available in one adult size. I am working on other sizes. I suggest subscribing to my newsletter so you get notified when that is released.
I am liking the snowman hat more & more each time I see it. My husband wants one too but what he wants are ear flaps on each side. So I might give that a try at the end.