
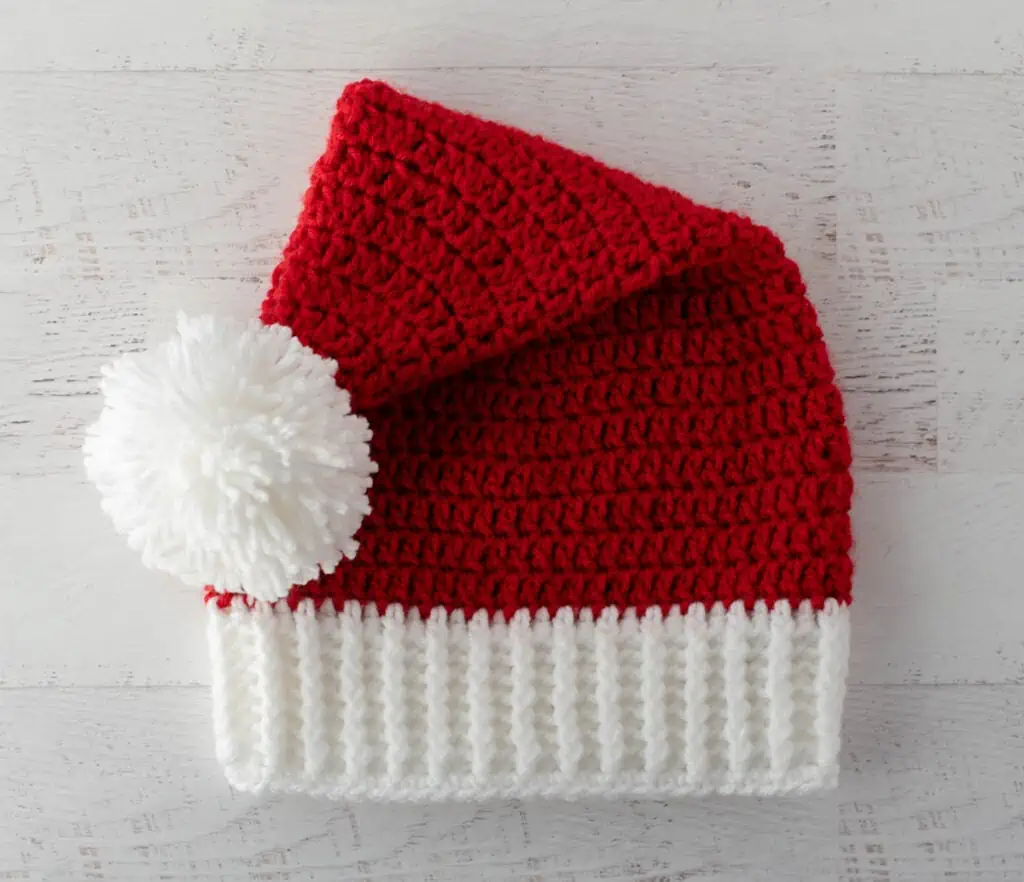
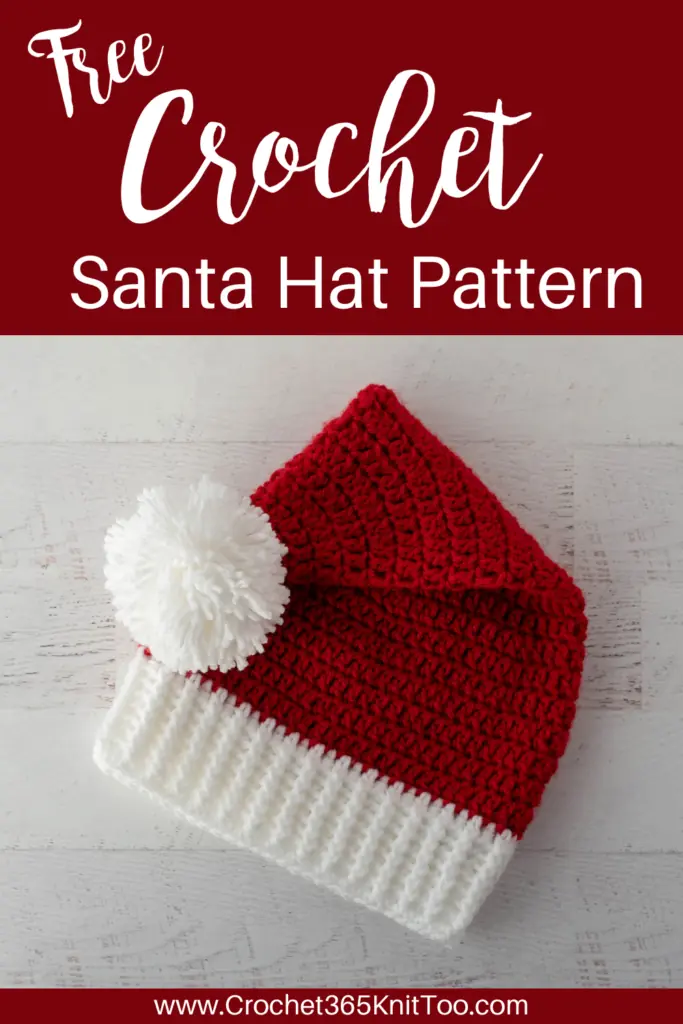
Easy and Festive Crochet Santa Hat
This post may contain referral/affiliate links. Please read my disclosure for more info.
A crochet Santa hat might just be the most fun you have crocheting this Christmas season!
A fast and easy project that also spreads Christmas Cheer is such a win!
It turns out my husband has a secret love of hats and Santa hats hold a special place in his heart. He loves to wear one as he goes about errands and it always brings a smile to those around him.
Had I fully realized this, I probably would have designed a crochet Santa hat sooner (which goes to show you that even with decades of crochet experience there are still great patterns to design!) When this fun pattern was complete and I suggested he try this on this cutie pie hat, it was game over.
Like hurry up and weave the ends in and hand over the hat’ kind of over.
I love that guy.

He and Winston pup were happy to get out in the first snow of the season here for a little photo moment!
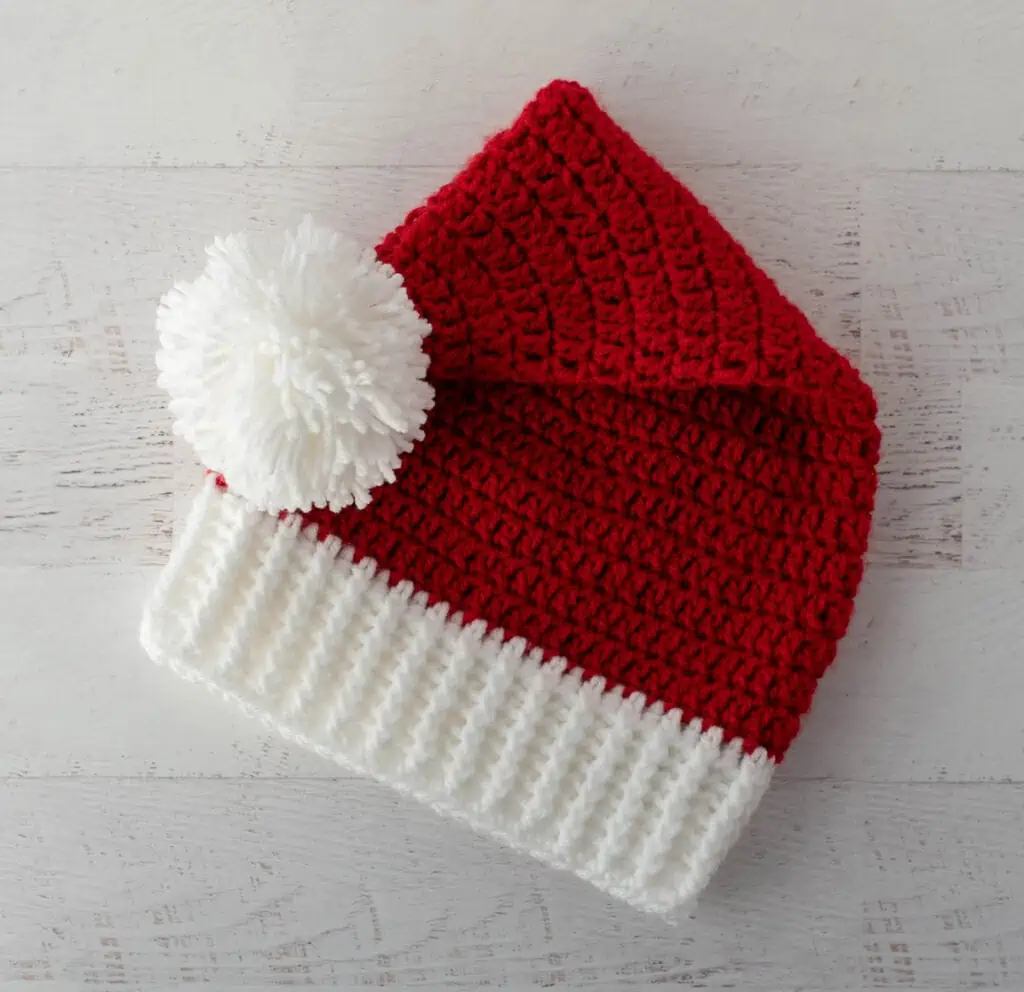
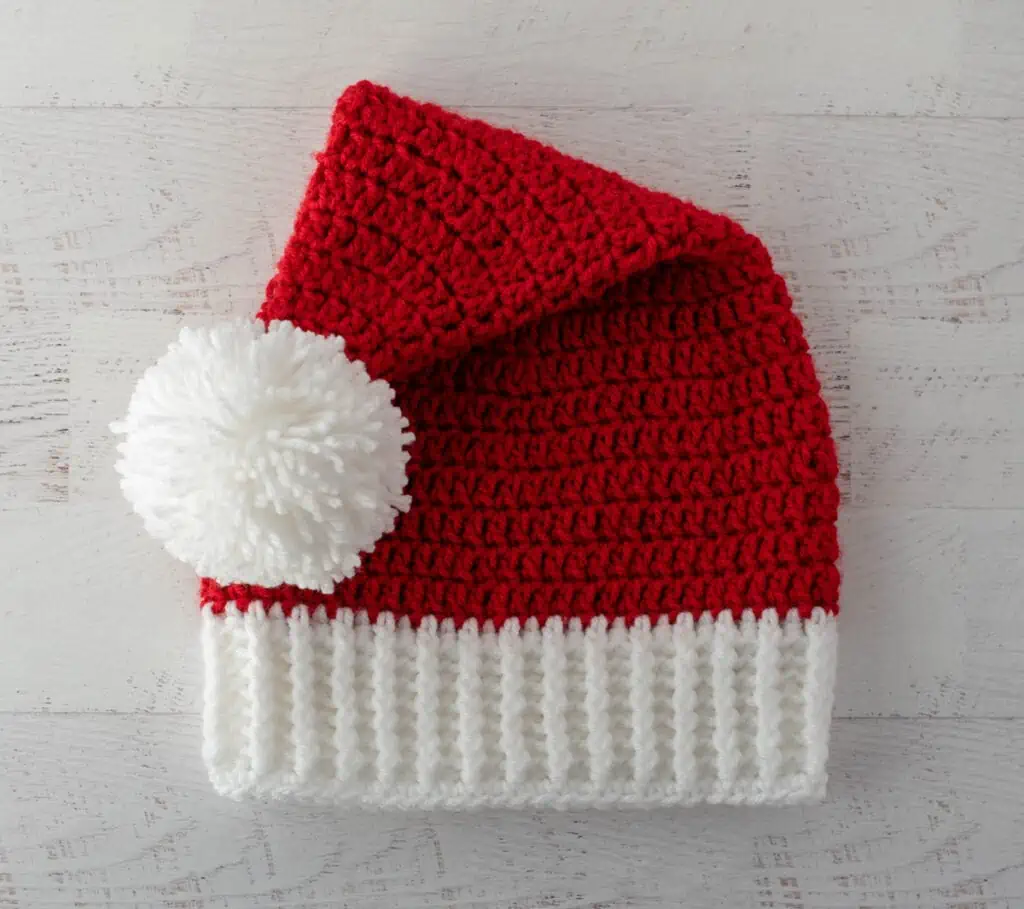
This adult Santa hat is so fun to crochet for the holiday season no matter if you’re looking for a crochet gift idea or you just want something cute to wear for holiday festivities. It is a perfect project for a confident beginner!
Start at the hat tip with cranberry-colored yarn in worsted weight and a Magic Ring and easy double crochet stitches.
Then work double crochet increases at a slower rate than a classic beanie shape in order to get that elongated triangle Santa hat shape. Then we get down to business with some even, normal hat, rows. And then we drop the cherry red yarn and pick up some white yarn for a nice thick, squish bit of ribbing.
While some crochet hats use a faux fur yarn, I really like to this easy to crochet worsted weight yarn ribbing to keep this darling hat on one’s head.
This Santa crochet hat is sized for a medium adult sized head, but it’s so easy to make a little bit bigger if your gift recipient has a larger adult size head. Just add an extra row of increases before working even, making sure to keep the total stitches divisible by 2 so that the ribbing portion works correctly.
I used a large pom pom maker for a fun pom pom as a finishing touch for this simple pattern! Then pop this cute hat on your head and get ready to spread some holiday cheer this holiday season!
More Holiday Crochet Patterns
If you love this Crochet Santa Hat Pattern, you might also like to check out these cute crochet patterns:
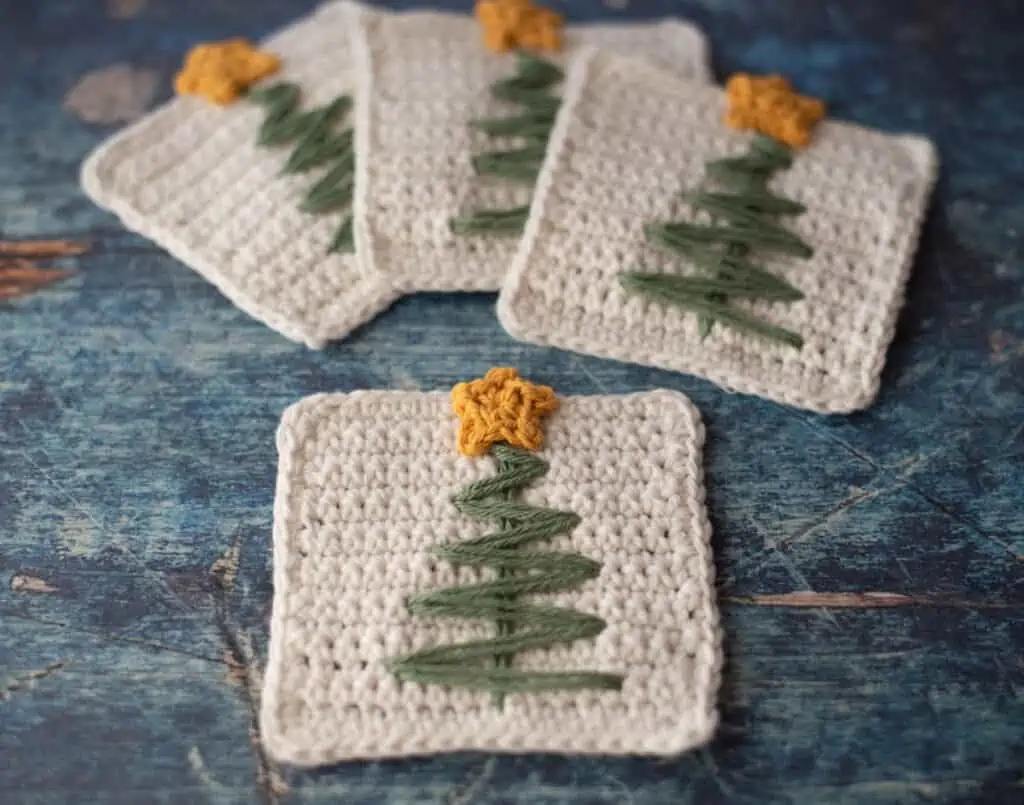
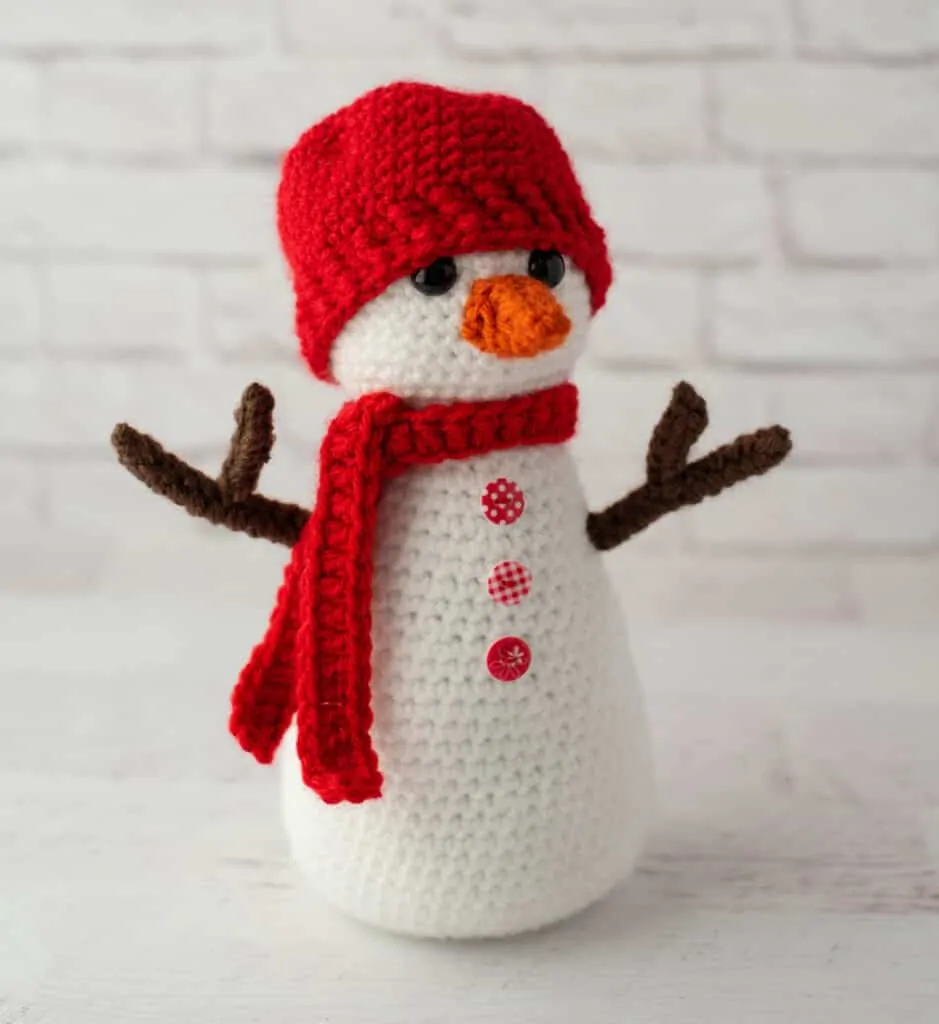
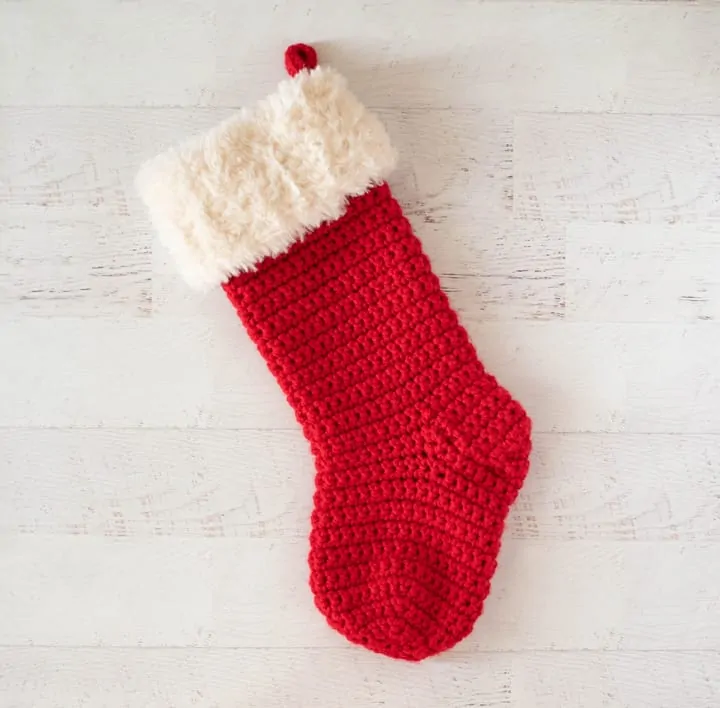
Christmas Tree Coasters //Crochet Snowman // Crochet Christmas Stocking
Let’s dive into this fun Crochet Santa Hat!
Crochet Santa Hat Pattern
Materials
- US I 9/5.50 mm for crochet hook (these are my absolute favorite crochet hooks I recommend to everyone!).
- Worsted weight #4 yarn, sample used Hobby Lobby I Love This Yarn:
- 2-3/4 oz red
- 2 oz white
- 3-3/8″ Clover Pom Pom Maker for pom pom, if desired
- Stitch Marker, if desired
- Tapestry needle and scissors
Gauge:
Gauge: 6 stitches per 2 inches
Resources and crochet tutorials you may find helpful in following this pattern: Crochet Abbreviations, US to UK Crochet Conversion Chart. Find links to stitches and basic crochet skills on the “Tutorial” menu: Getting Started will show basic stitches such as the slip stitch, single crochet, double crochet stitch and chain stitch used in many patterns and Crochet Stitch Dictionary shows our growing collection of crochet stitch tutorials.
Crochet Abbreviations:
- ch(s) = chain(s)
- dc = double crochet
- bphdc = back post half double crochet*
- fphdc = front post half double crochet*
- sl st = slip stitch
- st = stitch(es)
* If you are unfamiliar with working post stitches, be sure to check out my crochet post stitch tutorial.
Finished Santa Hat Size
Fits an average adult head. The finished size of this hat is 20” around and 16” long (excluding Pom Pom).
Sanata Crochet Hat
With red yarn, make a magic ring
R1: ch 3 (counts as 1st stitch here and throughout), 5 dc in ring, join with sl st to top of beginning ch. (6 sts).
R2: ch 3, dc in same stitch as joining, *2dc in next stitch, repeat from * around, join with sl st to top of beginning ch. (12 st)
R3: ch 3, dc around, join with sl st to top of beginning ch (12 st)
R4: ch 3, 2dc in next st, *dc in next st, 2dc in next st, repeat from * around. Join with sl st to top of beginning ch. (18 st)
R5: ch 3, dc around, join with sl st to top of beginning ch (18 st)
R6: ch 3, dc in next st, 2dc in next st, *dc in next 2 st, 2dc in next st, repeat from * around. Join with sl st to top of beginning ch. (24 st)
R7: ch 3, dc around, join with sl st to top of beginning ch (24 st)
R8: ch 3, dc in next 2 st, 2dc in next st, *dc in next 3 st, 2dc in next st, repeat from * around. Join with sl st to top of beginning ch. (30 st)
R9: ch 3, dc around, join with sl st to top of beginning ch (30 st)
R10: ch 3, dc in next 3 st, 2dc in next st, *dc in next 4 st, 2dc in next st, repeat from * around. Join with sl st to top of beginning ch. (36 st)
R11: ch 3, dc around, join with sl st to top of beginning ch (36 st)
R12: ch 3, dc in next 4 st, 2dc in next st, *dc in next 5 st, 2dc in next st, repeat from * around. Join with sl st to top of beginning ch. (42 st)
R13: ch 3, dc around, join with sl st to top of beginning ch (42 st)
R14: ch 3, dc in next 5 st, 2dc in next st, *dc in next 6 st, 2dc in next st, repeat from * around. Join with sl st to top of beginning ch. (48 st)
R15: ch 3, dc around, join with sl st to top of beginning ch (48 st)
R16: ch 3, dc in next 6 st, 2dc in next st, *dc in next 7 st, 2dc in next st, repeat from * around. Join with sl st to top of beginning ch. (54 st)
R17: ch 3, dc around, join with sl st to top of beginning ch (54 st)
R18: ch 3, dc in next 7 st, 2dc in next st, *dc in next 8 st, 2dc in next st, repeat from * around. Join with sl st to top of beginning ch. (60 st)

R19-21: ch 3, dc around, join with sl st to top of beginning ch (60 st)
R22: ch 3, dc around, join with sl st to top of beginning ch, changing to white yarn (60 st)
R23: With white yarn, ch 2 (counts as 1st st), hdc around, join with sl st to top of beginning ch (60 st)
R24-30: ch 3, *front post hdc in next st, back post hdc in next st* repeat * to * around, join with sl st to top of beginning ch (60 st).
R31: ch 1, sc around, join to 1st st. (60 st).
Fasten off and weave in ends.
Using pom pom maker (or another method), make a pom pom and secure it to top of hat.
Explore More Crochet Patterns
Do you love holiday crochet season as much as I do? I think you’re going to love these other free crochet patterns:
I love seeing your finished projects! If you enjoyed making this Santa Crochet Hat or any of my crochet patterns, I’d love to see yours on Instagram, be sure to tag me @crochet365knittoo. If you are on Facebook, stop over to the Crochet 365 Knit Too Facebook page or pop over to the Crochet365KnitToo Club and share a photo! I’d love to see your work!
Absolutely love your newest creation!
LOVE this hat! The hat I bought at Walmart 10 years ago (youth size—I have a tiny head) finally bit the dust this year. I’ve been looking for a simple pattern that I can adjust. I’ll just go down a hook size or two (H or G).
LOVED the pictures of the Hubs and Winston Pup! I’m a “dog person!” So I love the Winston Pup stories. I’d never seen a picture of the Hubs before! He’s a handsome guy—he was a fantastic model! Please use him in the future!
I’m sure he’s blushing with all the compliments I’ve received from everyone! LOL! You could work a sample piece in the ribbing to test out your smaller hook theory and try it on first too.
I’ve made three of these hats in the past week. I love it! Gave two as Christmas presents already (saved one for myself ☺). I really love all of your patterns. I’ve made the snuggly bunny, the little stuffed bunny and many an octopus. Thank you so much for sharing your patterns.