Blueberry Bead Stitch Beanie
This post may contain referral/affiliate links. Please read my disclosure for more info.
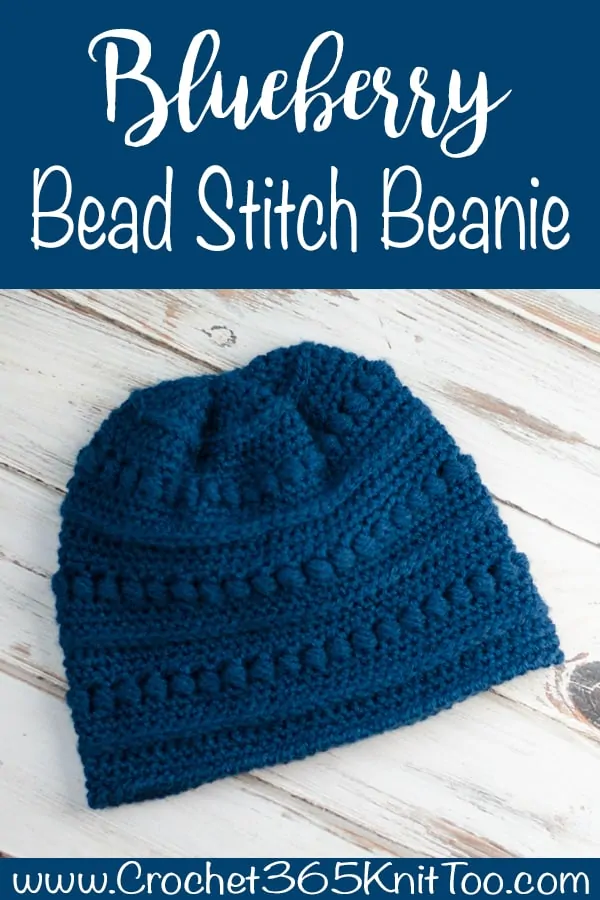
Meet a thing of beauty. The Blueberry Bead Stitch Beanie. If you’re looking for a comfortable hat with a lot of texture, this is the perfect one skein hat project to whip up in an evening!
I’m loving the ridges created by working in the 3rd loop. And those bead stitches? Well.. they remind me of blueberries.
Here in Michigan blueberry season gets going in late July, when the weather is hot and unforgiving. I love to get up early and head to a U-pick farm before the heat of the day makes things miserable. I especially like to take an accomplice (usually my husband) because the actual blueberry picking takes an eternity.
If you’ve not picked them before, blueberries grow on bushes in clusters. And the best way to pick them is to hold your bucket or basket underneath a cluster and gently rub your thumb over the top of berries and then let them fall into your cupped hand briefly before falling into the basket. The berries have a dusty hue to them and it feels really satisfying to have them fall over your fingers into your bucket.
I always feel an immense satisfaction in the harvest until I look down into the basket and realize that blueberries are so very tiny and my harvest isn’t really taking up much room. And I have a moment of panic where I think THIS will literally take FOREVER. Like maybe I will never get to LEAVE the blueberry farm. And suddenly I realize I’m hot already. And sticky. And thirsty even. And maybe this was a horrible idea.
But I’ve convinced someone to come along. So I smile and say cheerful things and talk about blueberry muffins and coffee cakes. And I realize that all good things take patience and a time investment. And I pop a blueberry into my mouth and it’s a delight.
If you’ve never eaten a blueberry straight off the bush, you should. When your teeth break open the delicate skin, the fruit inside is warm from the sun and it just tastes sweeter somehow.. like it’s in its peak of perfection. And you’ve just witnessed that delicious perfection and suddenly it doesn’t seem so bad that those tiny blueberries take an eternity to fill up your basket.
And so even though we are so many months away from blueberry season and this year’s crop is not even blossoming yet on the bushes, this hat, this Blueberry Bead Stitch Beanie, reminds me of warmer days and sweet goodness ahead. And that just makes me smile.
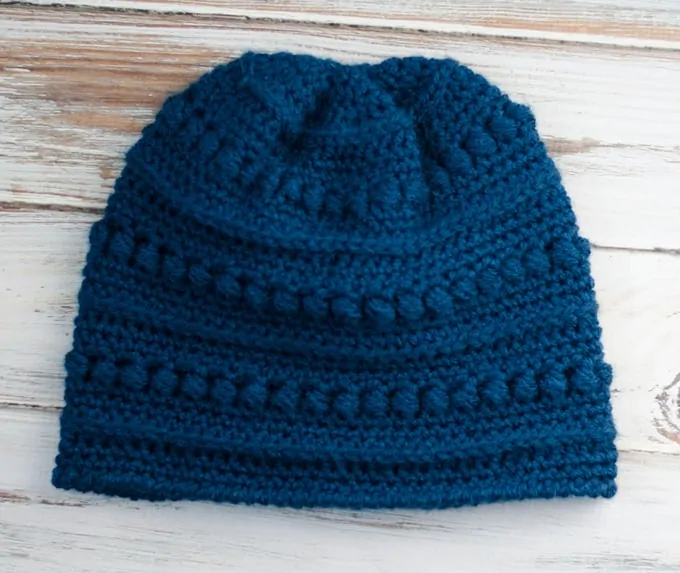
The Blueberry Bead Stitch Beanie takes some features from the Buckeye Beanie that I just love. When I made that hat, I thought ‘what would happen’ if I started at the top and increased like crazy. Well that was pretty fun and I liked the effect, so I thought I’d try it again with this beanie.
If you’ve been crocheting awhile, you might get a few rows in and think ‘how in the world is THIS going to work’ because it looks like a rippley mess and nothing like what a hat should be. But like blueberry picking, just be patient and keep going and it will turn out lovely.
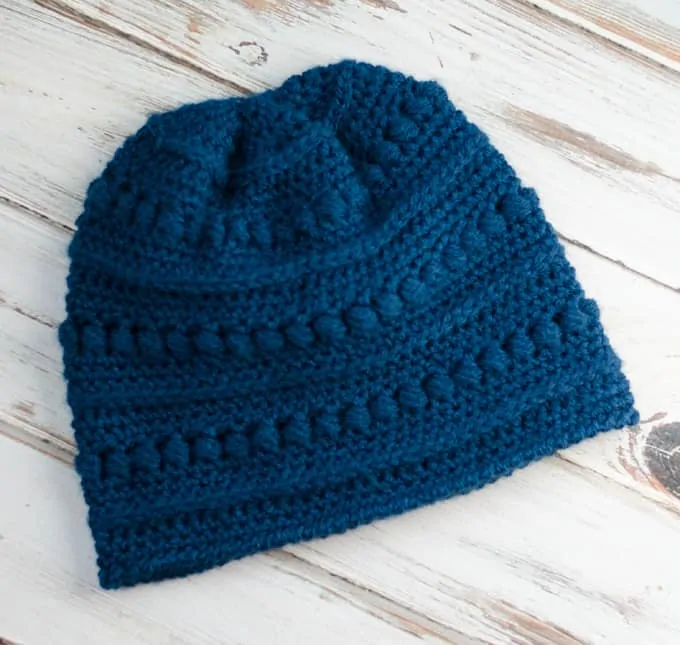
I am in love lately with the ridge effect created by crocheting in the 3rd loop. And the bead stitch is just so fun to make. There is a complete tutorial for the bead stitch right here.
I also like that this hat ends with a reverse single crochet row (aka crab stitch). It makes for a really comfortable hat and you might find yourself trying this on other hats too.
Let’s get started making the Blueberry Bead Stitch Beanie!
Purchase an ad-free printable version of the Blueberry Bead Stitch Beanie pattern here
Blueberry Bead Stitch Beanie
Here is what you will need:
Materials:
- US H8/5 mm crochet hook (these are my absolute favorite hooks I recommend to everyone!)
- 3.5 oz Worsted weight yarn. Hat shown used: Lion Brand Vanna’s Choice in Midnight Blue.
- Tapestry needle and scissors
Special Stitches:
Working in the 3rd loop: When pattern directs to work a stitch in the “3rd” loop, this portion of the stitch is behind the back loop of your crochet. When looking at your work, identify the front and back loop of the normal “V” of your stitch. Then slightly tip your work towards you and there is horizontal strand just behind the back loop. Work into this portion of the stitch. This will produce a ridge on the right side of the work. (If you need more help in learning how to work in the 3rd loop, my friend Lindsey over at Winding Road Crochet has a great video on how it’s done you can watch here.)
Bead Stitch: This is a 2-step stitch that takes up the space of 2 stitches in your work. Step 1: dc in the 1stst. Then work AROUND the post of the dc just worked as follows: yarn over (yo), pull up a loop, yo, insert hook around post again, pull up another loop, yo, insert hook around post a third time, pull up a loop. Yarn over and pull through all 7 loops on hook. Skip NEXT stitch (because bead stitch takes up 2 stitches). A complete tutorial on the bead stitch can be found here.
Reverse Single Crochet (also known as crab stitch): You can learn how to make the reverse single crochet stitch here.
Resources and tutorials you may find helpful in following this pattern: Crochet Abbreviations, US to UK Crochet Conversion Chart. Find links to stitches on the “Tutorial” menu: Getting Started will show basic stitches used in many patterns and Crochet Stitch Dictionary shows our growing collection of crochet stitch tutorials. I really like to use the invisible seamless join when finishing pieces that get sewn together.
Size: Fits a medium sized adult. Finished size: About 20″ around by 8.5″ long.
Pattern Notes:
- When working in joined rounds after row 4, the ch 2 at the beginning of a hdc row does NOT count as a stitch
- The ch 3 at the beginning of a bead stitch row DOES count as a double crochet
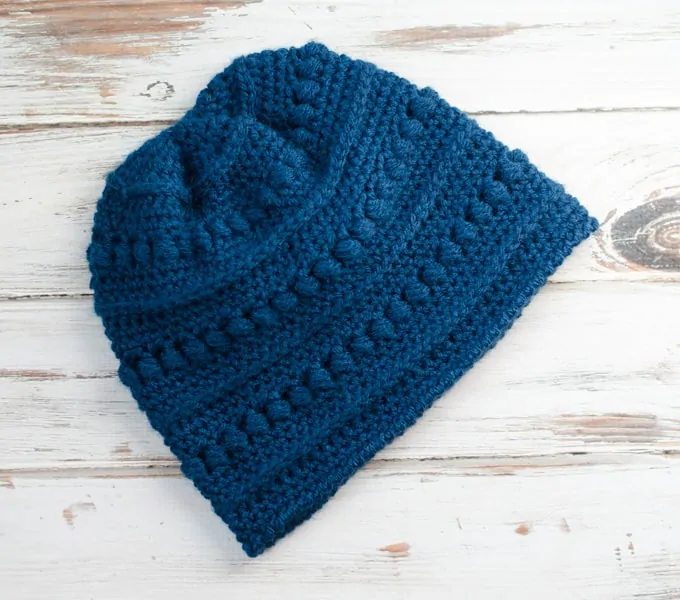
- Beanie is worked from the top down with increases worked very rapidly. Therefore, after the first few rows, the beanie will be very rippled. This is normal and creates the “gathered” look at the top of the hat.
- After the first few rows, you may find you need to tighten up the magic ring a bit and weave in the starting end of yarn to keep the top of the hat closed.
Make a magic ring
R1: 18 hdc into ring (18 sts). Pull magic ring closed as much as possible. DO NOT cut the yarn. This is a lot of stitches into the magic ring and it might not close completely tight. When you are done working the hat (or even after the first couple of rows), take the end piece of yarn and work it through the beginning stitches, cinching up that first row even tighter. Work in rounds through row 4.
R2: 2 hdc in ea st around (36 st)
R3: *hdc in next st, 2 hdc in next st, repeat from * around (54 st)
R4: *hdc in next 2 st, 2 hdc in next st, repeat from * around (72 st)
Now you will work in joined rounds for the rest of the hat (starting each row with chains and then joining back to the starting stitch).
R5: ch2, hdc in the 3rd loop around hat (72 st)
R6-7: ch 1, sc around (72 st)
R8: ch3 work bead stitch around starting ch. Skip next st, *bead stitch in next st, skip next stitch*, work from * to * around (72 st)
R9-10: ch 1, sc around (72 st)
R11: ch 2, hdc around (72 st)
R12-25: repeat rows 5-11 twice more (72 st)
R26: ch2, hdc in the 3rdloop around hat (72 st)
R27: ch 2, hdc around (72)
R28-29: ch 1, sc around (72 st)
R30: ch1, reverse sc around (72). Fasten off and weave in ends.

MORE HAT PATTERNS
If you love this Blueberry Beach Stitch Hat pattern, you might also like to check out these other crochet hat patterns:
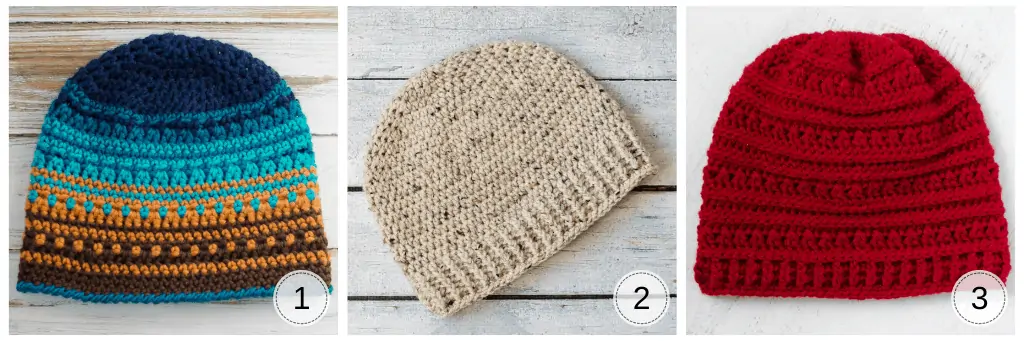
1. Big Bay Beanie // 2. Salt of the Earth Men’s Crochet Beanie // 3. Buckeye Beanie
I love seeing your finished projects! If you enjoyed making one of my patterns I’d love to see yours on Instagram, be sure to tag me @crochet365knittoo. If you are on Facebook, stop over to the Crochet 365 Knit Too Facebook page or pop over to the Crochet365KnitToo Club and share a photo! I’d love to see your work!