
Buckeye Beanie – A Textured Crochet Hat
This post may contain referral/affiliate links. Please read my disclosure for more info.
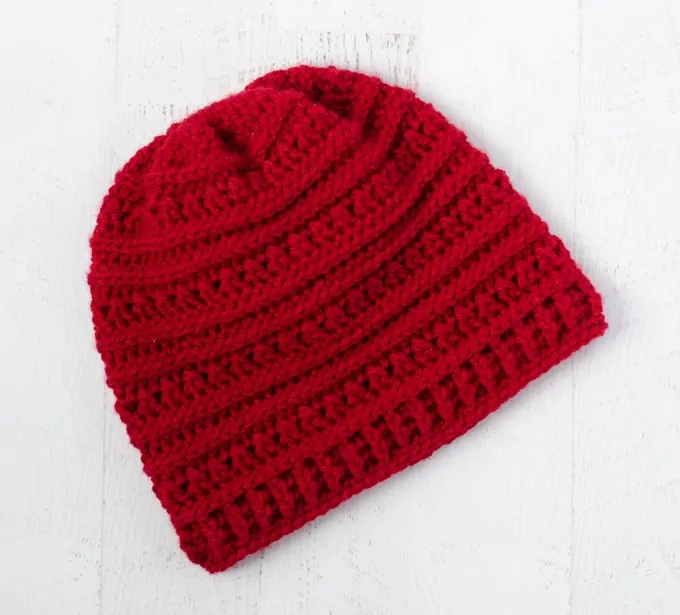
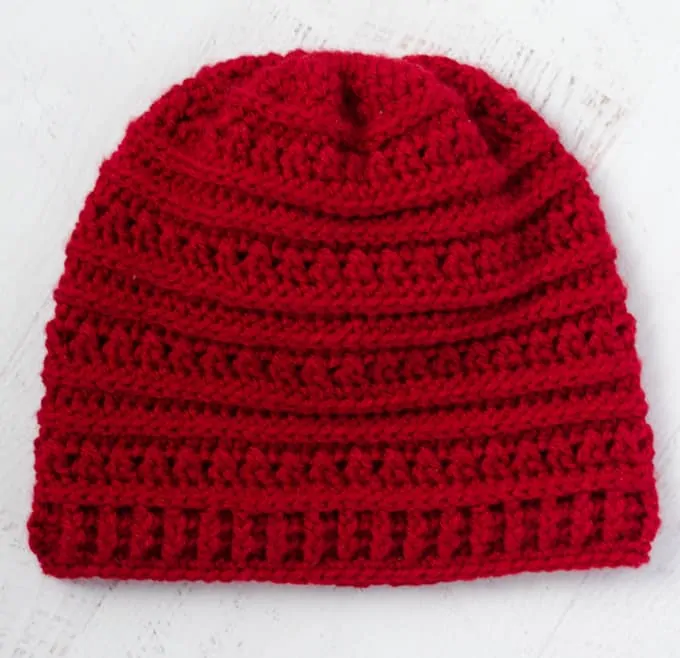
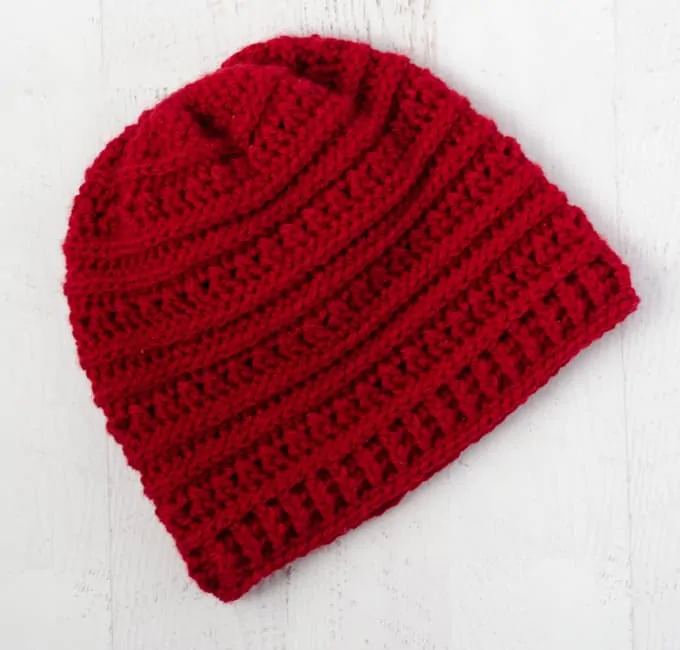
Great ready to meet your favorite Crochet Hat Pattern. Texture. Fun to Make. Amazing to behold. Introducing the Buckeye Beanie.
This hat has two stories. The first is about it’s fun construction. This is a “I wonder if” hat. As you probably have already figured out if you’ve been with me for long, I have a fondness for a half double crochet rib on my hats. And I like to do them at the end, which means, I start at the top. Usually this means a gradual increase to the proper number of stitches, then the pattern starts, such as with this pattern here.
I’ve seen quite a few hats that start at the bottom edge ribbing and work up to the top of the crown. The last few rounds decrease rapidly and cinch together a lot of stitches at the end. It’s pulled in tight and the result is this gathered type of top that is never meant to sit tight to the top of the head.
I knew I wanted a hat with a lot of texture and I wondered… ‘what if I started at the top’… and increased like crazy. Could I still get that same “look” in a top-down hat?
Well, my friends, the Buckeye Beanie Crochet Hat is the result and I’m so happy with how it turned out. To my knowledge, no other designer has attempted this rapid increase start method in a top down hat. But.. you know..it’s a whole big wide world…so let’s just say it’s “non-traditional” and enjoy our newfound method, right?
Here are some important tips:
- You must use the Magic Ring Method. You will be working a lot of stitches in the first round and you need to be able to pull it tight around the stitches.
- When you get to the end of the row 4 (the end of the increases), you will think you have done something wrong. Your work will look like a rippled hot mess. It’s fine. Just proceed and it will work out.
- You also might find that your magic ring has worked its way loose. No worries. Just pull it tight again and weave the end in back and forth inside so it is secure.
But before we get to the pattern, I want to share the second story of this Buckeye Beanie Crochet Hat: How it got its name.
While I was working on this vibrant red hat, we got the very sad news that my husband’s dear friend Pat, had passed away unexpectedly. Hubby met Pat when they living across the country. Two twenty-something midwestern boys in Southern California. And as passionate as my hubs is about his Michigan State Spartans, Pat was just as passionate about the Ohio State Buckeyes. So it seemed fitting in some small way, that this red hat be named in Pat’s honor.
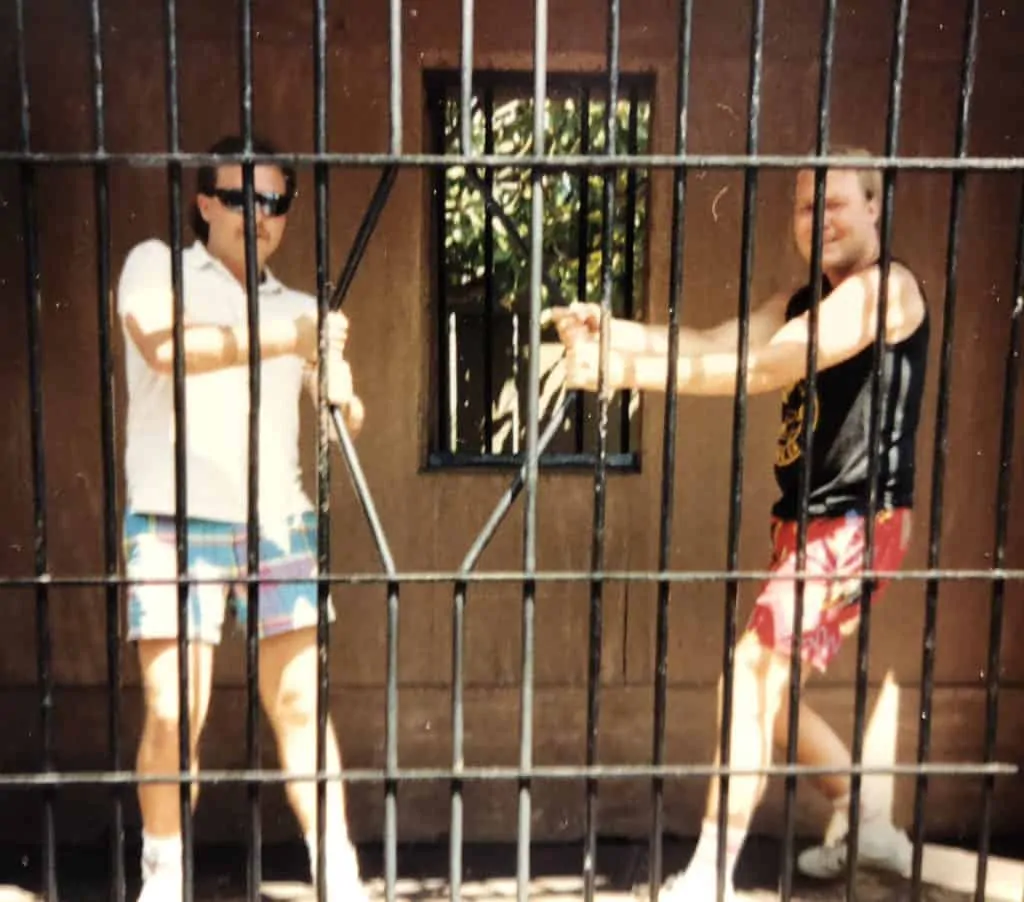
My hubby is the cute blonde to the right in this photo. It amuses me a bit… since we married later in life, I never got to know the young, blonde, muscular dude in this photo. (If you want to see my hubs as he is now, head over to my ‘about‘ page.) But I think this photo gives you an idea of the kind of fun times these two had.
So this Buckeye Beanie is a celebration of a great life and a great friendship. I hope that you enjoy the pattern..and maybe you’ll even give it to your good friend in celebration of your own friendship. Or…keep it for yourself. Because, let’s be real.. it’s a great hat.
Buckeye Beanie Crochet Hat
Materials:
- US H8/5 mm crochet hook (these are my absolute favorite hooks I recommend to everyone!)
- 3.5 oz Worsted weight yarn. Hat shown used: Lion Brand Vanna’s Choice in Cranberry.
- Tapestry needle and scissors
Special Stitches:
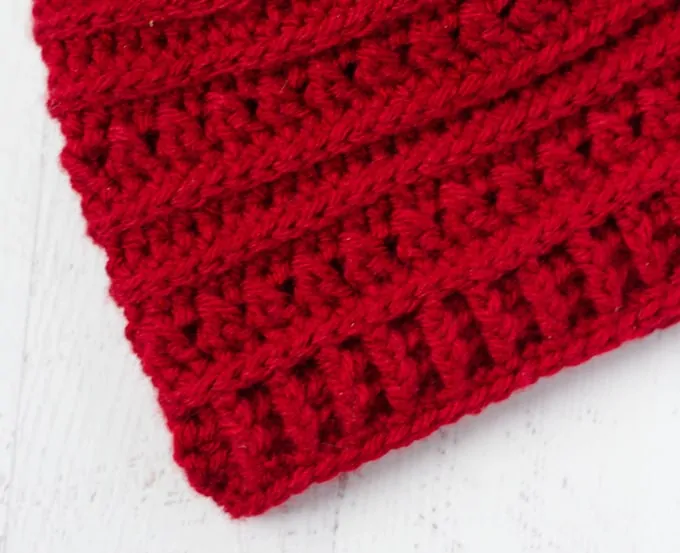
Working in the 3rd loop: When pattern directs to work a stitch in the “3rd” loop, this portion of the stitch is behind the back loop of your crochet. When looking at your work, identify the front and back loop of the normal “V” of your stitch. Then slightly tip your work towards you and there is horizontal strand just behind the back loop. Work into this portion of the stitch. This will produce a ridge on the right side of the work. (If you need more help in learning how to work in the 3rd loop, my friend Lindsey over at Winding Road Crochet has a great video on how it’s done you can watch here.)
DCX (Double Crochet Cross Stitch): Skip next stitch, make dc in next st, dc in skipped st
Resources and tutorials you may find helpful in following this pattern: Crochet Abbreviations, US to UK Crochet Conversion Chart. Find links to stitches on the “Tutorial” menu: Getting Started will show basic stitches used in many patterns and Crochet Stitch Dictionary shows our growing collection of crochet stitch tutorials. I really like to use the invisible seamless join when finishing pieces that get sewn together.
Pattern Notes:
- When working in joined rounds after row 4, the ch 2 at the beginning of a hdc row does NOT count as a stitch
- The ch 3 at the beginning of a DCX row DOES count as a stitch
- Beanie is worked from the top down with increases worked very rapidly. Therefore, after the first few rows, the beanie will be very rippled. This is normal and creates the “gathered” look at the top of the hat.
Crochet Hat
Make a magic ring
R1: 18 hdc into ring (18 sts). Pull magic ring closed as much as possible. DO NOT cut the yarn. This is a lot of stitches into the magic ring and it might not close completely tight. When you are done working the hat (or even after the first couple of rows), take the end piece of yarn and work it through the beginning stitches, cinching up that first row even tighter. Work in rounds through row 4.
R2: 2 hdc in ea st around (36 st)
R3: *hdc in next st, 2 hdc in next st, repeat from * around (54 st)
R4: *hdc in next 2 st, 2 hdc in next st, repeat from * around (72 st) At the end of this round, slip stitch to the next stitch.
Now you will work in joined rounds for the rest of the hat (starting each row with chains and then joining back to the starting stitch).
R5: ch2 (does not count as 1ststitch), hdc in the 3rdloop around hat (72 st)
R6: ch 3 (DOES count as 1st stitch) DCX across row. Note: for the DCX work the dc across the starting chain and into the last stitch of the previous row to form the first DCX of the row. At the end of the row, carefully join to the starting chain. (72 st)
R7: ch 2, hdc around (72 st), join.
R8: ch2, hdc in the 3rdloop around hat (72 st)
R9: ch 2, hdc around (72 st).
R10-19: Repeat rows 5-9 two more times (72 st)
R20: ch2 (does not count as 1ststitch), hdc in the 3rdloop around hat (72 st)
Now continue to work the brim as follows:
R21-23: ch 3, *front post hdc in next st, back post hdc in next st* repeat * to * around. Join to 1stst.
R24: ch 1, sc around.
Looking for more hat patterns? Click here for more free hat patterns!
I love seeing your finished projects! If you enjoyed making one of my patterns I’d love to see yours on Instagram, be sure to tag me @crochet365knittoo. If you are on Facebook, stop over to the Crochet 365 Knit Too Facebook page or pop over to the Crochet365KnitToo Club and share a photo! I’d love to see your work!
Thanks Cheryl for your hat pattern. What a beautiful homage to your husband’s buddy.
I thoroughly love your blog. I live in the upper Midwest (MN) but my son-in-law is a big Spartan’s fan. So, needless to say, many of the hats I make for him and his boys reflect that….much to the chagrin of my Gopher Alumni Husband.
Happy Holidays!
Aww. thanks for the nice words about my blog! You made my day! Glad to hear there is a Spartan in your life! It’s always good to have a little green & white, right?! 🙂
I have been looking for a beanie pattern that would look good with the fur pom-poms I am making. I have passed up so many beanies and was getting discouraged. And yet, here it is!!! This is exactly what I was looking for! How did you know?
I’m glad you like it! I’d love to see a photo of it when you are done!
What a great pattern, I believe I will be able to complete the 9 I need by Christmas! (Through row 9 of my first but it works up fast!) Now for my questions, what is the original size (I went down to G for teen size), do I join with slst at end of row 4, my ch 2 beginning row 5 seems to leave a funny gap. I also used the double magic circle which has held well.
Thank you for your creativity!
MIchelle
I usually will slip stitch into the 1st stitch before doing the chain. (I’ll revise the pattern to reflect this) Also..remember that chain is NOT counting as a stitch. So between those 2 things, that should clear up that little gap you’re seeing. A Double Magic Circle is a great idea!
Thank you, sweet lady, for all the marvelous FREE patterns.
This hat was a challenge for some reason. I have been crocheting for about 55 years so I’m not new to this. I frogged it a lot but by darn I wasn’t going to let it defeat me! My count kept getting off but I finally got it figured out. I think maybe it’s not a good watching tv project. 🙂 I liked how it turned out and will probably make another one soon. Thank you!
Yes, sometimes projects do take a bit more focus! But glad to hear you persevered and you love the result!
Do you think this will be too hard for a somewhat beginner?
It is more of an intermediate pattern. However, it really IS individual and some beginners will do just fine working through the pattern step by step. You need to understand how to work in a magic ring, how to increase and how to work post stitches. The stitch pattern repeats rows 5-9. So if you can follow along and have the correct stitch count after row 9, it is smooth sailing from there!
This is a beautiful hat pattern.
Would it be fairly simple to make a matching scarf?
This pattern is worked in rounds (not turned every row). If you’re wanting to make a long scarf where you work back and forth in rows, it won’t look the same. However, if you were crocheting a joined scarf (like a cowl) it could work. Either way it would require a bit of experimentation!