
Reverse Single Crochet (aka Crab Stitch)
This post may contain referral/affiliate links. Please read my disclosure for more info.
The reverse single crochet stitch, also known as the crab stitch, is a beautiful stitch to use as a final round of your crochet. I love it on the edge of a basket or a hat or really anywhere you want a finished look to your crochet project.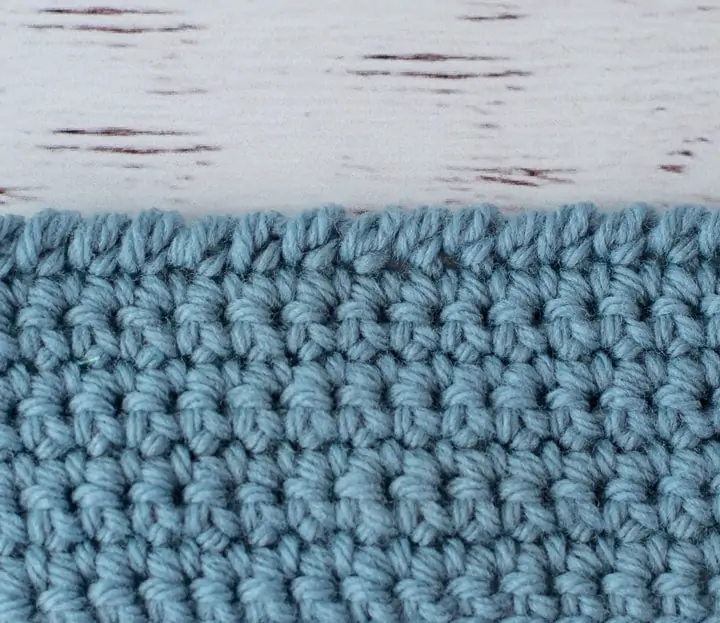 The reverse single crochet stitch can be worked on a flat piece, or it can be worked on a circular piece, such as in the final round of a hat.
The regular Single Crochet Stitch that we are so familiar with is worked from right to left. The crab stitch (reverse single crochet stitch) on the other hand is a single crochet stitch that is worked from left to right. It is a single crochet stitch worked in the opposite direction.
Why Is It Called Reverse Single Crochet?
So normally, a single crochet is worked by inserting the hook into the next stitch to the left of the most recently created stitch and the single crochet stitch is worked there. A reverse single crochet stitch starts by inserting the hook into the stitch to the right of the last stitch worked and then the stitch is formed there.
It is important to know that a reverse single crochet stitch is NOT the same as left handed crochet. When someone crochets left handed they are working stitches in a mirror image (or reversing the entire process) and that results in a piece that is the same stitch and pattern as a right handed crocheter. Reverse single crochet is a different and specific stitch and reverses the mechanism of forming a single crochet stitch. If that seems confusing, just know that this tutorial is for right handed crocheters working the reverse sc stitch.
Looking for More Crochet Techniques?
If you are just getting started with crochet or looking to master new techniques, you might also like to check out these other getting started crochet techniques:
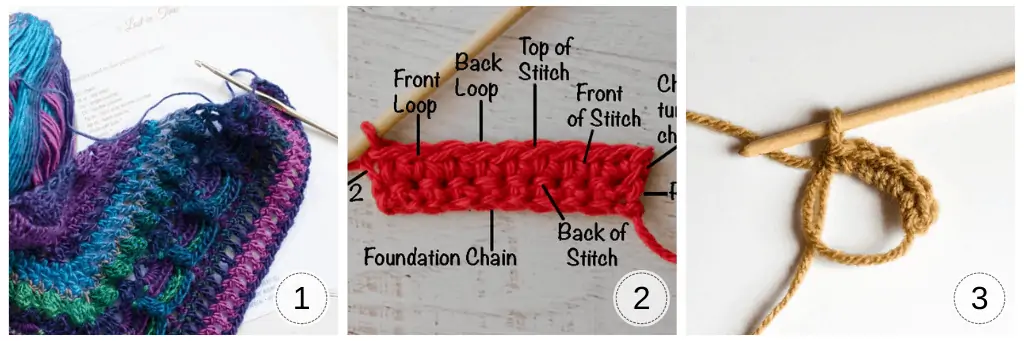 1. How to Read a Crochet Pattern // 2. Parts of A Crochet Stitch // 3. How To Crochet A Magic Ring
How Do you Do a Reverse Single Crochet?
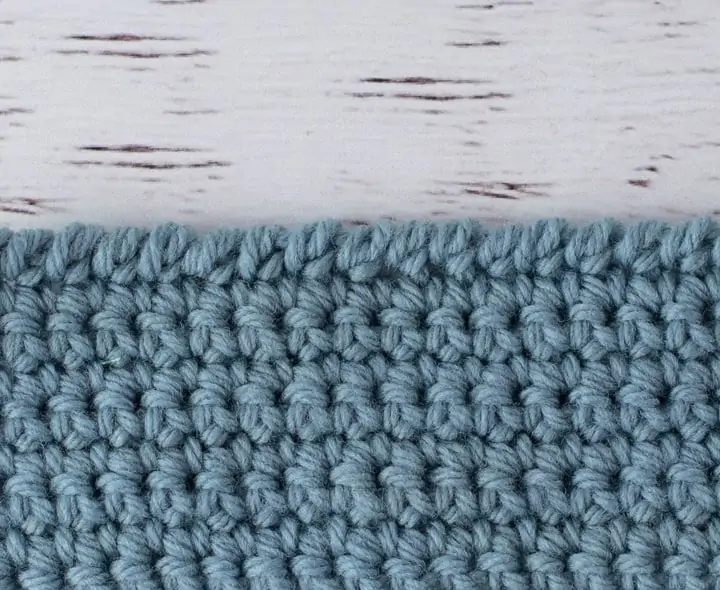
The reverse single crochet crochet stitch forms a sort of twisted single crochet edge that is a bit rounded and it makes for a simple finished edge for your work.
A lot of crocheters find this challenging and working a crab stitch / reverse single crochet stitch can feel very awkward at first. But it really is easy to master if you follow these simple steps and think through the process. It is helpful to keep in mind each specific step of a normal sc stitch as you work a crab stitch. It definitely become easier as you go along, so persist and keep practicing!

How to Work a Reverse Single Crochet Stitch
Most often a row of reverse single crochet (crab stitch) is worked without turning the crochet from the last round worked. In other words, you are working a crochet row without turning it.
If you are starting a brand new row, a reverse single crochet stitch starts with a chain for the first stitch, just like you would start a normal single crochet row. Then follow these steps to make a reverse single crochet.
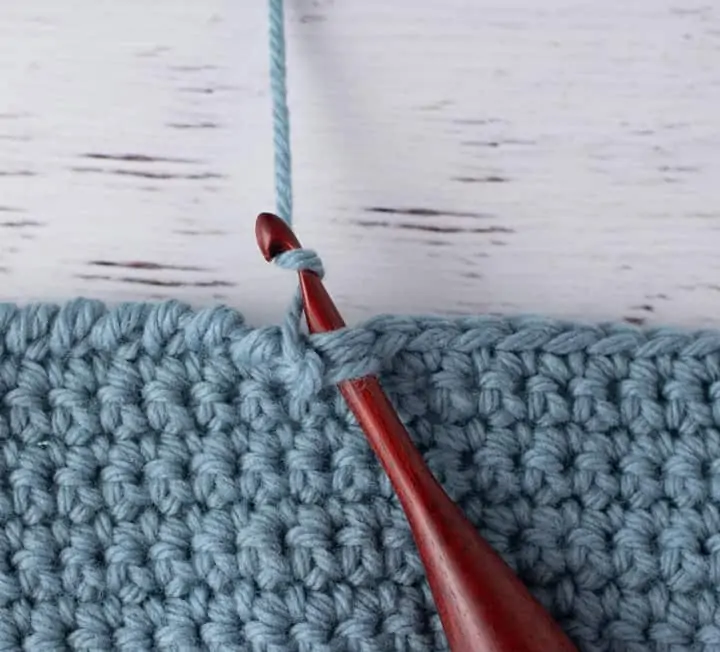
Step 1:
First insert the crochet hook into the next stitch to the right of the hook.
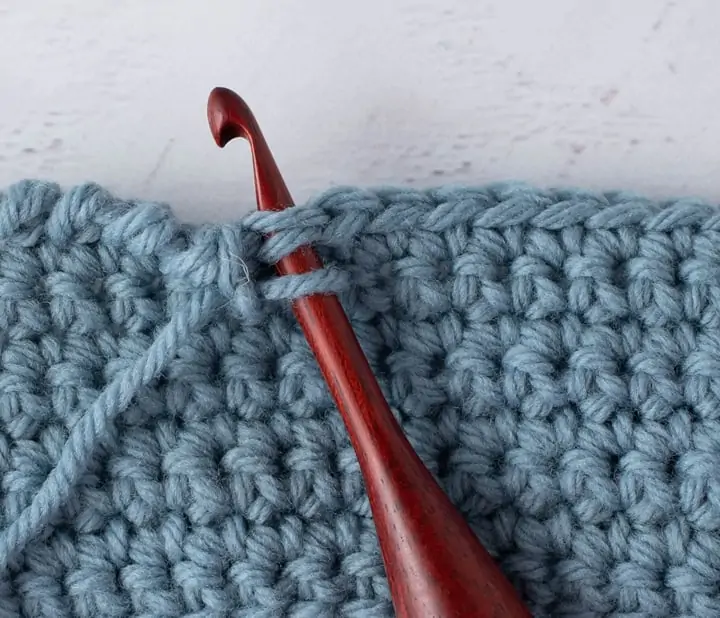
Then, turn hook to the left side, grab yarn and pull through the stitch, leaving the original loop on the hook. (Remember.. think of a normal single crochet.. even though this may feel super weird, this is the first step for a normal single crochet too).
Step 2:
There are now 2 loops on the hook. I will be completely honest. This is the point in this stitch where I’m sure I’ve done something horribly wrong. It feels tight. It feels awkward. But remember, we are working through a single crochet stitch and the only thing that has really changed is that we are going left to right instead of right to left.
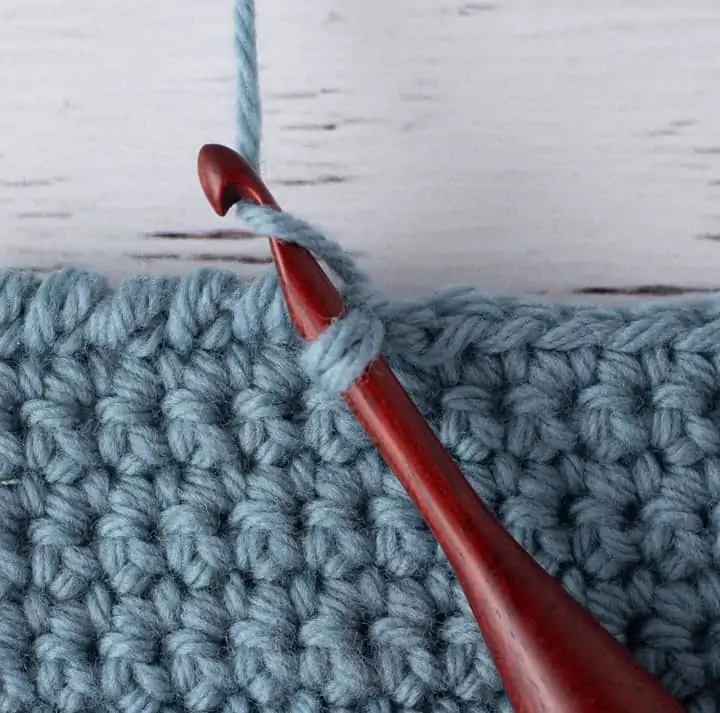
So now that there are 2 loops on the hook, draw up a loop, bring yarn over the hook again and draw this loop through both loops on hook.
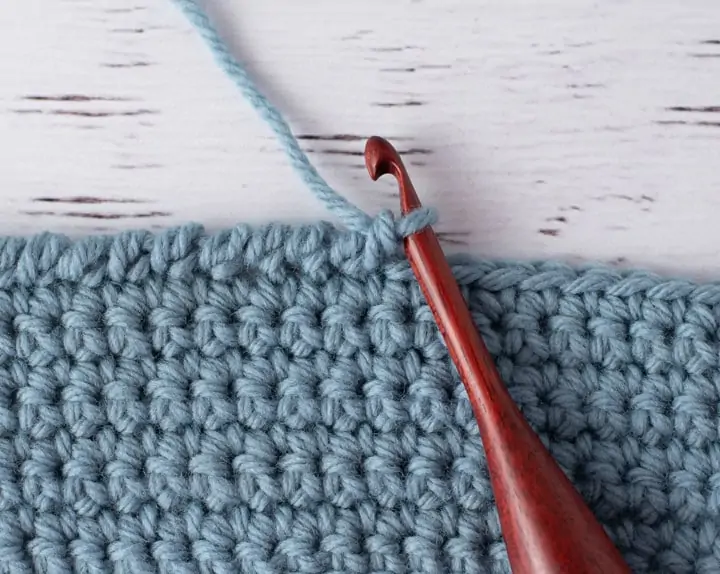
Step 3:
Whew! You made it! One Crab stitch / Reverse Single Crochet Stitch is complete! Now just repeat steps one and two across the row, working a stitch into each stitch around work.
How Do You Finish A Crab Stitch Row?
Great question! If you are working on flat piece, just cut the yarn at the end and pull through, like you would finish off a normal single crochet or double crochet round of work.

But WAIT… How Do You Work Reverse Single Crochet In The Round?
So you’ve conquered the weirdness of it all and worked a whole round of reverse single crochet (crab stitch) but now you’re at the beginning again and wondering how in the world it’s going to join together and look like one continuous piece of work. You have a couple of options.
Option 1: Slip stitch the last stitch to the first stitch, fasten off the yarn and weave in the end. I find this creates a bit of a bump and I don’t always love the look of this.
Option 2: Fasten off the yarn after the last stitch, thread a tapestry needle and weave the last stitch to the first stitch mimicing the look of the crab stitch.
I prefer Option 2, but it does require some practicing to find a way of weaving that looks nice to you. The slip stitch Option 1 is easier.
Reverse Crochet Stitch (Crab Stitch) Final Thoughts
Like most things, you will perfect this crochet technique with practice. Take your time. Inspect your work as you go and don’t be afraid to rip out and try again. Go back through the tutorial as a refresher the next time you want to try this beautiful edging stitch.
I love seeing your finished projects! If you enjoyed making one of my patterns I’d love to see yours on Instagram, be sure to tag me @crochet365knittoo. If you are on Facebook, stop over to the Crochet 365 Knit Too Facebook page or pop over to the Crochet365KnitToo Club and share a photo! I’d love to see your work!
Pin Now Crochet Later ⇨
Ahh! The Reverse Single! I love this stitch for finishing a project (scarf, hat, baby blanket). It makes a nice edge with a finished, polished look. I have used this many many times. I’ll admit, it was a bit awkward trying to go backward at first, but once you get the hang of it, it’s quite simple.
It is perfect for edgings! Love it on hats!
I LOVE this stitch. I think it looks great when edging things like hats or headbands. HOWEVER, my struggle is when I have to finish a row on a round. How do you finish a round with a crab stitch? Ive kind of made up with a way, but it just doesn’t look very smooth. Do you know where you “slip stitch” into?
I cut it off, pull the strand up then wrap it around the first stitch from back to front and then back again and then weave in the end.
I have always had trouble with the reverse single crochet, thank you so much d=for the simple version.
I am so glad it helped!
It’s so useful, thank you so much!
so, I watched this twice and now I want you to know that I have created my own stitch that I thought was the crab stitch, but NO!! I am left-handed but that isn’t my issue, I go in reverve, but wrap yarn around the hook once as I turn then continue as you did. Would that be a HDC reverse stitch?????????????? done it one many hasts and some blankets and comes very easy to me.
It sounds like it would be! I haven’t seen a reverse stitch worked in anything other than sc!
Thank you, I have tried this stitch over and over before and couldn’t get it. Your instructions where simple to follow and the pictures helped out, I can do this stitch now that it was explained a lot better than any others I have came across
Is it possible to do this as a larger piece, alternating rows of singles and reverse singles, so you never really turn your work, just work right to left, then left to right?
The reverse single crochet doesn’t look like a regular single crochet, so working back and forth in rows wouldn’t produce a crocheted fabric that looked like it was worked solely in single crochet. The reverse single crochet is more for edging.