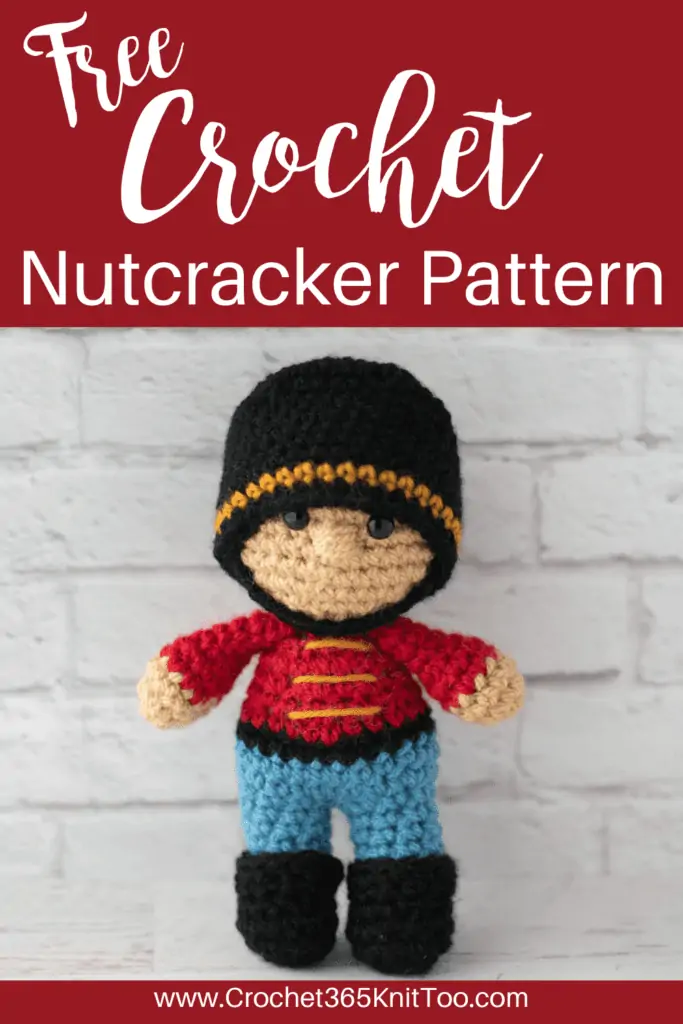
Crochet Nutcracker
This post may contain referral/affiliate links. Please read my disclosure for more info.
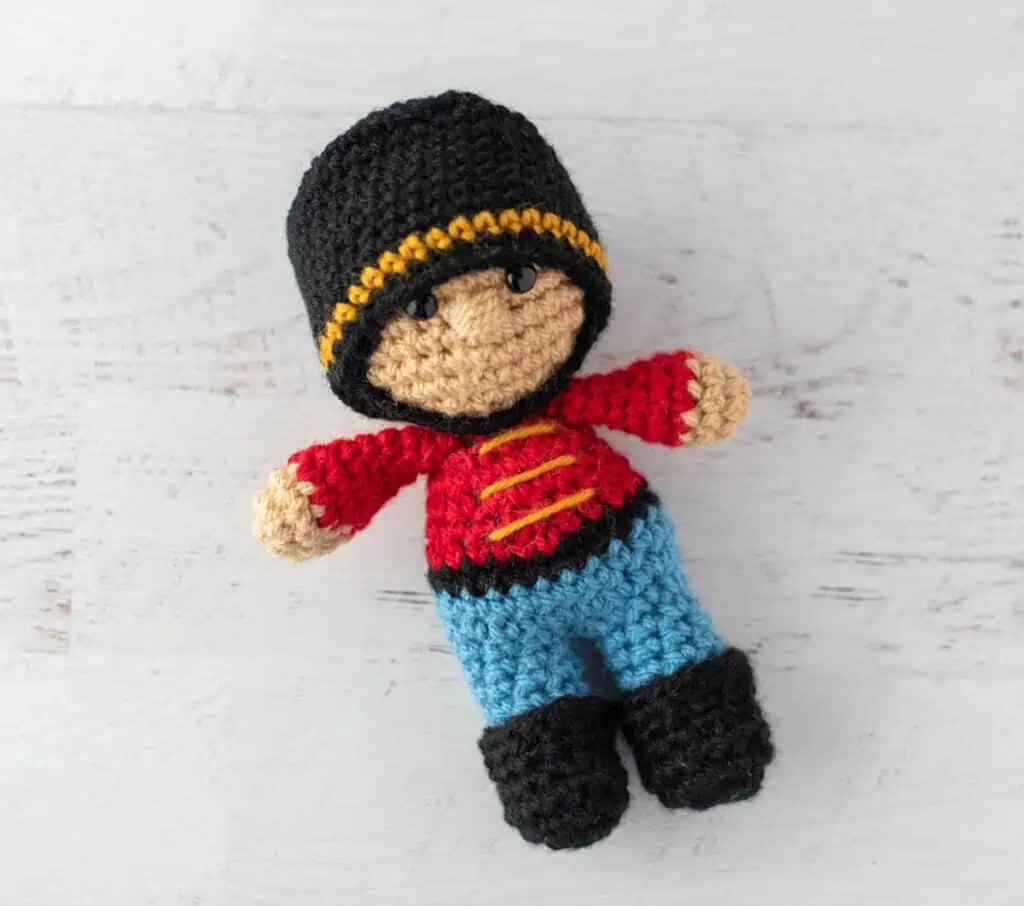
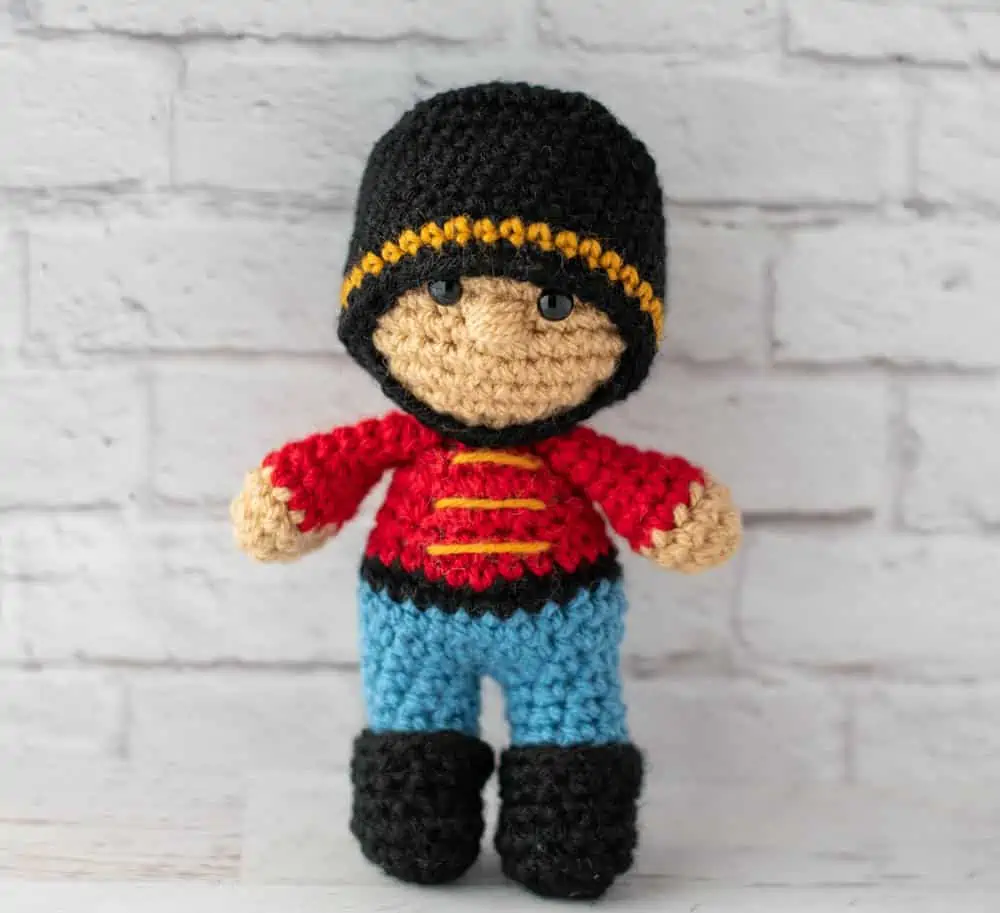
Be still my little holiday crochet heart because this Crochet Nutcracker is brightening up my entire life.
I can’t even decide what I love most. The hat. The cute red shirt. That adorable nose. Sigh. A crochet amigurumi nutcracker just might be the perfect project for the season.
What exactly is it about a nutcracker crochet doll that brings joy to the Christmas season?
Whether you call them nutcracker dolls, nutcracker toy soldiers or Christmas nutcrackers, these adorable dolls have been a staple for centuries. Though they’d been around decades earlier, they really became popular after Tchaikovsky’s famous ballet, The Nutcracker, debuted in 1892.
The ballet takes place on Christmas Eve and the hero is a nutcracker come to life. And thus our obsession with nutcrackers at Christmas time began.
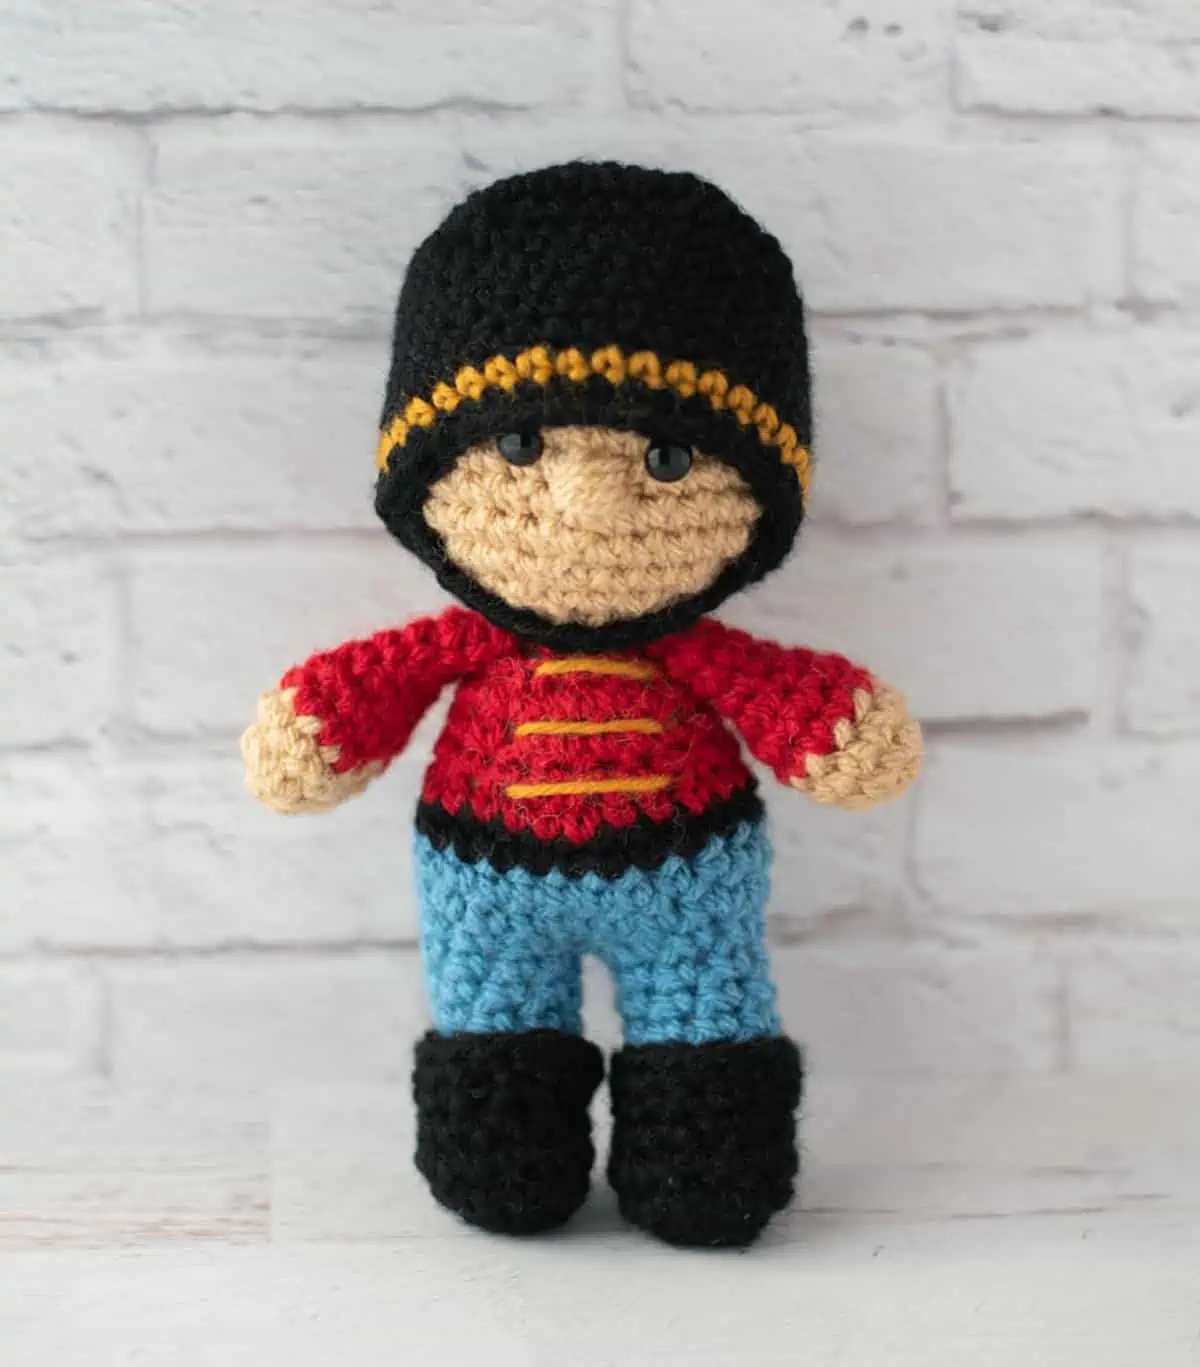
Let’s talk cutie pie crochet details on this adorable nutcracker soldier.
Crochet Nutcracker Pattern
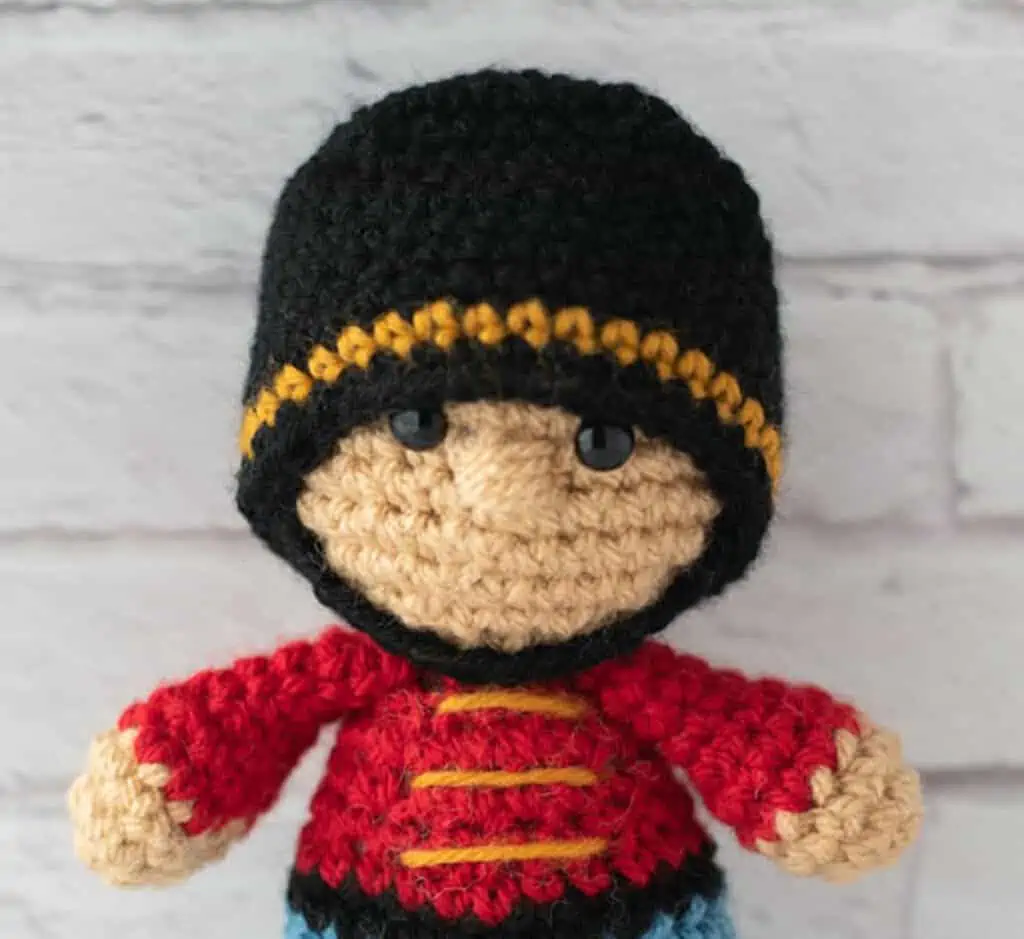
You might have noticed a huge nutcracker oddity: My crochet nutcracker doesn’t have a mouth! Yup. Can’t exactly crack nuts, right?!
Aside from the fact that task was never going to happen with a crochet stuffed toy, I designed my little cutie without a mouth on purpose.
A soldier is a pretty solemn soul and I think it adds to the look to leave that facial feature up to the imagination. And if a child is playing with a nutcracker it’s nice to have emotional options in play.
However, if you’re more of a traditionalist, you can certainly embroider a little mouth on your crochet tin soldier!
This crochet nutcracker is part of my Tamingo Series of Amigurumi dolls. In fact, you’ll find a lot of similarities to my Crochet Santa.
After working the head, we move on to the body, working from the feet up. At the top of the shoe, we’ll work in the back loop only for the pants and then come back later to finish up the boot cuff in those leftover front loops.
If you’re confused about working in the front or back loop, it’s really quite easy. Check out our parts of a crochet stitch post for more help.
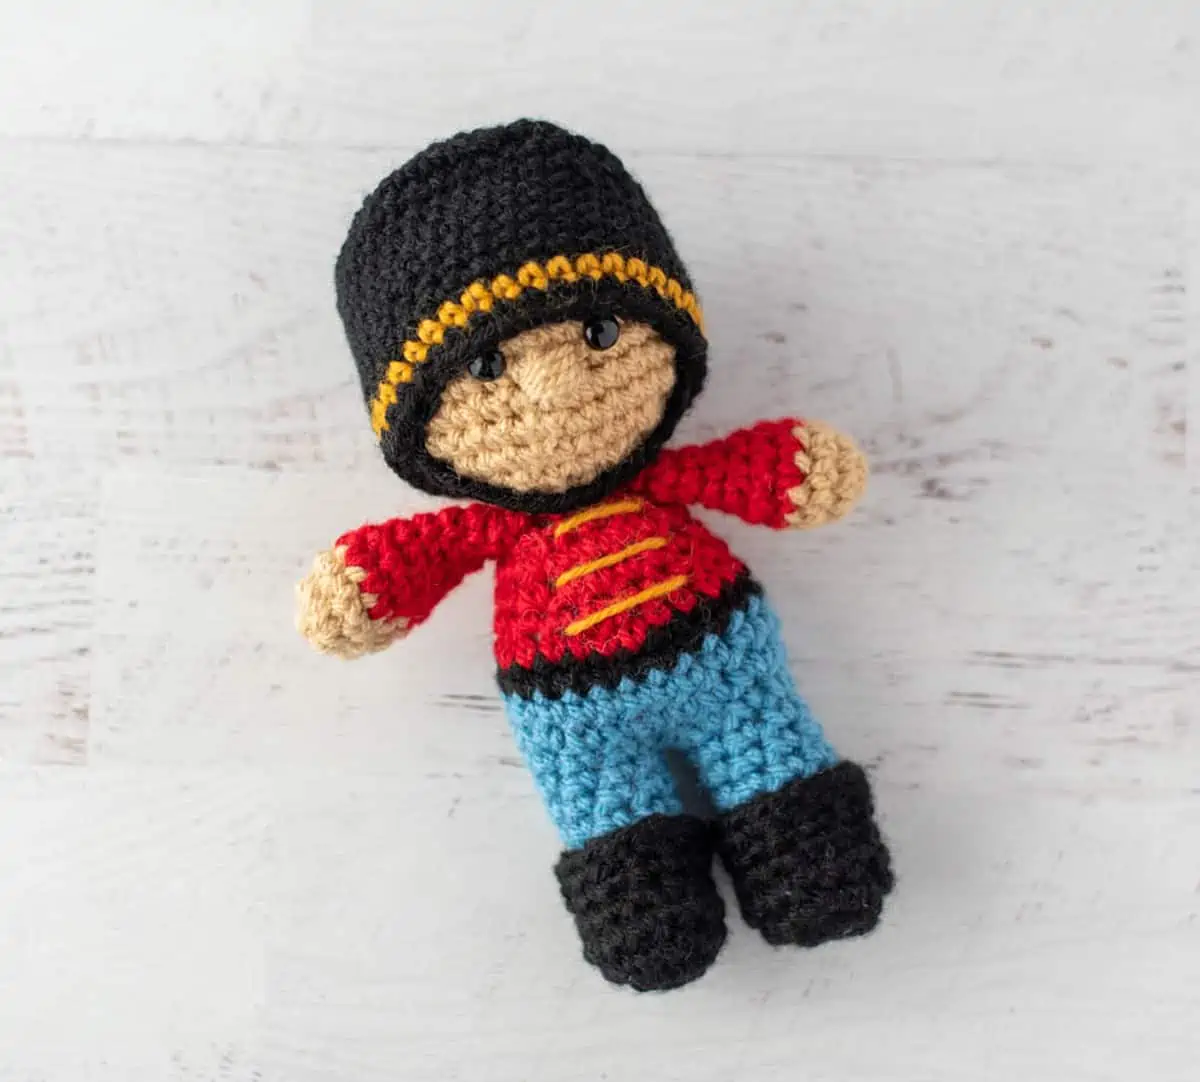
Finally, we finish up with my favorite part of this pattern: That adorable tin soldier hat. I’ve made it a tad larger than the diameter of the head so it sits nicely and stays in shape. I love that it is almost covering our little guy’s eyes! When sewing the chin strap to the hat, you’ll take a few stitches to sew the hat to the head so that it stays in its proper place.
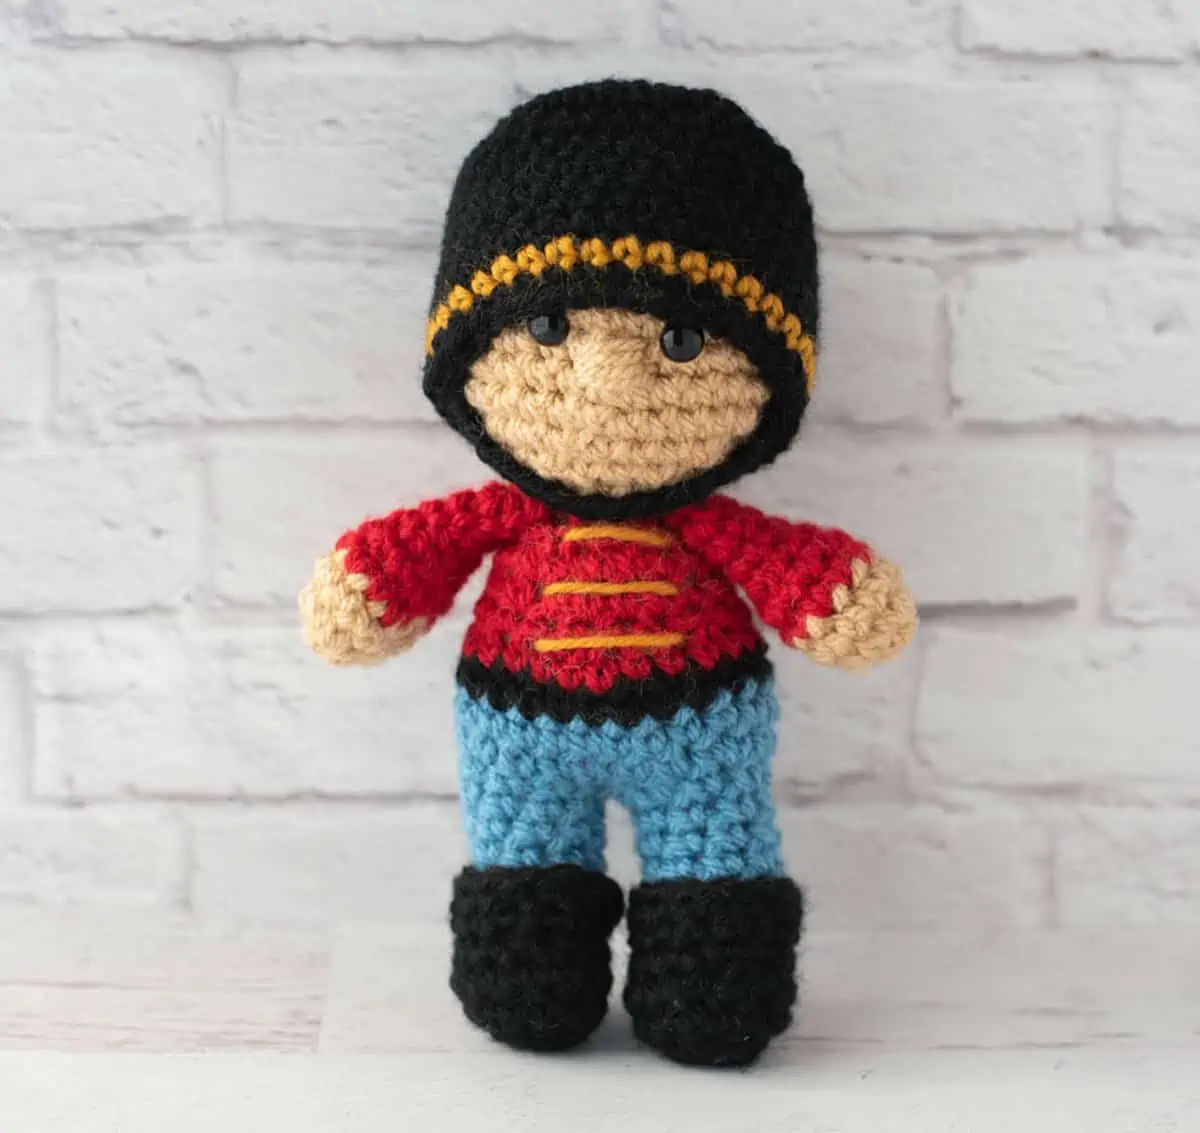
Any worsted weight #4 yarn will work for this project. If you’d like a smaller or larger Nutcracker, you could try using DK weight or Bulky weight to adjust the size. I personally love him just as he is, though.
Adorable! I’m so in love. Let’s dive in to this fun nutcracker crochet pattern!
Crochet Nutcracker Amigurumi
Here is what you will need:
- US G 6/4.0 mm crochet hook(these are my absolute favorite hooks I recommend to everyone!).
- Worsted Weight yarn
- Main: ½ oz, sample used Paintbox Aran in Light Caramel (Col 208)
- Pants: ¼ oz in blue, sample used Paintbox Aran in Dolphin Blue (Col 236)
- Shirt: ¼ oz in red, sample Paintbox Aran in Pillar Red (Col 214)
- Boots and Hat: ½ oz black, sample used Vanna’s Choice in black
- Stripe in hat and shirt embellishment: Scrap of gold yarn, sample used Lion Brand Wool Ease in Gold
- 9 mm Black Safety Eyes
- Fiberfill
- Tapestry needle and scissors
Resources and tutorials you may find helpful in following this pattern: Crochet Abbreviations, US to UK Crochet Conversion Chart. Find links to stitches on the “Tutorial” menu: Getting Started will show basic stitches such as the single crochet, double crochet and chain stitch used in many patterns and Crochet Stitch Dictionary shows our growing collection of crochet stitch tutorials.
Gauge is not important in this pattern. You may use other weights of yarn. Adjust hook size to fit your needs. With the yarn and hook size given, my gauge is about 4 single crochet stitches to an inch.
Finished Crochet Nutcracker is approximately 6.5″ tall from top of head (excluding hat) to bottom of feet.

Head:
With Main Color yarn, make a magic ring
R1: 6 sc into ring (6 sts). (Do not join, worked in rounds)
R2: 2 sc in ea st (12 st)
R3: *sc in next st, 2 sc in next. Repeat from * around. (18 st)
R4: *sc in next 2 st, 2 sc in next. Repeat from * around. (24 st)
R5: *sc in next 3 st, 2 sc in next. Repeat from * around. (30 st)
R6-11: sc around. (30 st)
R12: *sc in next 3 st, sc2tog. Repeat from * around (24 st) Begin stuffing head
R13: *sc in next 2 st, sc2tog. Repeat from * around (18 st)
Insert safety eyes between rows 8 and 9, leaving 3 stitches in between the eyes. Adjust stuffing and stuff the remainder of the head.
R14: *sc in next st, sc2tog. Repeat from * around (12 st). Fasten off leaving a long strand for sewing.
Note on Limb and Body construction: The legs are worked separately and then joined together in the first row of the body. The body is worked to the neck and fastened off. Then the arms are worked and the pieces are sewn together. Please follow the instructions carefully for stuffing and fastening off notes. There is a detailed photo tutorial in the Amigurumi Beginners Guide if you would like more detailed instructions on how to work this method of leg to body construction.
Legs (make 2):
With black yarn, make a magic ring
R1: 6 sc into ring (6 sts). (Do not join, worked in rounds)
R2: 2 sc in ea st (12 st)
R3: *sc in next 3 st, 2 sc in next. Repeat from * around. (15st)
R4: sc around
R5: *sc in next 3 st, sc2tog. Repeat from * around. Change to blue yarn in last stitch (12 st).
R6: With blue yarn and working in the back loop only (this row only), sc in next 3 st, [(sc2 tog) three times], sc in last 3 st (9 st). Stuff the feet.
R7-10: Working in both loops again, sc around (9 st),
Fasten off for first leg. After 2nd leg, do not fasten off, continue to body below. Stuff the rest of the legs.
Boot Tops:
Work the top of the boots before moving on to the body, note that the blue yarn will still be attached for the 2ndleg in preparation for the body. Note that I prefer to work the boot tops in the round and use an invisible join method at the end, but you also could ch1 to start each round and join with a slip stitch at the end of the round if you prefer.
Attach black yarn to one of the free, unworked loops at the top of the boot.
R1: Working in the front loops, sc around (12 st)
R2: sc around. At end of round, join to start with an invisible join. (See note above.)
Repeat for the 2nd boot. Weave in ends.
MORE HOLIDAY AMIGURUMI PATTERNS
If you love the nutcracker crochet pattern, you might also like to check out these other holiday patterns:
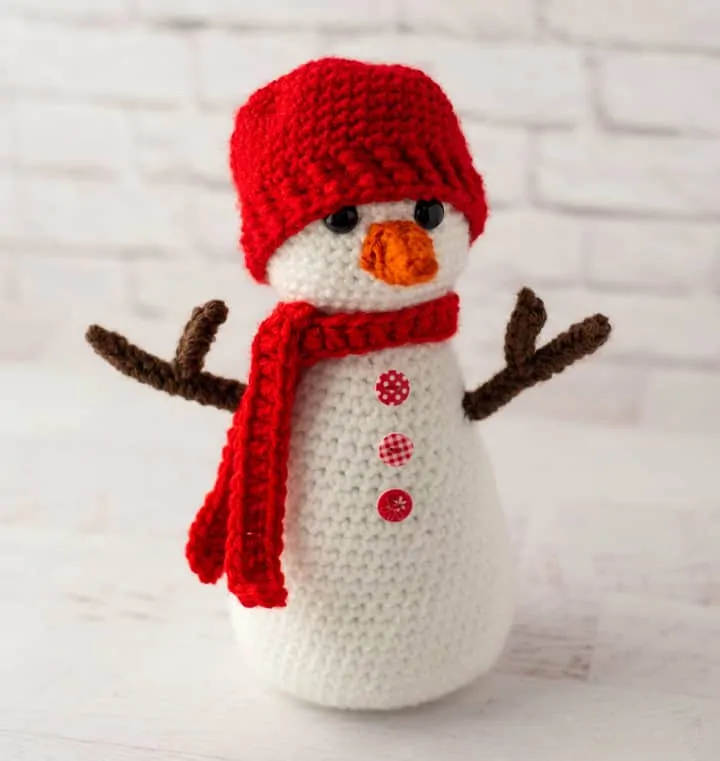
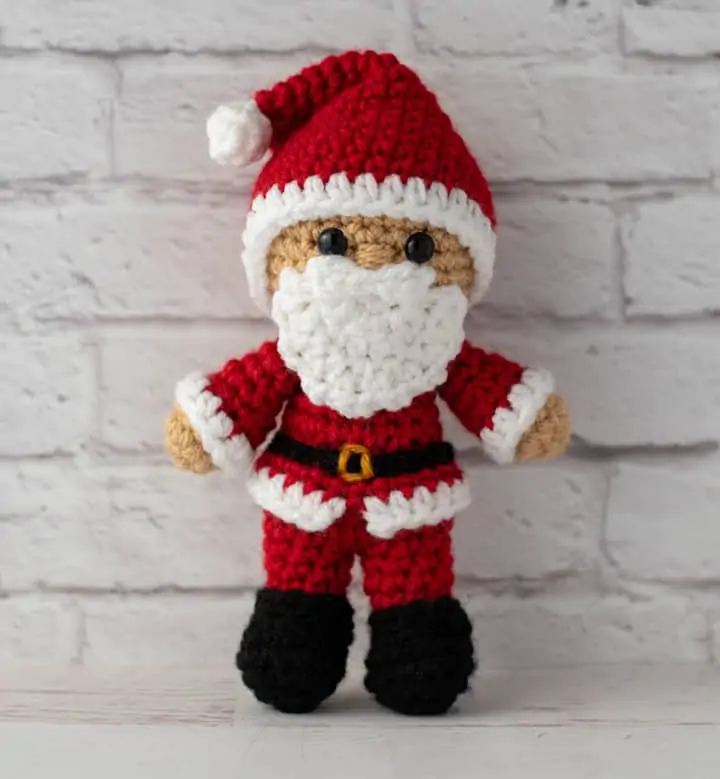

Snowman // Crochet Santa // Crochet Elf
Nutcracker Body:
In the next row, the legs are crocheted together and form the bottom of the body. Position the legs so that they are in the correct position with both feet facing forward. Use a stitch marker to mark where they meet in the middle. This stitch marker holds the center stitch from each leg to each other. Make sure that you also have a stitch marker in the last stitch worked in the leg just completed. This stitch will be the last stitch worked in this row.
R1: Continuing with blue yarn, sc in the next stitch of the leg just worked. Continue to single crochet in each stitch until you reach the marker holding the 2 legs together. Work a single crochet in the next stitch (which is the stitch holding the legs together). THEN work a single crochet in the matching stitch on the OTHER leg. You can remove the stitch marker if you’d like.
Continue to single crochet all the way around the other leg (9 stitches on that leg). You are now at the middle of the doll on the opposite side. Single crochet in the remaining unworked stitches on the first leg worked in this row, finishing in the stitch you marked as the end of the row.
Count your stitches for this row. There should be 18 stitches in the row. If you have more or less than this, take a look at the stitches worked at the joining points and see if you’ve missed or worked an extra stitch here.
R2: Continuing to work in the round, *sc in next 2 st, 2sc in next st, repeat from * around (24 st)
R3: sc around, changing to black yarn in the last stitch (24 st).
R4: With black yarn, sc around, changing to red yarn in the last st. (24 st)
R5: With red yarn, sc around (24 st)
R6: *sc in next 2 st, sc2tog. Repeat from * around (18 st)
R7-8: sc around (18 st). Stuff body.
R9: *sc in next st, sc2tog. Repeat from * around (12 st).
R10: sc around (12 st). Fasten off leaving a long strand for joining. Stuff the body.
Arms (make 2):
With Main Color yarn, make a magic ring
R1: 6 sc into ring (6 sts). (Do not join, worked in rounds)
R2: 2 sc in ea st (12 st)
R3: sc around, changing to red in last stitch (12 st).
R4-5: With red, sc around (12 st).
R6: *sc in next st, (sc2 tog, repeat from * around (8 st). Lightly stuff hand
R7-9: sc around
Leave remainder of arm unstuffed.
Assembly:
Using yarn from ends of work, sew head to body. Sew arms to sides near the neckline. Using same yarn as head, sew several straight stitches between the eyes as shown for the nose.
Crochet Nutcracker Hat
With black yarn, make a magic ring
R1: 6 sc into ring (6 sts). (Do not join, worked in rounds)
R2: 2 sc in ea st (12 st)
R3: *sc in next st, 2 sc in next. Repeat from * around. (18 st)
R4: *sc in next 2 st, 2 sc in next. Repeat from * around. (24 st)
R5: sc in next st, 2sc in next, *sc in next 3 st, 2 sc in next. Repeat from * around, working a sc in each of the last 2 st (30 st)
R6: *sc in next 4 st, 2 sc in next. Repeat from * around. (36 st)
R6-12: sc around. (36 st)
R13: sc around, changing to gold in last stitch. (36 st)
R14: With gold, sc around, changing to black in last stitch. (36 st)
R15: With black, sc around. Use an invisible join to join with the first stitch in the row (alternatively, slip stitch to the next stitch and fasten off). (36 st)
Weave in ends.
Chin Strap for Hat
Leaving a long strand of yarn for finishing, chain 16. Fasten off leaving another long strand.
Finishing
Position hat on head so that it fits in the front just above the eyes. Position strap as shown in photos, sewing to underside of hat. Use yarn ends to carefully tack hat in place on head. Repeat process to attach other side of strap with other yarn strand.
Using gold yarn, stitch 3 straight lines on shirt.
Weave in any remaining ends.
If you loved this little tin soldier nutcracker, be sure to check out even more in my Tamingo Series of amigurumi!
I love seeing your finished projects! If you enjoyed making this Crochet Nutcracker or any of my crochet patterns, I’d love to see yours on Instagram, be sure to tag me @crochet365knittoo. If you are on Facebook, stop over to the Crochet 365 Knit Too Facebook page or pop over to the Crochet365KnitToo Club and share a photo! I’d love to see your work!