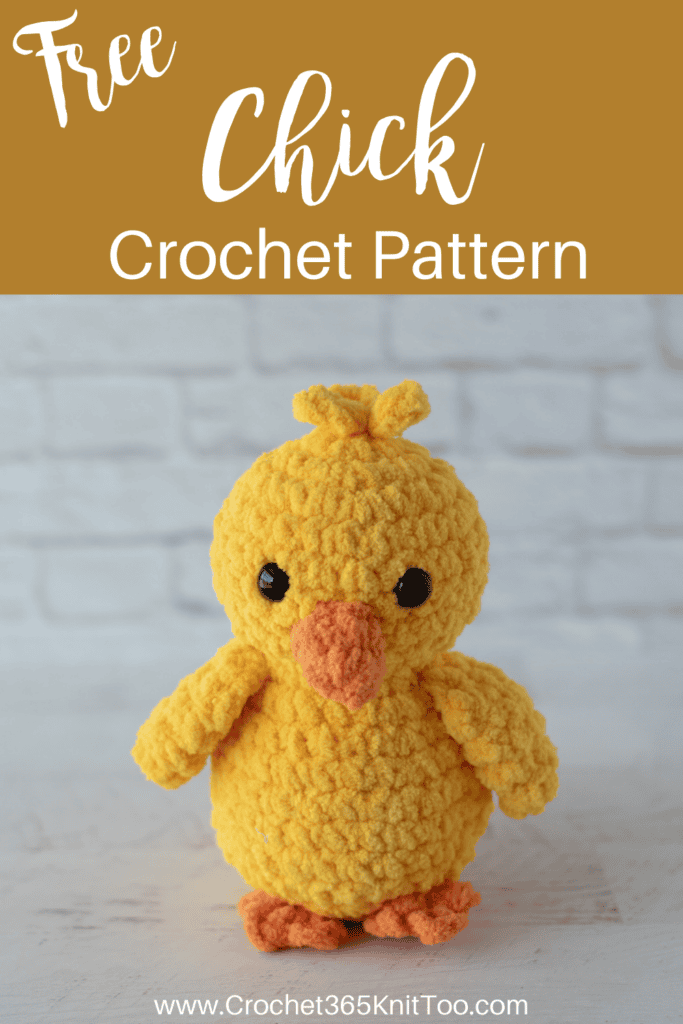
Chick Crochet Pattern
This post may contain referral/affiliate links. Please read my disclosure for more info.
Looking for the cutest chick crochet pattern to brighten your spring? You’re in the right place! This sweet little crochet chick is soft, squishy, and full of personality—perfect for Easter baskets, spring décor, or a quick handmade gift that will make anyone smile.
There is just something irresistible about a tiny, cuddly chick. That cheerful yellow, the little beak, the round squishy shape—it’s the kind of project that feels just as joyful to make as it is to hold. If you love simple construction, plush yarn, and that cozy “just one more stitch” feeling… this crochet chick pattern is going to be your new favorite.
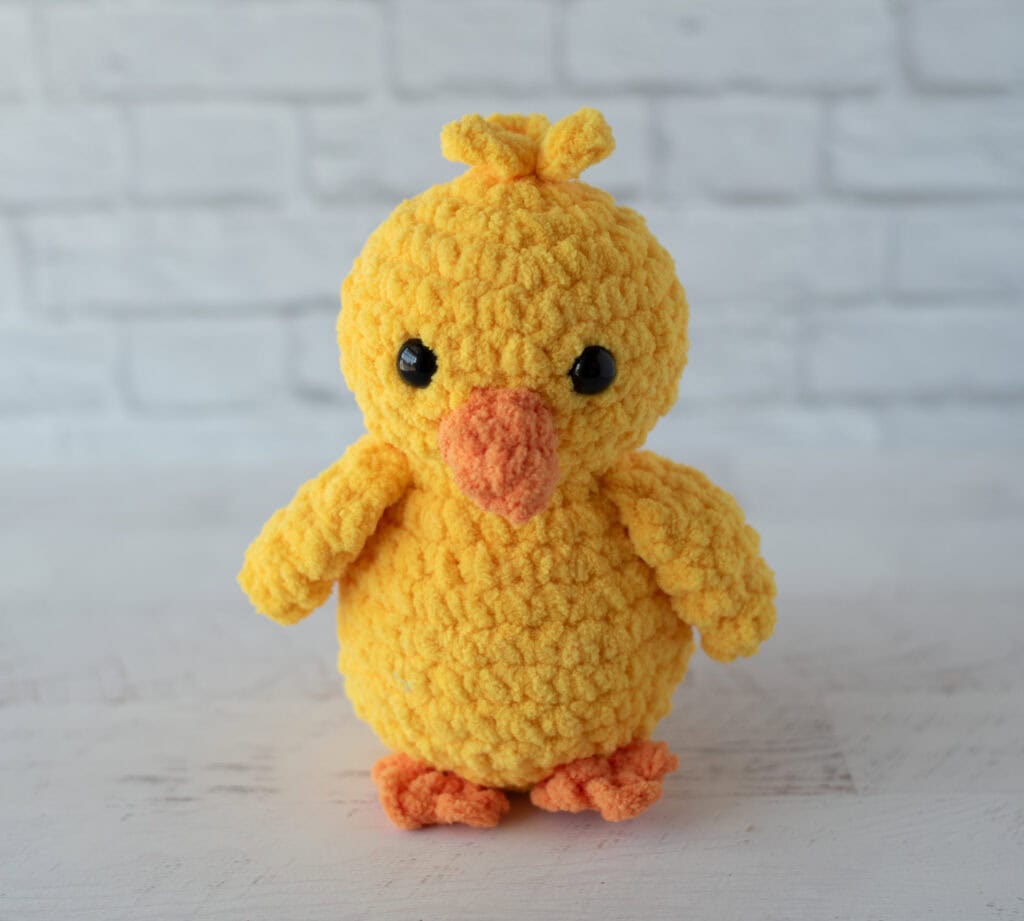
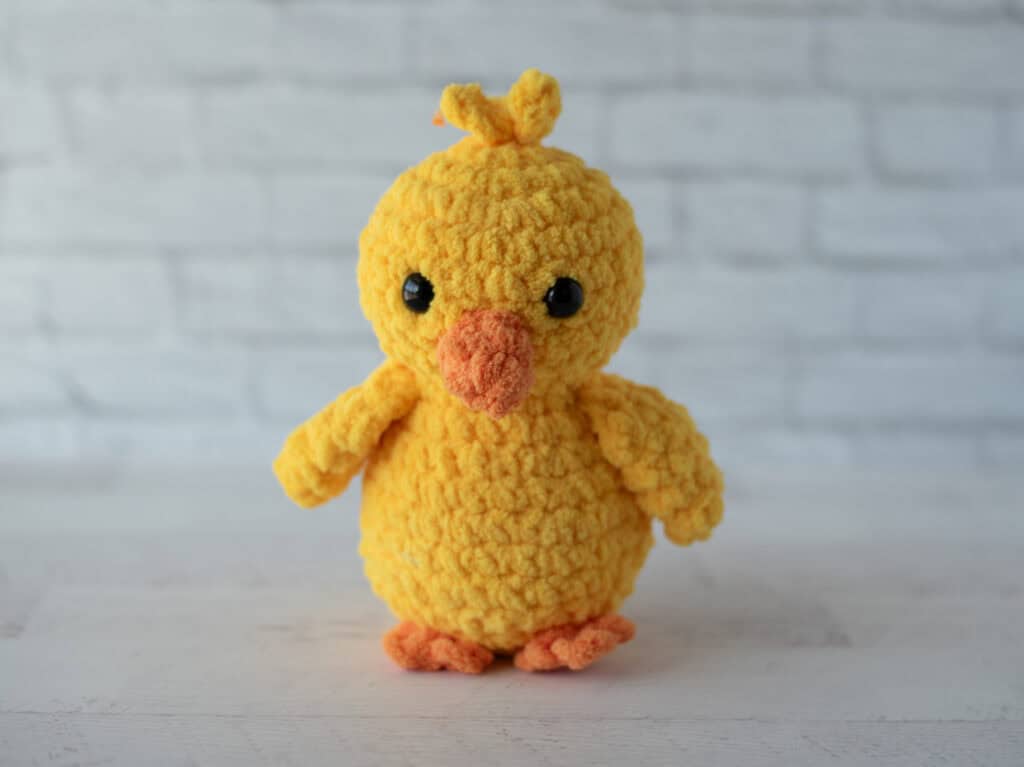
Meet Buttercup the Chick
Let me introduce you to Buttercup the Chick—a bright, cheerful little friend with the softest texture and the sweetest personality.
She’s made with super bulky chenille yarn, which means:
- She works up quickly
- She’s incredibly plush and huggable
- And she has that irresistible velvety softness we all love
This isn’t just any crochet chick—this one is designed to be both beginner-friendly and delightfully polished when finished.
While You’ll Love This Chick Crochet Pattern
Why You’ll Love This Chick Crochet Pattern
There are a lot of chick patterns out there… but here’s what makes this one extra special:
✨ Quick & Satisfying
You can finish this crochet chick pattern in an afternoon—perfect for last-minute gifts or craft fair prep.
✨ Minimal Sewing
Because let’s be honest… fewer pieces to sew = more fun crocheting.
✨ Super Plush Texture
Using chenille yarn gives this chick that soft, squishy feel that makes amigurumi extra lovable.
✨ Beginner-Friendly
If you’re comfortable with basic stitches like single crochet, you can absolutely make this.
✨ Perfect for Easter (and beyond!)
Add her to baskets, display on a shelf, or make a whole flock in different colors!
Is This Chick Pattern Beginner – Friendly?
Yes! This chick crochet pattern is a wonderful option for beginners who are ready to dip their toes into amigurumi.
You’ll be using simple, foundational stitches like:
- single crochet
- increases and decreases
- working in the round
The head and body are crocheted as one piece, which keeps the process nice and straightforward—no juggling a bunch of separate parts or complicated assembly later on.
If you’ve got the basics down and are ready to try something a little more playful, this crochet chick is a fun and confidence-building project to make.
Tips for the Cutest Crochet Chick
A few little tricks to make your chick extra special:
💛 Stuff firmly (but not too tight) for that perfect squishy shape
💛 Place the eyes evenly before securing—this makes a big difference in expression
💛 Take your time with the beak placement—it really brings your crochet chick to life

Chick Crochet Pattern Essentials
If this crochet chick is your first time trying an amigurumi pattern, here are a few helpful tips to get you started:
Start with a magic ring (sometimes called a magic circle) to keep your stitches nice and snug at the beginning. Not sure how it works? Take a peek at my magic ring tutorial!
This chick crochet pattern is worked mostly in single crochet along with a few increases and decreases to shape that sweet little round body. You’ll also use slip stitches and need a bit of stuffing and a tapestry needle to finish things off.
Like most amigurumi, this pattern is worked in continuous rounds, so it’s important to keep track of where each round begins and ends. I like to use stitch markers to mark my place as I go.
I mark the last stitch in a row, but some crocheters prefer placing the marker in the first stitch—or even using a scrap piece of yarn. There’s no wrong way—just choose what works best for you and stick with it!
How This Chick is Constructed
One of my favorite things about this chick crochet pattern is how simple and smooth the construction is.
The head and body are worked as one continuous piece:
- Start at the top of the head
- Shape the head and body as you go with increases and decreases
- Continue working down to create that sweet, round little chick shape
This gives you a nice, seamless finish without having to join multiple sections together.
The beak, wings and feet are worked separately and attached with minimal sewing, keeping the assembly nice and easy.
For the face, safety eyes are added during the process, and since the beak is crocheted separately —no embroidery is needed. It’s such a simple detail, but it really brings your little crochet chick to life!
Yarn Details
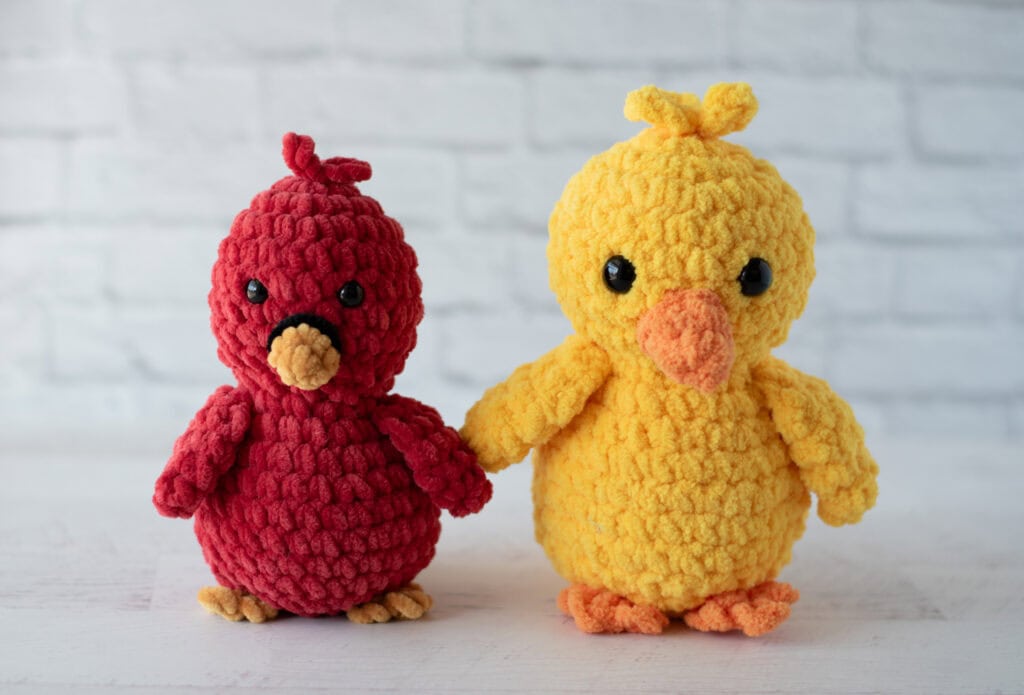
Not all #6 yarn is created equal. Some #6 yarn is thicker than others. Like Blossom Bunny, Buttercup the Chick is worked in Premier Basix Chenille vs Carl the Cardinal which is worked in Premier Parfait. Both are #6 Super Bulky Weight yarn.
The beauty of amigurumi is that your chick will stay in proportion, even if it turns out a bit larger or smaller. When working with Premier Basix, I love to use a 6.5mm hook. But when working with Premier Parfait, I prefer a 5 mm hook.
While you can easily move up or down in crochet hook size and the chick will still look in proportion, just keep in mind that your little chick might turn out a bit smaller or bigger than you planned when you change the hook and yarn size!
That’s what gives it that soft, squishy texture—perfect for a cuddly little chick you won’t want to put down.
You can definitely switch things up and use a different yarn if you’d like. Just keep in mind:
- thinner yarn = smaller chick
- bulkier yarn = larger chick
Be sure to adjust your hook size to match your yarn.
print & stitch
Purchase the Beautifully Crafted AD-FREE PDF Download Today
Do you just want to relax and crochet? This nicely formatted pattern features clear instructions and perfectly sized photos for a more enjoyable crochet experience.
Get the free pattern below or purchase an ad-free pattern on Etsy or Ravelry
Crochet Chick Pattern
Here is what you will need:
- Premier Basix Chenille Brights, size 6 super bulky weight, 100% polyester, 112 yds/103m per 5.3 oz skein (try Herrschners, Amazon or Etsy)
- Lemon: 55 yards
- Tangerine: 6 yards
- US K10.5/6.5mm crochet hook
- 14 mm Safety Eyes
- Stitch Marker
- Fiberfill
- tapestry needle and scissors
Resources and tutorials you may find helpful in following this pattern: Crochet Abbreviations, US to UK Crochet Conversion Chart. Find links to stitches on the “Tutorial” menu: Getting Started will show basic stitches used in many patterns and Crochet Stitch Dictionary shows our growing collection of crochet stitch tutorials.
Gauge:
My gauge is 5 sc to 2 inches. However, gauge is not important in this pattern.
Resources and crochet tutorials you may find helpful in following this pattern: Crochet Abbreviations, US to UK Crochet Conversion Chart. Find links to stitches and basic crochet skills on the “Tutorial” menu: Getting Started will show basic stitches such as the slip stitch, single crochet, double crochet stitch and chain stitch used in many patterns and Crochet Stitch Dictionary shows our growing collection of crochet stitch tutorials.
Crochet Abbreviations:
- ch(s) = chain(s)
- sc = single crochet
- sc2tog = single crochet 2 together
- sl st = slip stitch
- st = stitch(es)
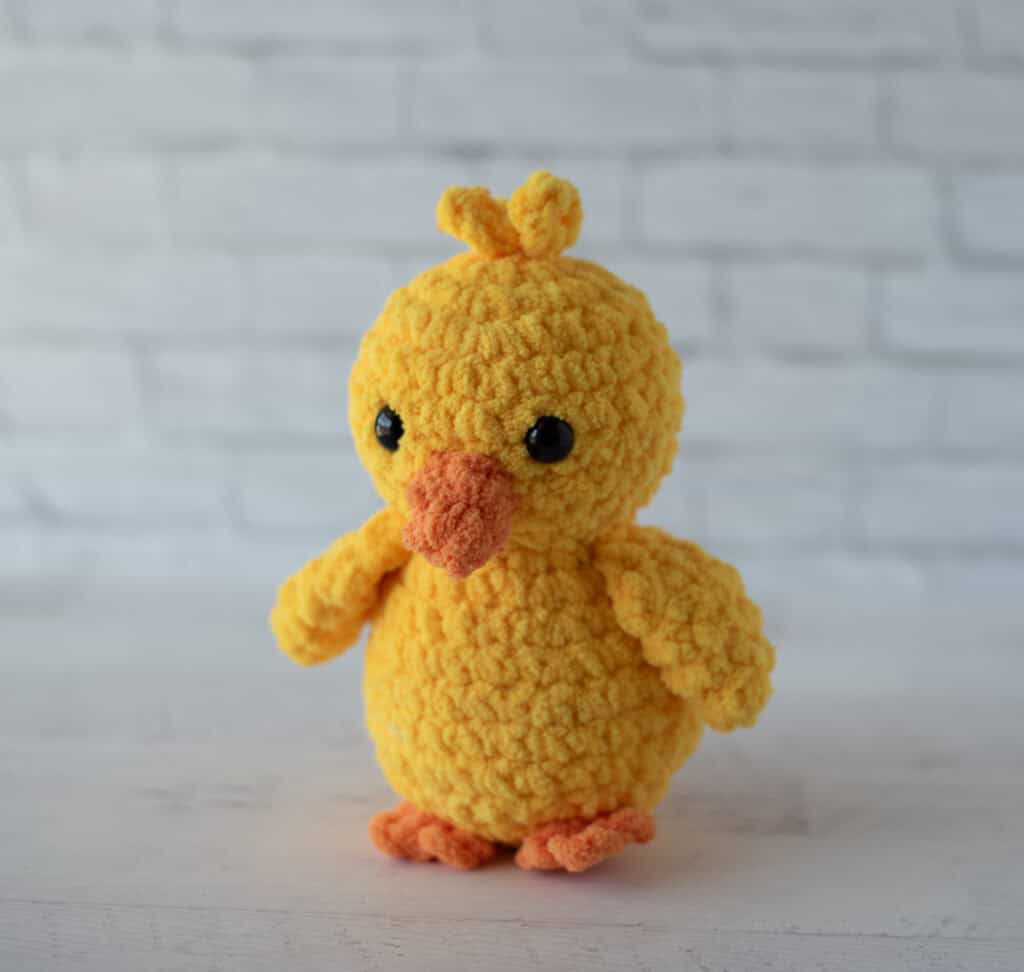
Finished Ckick Size
Chick is approximately 8″ tall and 6.5” wide.
How to Crochet this Chick
The head and body of the chick are worked in one piece starting at the top of the head, decreasing to the neck and then increasing to work the body. You’ll then crochet a beak, wings and feet. Finally you’ll put it all together with a few simple stitches. Let’s dive in!

Chick Head and Body
Using yellow yarn, make a magic ring.
R1: 6 sc into ring. Place stitch marker and work in continuous rounds. (6 st)
R2: 2 sc in ea st. (12 st)
R3: *Sc in next st, 2 sc in next. Repeat from * around. (18 st)
R4: *Sc in next 2 st, 2 sc in next. Repeat from * around. (24 st)
R5-8: Sc around. (24 st)
R9: *Sc in next 2 st, sc2tog. Repeat from * around (18 st)
R10: *Sc in next st, sc2tog. (12 st)
Insert safety eyes between rows 6 & 7, leaving 4 stitches in between them. Stuff head and continue to stuff body as you work.
R11: *sc in next st, 2 sc in next. Repeat from * around. (18 st)
R12: *Sc in next 2 st, 2 sc in next. Repeat from * around. (24 st)
R13: Sc around (24 st)
R14: *Sc in next 5 st, 2 sc in next. Repeat from * around. (28 st)
R15-18: Sc around. (28 st)
R19: *Sc in next 5 st, sc2tog. Repeat from * around. (24 st)
R20: *Sc in next st, sc2tog. Repeat from * around (16 st) Firmly stuff body the rest of the way.
R21: *Sc2tog. Repeat from * around. (8 st) Fasten off, weave end through last stitches and pull tight.

Beak:
With Orange yarn, make a magic ring.
R1: 4 sc into ring (4 sts). Work in rounds
R2: (Sc in next st, 2sc in next st) twice (6 st). Fasten off, using an invisible join if you prefer.
Sew beak between and below eyes. Beak covers all of row 8 and parts of rows 7 & 9 (or as desired).
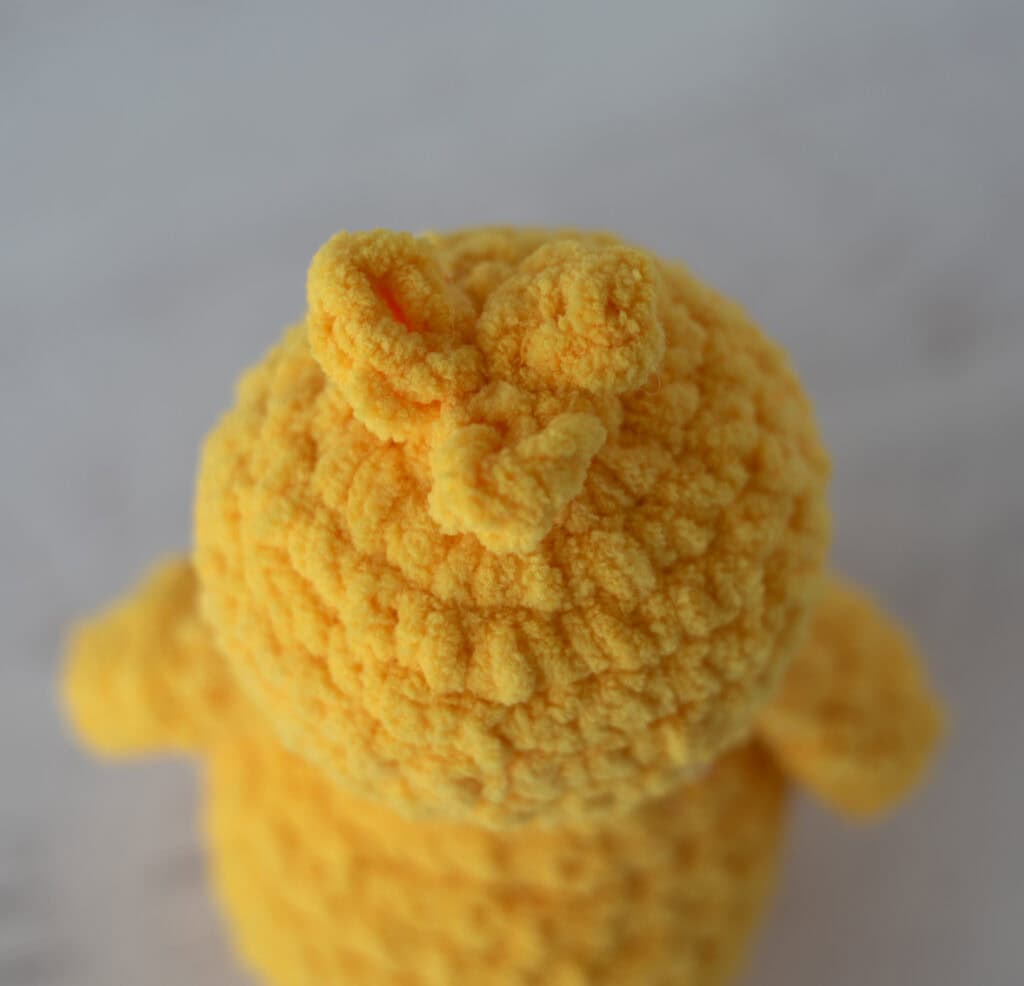
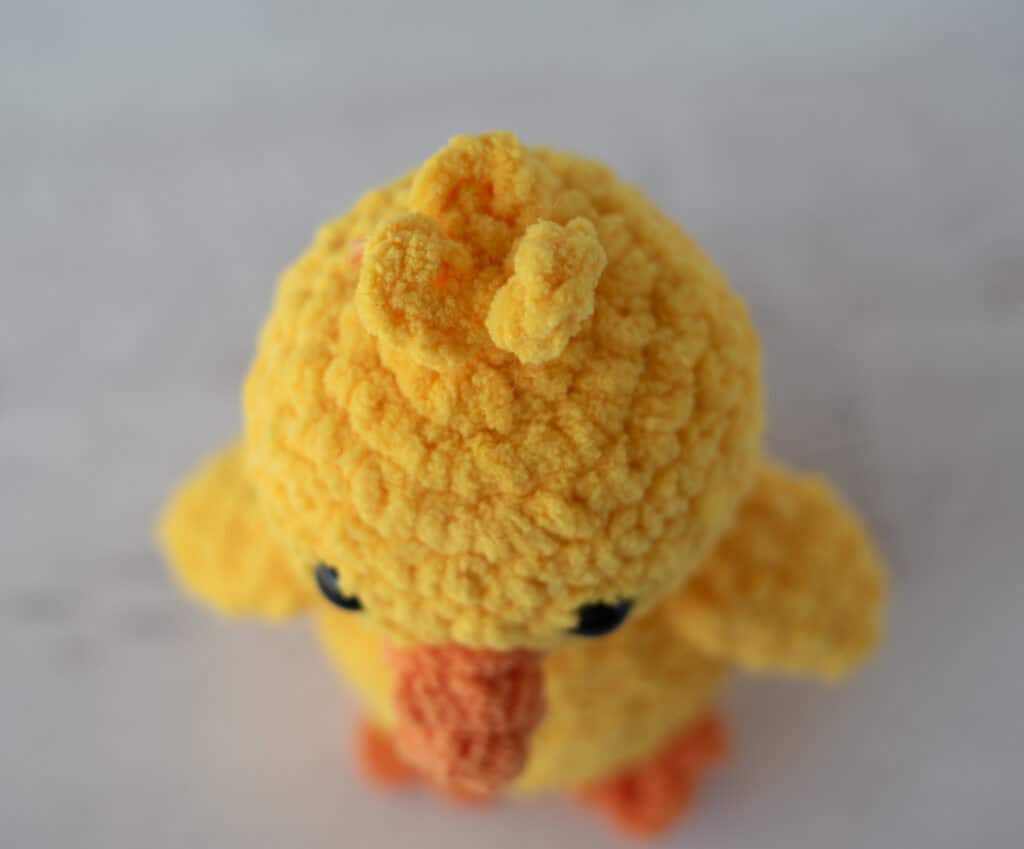
Top Feathers (Hair):
With yellow yarn, *ch 5, sl st in 5th ch from hook to form a loop, repeat from * 2 more times (3 loops). Fasten off and sew to the top of chick’s head.
Wings (Make 2):
With yellow yarn, make a magic ring.
R1: 4 sc into ring (4 sts). Work in rounds
R2: (Sc in next st, 2sc in next st) twice (6 st).
R3: (Sc in next 2 st, 2sc in next st) twice (8 st)
R4: Sc around (8 st)
R5: Fold piece in half, then carefully sc across the double thickness (4 st)
R6: Ch 1, (sc2tog) twice. (2 st) Fasten off leaving a long strand for joining.
Sew a wing on either side of the body near neck.
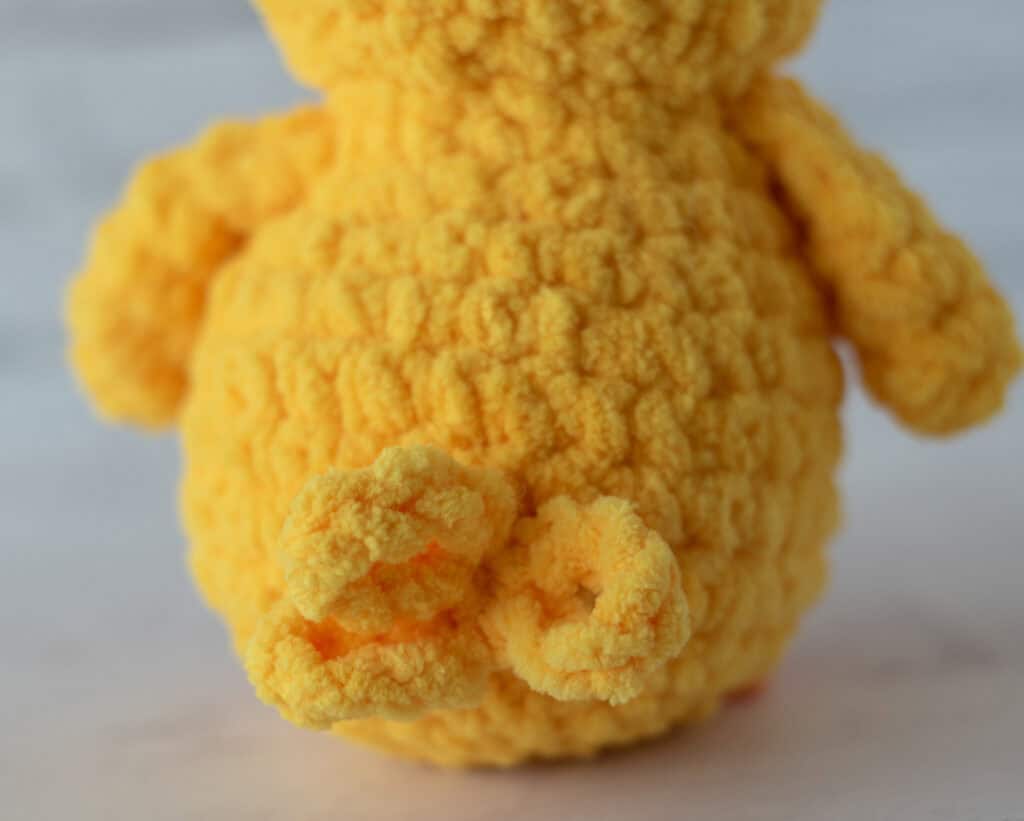
Tail Feathers:
With yellow yarn, *ch 7, sl st in 7th ch from hook to form a loop, repeat from * 2 more times (3 loops). Fasten off and sew to the lower back of bird.
Feet (Make 2)
With orange yarn, ch 3
R1: Sl st in 2nd ch from hook (1st toe made), *ch 2, sl st in 2nd ch from hook. Repeat from * once (3 toes made). Then, sl st to very 1st chain in round to connect the toes back to the start. Fasten off leaving a long strand for joining.
Sew feet between rows 19 and 20 of body, or as desired.
Weave in any loose ends.
Make It Your Own
One of my favorite things about this crochet chick pattern is how customizable it is!
Try:
- Pastel colors for spring
- Bright rainbow chicks for something fun
- Adding a tiny bow or flower
- Use DK or Worsted weight yarn and turn it into a keychain or ornament
Before you know it, you’ll have a whole flock of adorable crochet chicks!
I love all my bird crochet patterns, but this chick is so special. It is just so fun and fast to make. I love it tucked into my spring decor, but it also would make the most darling gift or Easter Basket essential.
Perfect Pairings
If you love this crochet chick, you might also enjoy:
- Blossom Bunny (perfect Easter companion!)
- Easter Bunny Basket
- Crochet Easter eggs
- Amigurumi Bunny
- Bunny Lovey
They all work beautifully together for a coordinated handmade Easter set.
Want to see all my free Easter patterns in ONE place? I’ve got you! Pop over to this post to see ALL my Free Easter Crochet Patterns
I love seeing your finished projects! If you enjoyed making the Chick Crochet Pattern I’d love to see yours on Instagram, be sure to tag me @crochet365knittoo. If you are on Facebook, stop over to the Crochet 365 Knit Too Facebook page or pop over to the Crochet365KnitToo Club and share a photo! I’d love to see your work!