
Amigurumi Heart – An Easy Crochet Tutorial
This post may contain referral/affiliate links. Please read my disclosure for more info.
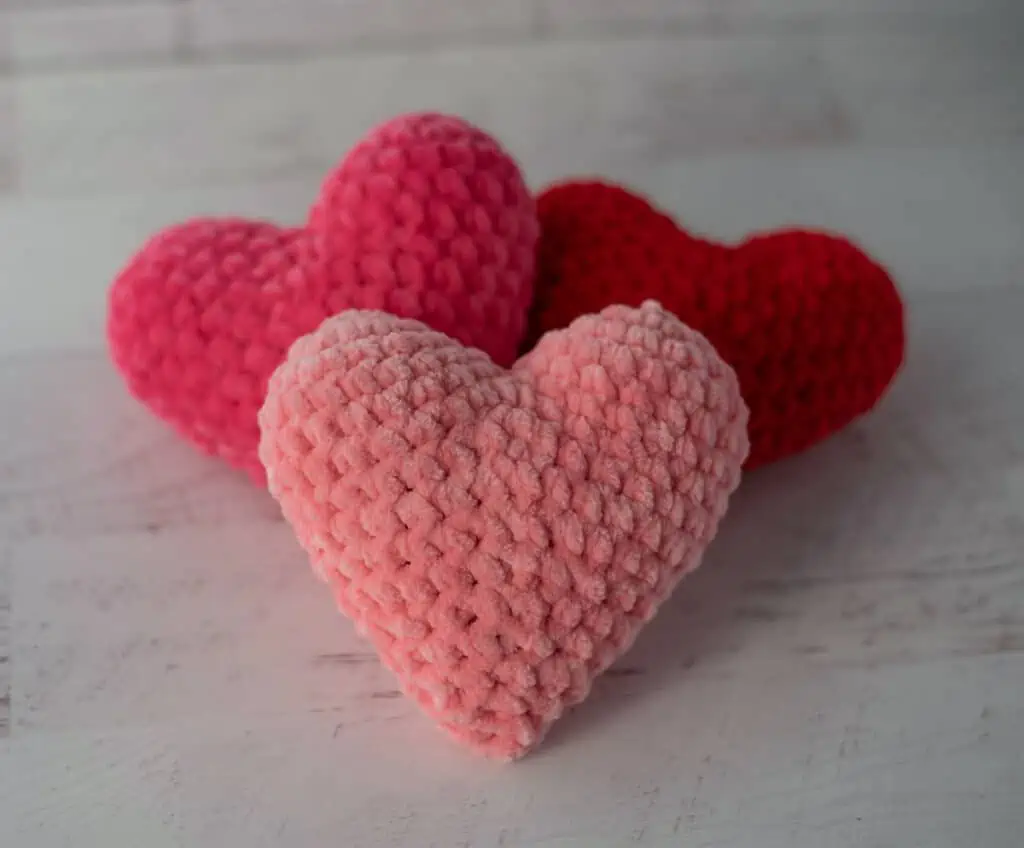
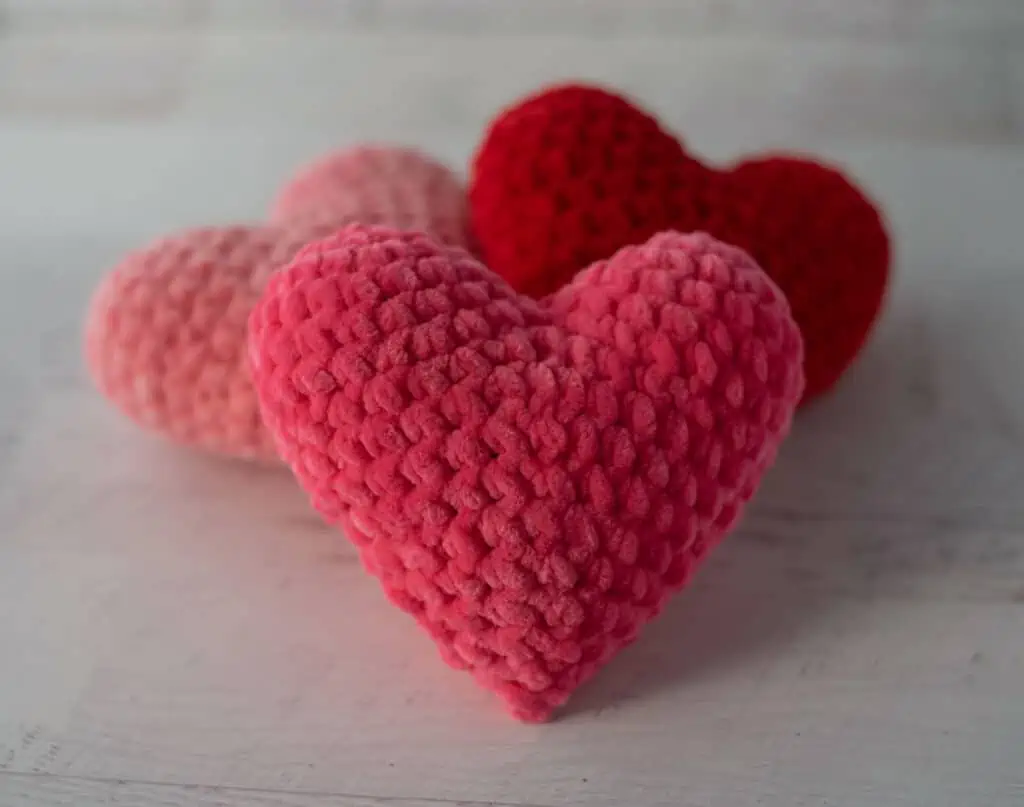
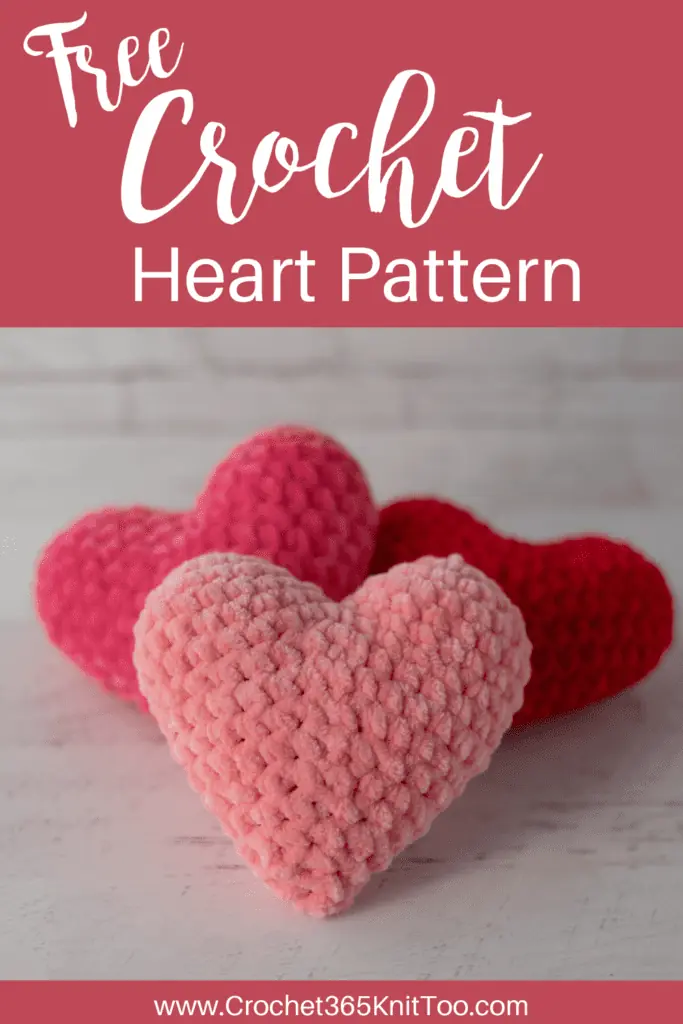
I have a new crochet love and it is utterly, completely, this amigurumi heart!
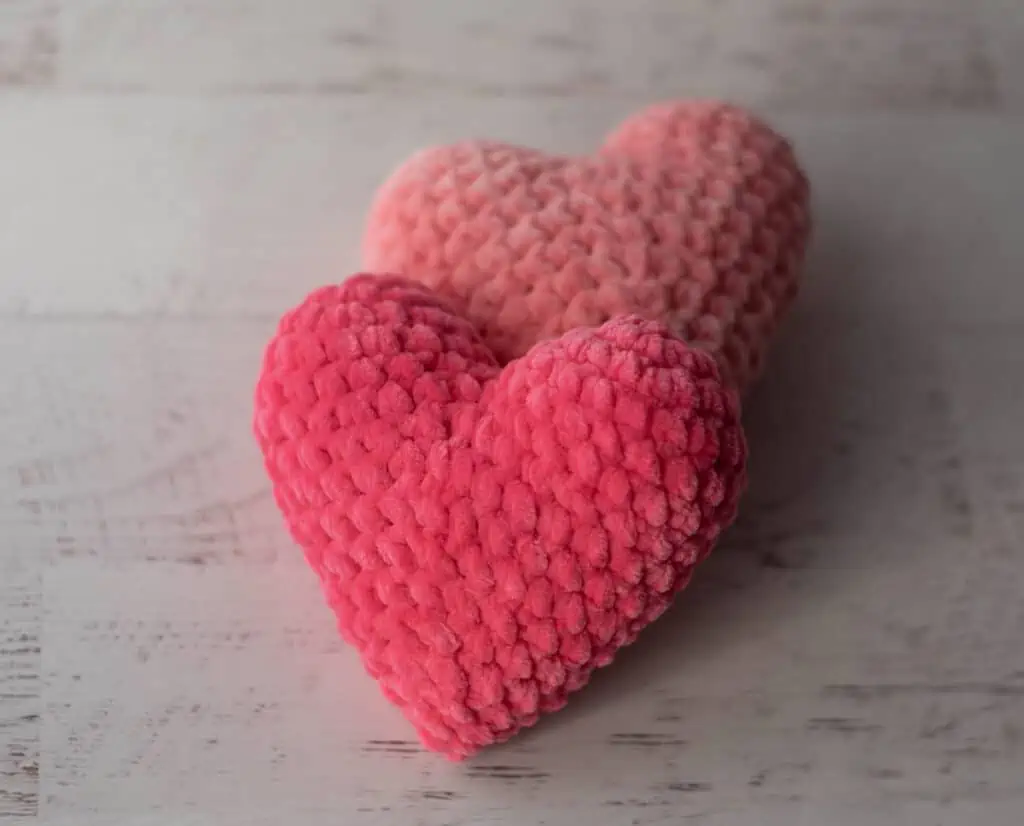
I’ve met chenille yarn, my friends, and I don’t think my life will ever be the same. Seriously? Why was I avoiding crocheting with this bit of amazingness?
Sigh. That soft, squishy goodness makes my heart so happy. And it’s a super bulky weight #6 yarn which means this is one fast project! I so love that.
Let’s talk details for this darling amigurumi heart.
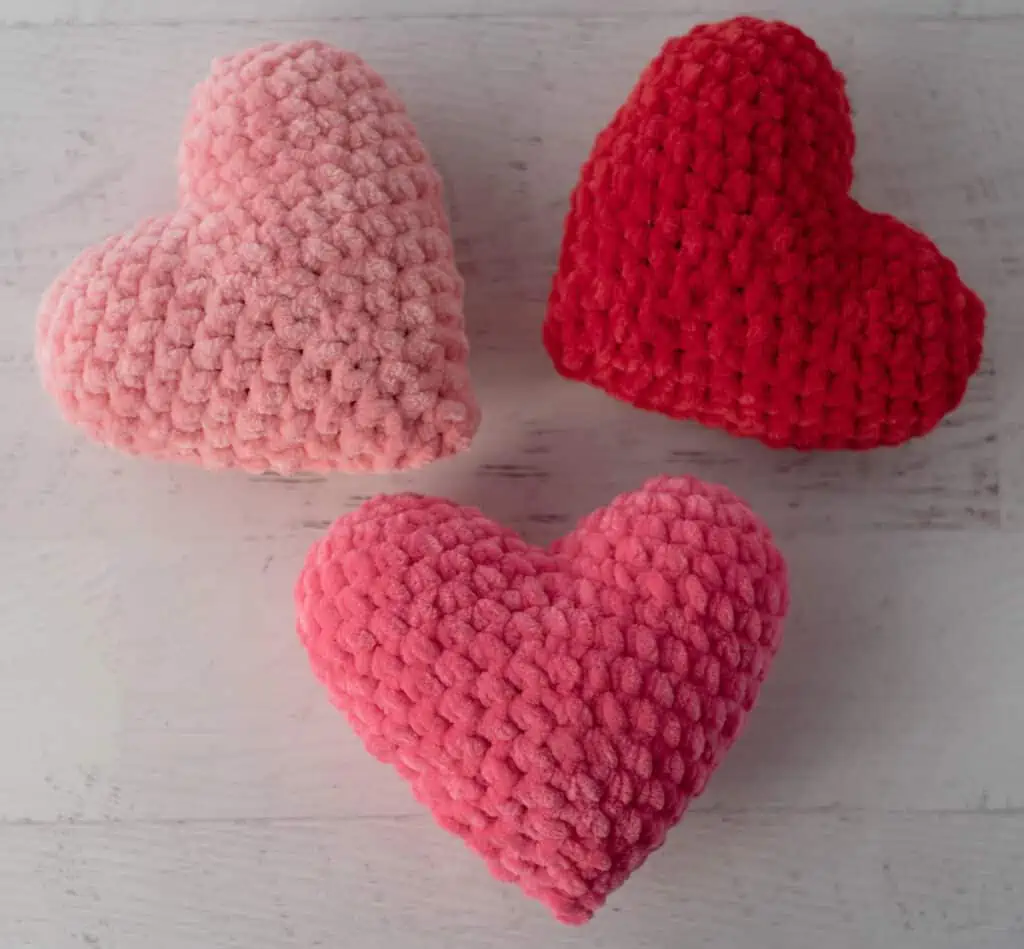
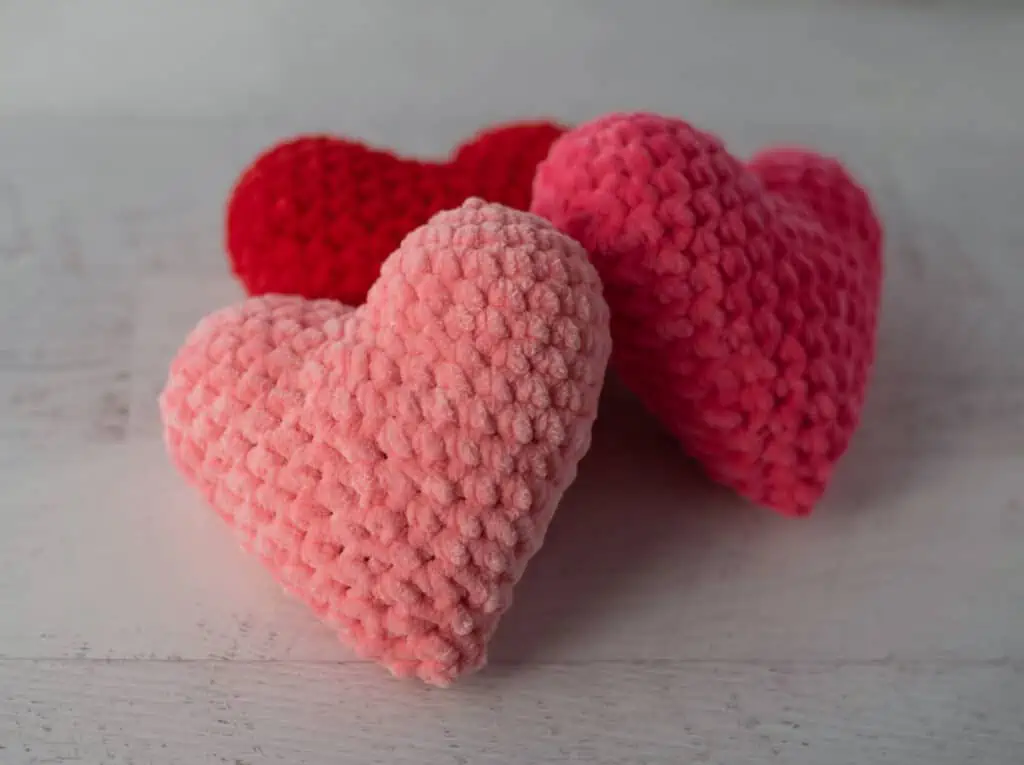
I used Premier Parfait Chunky, which is a #6 super bulky weight yarn. You could substitute another super bulky yarn. You could even make different larger hearts or smaller hearts by using other sizes of yarn, like worsted weight yarn, just know that the size could turn out different.
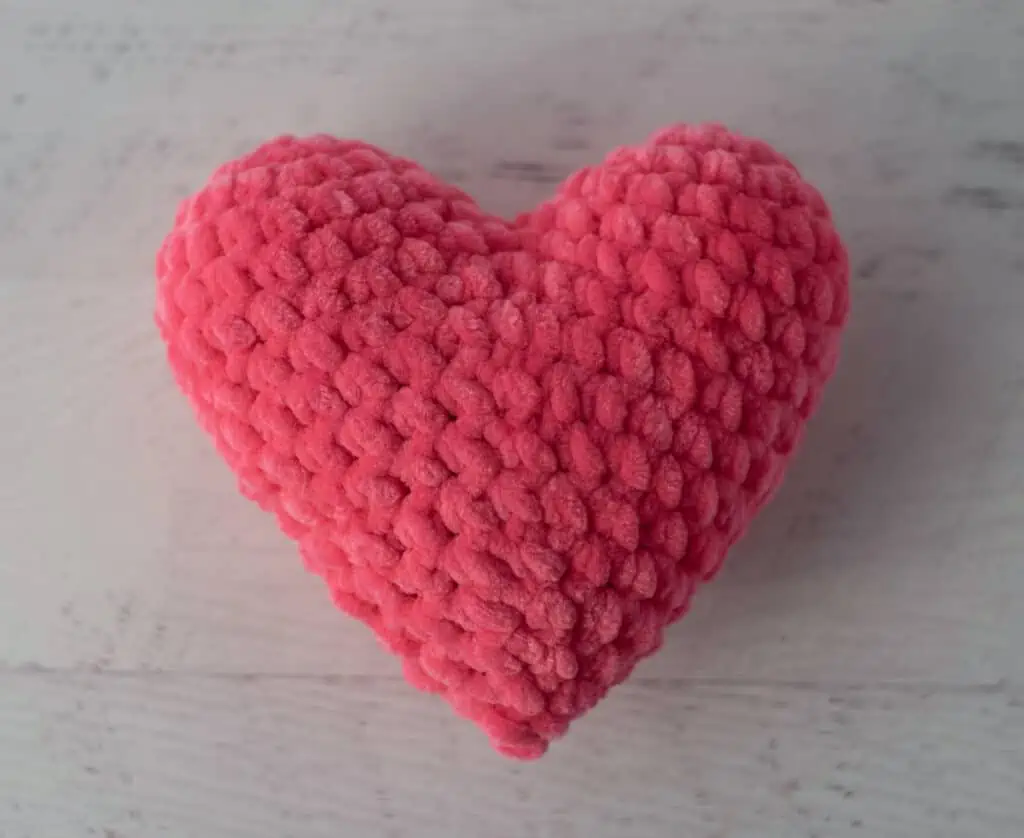
My bit of goodness is about 5 inches tall and 5 inches wide. Perfect size for grabbing and squishing like little crochet heart pillows! It looks so cute tucked into your home decor. And if you have a little one in your life and you’re looking to crochet a little something for Valentine’s Day, this is totally your easy-to-make heart crochet pattern.
More Crochet Heart Patterns
If you love the amigurumi heart pattern, you might also like to check out these darling patterns:
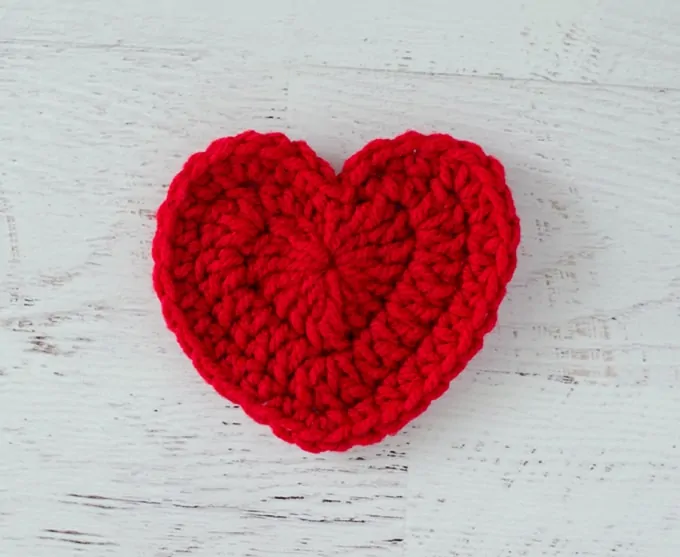
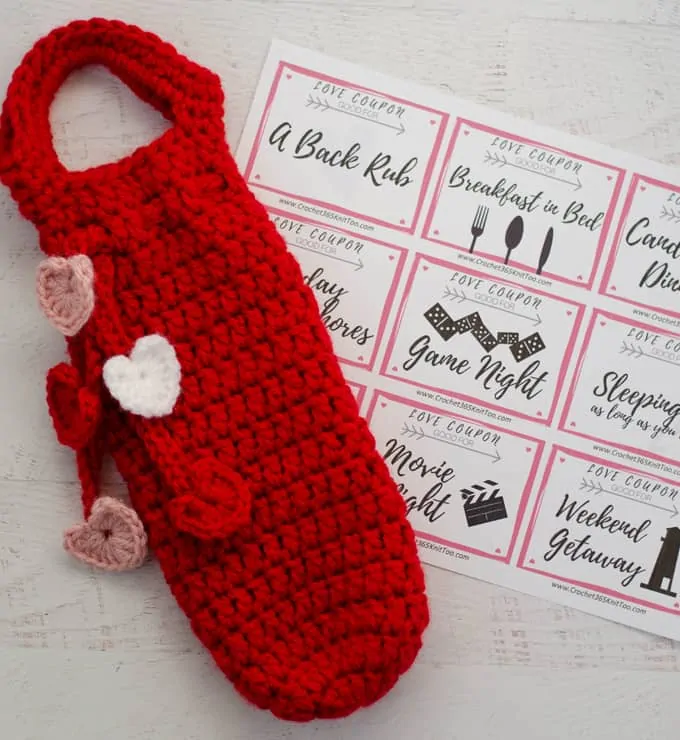
Crochet Heart // Valentine Crochet Bottle Cover
For the amigurumi heart, we start at the top and work the 2 bumps at the top of the heart as two separate pieces and then join them together just like you’d join amigurumi limbs. If you’d like a complete photo tutorial on joining amigurumi legs in this manner, please read my post on Joining Amigurumi Limbs.
I’ve worked this design to be very strategic, so be sure to follow the instructions carefully. We’ll use that tail of yarn from fastening off the first hump to carefully close that little opening that forms when we join the two pieces.
The directions will tell you exactly when you’ll thread that yarn tail into your yarn needle. So just know that the piece of yarn is going to be hanging around for a few rows until we’re ready to stuff the heart with fiberfill!
The decreases are also very strategically placed to form the perfect heart shape. I’m using the abbreviation (sc2tog) in this pattern, which simply means to single crochet the next two stitches together. I like to do this as an invisible single crochet decrease but that is a little trickier to navigate with the chenille yarn so feel free to do a traditional decrease instead, if you prefer and want to avoid the invisible decreases.
I really love how this little cutie came together and hope you enjoy crocheting it as much as I did!
Crochet Amigurumi Heart
Here is what you will need:
- US J 10/6.0 mm crochet hook(these are my absolute favorite hooks I recommend to everyone!).
- ¾ oz Super Bulky (#6) Weight yarn for each heart. Samples were done in Premier Parfait Chunky in Pink Lemonade, Hibiscus, and Poppy colors
- Crochet Hook Size J 10/6.00 mm
- Stitch Marker
- Fiberfill
- Tapestry needle and scissors
Resources and tutorials you may find helpful in following this pattern: Crochet Abbreviations, US to UK Crochet Conversion Chart. Find links to stitches on the “Tutorial” menu: Getting Started will show basic stitches such as the single crochet, double crochet and chain stitch used in many patterns and Crochet Stitch Dictionary shows our growing collection of crochet stitch tutorials.
Gauge is not important in this pattern. You may use other weights of yarn. Adjust hook size to fit your needs.
Finished Amigurumi Heart Size
Heart measures 5” tall by 5” wide.
If you’re looking to learn how to make the best amigurumi, be sure to check out my Amigurumi: A Beginner’s Guide. It’s a massive 165 page ebook of detailed tutorials, tips and tricks (plus exclusive patterns). You’ll learn everything you can think of from the magic ring and working in continuous rounds to invisible decreases and other pro tips. .

Top of Heart (Make 2):
With Main Color yarn, make a magic ring
R1: 6 sc into ring (6 sts). Work in rounds.
R2: 2 sc in ea st (12 st)
R3: *sc in next st, 2 sc in next. Repeat from * around. (18 st)
R4-5: sc around (18 st).
For first hump, slip stitch to next stitch, then fasten off, leaving a 6” strand for sewing later.
THEN, repeat through round 5 for the second hump, marking the last stitch of the round with a stitch marker. After round 5, do NOT slip stitch or fasten off, continue as follows:
In Row 6, we join the two humps together and single crochet around as follows:
R6: Pick up the first hump piece with the last stitch of that round facing you. Work a single crochet into the first stitch of that round, making sure to leave the long fastened off yarn hanging free on the outside of your work, between the joining point of the two humps. Then single crochet around the remaining 17 stitches in the first piece. Then single crochet into the next stitch on the other hump and continue to work single crochet stitches in every stitch around that hump. (36 stitches and both pieces are joined together).
There will be a small hole between the 2 humps which you will stitch closed later, but for now just continue to crochet with the strand hanging free until instructed to sew it closed.
R7: *sc in next 4 st, (sc2tog). Repeat from * around (30 st)
R8: sc around (30 st)
R9: *(sc2tog), sc in next 13 st. Repeat from * once (28 st)
R10: *(sc2tog), sc in next 5 st. Repeat from * around (24 st)
R11: sc in next 2 st, *(sc2tog), sc in next 4 st. Repeat from * around. Sc in last 2 st in round. (20 st)
R12: *(sc2tog), sc in next 3 st. Repeat from * around (16 st)
R13: *(sc2tog), sc in next 2 st. Repeat from * around (12 st)
Thread a tapestry needle with the fastened off strand and carefully sew the hole in between the 2 humps of the heart closed and weave in the end on the inside of the heart. Then start stuffing the heart with poly fil and continue to stuff as the last rows are completed.
R14: *sc in next 2 st, (sc2tog). Repeat from * around (9 st)
R15: sc in next st, (sc2tog). Repeat from * around (6 st)
Stuff heart the rest of the way, making sure to maintain the heart shape.
R16: (sc2tog) around (3 st). Fasten off, weave in through the last stitches, cinch close and weave in the ends.
I love seeing your finished projects! If you enjoyed making this Crochet Amigurumi Heart or any of my crochet patterns, I’d love to see yours on Instagram, be sure to tag me @crochet365knittoo. If you are on Facebook, stop over to the Crochet 365 Knit Too Facebook page or pop over to the Crochet365KnitToo Club and share a photo! I’d love to see your work!
Love this! Great size for kids to take to bed at night!
This looks sooo cute!! I would love to make some for my daughter’s wedding. Thank you for sharing. 🥰
Very fun idea!
Hi thank you for the Heart pattern turned out gorgeous.
its rlly cute i made a red one and embroidered a face on it 😄
I am making hearts now in different colours
They are really cute
Thank you for the pattern
I can not figure this pattern out. When I have two the two circles and i am to join them together it makes no sense. You say to crochet 18 then the next 18 for a total of 36 but how can that be if you are joining them? A picture of what you mean would be very helpful. thank you
Try looking at this post on joining amigurumi limbs. It’s a similar concept. In this joining round you are crocheting around one piece, then crocheting around the other, just like they are 2 little legs (but they are humps on our heart). Hopefully that helps.
it actually says 18, then the rest for a total of 30 but I couldn’t get it right either. had to use a method from another heart pattern to join.
I think you’re looking at 2 rows. When you join the 2 humps you’ll end up with 36 stitchers (18 from one hump and 18 from the other). In the NEXT round you decrease and so at the end of THAT round you have 30 stitches.
Hi I LOVE your patterns and hearing about your life especially Winston. I love making your patterns and I wonder if you could give me some advice I have tried crocheting with chenille but it just sticks to my hook and then the nap comes off and I have only a bit of string. What am I doing wrong because I would love to be able to use chenille it is so soft and cuddly.
Thanks for the kind words about my newsletters and my Winston pup! Life is definitely an adventure! As far as chenille yarn goes, I find it varies depending on the brand. I occasionally have issues when I have to rip back my work, but otherwise, I love the Premier Parfait yarn. You could also switch to a different hook and see if that helps too.
I’m going crazy making these hearts! They are so fun & quick! I’m using up some of my yarn stash as well; although the chenille is definitely my fave!
Love the pattern!
I LOOVE THIS SOOO MUCH
I absolutely love this!! It is the perfect size for children. I put it in my car for when my toddler falls asleep in the car seat to keep her head comfortable.
Super cute pattern! It turned out really well. I made one for my niece, who requested a plain purple heart, so this was perfect. Thank you so much for sharing!
please elaborate on joining the top halves. it would be great if it were explained like the person doing the pattern has never made the heart before. I’ve tried multiple times to join the halves exactly as described but I don’t know what to do with the last loop from the second half. does it stay on the hook while I’m going around row 6? how do you keep the tension? the two halves keep pulling apart even when I clip them together, the string just pulls and won’t go back.
You might find this post on joining amigurumi limbs helpful. It is the same technique. You start by making each “hump”. You fasten off the 1st hump. When you do the 2nd hump, you keep the loop on your hook and pick up the 2nd hump and essentially crochet around 2 pieces. As stated in the pattern, this DOES create a little gap between the 2 humps, which you sew up later using the end from hump 1.