
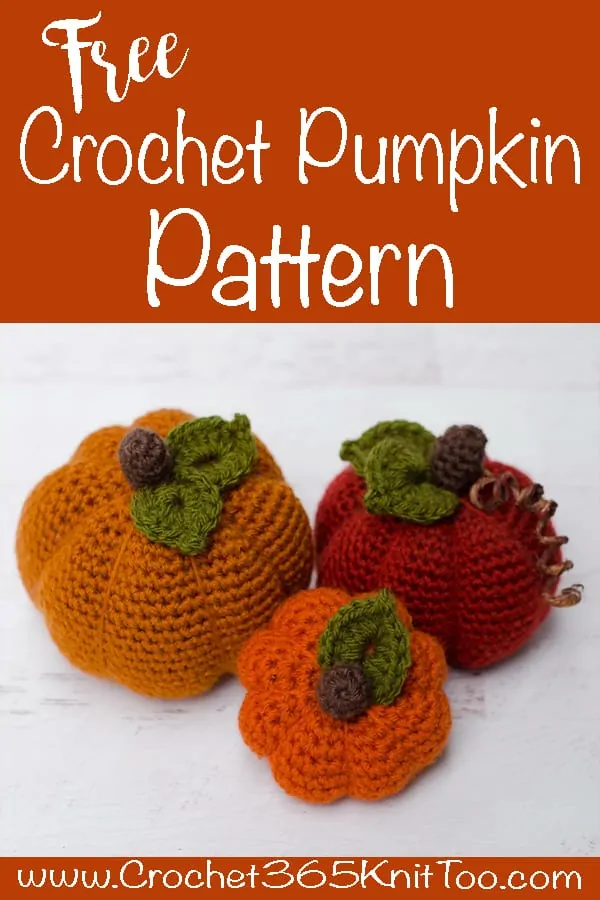
Large Crochet Pumpkin
This post may contain referral/affiliate links. Please read my disclosure for more info.
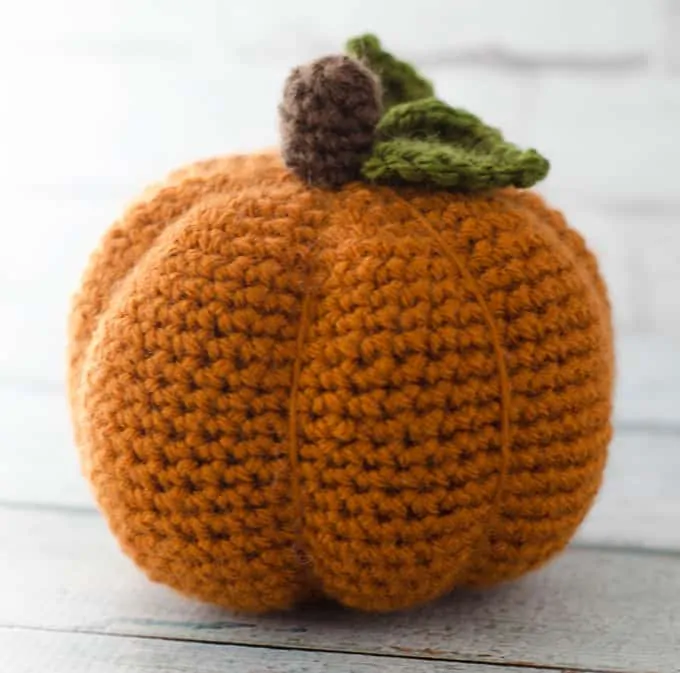
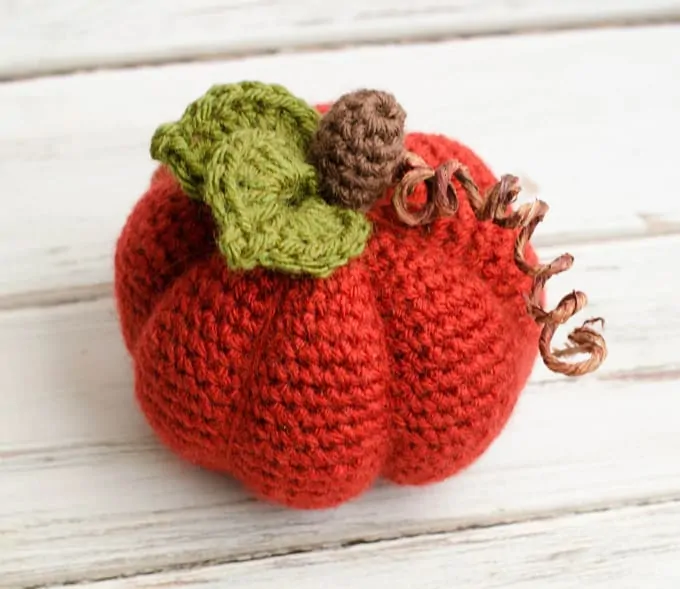
Delicious. The perfect shade of pumpkin orange. A tall and stately fellow, this darling large crochet pumpkin rounds out my trio of pumpkin patterns, perfect for decorating your home for fall.
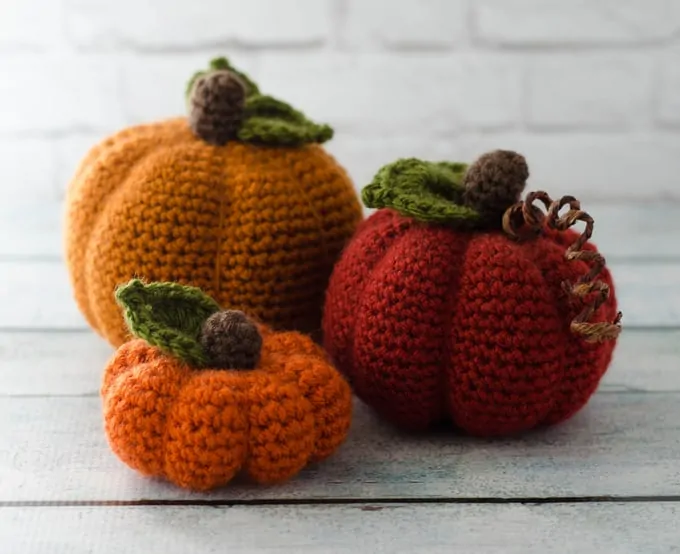
When I designed the small crochet pumpkin and its big sister medium pumpkin with the cutie pie tendril, I always knew a 3rd, large crochet pumpkin was destined to complete the trio. But fall got away from that first year, it seems, and I never did get to that larger pumpkin. Until now. Until THIS GUY! And now, the set is complete!
These pumpkins are some of the easiest and most satisfying crochet patterns you can make. There’s the mindless crocheting in the round. The stuffing and shaping which always makes me feel immensely satisfied, as though I’ve accomplished an amazing feat.
And then the sewing on of the final touches, which completely “makes” these pumpkins something special. In an evening or two, you’ve transformed your house with a touch of crochet fall goodness that’s not too overstated. No jarring, clashing colors. Just a simple sharing of bounty, as if you’re ushering in fall with a gentle whisper to ease the transition from warm, sunny summer days to cool, crisp ones.
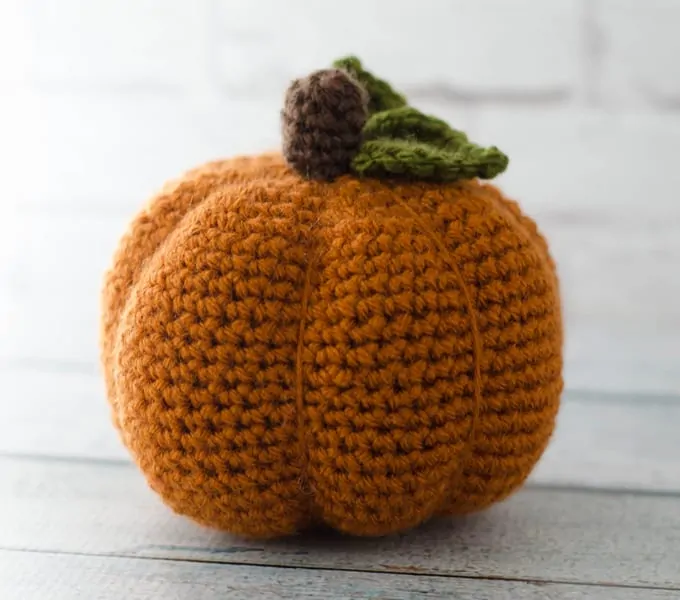
I completely love this large size crochet pumpkin pattern. Sigh.
So maybe you’d like to say ‘Hello’ to fall too by crocheting up a crochet pumpkin or two or three of your own! I hope they brighten up your home just like they are brightening up mine!

Large Crochet Pumpkin Pattern
Materials
- 2.5 ounces worsted weight yarn in Orange, green and brown. I used Vanna’s Choice in Rust and scrap yarn for green and brown.
- US G6/4.00 mm crochet hook these are my absolute favorite hooks I recommend to everyone!)
- Fiberfill stuffing
- Tapestry needle and scissors
Resources and tutorials you may find helpful in following this pattern: Crochet Abbreviations, US to UK Crochet Conversion Chart. Find links to stitches on the “Tutorial” menu: Getting Started will show basic stitches used in many patterns and Crochet Stitch Dictionary shows our growing collection of crochet stitch tutorials.
Large Pumpkin Size
Pumpkin measures approximately 4.5″ in width and 4.5″ in height.
Pumpkin
R1: Make a magic ring and work 8 sc
R2: 2sc in ea st around (16 st)
R3: *sc in next st, 2sc in next st, repeat from * around (24 st)
R4: *sc in next 2 st, 2sc in next st, repeat from * around (32 st)
R5: *sc in next 3 st, 2 sc in next st, repeat from * around (40 st)
R6: *sc in next 4 st, 2 sc in next st, repeat from * around (48 st)
R7: *sc in next 5 st, 2 sc in next st, repeat from * around (56 st)
R8-20: sc around (56 st)

R21: *sc in next 5 st, sc 2 tog, repeat from * around (48 st)
R22: *sc in next 4 st, sc 2 tog, repeat from * around (40 st)
R23: *sc in next 3 st, sc 2 tog, repeat from * around (32 st)
R24: *sc in next 2 st, sc 2 tog, repeat from * around (24 st)
R25: *sc in next st, sc 2 tog, repeat from * around (16 st) Stuff
R26: sc 2 tog around (8 st) Fasten off, leaving a long tail for sewing segments.
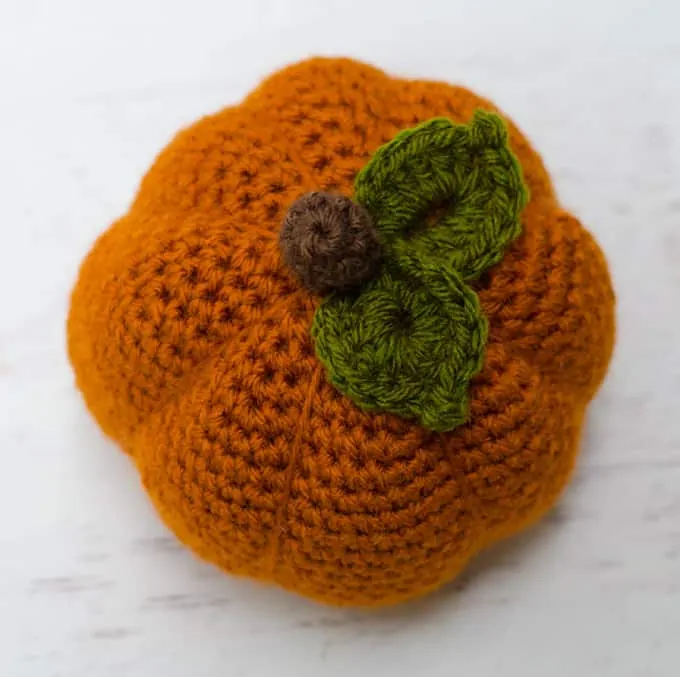
Stuff the pumpkin. Gather up and close the opening. This pumpkin goes together just like the medium pumpkin. The sections are wrapped around the outside. Wrap yarn over and around pumpkin to starting point to divide pumpkin in half. Pull tight and knot at center. Now divide in half again to form 4 equal sections, wrapping the yarn up and around. Loop under the knot you made and tighten it up. Knot whenever you feel like you need to hold the yarn and the end of a wrap. Divide the pumpkin 2 more times to have a total of 8 sections. Knot securely at center and finish off.
At this point you have a choice which side of your crochet pumpkin you want to show as the top and which to show as the bottom. Decide which you’d like for the top and move on to making the stem and leaves!
Large Pumpkin Stem
R1: Make a magic ring and work 8 sc.
R2-5: sc around. At end of last round, slip stitch to next stitch and finish off, leaving a long strand for sewing. Stuff.
Leaves
*Chain 8 and join to form ring.
R1 in the ring just made work all of the following: ch 2, 6 dc, ch 3, sl st to 1st ch, 6 dc, ch 2, sl st.* One leaf made. Do NOT fasten off.
Repeat from * to * to make a 2nd leaf. Fasten off, leaving a long strand for sewing.
Sew the leaf and stem in place on top of the pumpkin.
MORE CROCHET PUMPKIN PATTERNS
If you love the this darling crochet pumpkin, you might also like to check out these other pumpkin patterns. You can find all our Home Decor Patterns here.
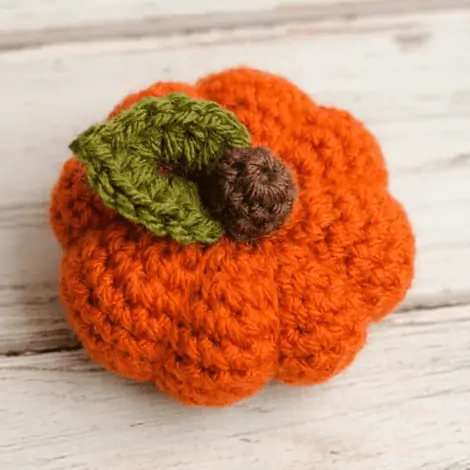
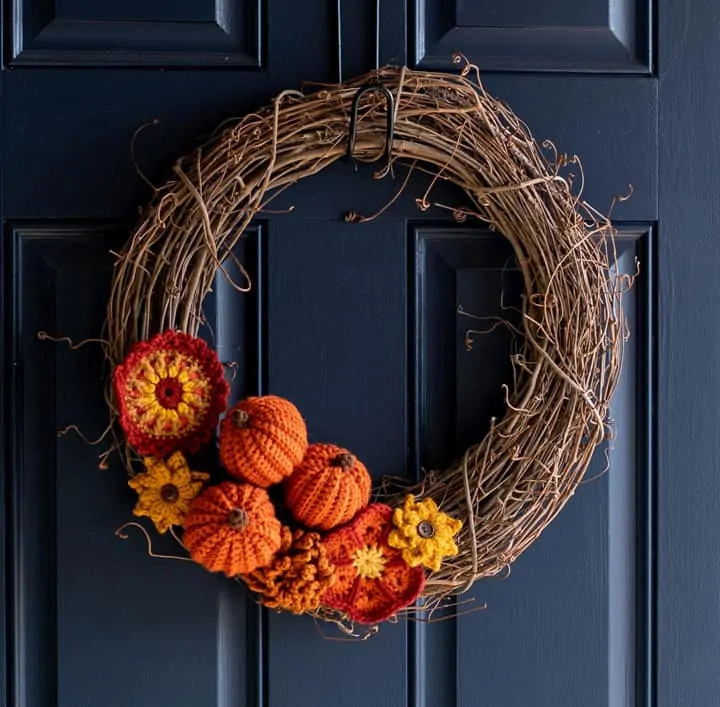
Small Crochet Pumpkin // Crochet Wreath // Medium Crochet Pumpkin
I love seeing your finished projects! If you enjoyed making the Large Crochet Pumpkin pattern, I’d love to see yours on Instagram, be sure to tag me @crochet365knittoo. If you are on Facebook, stop over to the Crochet 365 Knit Too Facebook page or pop over to the Crochet365KnitToo Club and share a photo! I’d love to see your work!
Oh, what very nice pumpkins. I love this decoration.
The stems for the med. and large the pattern states row 2-5 sc around at end of row 3 slip stitch in next stitch and finish off. Do i do 5 rounds or 3. Thank you for your time
I changed it to “last round” to make it more clear.
I absolutely love your pumpkin patterns! They are so adorable and are very fun to make. Thank you so much for sharing!
The pattern for the medium and large pumpkin are the same. Was this a mistake?
The large pumpkin has more rows which makes it taller. It is a separate post on the blog.. but the ad-free PDF does include all three sizes of pumpkins. Hope that helps clarify things.
Thank you for sharing, very simple and cute!
Should I be joining and chaining one at the end of each round? These pumpkins are adorable!
The pumpkins are worked in a continuous round (like a spiral). Just use a stitch marker to keep track of your rows as you go along!
Hi Cheryl, I just copied the instructions for the three pumpkins. You restored my faith in kind, people. Thank you . I look forward to other patterns. Maybe you can help with another pattern. Tessellated Hearts Filet Blanket? Or other heart patterns. Thank you again, I ‘m another follower.
That is a very cool pattern! Cheryl posted one of my heart baby blankets here if you are interested! https://www.crochet365knittoo.com/heart-and-soul-crochet-heart-blanket/
Please could you clarify the shade of yarn used for the large pumpkin as it says it’s the same colour as the small pumpkin but they look different colours on the picture. Thanks
Here are the colors for the 3 pumpkins: I used Vanna’s Choice Yarn in Terra Cotta (small), Brick (medium) and Rust (large).
Thanks for the pattern. The end result looks so cute! May I sell the finished pumpkins on and/or offline? I would credit you as the designer, of course! 🙂
Finished items from my patterns can be sold. The pattern itself, however, is copyrighted. Hope that helps!
Beautiful pattern! I’m having a hard time with the leaves. When I chain 8 and join to form a ring, the hole in the center of the leaf is massive at the end. Which stitch am I joining?
You chain 8 and then join to the beginning of the chain. This creates a hole and you crochet the stitches around the chain, into the hole to form the leaf.