
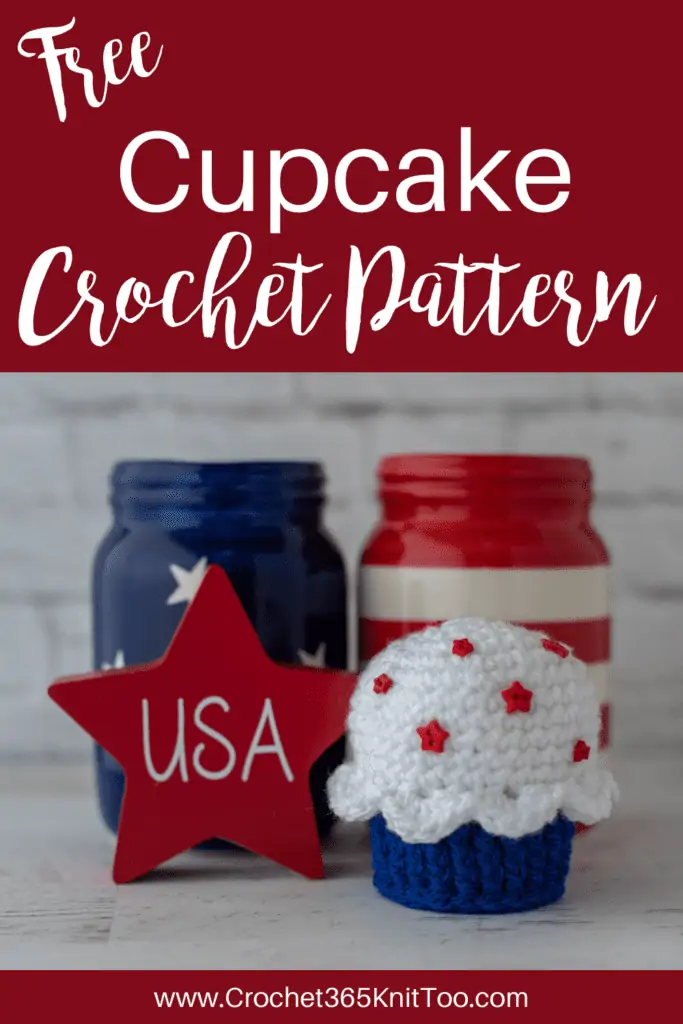
Cupcake Amigurumi: Rock the Red, White and Blue
This post may contain referral/affiliate links. Please read my disclosure for more info.
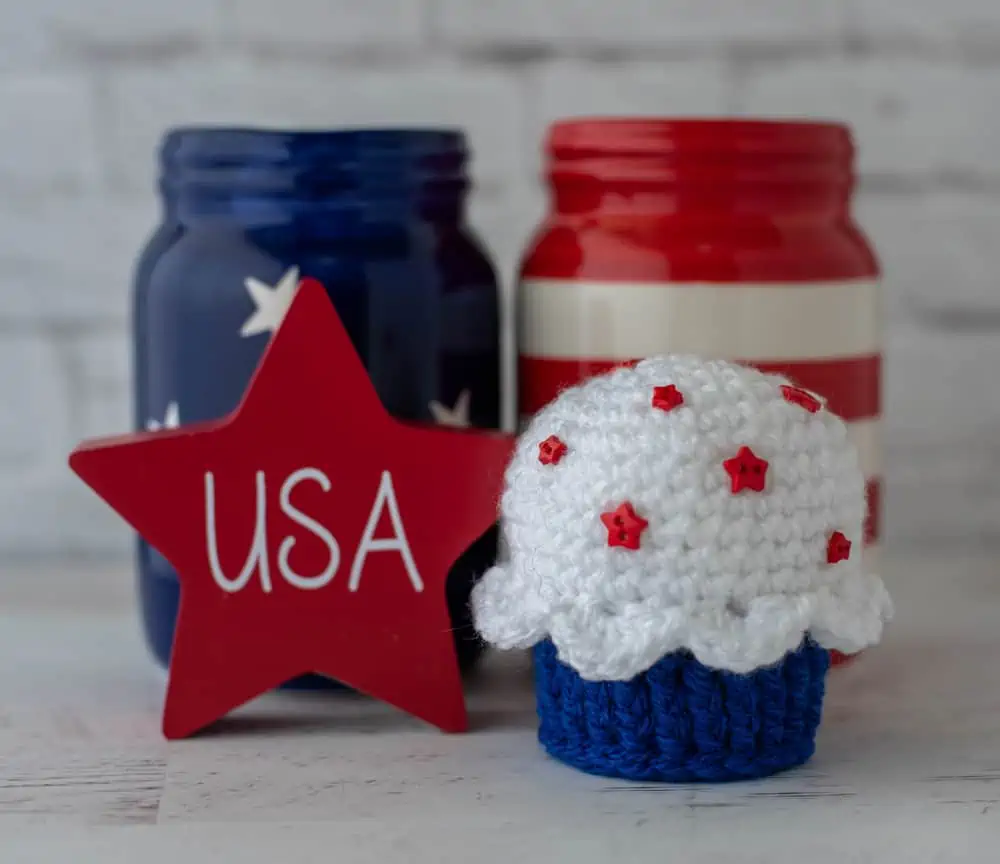
There’s nothing like a little bit of red, white and blue to brighten up a summer day! Meet this darling cupcake amigurumi!
Ever since I made the Bunny Crochet Cupcake, I’ve dreamed of this little patriotic number. And when I found the tiny little star buttons.. well.. it was destiny!
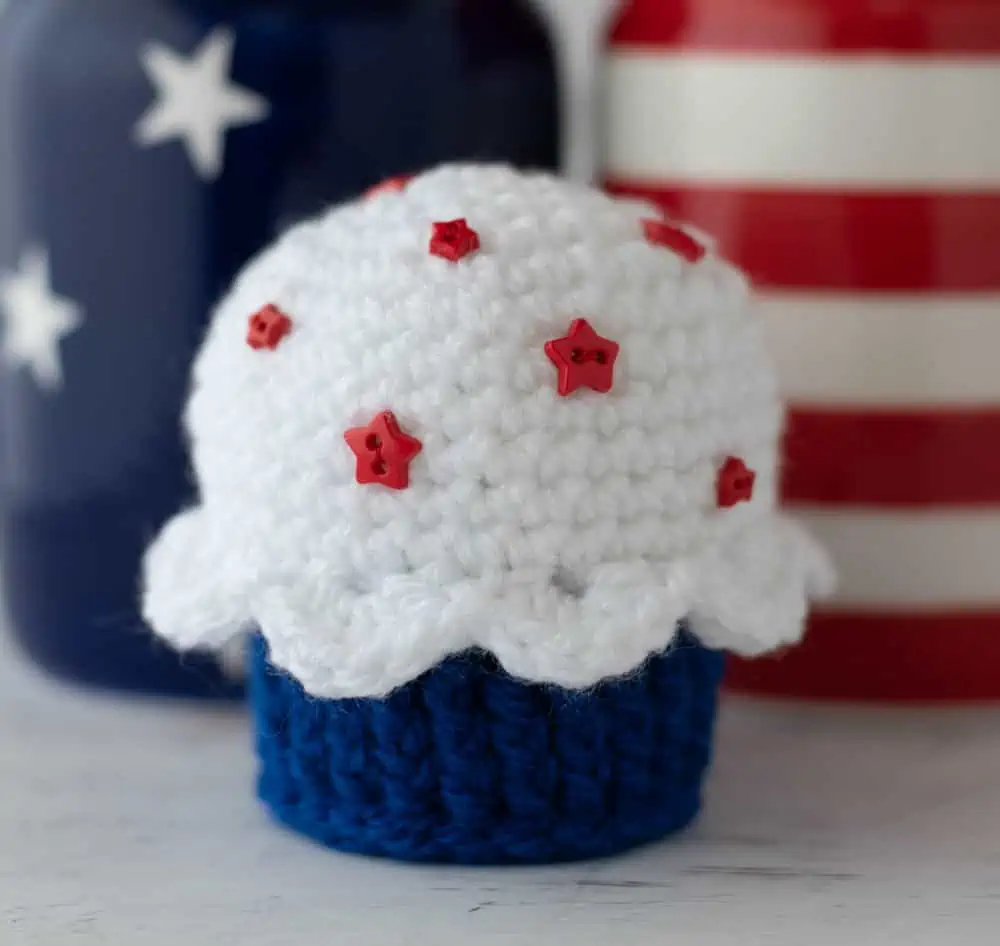
I made this cute amigurumi cupcake out of scrap white and blue yarn. You could easily use red yarn and blue star buttons instead. So, so cute! I love how the little buttons look like real cupcake sprinkles!
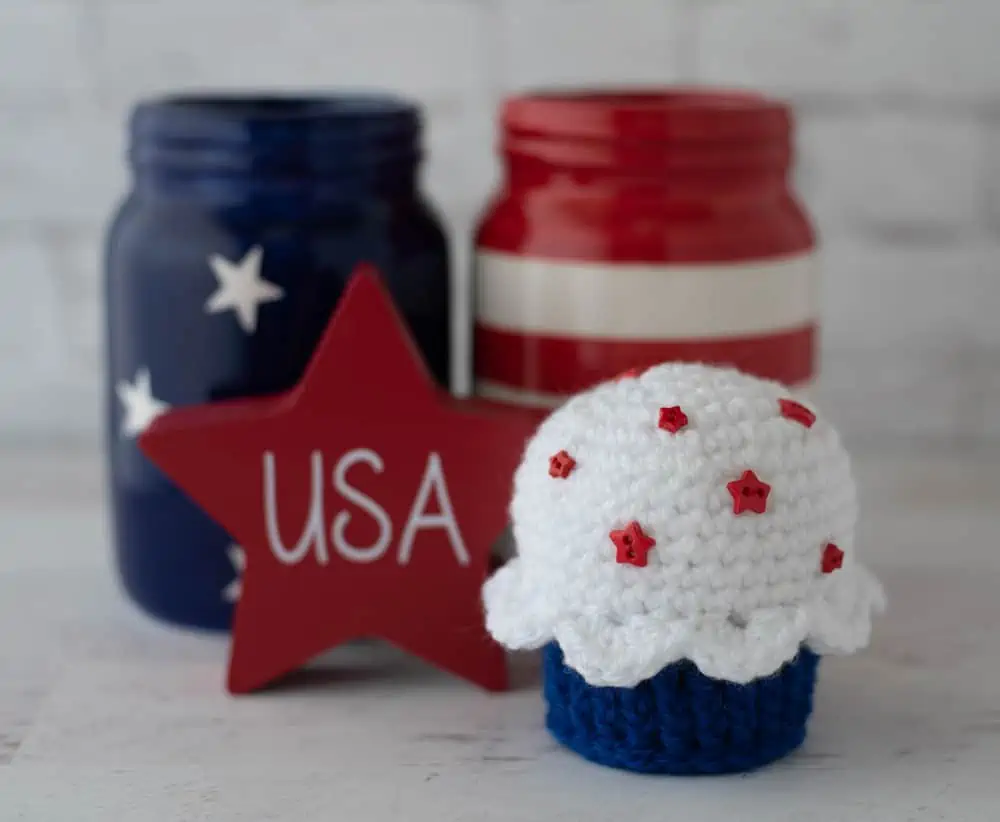
This cupcake amigurumi can be adapted to a variety of holidays and seasons. Just change up the colors and the embellishments and you’re good to go! They fit perfectly into your other decor. Or put one on your desk at work to make you smile every time it catches your eye!
Speaking of decor, can I just say I’m kinda in love with the stars and stripes jars and that cute USA star block? I spied them in the holiday display at Hobby Lobby and I couldn’t help myself. I’m a sucker for all the red, white and blue decor anyway, but something non traditional makes me extra happy.
This is such a fast free crochet pattern and perfect for scrap yarn! The cupcake construction is exactly the same as the bunny crochet cupcake – a simpler variation, if you will. (Note the ad-free printable version I’ve linked below is actually the bunny cupcake pattern.)
Crochet Cupcake Amigurumi
Here is what you will need for this cute pattern:
- US G 6/4.00 mm crochet hook (these are my absolute favorite hooks I recommend to everyone!)
- Worsted Weight Yarn (Sample used scraps of Paintbox Simply Aran)
- 1/2 oz White
- 1/4 oz Blue
- Small Star buttons
- Fiberfill
- Tapestry needle and scissors
Resources and tutorials you may find helpful in following this pattern: Crochet Abbreviations, US to UK Crochet Conversion Chart. Find links to stitches on the “Tutorial” menu: Getting Started will show show basic stitches including the single crochet stitch, chain stitch and post stitch used in this pattern. And the Crochet Stitch Dictionary shows our growing collection of crochet stitch tutorials.
Cupcake Amigurumi Finished Size:
Approximately 3.5″ tall from top to bottom of cupcake
Special Stitches:
Front Post Half Double Crochet: A front post half double crochet stitch is a half double crochet worked AROUND the indicated stitch. Check out my crochet post stitch tutorial for more details.
Cupcake Bottom:
With Blue Color yarn, make a magic
R1: 6 sc into ring (6 sts). (Do not join, worked in rounds)
R2: 2 sc in ea st (12 st)
R3: *sc in next st, 2 sc in next. Repeat from * around. (18 st)
R4: *sc in next 2 st, 2 sc in next. Repeat from * around. (24 st)
Slip stitch to next stitch. Then fasten off blue yarn, weave in end and reserve this piece to attach later.
Cupcake:
With White Color yarn, make a magic ring
R1: 6 sc into ring (6 sts). (Do not join, worked in rounds)
R2: 2 sc in ea st (12 st)
R3: *sc in next st, 2 sc in next. Repeat from * around. (18 st)
R4: *sc in next 2 st, 2 sc in next. Repeat from * around. (24 st)
R5: sc in next st, 2 sc in next *sc in next 3 st, 2 sc in next. Repeat from * around until last 2 stitches then work a sc in next 2 st. (30 st)
R6: *sc in next 4 st, 2 sc in next. Repeat from * around. (36 st)
R7-10: sc around. (36 st)
R11: sc around to last st, then sl st in last st
R12: continuing with white yarn, sc in back loop only around, changing to blue yarn in last stitch.
R13: With blue yarn and working over both loops again, *sc in next st, sc 2 tog. Repeat from * around. (24 st).
Now, without cutting blue yarn, drop it behind work to work the scallop around the cupcake with white yarn as follows:
Reattach white yarn in a front loop from row 12. Working in the front loops, *skip next st, 5 hdc in next st, skip next st, sl st in next st. Repeat from * around. At end of round fasten off white yarn.
Pick up the blue yarn to continue crocheting bottom of cupcake.
R14-16: Ch 1 (does not count as a stitch here and throughout), front post hdc around each stitch. (24 st)
R17: Ch 1, front post hdc around each stitch. At end of round, sl st to next st. Do NOT fasten off yarn (24 st)
Stuff The Cupcake:
Before attaching the cupcake bottom, stuff the cupcake firmly.
Attach Cupcake Bottom:
Crochet the cupcake to the cupcake bottom as follows: Place cupcake bottom on bottom of stuffed cupcake. With blue yarn, slip stitch through both pieces, working through the front loops of the cupcake and both loops of the bottom. Work slip stitches in this manner all the way around. Fasten off and weave in ends.
Finishing:
Use coordinating thread to sew small star buttons on top of the cupcake to resemble sprinkles.
Purchase an ad-free printable version of the Bunny Crochet Cupcake Here (Remember, this version is a variation of the BUNNY cupcake pattern)
I love seeing your finished projects! If you enjoyed making the Cupcake Amigurumi pattern, I’d love to see yours on Instagram, be sure to tag me @crochet365knittoo. If you are on Facebook, stop over to the Crochet 365 Knit Too Facebook page or pop over to the Crochet365KnitToo Club and share a photo! I’d love to see your work!
I love this pattern, but I have a question. On the cupcake portion, using the blue, r13 ends with 24 sts, but r14 ( according to directions) ends with 30 sts. Where is the increase? Maybe I am missing something?
Ugh. Little typo there. Should be 24. I’ve corrected this in the pattern. Thank you!