
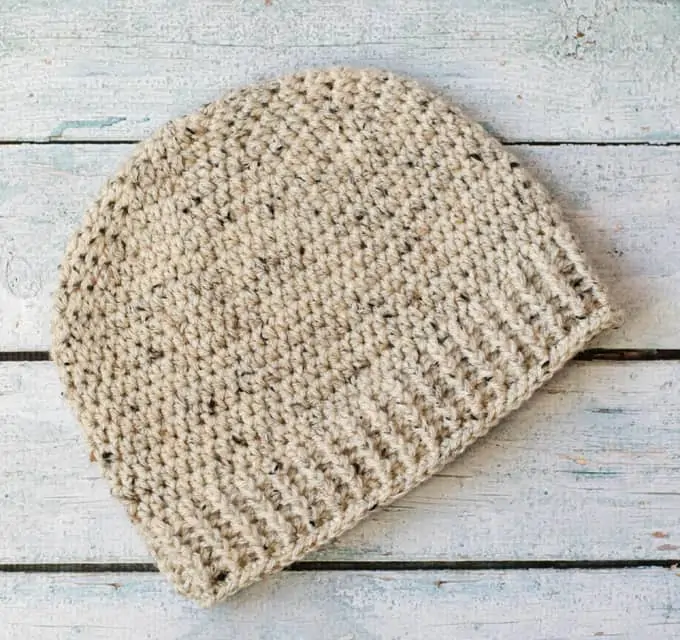
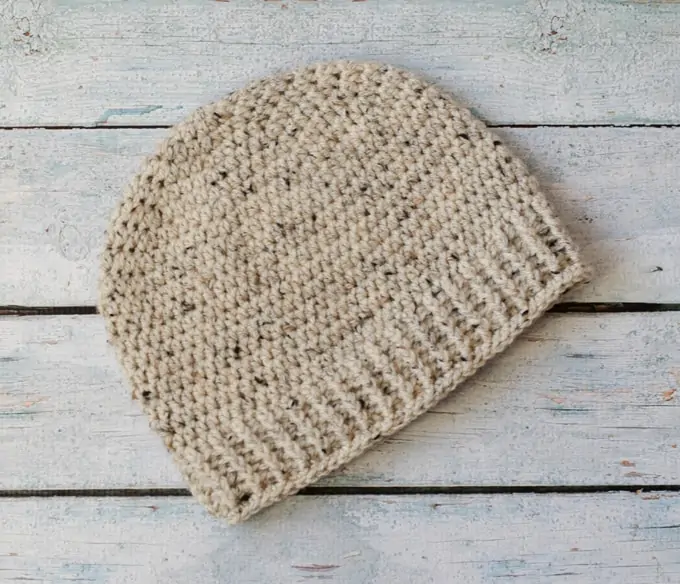
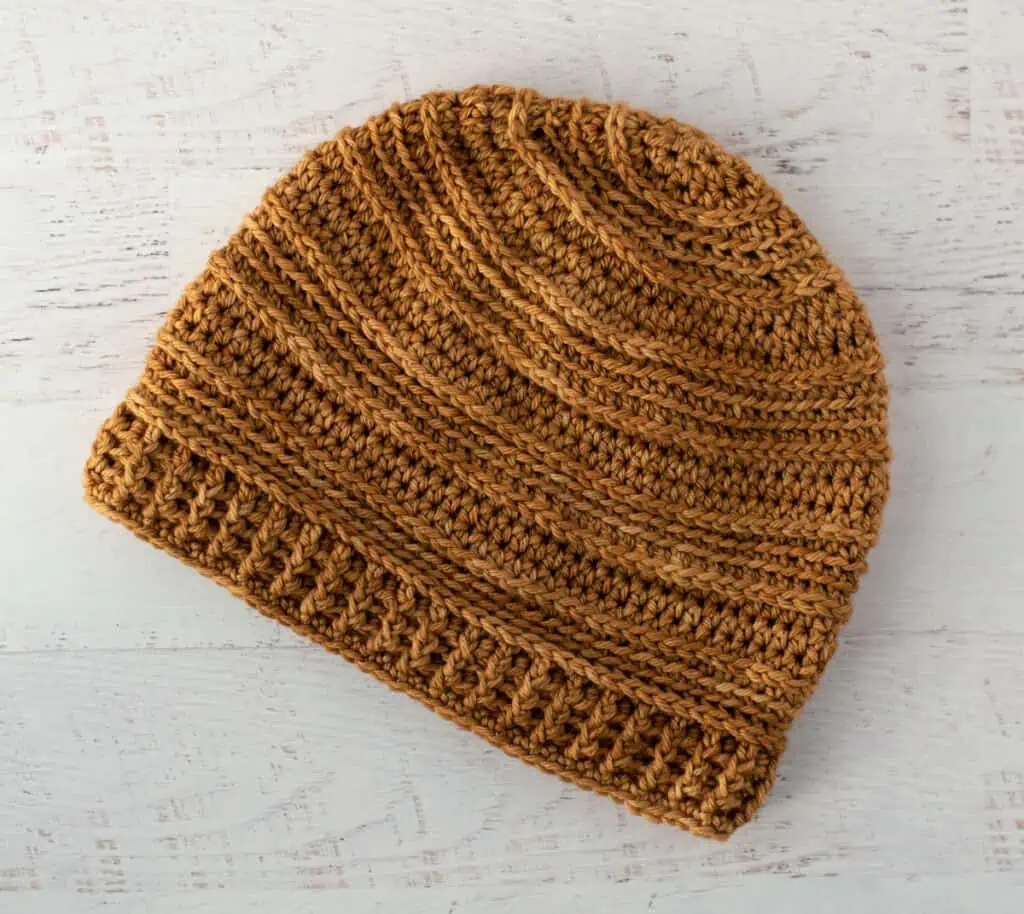
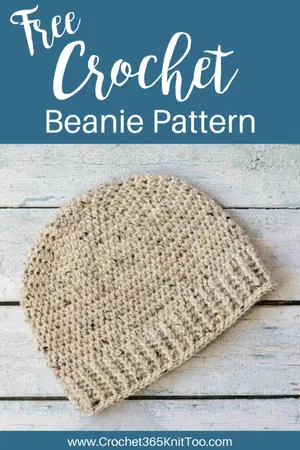
Salt of the Earth Men’s Crochet Beanie
This post may contain referral/affiliate links. Please read my disclosure for more info.
There’s something to love about a no-nonsense kind of guy. He tells it like it is. He’s not fancy. But he cleans up nice in blue jeans and a soft t-shirt. He’s ‘salt of the earth’ … which means “basic and fundamental goodness”. The perfect description for this Salt of the Earth Men’s Crochet Beanie.
It’s easy to make and yet beautiful in its simplicity.
I think it’s hard to find a good man’s hat pattern. One that is simple. Not too blingy. Understated, but classic. So I decided I’d make my own. The Salt of the Earth Men’s Crochet Beanie uses just one skein of yarn and works up really quickly. A joy to make. And great to give. My guy loves his and I hope yours does too.
Purchase an ad-free printable version of this pattern
Salt of The Earth Men’s Crochet Beanie
Materials Needed
- US H8/5 mm crochet hook (Did you know you can purchase my go-to hooks on Amazon?)
- 3 oz Worsted weight yarn. I used Lion Brand Vanna’s Choice in Oatmeal.
- tapestry needle and scissors
Crochet Beanie Size
Fits a medium sized adult. Finished size: About 20″ around by 8.5″ long.
Resources and tutorials you may find helpful in following this pattern: Crochet Abbreviations, US to UK Crochet Conversion Chart. Find links to stitches on the “Tutorial” menu: Getting Started will show basic stitches used in many patterns and Crochet Stitch Dictionary shows our growing collection of crochet stitch tutorials.
Make a magic ring
R1: 8 hdc into ring (8 sts). Work in rounds through row 18.
R2: 2 hdc in ea st around (16 st)
R3: *hdc in next st, 2 hdc in next st, repeat from * around (24 st)
R4: *hdc in next 2 st, 2 hdc in next st, repeat from * around (32 st)
R5: *hdc in next 3 st, 2 hdc in next st, repeat from * around (40 st)
R6: *hdc in next 4 st, 2 hdc in next st, repeat from * around (48 st)
R7: *hdc in next 5 st, 2 hdc in next st, repeat from * around (56 st)
R8: *hdc in next 6 st, 2 hdc in next st, repeat from * around (64 st)
R9: *hdc in next 7 st, 2 hdc in next st, repeat from * around (72 st)
R10-18: hdc around (72 st). At end of row 18, sl st in next st.
**Note: Starting with row 19, rows are no longer worked in a continuous round. Instead begin each row with chain(s) and end by slip stitching to the 1st st.**
R19: ch 2, hdc around (72 st), join.
R20-24: ch 2 (counts as 1st st), *front post hdc in next st, back post hdc in next st* repeat * to * around. Join with sl st to top of 1st st.(72 st).
R25: ch 1, sc around, join to 1st st. (72 st)
Fasten off and weave in ends.
Purchase an ad-free printable version of this pattern
More Free Patterns for Crochet Hats
If you love the Salt of the Earth Beanie pattern, you might also like to check out these other crochet hat patterns:
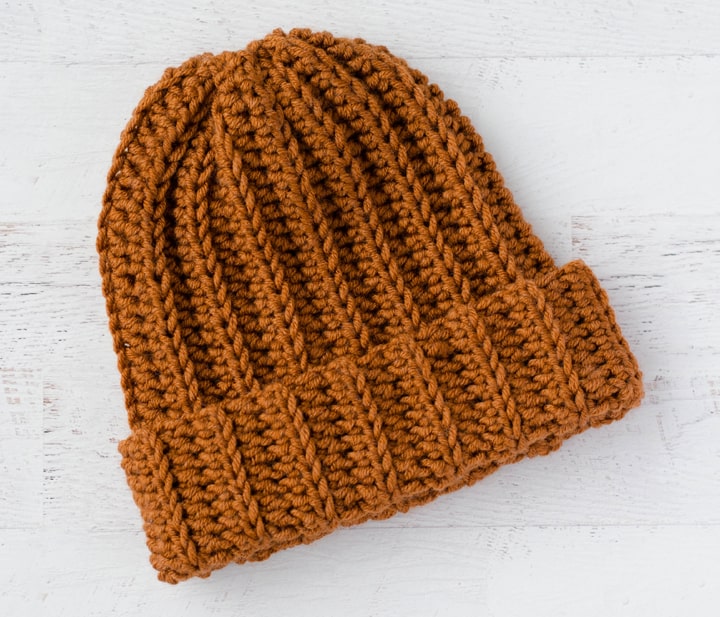
- Ribbed Wonder Crochet Hat
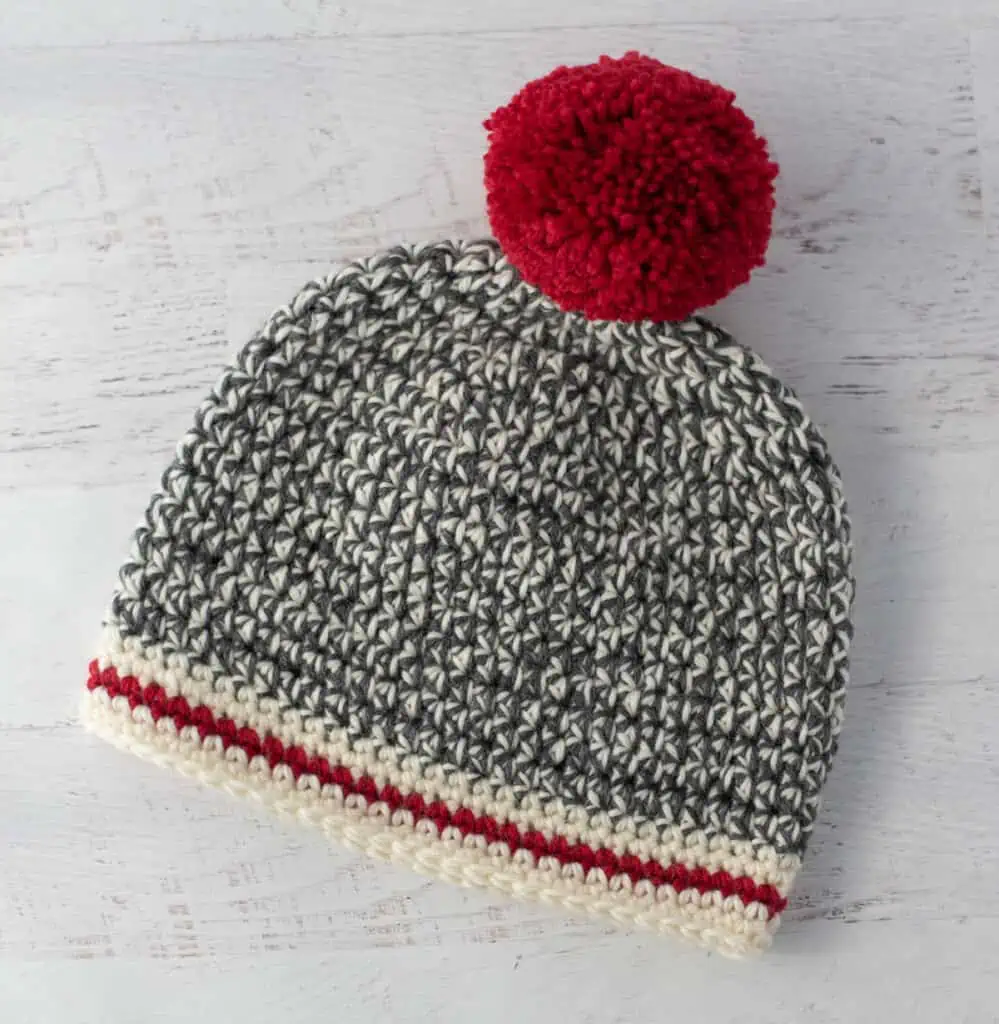
- Crochet Sock Monkey Hat
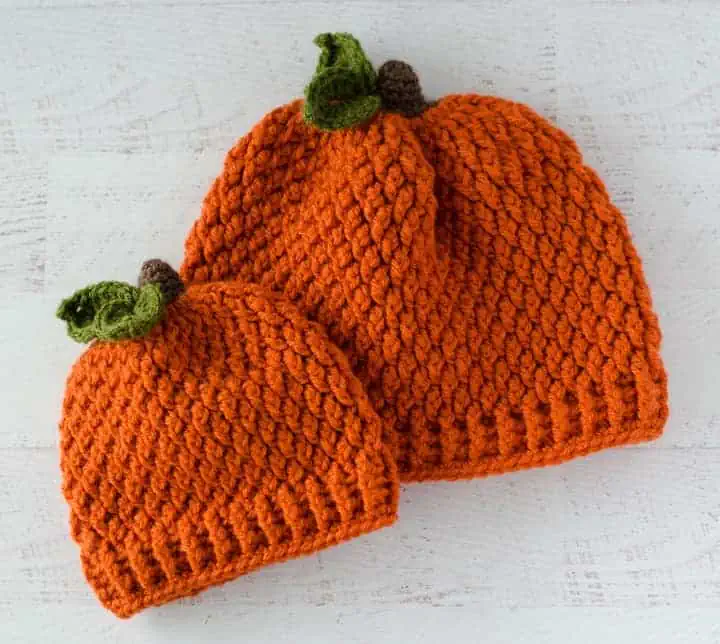
- Crochet Pumpkin Hat in all sizes
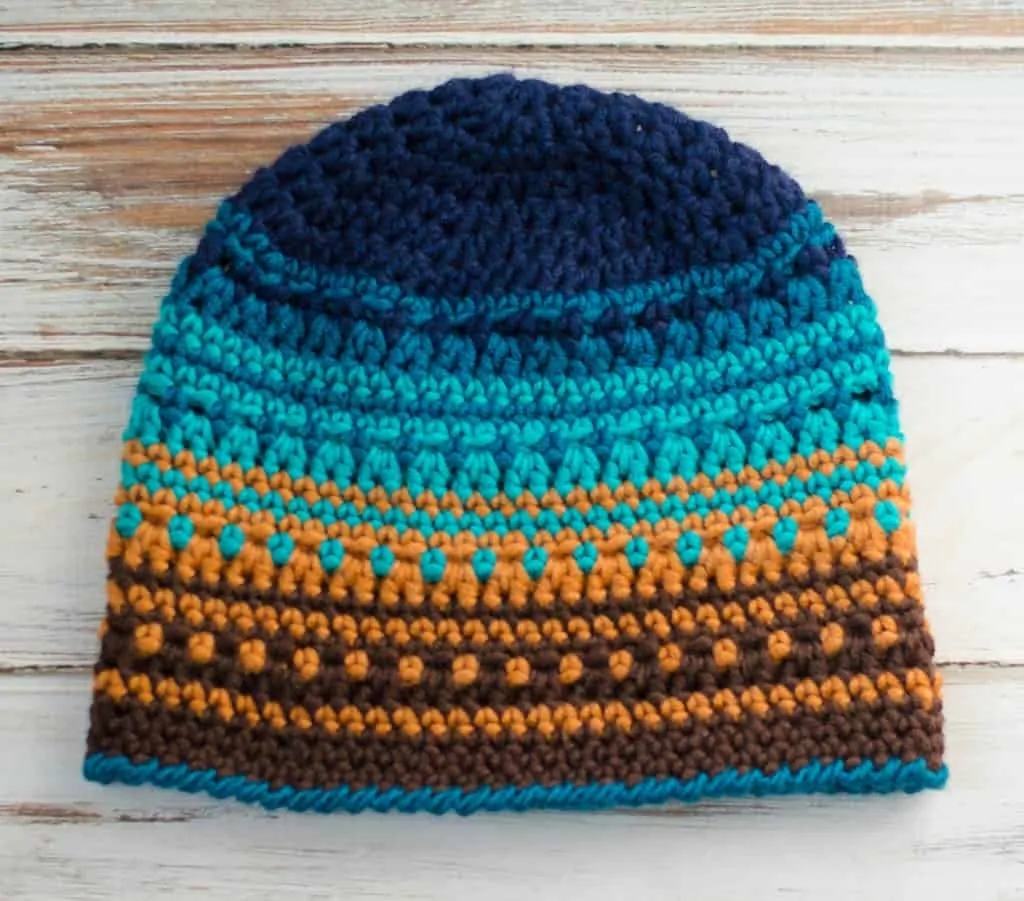
- Big Bay Beanie
- Wish You Were Beer Crochet Cap
- Buckeye Beanie
- Crochet Bucket Hat Collection
I love seeing your finished projects! If you enjoyed making The Salt of the Earth Beanie I’d love to see yours on Instagram, be sure to tag me @crochet365knittoo. If you are on Facebook, stop over to the Crochet 365 Knit Too Facebook page or pop over to the Crochet365KnitToo Club and share a photo! I’d love to see your work!
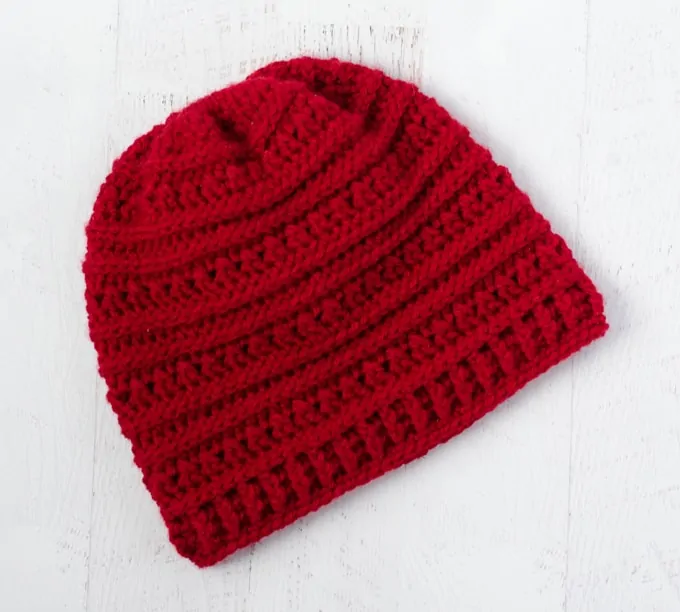
I made two of these hats for my hubby (one blue, one grey). He loved them. My father-in-law remarked how neat they were so I crocheted him the same two colored hats. Then my mother-in-law asked if I might be able to make one for her. I chose a rich, dark red for that one since it’s her favorite color. I’m probably gonna use the pattern again to make a hat for my daughter’s birthday and alternate stripes of a solid red and a cream with reds and other colors speckled into it. Super easy pattern and it works up very quickly! Love it! Thank you!!! 🙂
It doesn’t say whether you join at the end of the rounds???
If you look at the first row,the instructions tell you that the hat is worked in continuous rounds, so you do NOT join at the end of the rounds until you get to the ribbing.
I love the ribbing on this hat, but I can’t get the stitches to line up. Any hints?
Since you are working in the round, with the right side always facing you, the post stitches should line up on top of one another (assuming you still have an even number of stitches). You could try putting a stitch marker every so often to remind you what type of stitch goes in a particular spot. That might help you keep on track.
Your timing for this post is just perfect! My 14 year old daughter wants to make a beanie for her 27 year old brother. She just talked about it last night! She just completed a pirate hat for his cat 🤣 and she’s going to make the Beanie using the same colours!
Love that! This is such a fun hat to crochet!
I have made by now over 48 of these beanies for the birthday party that is held every month at our local mens homeless shelter. Each “birthday boy” receives a beanie and other items from our church and the beanies have been a total success and hopefully they are keeping these men warm this winter.
Thanks for the pattern !
Am I supposed to chain two before starting a new row?
The pattern is worked in rounds until row 18 (so “no” on the chain 2 for those rounds). When you get to the ribbing you DO join and ch for joined rounds until the end. Hope that helps!
Love this pattern. Different then all the others and does not take so much time. Love it. Thank you for sharing. I am making one for my dad and I made one for my husband all wool dark and light browns. I added a line of light blue alpaca in there twice. Love this hat.
I made this as a Christmas gift for a friend. He loves it and wears it all the time. Great patterns.
Can you make this pattern for women?
The pattern is size for an average adult. It actually fits my head fine and my husband has an average size head. If you want to make it smaller or larger than that, just go up or down in increments of 2 stitches (just adjust that last row of increases). Hope that helps!
Would goinging down a hook size make it smaller without changing the stitch count?
That should make it slightly smaller. It depends how small you want to make it. Using thinner yarn and tighter grip would affect size as well. Hope that helps!
In order to increase from current pattern size to 27″ or 28″, how many 2-stitch increments would I need to add?
The hat is sized to fit an average adult and is about 20″ around. Keep in mind the hat is stretchy and fits a head that is 21-22″around, so making a hat that is 28″ around would fit something that is 30″ around–which would be quite large. When making a drastic size change like that, you’d also have to adjust the length. To calculate, it’s just a matter of math. The pattern as written is 20″ around with 72 stitches. To find the stitches per inch take 72 and divide by 20 to get the stitches per inch. Then multiply that by the number of inches you desire and round to get an even number. Hope that helps.
I made this for my 7 year old son using a variegated gray, black, and white yarn which made an awesome swirl pattern. I stopped adding stitches at the round of 64 stitches and it was the perfect size for both of my children. Added a puff ball on top. Great pattern and my son LOVES it.
Fun! I’m glad it turned out 🙂
Does the chain 2 count as your first stitch in rows 19 and 25?
I believe so!
I made this for my father and added a breast cancer applique to it – it turned beautifully!
Glad to hear it!
How much yarn does this pattern take?
3 oz. It’s listed in the materials section of the pattern. 🙂
I love this pattern, after trying several different ones for a beanie this one is perfect. Can’t wait to make more. Thank you very much for the pattern, very easy to follow.
Glad you are enjoying it! Definitely a fun one to make!
Well , I’ve got to make this hat , with so many crocheter s giving you a thumbs up .and I have some superwash yarn , my son owns a machine shop , the doors are never closed so I have to make 5 hats before winter blows in . Thank you for being generous g
Question… When I get to row 19 I have nd up getting a “hole”where the chain 2 is after the slip stitch… What am I doing wrong?
The chain 2 counts as a stitch in the ribbing. It does look a little different than a normal hdc and leaves a tiny space. You could trying chaining a bit tighter and see if that helps. I find I don’t notice it when the ribbing is complete.
What if the guy I’m making it for has a but larger head? Does the number of increases matter? (e.g. by twos only) Thanks!
You’ll need it to be a multiple of 2 so that you can do the ribbing at the end, but otherwise increase the number of stitches you need to fit a bigger head.
I am new to crochet and found this great pattern! I have tried a few other patterns but was not as successful as with this one! I made a beanie for my nephew and I have a few others I’m mind as well – just in time for the holidays. Thank you!
Cheryl
I just love your fun and adventurous days. Your puppers sounds like he is full of life and antics.
Thank you for all your hard work on patterns. I absolutely love them snd YOU ❤️
Aww! Thanks for your kind words! My readers do love my newsletters which have bits of Winston pup’s antics!
In rows 20through 24 should my last stitch be a back post hdc and the join stitch counts as my 72 stitches or should I end with a front post hdc as my 72 stitches and then join with a slip stitch not counting as part of the stitch count? The * to * is confusing my count. So sorry to bother you I love the look of this hat to give out as gifts and want to make sure I do the pattern correctly.
The starting chain counts as a stitch, so when you get to the end of the row of working in the post stitch pattern, the last stitch you’ll work will be a front post hdc and then it joins to the top of the chain 2. Hope that helps clarify.
Thank you for such a fast reply. And it definitely clarified it. That is what I thought but wasn’t sure.
Thanks for your previous help. Totally worked. Can I also ask you if I wanted it to go longer over my ears could I add a row or two between rows 18 and 19? These will make great gifts and give aways and donations. Work up so quick but look so good.
Yes, just continue the main part of the pattern until you’re ready to work the ribbing. This also would work if you wanted to make a slouchy hat too.
Thank You for this amazing pattern,really appreciate as I do all your patterns,Happy New Year,Coreen ❤️💐💐
Would it look funny if I did the other type ribbing instead of front and back post ribbing? Thank you for this pattern, can’t wait to make it.
You could certainly try another type of ribbing. I prefer the post style ribbing so you’ll find that almost all my hats are worked that way.
Can you tell me what a magic ring is please?
You can find a tutorial to the magic ring here.
Thank you for the beautiful pattern! I’ve tried a couple times but ended up with ripped edge that curves in. What did I do wrong?
It’s really hard to say without seeing a picture and knowing more about where you’re seeing things go awry. I’d suggest popping into our Crochet 365 Knit Too Club on Facebook and posting a photo there. Everyone is so great about jumping in and helping other crocheters solve problems!
Hi. I love this pattern, but I just started Row 19 and have big holes in between each stitch. Any ideas?
Round 19 is just like the previous rounds, but you are working this one in joined rounds instead of continuous rounds. Sometimes it might look a little odd on that first stitch but the rest of the row should look the same as the others. If not, check your tension. If you’re actually talking about row 20 where you start the post stitches, just stick with it. It can take a few rows before that ribbing looks like it should. You can always post a photo on our Crochet 365 Knit Too Club on Facebook and other crocheters are quick to jump in and help you through a trouble spot! Hope that helps!
My guys have huge heads.
Would I just repeat the increase pattern for a few rows? Or how?
Thanks
I would add an increase round and increase 3 or 4 stitches evenly spaced. That would give you another inch in width and a little bit more height. Then work the rest of the pattern as written with that larger stitch count.
Hi, I only have DK weight yarn to use for this, how would I make sure it stays around the same size as the one in your pattern? I am new to this 🙂 Thank you
In order to get the same results, you would need to get the same gauge. This is best done with the same weight yarn. For instance, if you have a heaver weight yarn, to get the same gauge you would need a smaller hook and the final result would be a stiff fabric. Conversely if you use a DK weight, then you need a larger hook which would make the fabric very floppy with gaps between stitches. Making a similar pattern in DK weight yarn is a different pattern altogether because it will require more stitches and more rows to achieve the desired result.