
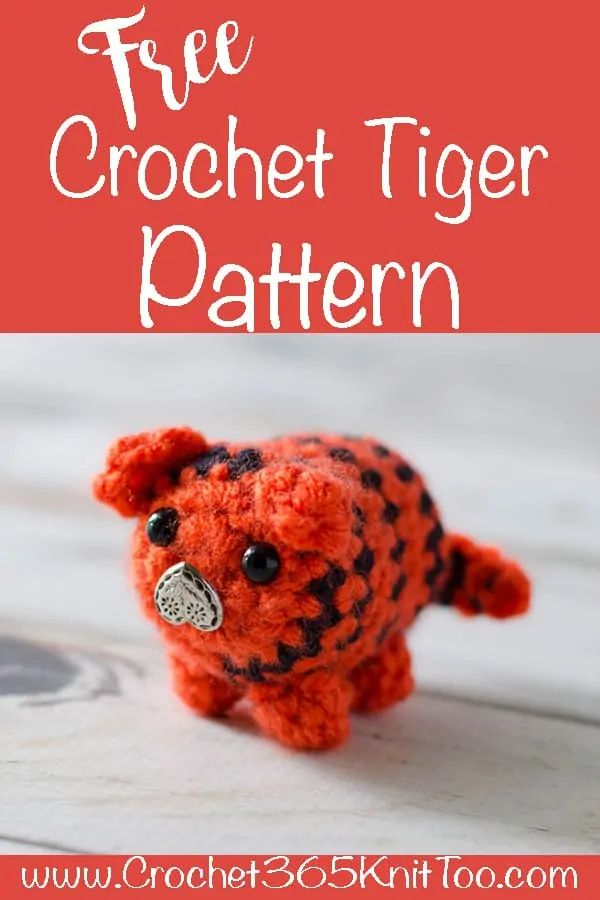
Crochet Tiger Bitty Bumble
This post may contain referral/affiliate links. Please read my disclosure for more info.
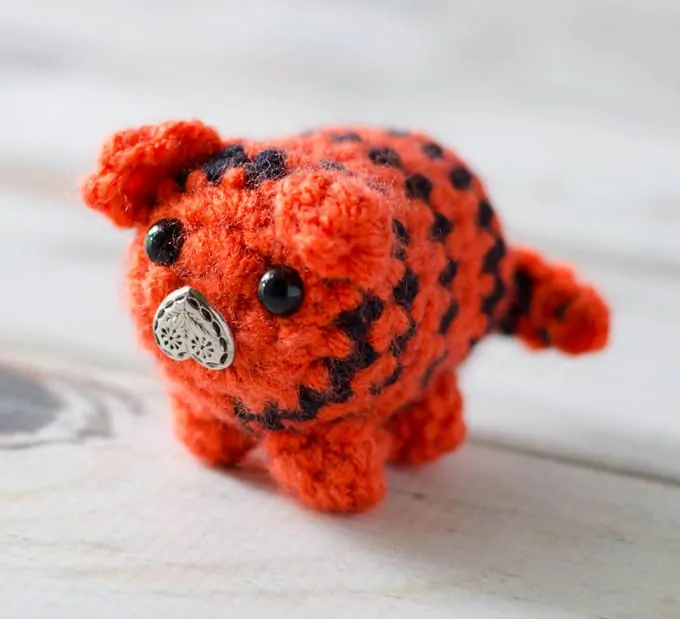
A little bit of cute with a touch of sass. That’s what I think of when I see this Crochet Tiger Bitty Bumble.
 You might remember, I started a series of small stuff amigurumi that I’m calling Bitty Bumbles. You’ve met the crochet pig. And the crochet moose (too adorable). Now, I’d like to introduce the Crochet Tiger Bitty Bumble.
Don’t you feel like he’s look right up at you in this photo? What a cutie pie!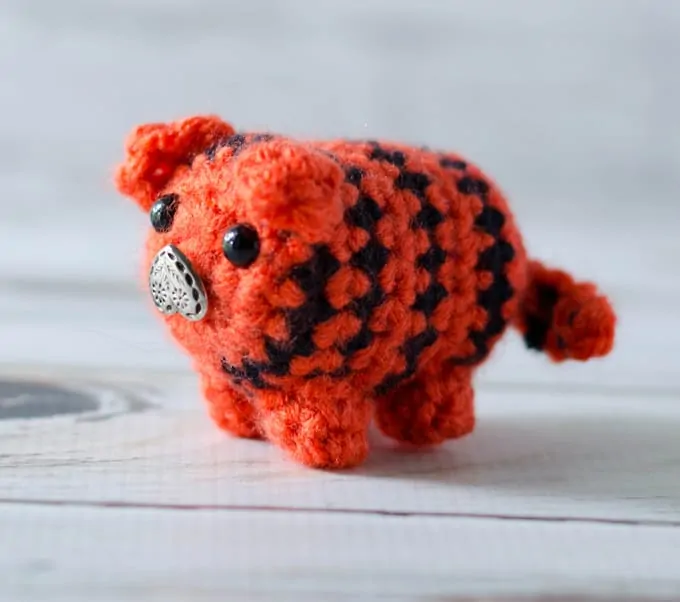 Kind of like.. “watcha talking’ about?” Sigh. These bitty bumbles are just so darn fun to make. Make one for your office or to tuck on a shelf. Or make them for a little one in your life who might just carry them around by the fistful!

Purchase an ad-free printable version of the Tiger Pattern Here
Crochet Tiger Bitty Bumble
Here is what you will need:
Materials:
- US G6/4mm crochet hook (These are my recommended hooks)
- 1/2 oz of Worsted Weight Yarn in Orange and Black
- 6mm safety eyes (could also embroider them on)
- Small button. I used a small heart shaped button I found in my stash. Something 1/2″ or less will do just fine.
- Small amount of polyfil stuffing (I used this)
- Sewing needle and matching thread (for sewing on the button)
- Tapestry needle and scissors
For other great products I recommend, be sure to check out my special store on Amazon here!
Resources and tutorials you may find helpful in following this pattern: Crochet Abbreviations, US to UK Crochet Conversion Chart. Find links to stitches on the “Tutorial” menu: Getting Started will show basic stitches used in many patterns and Crochet Stitch Dictionary shows our growing collection of crochet stitch tutorials.
To make the decreases less noticeable, use the invisible decrease method.
Size:
Crochet Tiger Bitty Bumble is about 2.5″ long (not including his wee little tail)
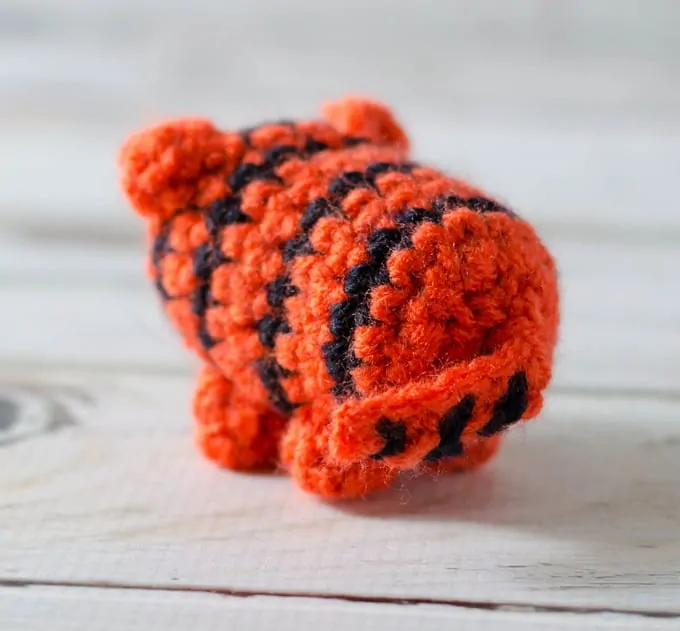
Body
With orange yarn, make a magic ring
R1: 6 sc into ring (6 sts).
R2: 2 sc in ea st around (12 st)
R3: *sc in next st, 2 sc in next st, repeat from * around (18 st). At the end of round 3, change to black.
R4: With Black, sc around (18 st), changing to orange in the last stitch.
R5: With Orange, sc around (18 st), changing to black in the last stitch
R6: With Black, sc around (18 st), changing to orange in the last stitch
R7-8: With Orange, sc around (18 st), changing to black in the last stitch
R9: With Black, sc around (18 st), changing to orange in the last stitch
R10-11: With Orange, sc around (18 st), changing to black in the last stitch.
R12: With Black, sc around (18 st), changing to orange in the last stitch.
Take time out to insert safety eyes. The safety eyes go between rounds 2 & 3. Refer to photo for placement. Stuff and continue stuffing as you finish up the body.
R13: With orange, *sc in next st, sc next 2 st together. Repeat from * around (12)
R14: sc next 2 st together (6).
Now without cutting yarn, continue as follows to work the tail:
ch 6, starting with the 2nd chain, work alternating single crochet as follows: black, orange, black, orange, black.
Make sure tiger is firmly stuffed, then thread the yarn end onto the tapestry needle. Weave opening closed. Fasten off and weave in end.
Ears (Make 2)
With orange yarn, ch 4
R1: sc in 2nd ch from hook, dc in next ch, ch 2, sl st to last ch. Fasten off leaving a long strand for sewing.
Position ears so that the starting chain is resting against head and sew an ear on each side of the head.
 Nose
Nose

Sew a coordinating button below eyes, using needle and sewing thread.
Legs (Make 4)
With orange, make a magic ring.
R1: 6 sc into ring (6 sts).
R2: sc in ea st around (6 st). For a nice finish, use the Invisible Seamless Join technique. Leave a long strand for sewing.
Position front legs between rows 5-7 and back legs between rows 10-12 on bottom of tiger (or wherever looks best to you) and sew down. Note: Legs are not stuffed.
Purchase an ad-free printable version of the Tiger Pattern Here
I love seeing your finished projects! If you enjoyed making one of my patterns I’d love to see yours on Instagram, be sure to tag me @crochet365knittoo. If you are on Facebook, stop over to the Crochet 365 Knit Too Facebook page or pop over to the Crochet365KnitToo Club and share a photo! I’d love to see your work!
He is so cute. Thank you for all your wonderful patterns.
Hi, im very new in crocheting. I’ve been so confused about how to start second round in magic ring. I don’t know which stitch should i start on after the slip stitch and a chain.
Could you please help me?
Have a nice day
Mery ?
If you are working single crochet, the ch 1 does not count as a stitch, so work the first stitch for the 2nd row into the 1st sc of the previous row.
Can’t wait to see what’s next!!!
What would happen if I did this pattern but didn’t have a button? ( or my button was the wrong size)
The button is the nose. So any changes you make would affect that appearance. You could embroider instead as an option too.