
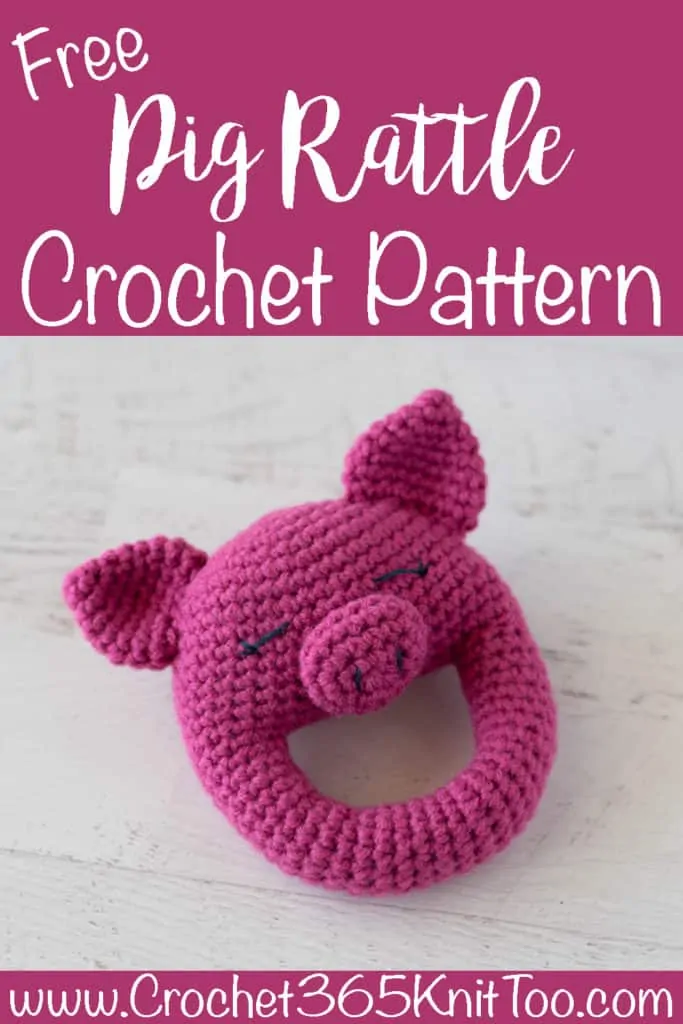
Crochet Pig Rattle
This post may contain referral/affiliate links. Please read my disclosure for more info.
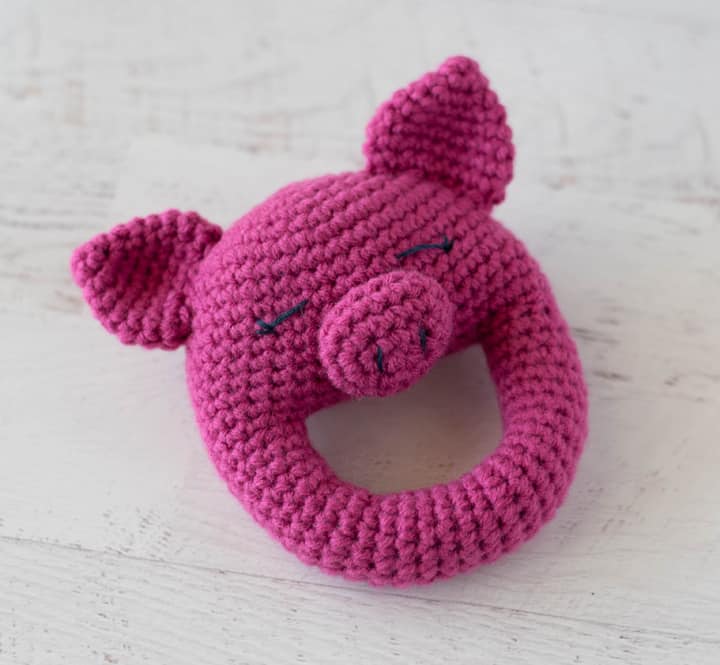
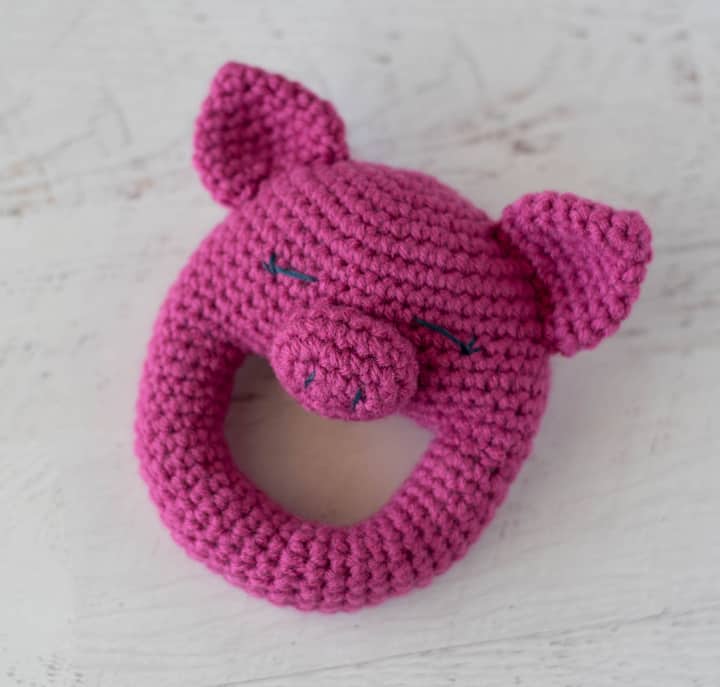
It’s Cute. It’s Pink. It’s a crochet pig rattle! Sigh. This guy just gives me so much joy! Those chubby pointy ears.. the sleepy eyes…
Ever since I made the cow, fox and hippo rattles, I’ve been wanting to design a pig rattle. Pigs are just so stinking cute. Especially the crochet variety. To be honest, I was hung up on the yarn. The pinks were too light. I didn’t like a two-tone look. And so this project just kept getting put on the back burner.
But then… I found this Bernat Super Value color that reminds me of a big juicy berry. The skein was intended for another project…but then that little pig rattle… well… it just wanted to be made! So earlier this week, I ditched all my other crochet plans and crocheted this little guy up! Isn’t he a cutie?
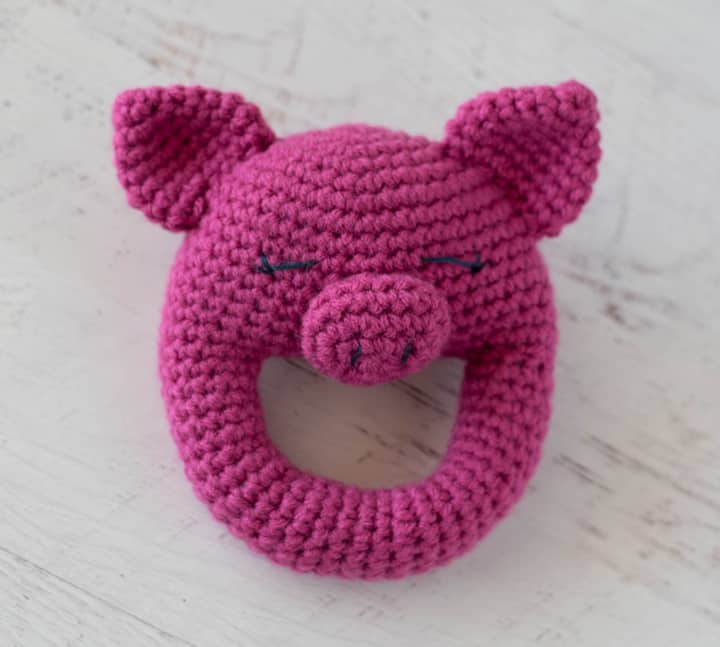
There’s just so much to love about this little guy. I love a project that is simple on the material front. A one-yarn-color project. Sleepy embroidered eyes make it perfect for baby. And it’s a one evening project. This is the kinda project where you grab a skein the night before the baby shower, and make up an awesome gift that everyone is gushing about!
More Free Baby Crochet Patterns
If you love this Crochet Pig Rattle pattern, you might also like to check out these other rattles for babies. You can find all our Baby Crochet Patterns here.
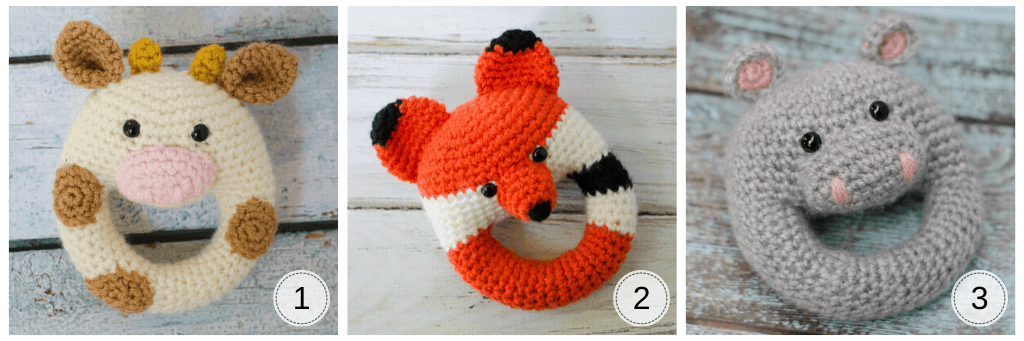
1. Cow Rattle // 2. Fox Rattle // 3. Hippo Rattle
And now… to crochet your new love… this adorable crochet pig rattle!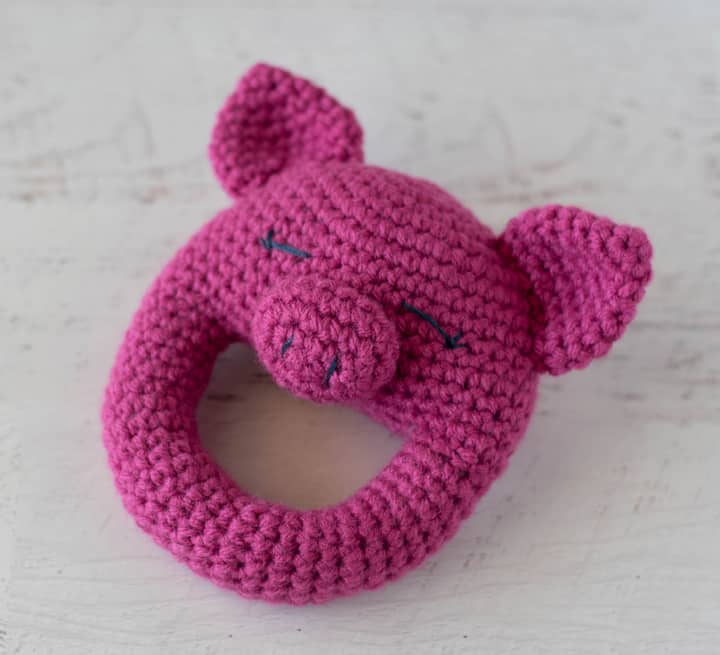
Purchase an ad-free printable version of the Pig Rattle Pattern here
Crochet Pig Rattle
Here is what you will need:
- US G6/4mm crochet hook. (Did you know you can purchase my go-to hooks on Amazon?)
- 1.25 oz Pink Worsted weight yarn, Sample shown used Bernat Super Value Yarn in Magenta Color
- Dark color embroidery floss for facial features. I used a dark blue; you can use another dark color of floss or yarn.
- Fiberfill Stuffing
- Toy Rattle Noise Insert (I bought these from Amazon)
- Tapestry needle and scissors
Resources and tutorials you may find helpful in following this pattern: Crochet Abbreviations, US to UK Crochet Conversion Chart. Find links to stitches on the “Tutorial” menu: Getting Started will show basic stitches used in many patterns and Crochet Stitch Dictionary shows our growing collection of crochet stitch tutorials. I really like to use the invisible seamless join when finishing pieces that get sewn together.
Size
5” tall (excluding the ears) by 4.5” across. NOTE: thickness of yarn will determine size of finished rattle. Don’t be concerned if yours turns out slightly bigger or smaller than mine.
Head:
With pink yarn, make a magic ring
R1: 6 sc into ring (6 sts). (Do not join, worked in rounds)
R2: 2 sc in ea st around (12 st)
R3: *sc in next st, 2 sc in next st, repeat from * around (18 st)
R4: *sc in next 2 st, 2 sc in next st, repeat from * around (24 st)
R5: *sc in next 3 st, 2 sc in next st, repeat from * around (30 st)
R6: sc in next 2, 2sc in next st *sc in next 4 st, 2 sc in next st, repeat from * around until last 2 st, sc in last 2 st. (36 st)
R7: *sc in next 5 st, 2 sc in next st, repeat from * around (42 st)
R8-16: sc around (42 st)
Do NOT fasten off; Continue on to handle.
Handle:
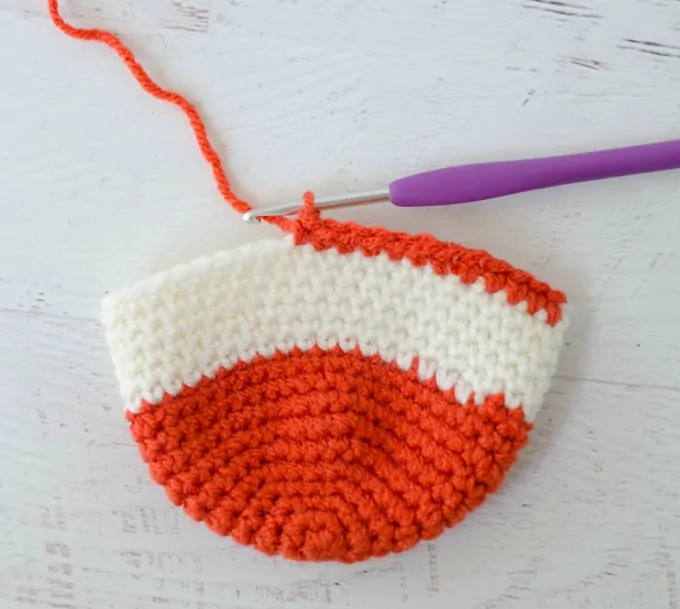
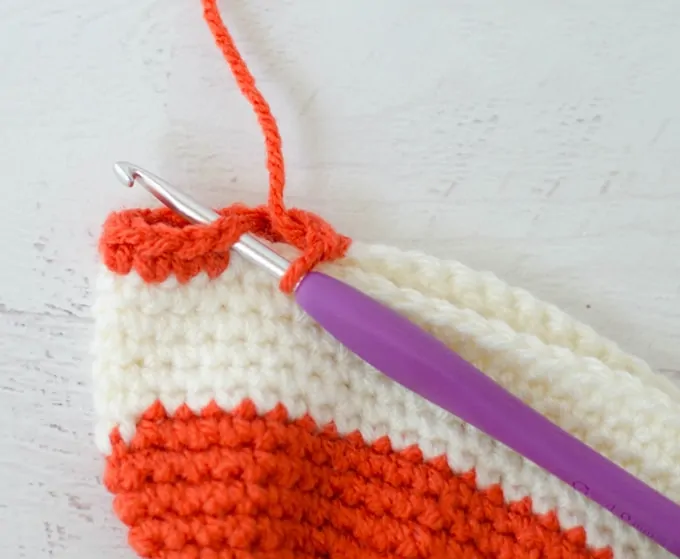
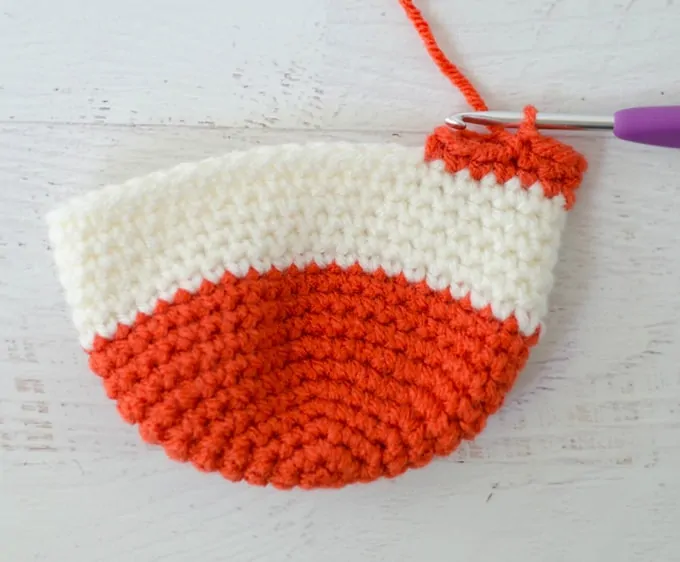
Continuing with pink yarn, follow the instructions below. Note that the rattle shown in this part is the adorable fox rattle that you can find here. The instructions for the handle are worked in the same way; just using pink yarn instead!
R1: Sc in next 12 st (12 st). Leave remaining stitches of row unworked.
Fold over work and starting round 2 by working in the first stitch of round 1. Continue to work handle in spiral rounds.
R2-28: sc around. Stuff handle every 8-10 rows or so.
Fasten off leaving a long strand for sewing. If desired, finish row 28 with an invisible join. Or, simply fasten off in the usual way. Make sure handle is stuffed and head of rattle is folded roughly in half. Then carefully bring open end to slip into the folded area on the opposite side of the start of the handle. Carefully sew in place with overhand stitches.
Stuffing the Rattle Head
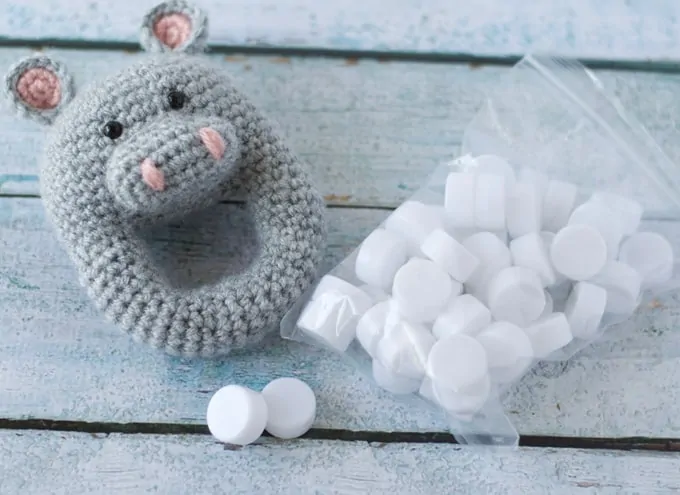
Leave a long strand for sewing. Lightly stuff head, but do not sew shut yet. Stuff head the rest of the way and insert a rattle in between the stuffing (Photo below of the Hippo Rattle shows the noise making rattles purchased off Amazon).
Sew head shut, making sure the pig rattle head is stuffed nice and firm as you work along.
Nose:
With pink, chain 5
R1: 2sc in 2nd chain from hook, sc in next 2 ch, 3 sc in last ch. Rotate work. Working on the opposite side of the chain, sc in next 2 st, sc in last st. (10 st) (Do not join, worked in rounds)
R2: Work 2 sc in each of the next 2 st, sc in the next 2 st, work 2 sc in each of the next 3 st, sc in the next 2 st, work 2 sc in the last st. (16 st)
R3-4: Sc around (16 st). At the end of the round, fasten off and use an invisible join to finish the nose.
Ears:
With pink yarn, make a magic ring
R1: 4 sc into ring (4 sts). (Do not join, worked in rounds)
R2: *sc in next st, 2 sc in next st. Repeat from * once. (6 st)
R3: 2 sc in ea st around (12 st).
R4: sc around (12 st)
R6: *sc in next st, 2 sc in next st, repeat from * around (18 st)
R7-8: sc around (18 st).
R9: *sc in next 4 st, sc 2 tog, repeat from * around. (15 st) Fasten off, leaving a long strand for sewing.
Finishing the Crochet Pig Rattle:
Fold ears in half and sew on over rows 6-10 on each side of the head.
Insert a small amount of stuffing in the pig’s nose and sew to face centered over rows 11-16.
Using embroidery floss or yarn to embroider straight lines on the pig’s nose and sleepy eyes.
Purchase an ad-free printable version of the Pig Rattle Pattern here
I love seeing your finished projects! If you enjoyed making this adorable crochet Pig Rattle I’d love to see yours (and your color choice) on Instagram, be sure to tag me @crochet365knittoo. If you are on Facebook, stop over to the Crochet 365 Knit Too Facebook page or pop over to the Crochet365KnitToo Club and share a photo! I’d love to see your work!
Pin Now Crochet Later ⇨
I like all of your baby rattles but this lil pig is my favorite! He just looks like he is cracking up laughing! I don’t know why the others didn’t make me feel like this happy guy. I think we all could benefit from a big ole belly laugh about now. I really enjoyed hearing about your great escape also. Thank you & your husband for your service.
Awww thank you! I’m so glad you liked it!
Thank you for this pattern. I have ordered via your link with Amazon for the rant;e sound. Unfortunately, they won’t be in until the end of July to mid-August. I can’t wait to make your pattern. I have made a couple of rattlers using jingle bells, but these aren’t what I had hoped they would be. Thank you again for this pattern.
You are welcome and I hope you enjoy it once your rattles show up. I really like them.
thank you Cheryl. I will be making the rattles