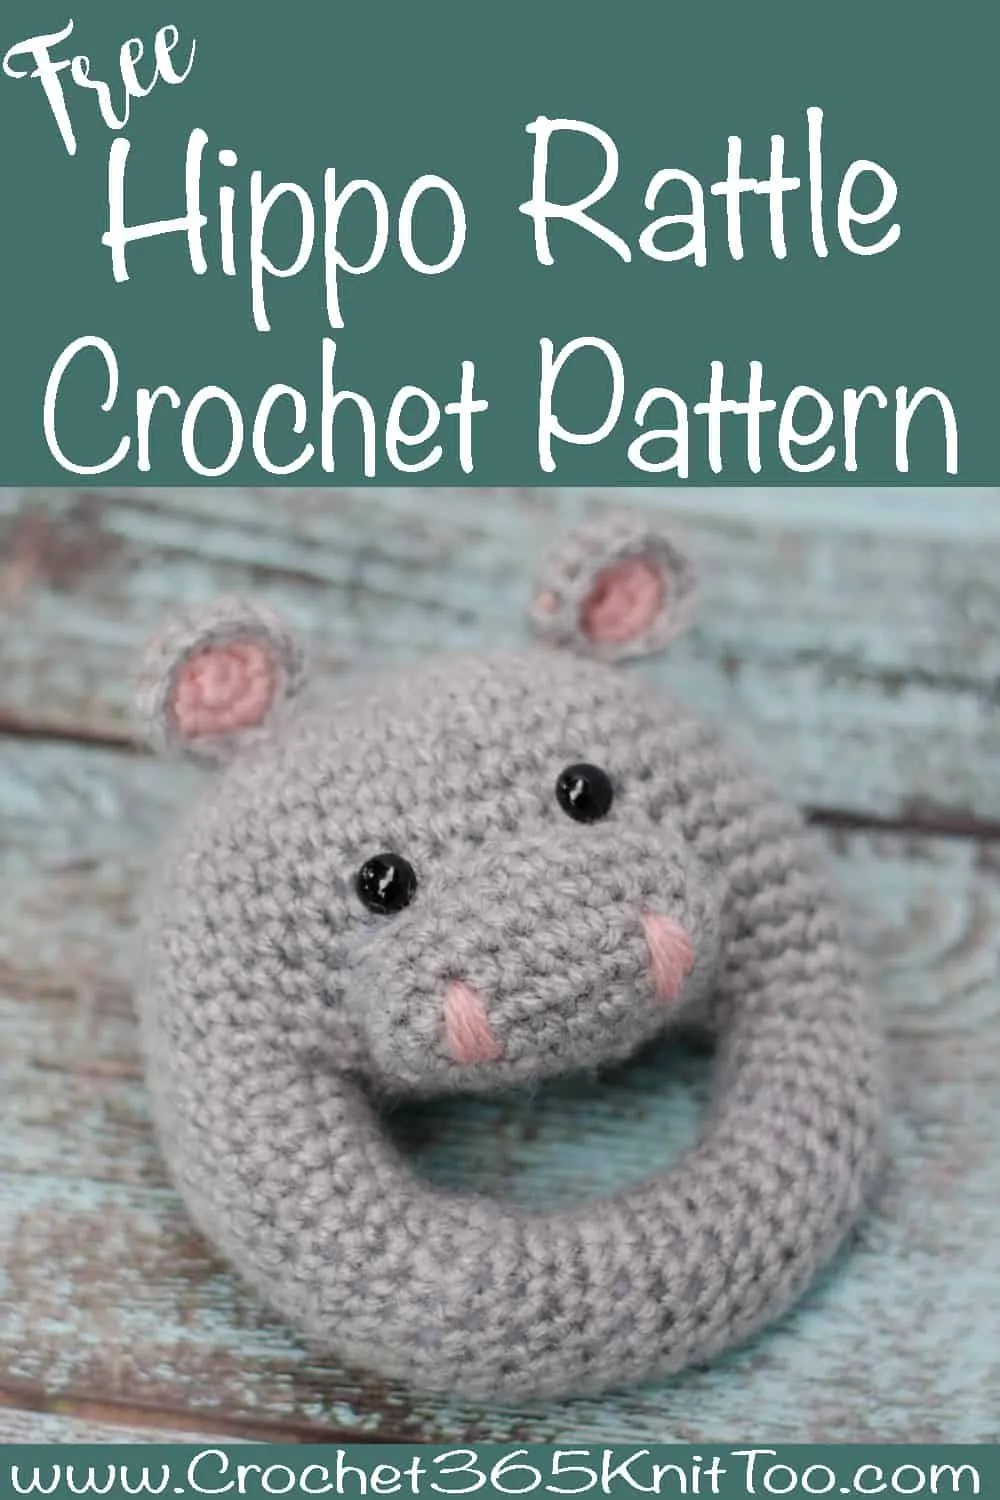
Crochet Hippo Rattle
This post may contain referral/affiliate links. Please read my disclosure for more info.
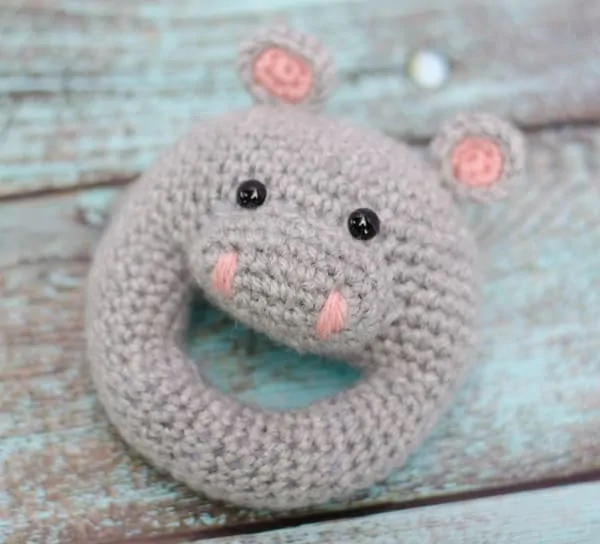
Meet your new best friend. Introducing this adorable crochet hippo rattle. A perfect gift for a new little one or as a baby shower gift. Easy and cute. There’s not much better than that!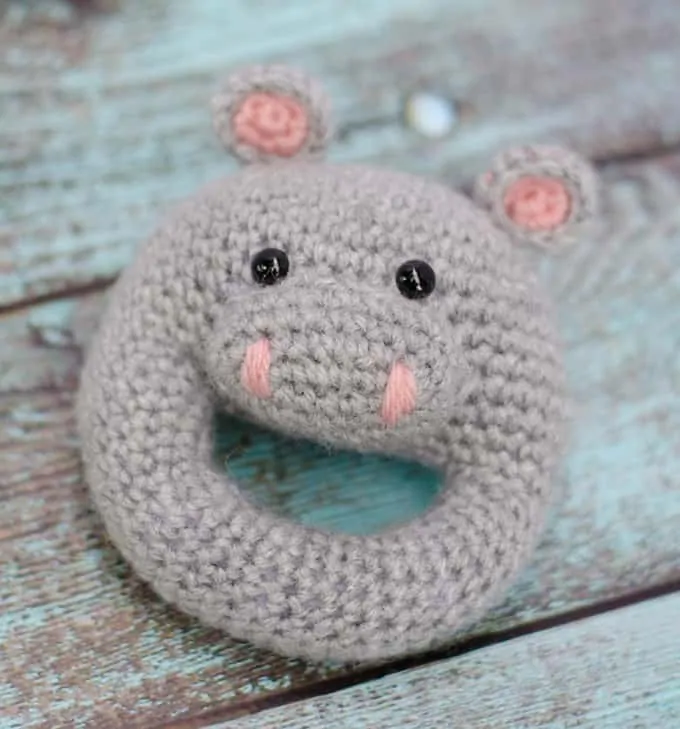
The life of a crochet blogger is an interesting one. Sometimes a great idea comes to me on a weekend and I crochet fast and furious and in a few days, it is on the blog complete with beautiful photos.
Other times projects take much, much longer to see the light of day (or would that be the light of your monitor, phone or tablet?) Enter THIS guy! If you’ve been with me the past month or two, you’ve seen an adorable Fox Baby Rattle and a very sweet Cow Baby Rattle. But would you believe THIS rattle, this darling crochet hippo rattle was the FIRST baby rattle I made? Maybe you’re wondering.. “where has this cute little guy been all my life?”
I remade the muzzle several times to get it just right. Imagine me..showing my husband and asking “does this LOOK like a hippo?” Or worse “Tell me what animal this is” and then he guesses completely wrong.
Then I didn’t like my rattle design at all (if you want to see the original version, scroll down to the shot with the rattle inserts and maybe you can see the subtle differences). So I made him again. Then as it turns out, he was not very photogenic. I took pictures of him by himself. Then photos at the same time I took the Fox Baby Rattle photos and again when I took photos for the Cow Baby Rattle post. And probably a couple of more times I’ve blocked from my memory. Hundreds of photos, you guys. Hundreds. Of a crochet hippo rattle. I am so not kidding.
This past weekend was supposed to be full of rainy weather so I was not optimistic. But sometimes a dull, gray day, is the perfect day to take photos outside. No shadows. No glares. These photos were taken just before a little sprinkle of rain came through. And finally. The soft sweet hippo was captured perfectly.
And so here he is. If you’ve made the other two rattles already, you already know how easy peasy this pattern is. Now that I have a supply of toy rattle noise inserts I bought off Amazon, I am completely prepared to make a baby rattle out of scrap yarn on a moment’s notice. Whether you are tight on cash or just haven’t planned ahead, it is always a good idea to have an easy pattern like this one to save the day. And who wouldn’t just love to get this little guy as a gift?!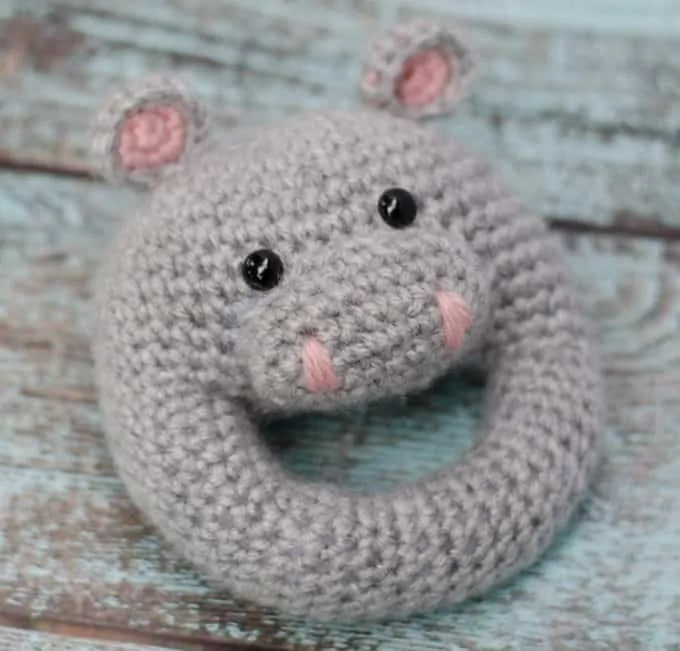
Purchase an ad-free printable version of this pattern
Crochet Hippo Rattle
Here is what you will need:
Materials:
- US G6/4mm crochet hook (these are my absolute favorite hooks I recommend to everyone!)
- 1-1/2 oz Gray Worsted weight yarn, sample used Vanna’s Choice in Silver Heather
- Scraps of pink worsted weight yarn, sample used Vanna’s Choice in Pink
- 9mm safety eyes (note: if you are concerned about a choking hazard, you may wish to embroider eyes instead)
- Polyfill Stuffing (this is the best stuffing I’ve found here but if that isn’t your style, I use this sometimes too)
- Toy Rattle Noise Insert (I bought these from Amazon)
Resources and tutorials you may find helpful in following this pattern: Crochet Abbreviations, US to UK Crochet Conversion Chart. Find links to stitches on the “Tutorial” menu: Getting Started will show basic stitches used in many patterns and Crochet Stitch Dictionary shows our growing collection of crochet stitch tutorials. I really like to use the invisible seamless join when finishing pieces that get sewn together.
Size:
5” tall (excluding the ears) by 4.5” across. NOTE: thickness of yarn will determine size of finished rattle. Don’t be concerned if yours turns out slightly bigger or smaller than mine.
Head:
With gray yarn, make a magic ring
R1: 6 sc into ring (6 sts). (Do not join, worked in rounds)
R2: 2 sc in ea st around (12 st)
R3: *sc in next st, 2 sc in next st, repeat from * around (18 st)
R4: *sc in next 2 st, 2 sc in next st, repeat from * around (24 st)
R5: *sc in next 3 st, 2 sc in next st, repeat from * around (30 st)
R6: sc in next 2, 2sc in next st *sc in next 4 st, 2 sc in next st, repeat from * around until last 2 st, sc in last 2 st. (36 st)
R7: *sc in next 5 st, 2 sc in next st, repeat from * around (42 st)
R8-16: sc around. (42 st) At end of row 42, do NOT fasten off. Continue on to handle.
Handle:
Continuing with gray yarn
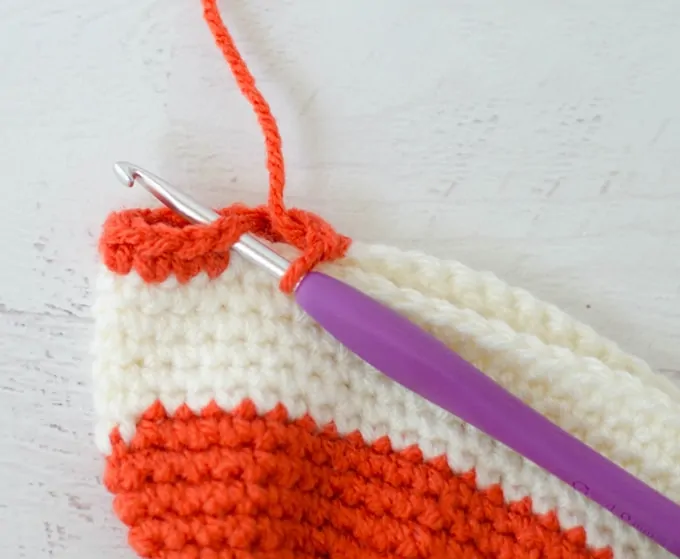
R1: Sc in next 12 st (12 st). Leave remaining stitches of row unworked.
Fold over work and starting round 2 by working in the first stitch of round 1. Continue to work handle in spiral rounds.
Note: then next few photos show a rattle in a different color palette. (To see the Fox Rattle, Click Here) It is constructed the exact same way as the hippo rattle and is shown here to provide more detail of the process.
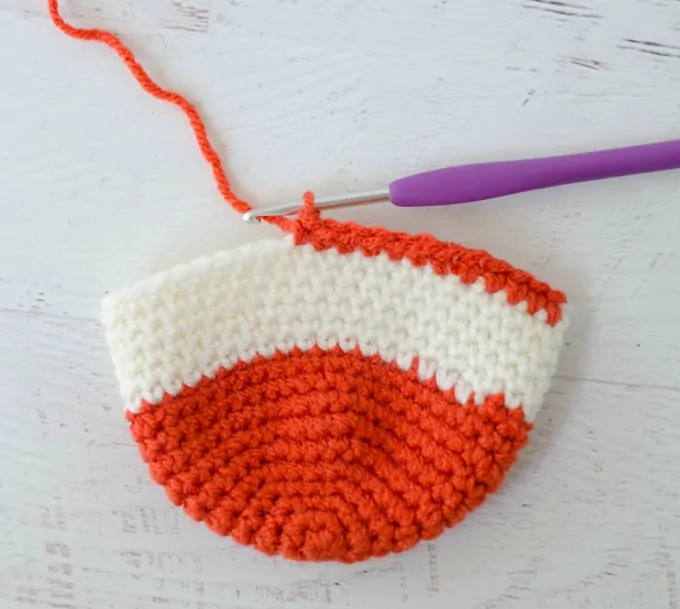
R2-28: sc around. (12 st) Stuff handle every 8-10 rounds or so.
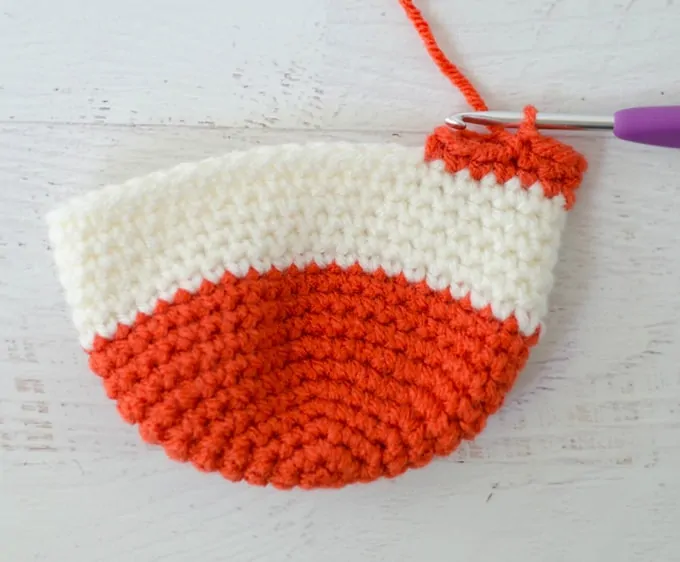
Fasten off leaving a long strand for sewing. If desired, finish row 28 with an invisible join. Or, simply fasten off in the usual way. Make sure handle is stuffed and head of rattle is folded roughly in half.

To sew handle end to opposite side of rattle, carefully bring open end to slip into the folded area. Carefully sew handle in place with overhand stitches.
Lightly stuff head, but do NOT sew shut yet.
Muzzle:
Work in joined rounds
With gray, Ch 8
R1: 1 sc in 2nd ch from hook, sc in next 5 ch, 3 sc in next ch, rotate work and work on opposite side of foundation ch, sc in next 5 st, 2 sc in next ch (16 st)
R2: 2 sc in next st, 1 sc in next 5 st ,2sc in next 3 st, 1 sc in next 5 st, 2 sc in next 2 st (22 st)
R3-4: sc around (22 st)
Lightly stuff. Sew on head between rounds 10-15.
For each nostril: using pink yarn, sew 5-6 small stitches on either side of the nose.
If you haven’t done so already, lightly stuff head, but do not sew shut yet. Insert safety eyes above muzzle. You may need to remove some stuffing to get the eyes in properly.
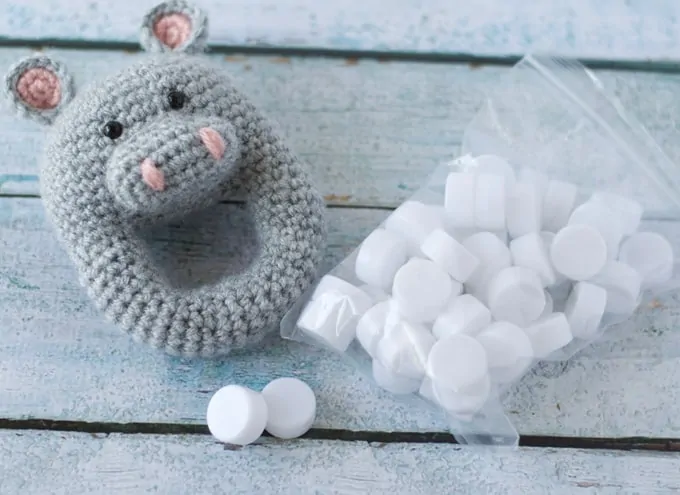
Stuff head the rest of the way and insert a noise-making rattle in between the stuffing (Photo above shows a different rattle) along with the noise making rattles purchased on Amazon.
Sew head of the crochet hippo rattle shut, using overhand stitches, making sure head is stuffed nice and firm as you work along.
Inner Ears (make 2):
With Pink yarn, make a magic ring
R1: 5 sc into ring (5 sts). (Do not join, worked in rounds)
R2: 2 sc in ea st around (10 st) Fasten off
Outer Ears (make 2):
With Gray yarn make a magic ring
R1: 5 sc into ring (5 sts). (Do not join, worked in rounds)
R2: 2 sc in ea st around (10 st)
Now holding pink inner ear and gray outer ear together and continue working with gray as follows:
R3: sc in next st, 2 sc in next st (15)
Fold in half. Sew on to top of hippo head over row 5.
Purchase an ad-free printable version of this pattern!
I love seeing your finished projects! If you enjoyed making one of my patterns I’d love to see yours on Instagram, be sure to tag me @crochet365knittoo. If you are on Facebook, stop over to the Crochet 365 Knit Too Facebook page or pop over to the Crochet365KnitToo Club and share a photo! I’d love to see your work!