Crochet Bunny Basket
This post may contain referral/affiliate links. Please read my disclosure for more info.
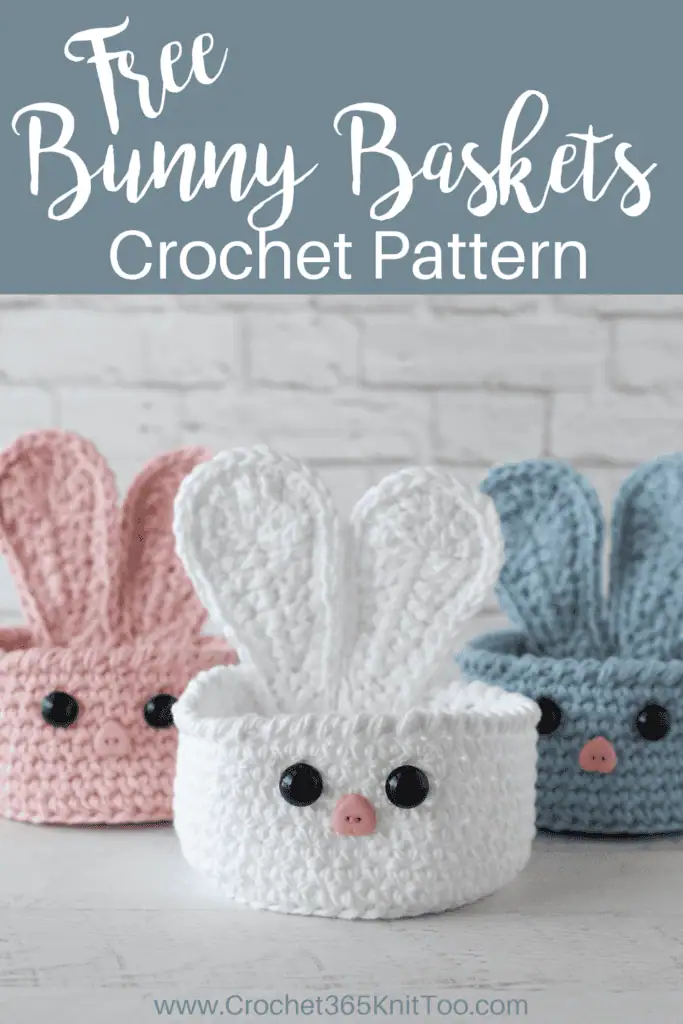
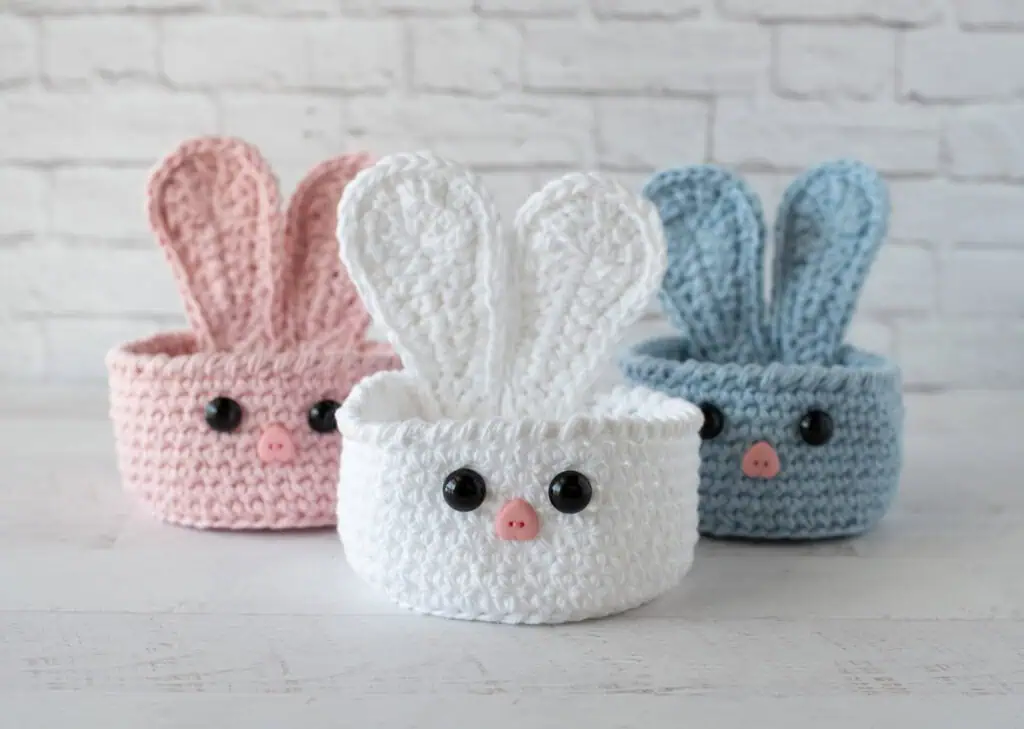
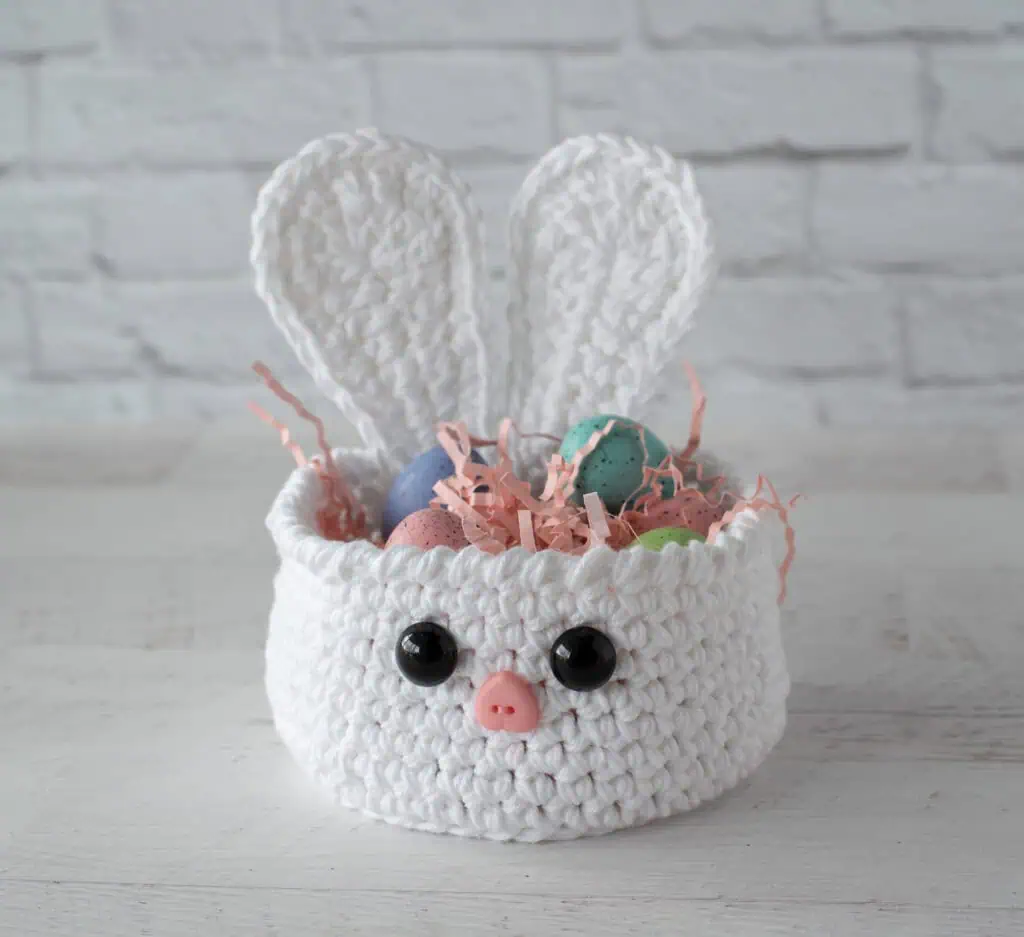
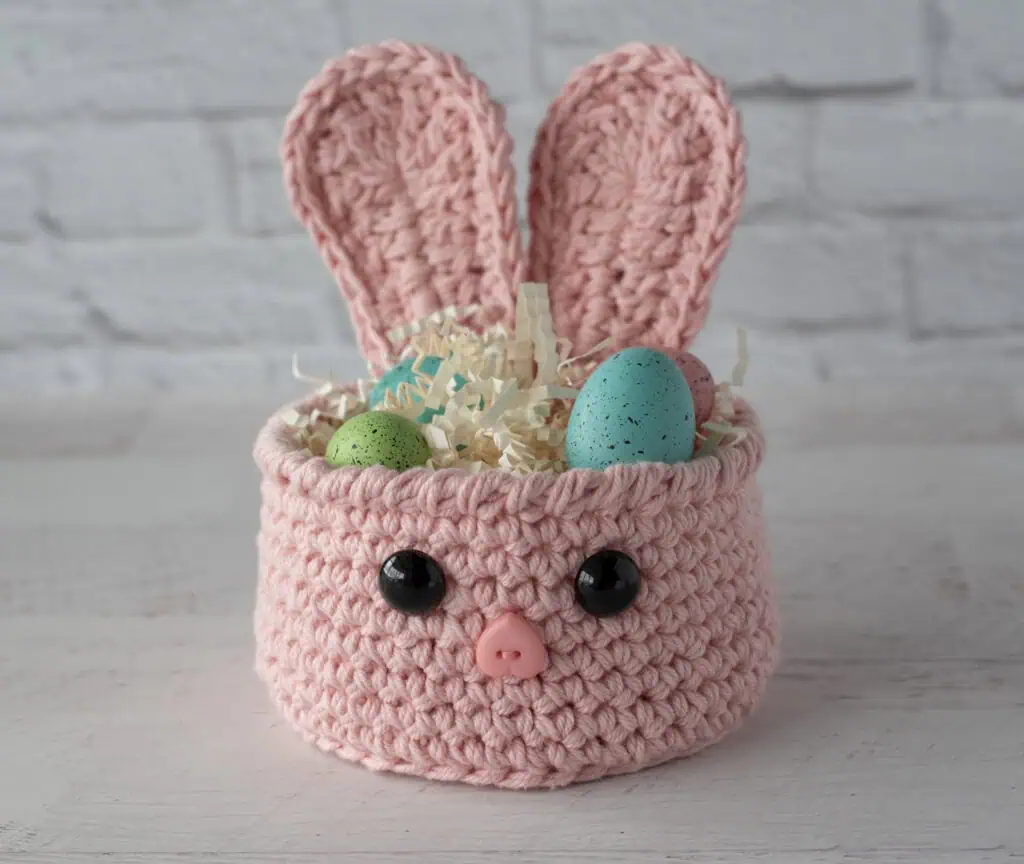
I’m completely and utterly smitten with this darling crochet bunny basket pattern. I mean just look at the cuteness? Soft, spring colors. Adorable ears that stand up on their own. And those darling eyes and nose? Perfection!
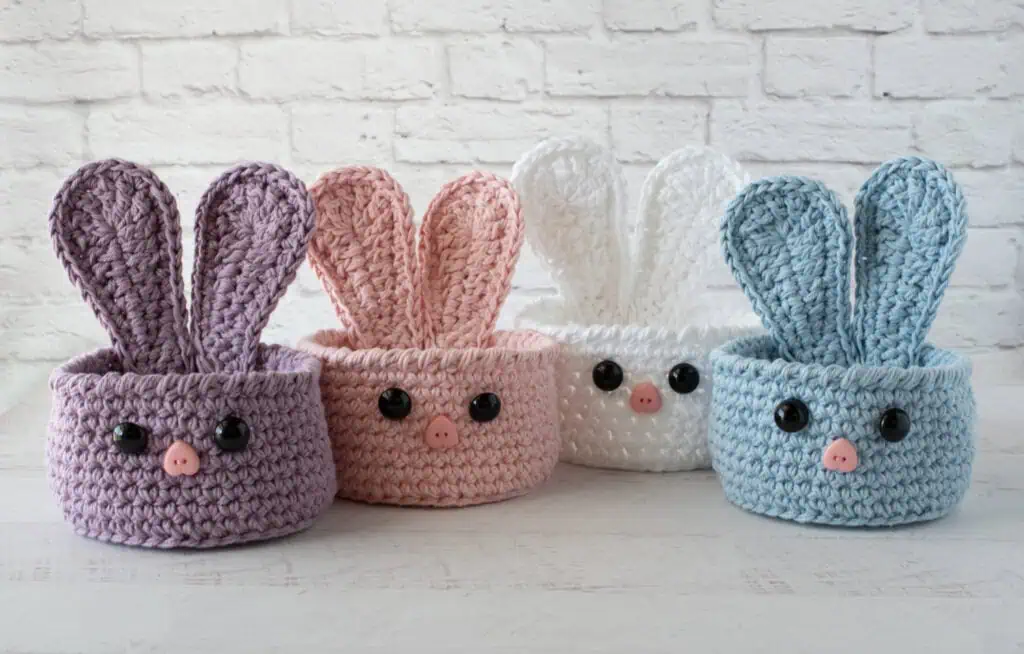
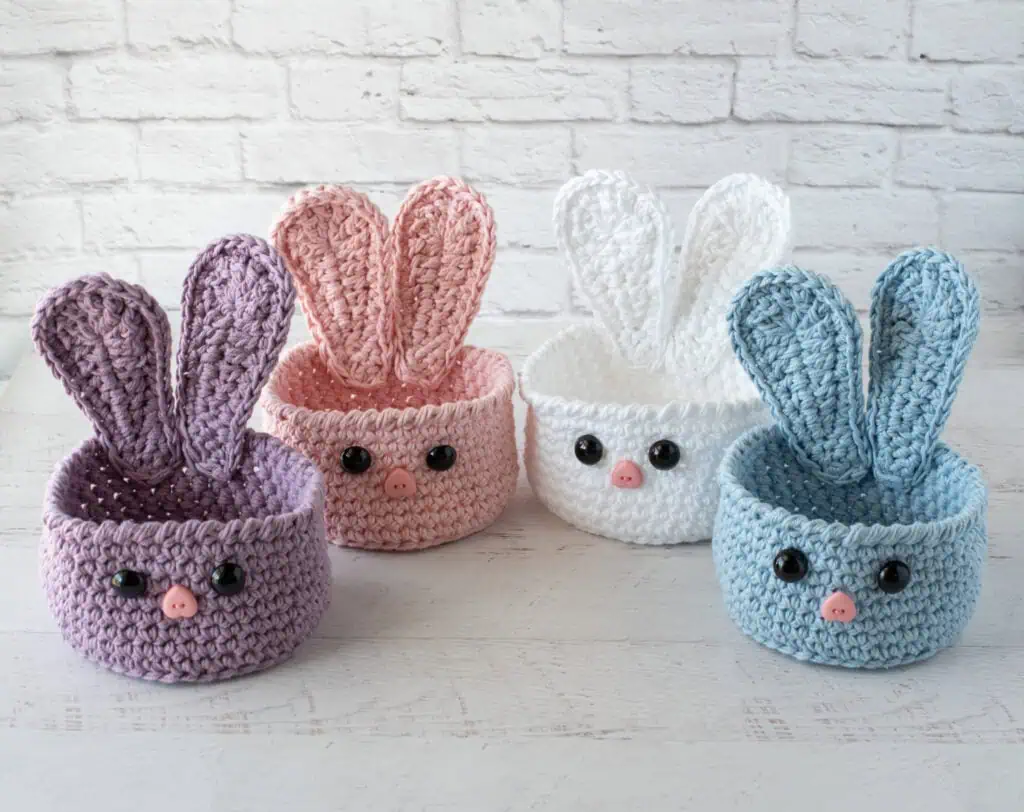
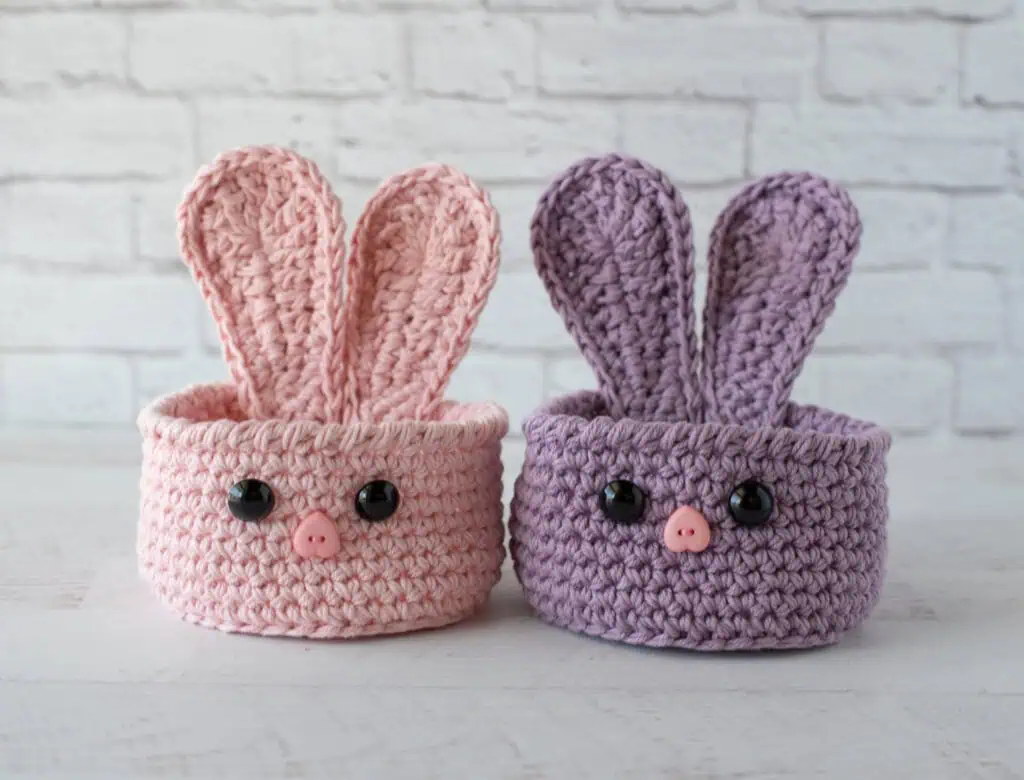
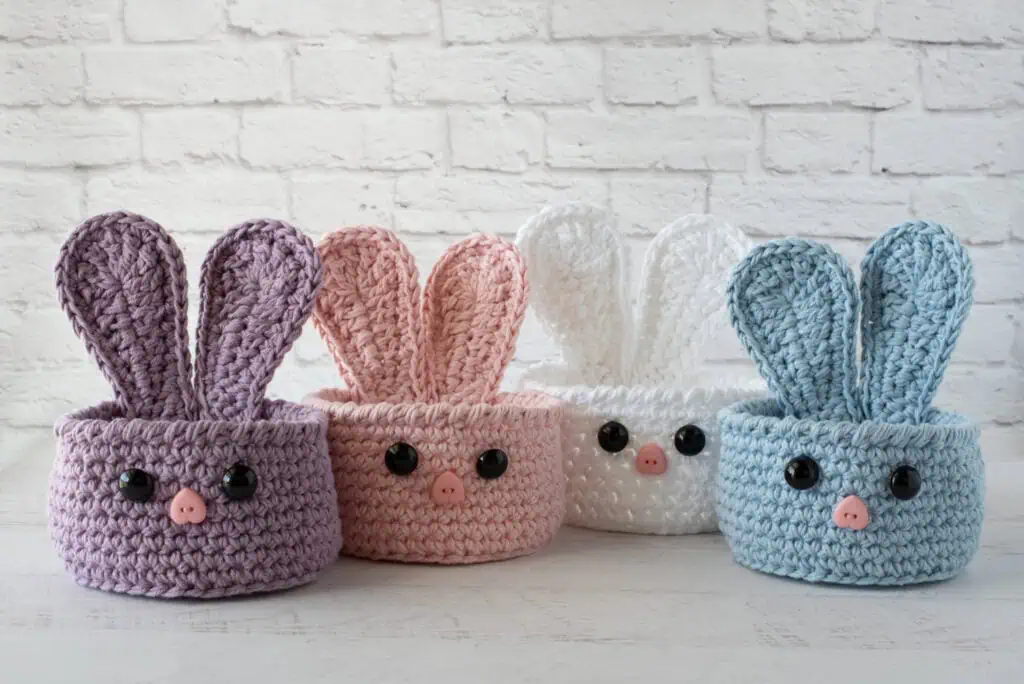
And not only does this bunny basket look adorable, it is so incredibly fun to make. I made 4 of them. FOUR! They were so fun to crochet in just a few evenings!
Meet My Bunny Basket Pattern
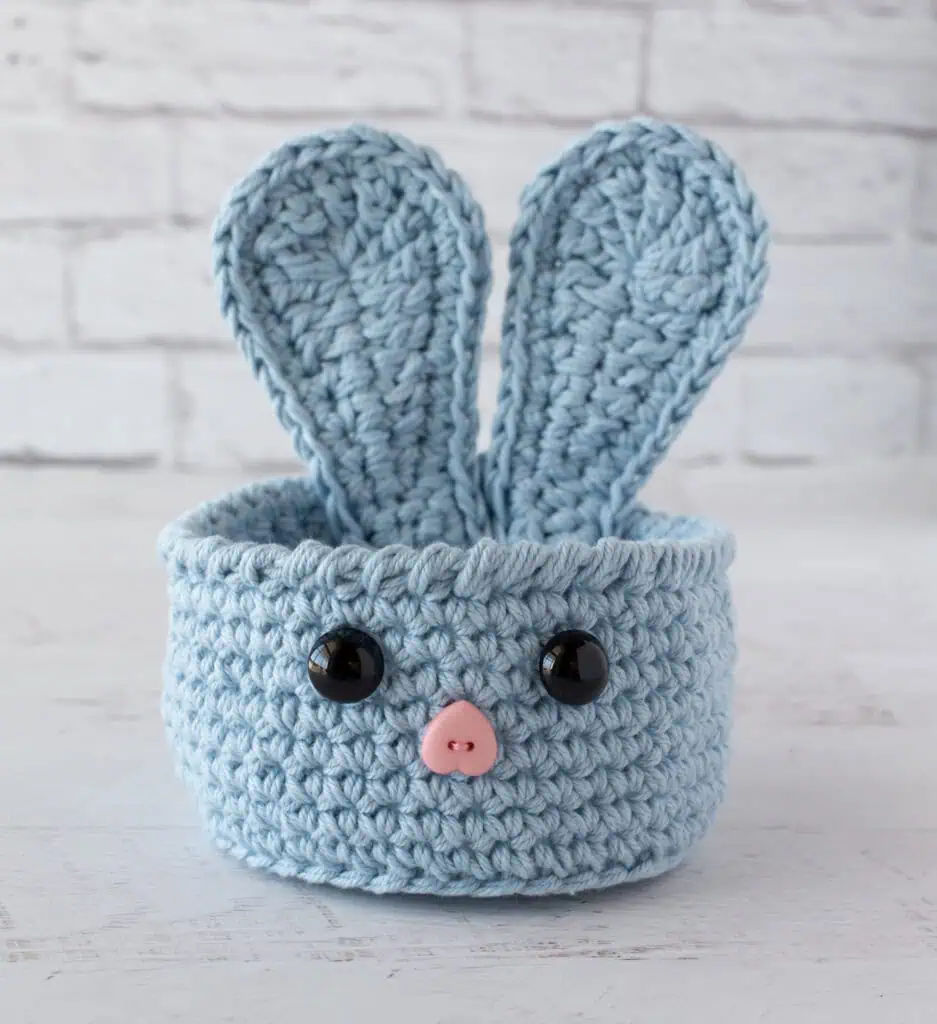
Sigh. I’m a huge fan of Dishie #4 Worsted Weight cotton yarn. Yarn held together (so you’re working with 2 strands at once) is what makes this cutie pie basket sturdy enough to hold it’s shape–and yes, the ears DO stand up on their own. When empty, you can also easily fold it flat for easier storage.
While I’m in love with the soft colors (and feel) of Dishie cotton yarn, another worsted weight cotton like Peaches & Creme, Lily Sugar ‘n Cream or Crafter’s Secret are great substitutes and can often be found locally (or in your stash). So you can get to crocheting right away.
The eyes may LOOK like safety eyes, but they are actually buttons with a little shank on the back for sewing. I went with buttons so that the inside the basket would stay nice and smooth. I didn’t want to reach inside the basket for a treat and get a scratch on my hand from the back of a safety eye!
The nose is just a darling little heart button turned upside down and sewn on. Clever, right?
I purchased the buttons at Hobby Lobby. I don’t know about you, but now that Joann is closed, finding a sewing essentials like buttons is not easy. So I was tickled to find black buttons that looked similar to safety eyes and that puffy look heart button is just perfection.
print & stitch
Purchase the Beautifully Crafted AD-FREE PDF Download Today
Do you just want to relax and crochet? This nicely formatted pattern features clear instructions and perfectly sized photos for a more enjoyable crochet experience.
What You’ll Love About This Bunny Basket Crochet Pattern
I worked hard to create a bunny basket that was just perfect: Not too big, but not too small. Here are the things I think you’ll love about it:
✨ Quick & Satisfying
You can whip up this crochet bunny basket in an evening—perfect for last-minute Easter prep or when you need to make a whole colony of bunnies.
✨ Sturdy & Practical
Made holding two strands of cotton yarn together, this basket has just the right structure—no floppy sides here!
✨ Minimal Fuss Construction
Simple shaping and straightforward construction mean you can focus on the fun part… watching that sweet bunny face come to life.
✨ Adventurous Beginner-Friendly
If you’re comfortable with basic stitches like single crochet, working in the round and simple increases, you can absolutely tackle this. It’s a great “next step” project if you’re ready to stretch your skills just a bit.
✨ Those Ears Though…
They stand up all on their own (no wire needed), which honestly feels a little magical every time.
✨ Perfect for Easter (and beyond!)
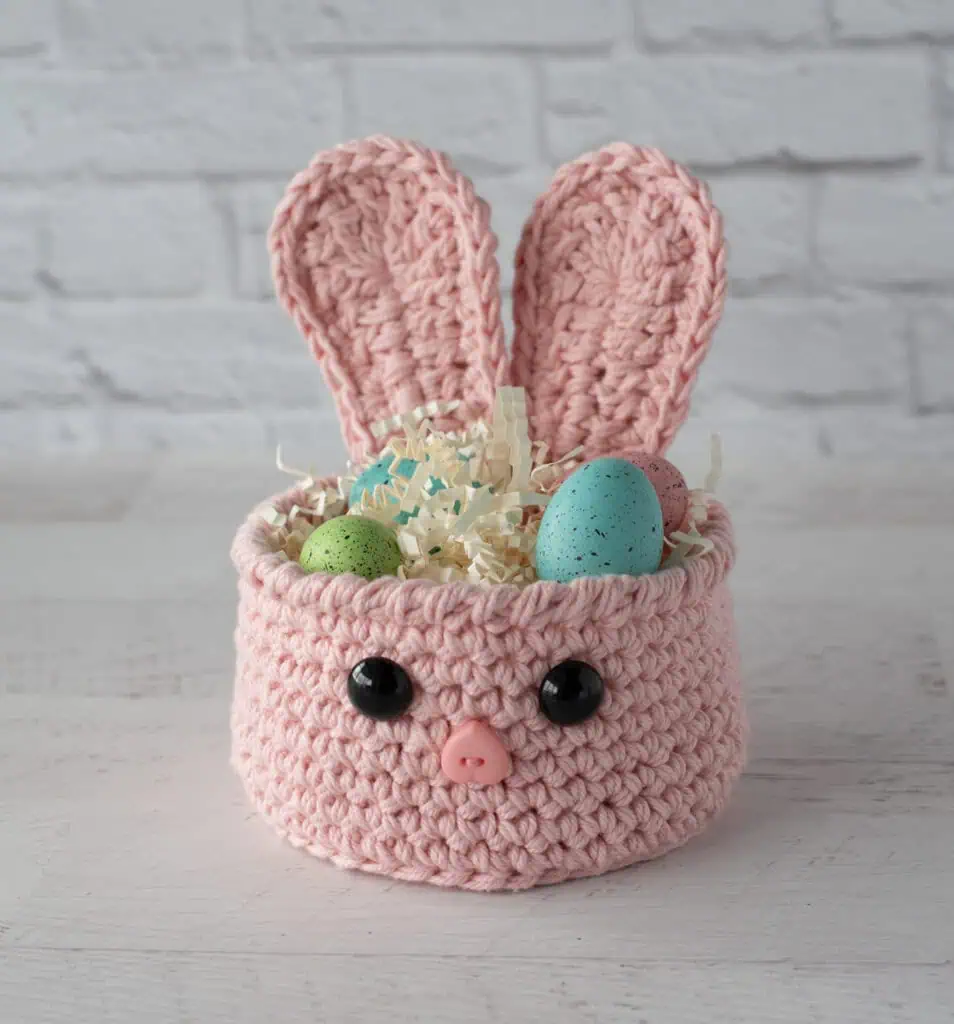
Fill it with chocolate eggs, tuck in a small gift, or use it as the cutest little spring decoration—these baskets are just begging to be made in multiples.
Ready to dive into this fun pattern?! Let’s go!
Get the free pattern below or purchase an ad-free pattern on Etsy or Ravelry
Crochet Bunny Basket Pattern
Here is what you will need:
- Dishie, size 4 worsted weight, 100% cotton, 190 yds per 100 gm skein (try WeCrochet or Amazon), 140 yds per basket. 2 strands of yarn are held together throughout. Recommend purchasing 2 skeins for easier construction (which will make 2 baskets) Colorways shown:
- White
- Blush (pink)
- Dewdrop (blue)
- Lilac Mist (purple
- US J10/6.0 mm crochet hook
- (2) Sewology 5/8” Black Shank Style Buttons per basket
- (1) Sewology 5/8” Pink Heart Button per basket
- Stitch Marker
- tapestry needle and scissors
Resources and tutorials you may find helpful in following this pattern: Crochet Abbreviations, US to UK Crochet Conversion Chart. Find links to stitches on the “Tutorial” menu: Getting Started will show basic stitches used in many patterns and Crochet Stitch Dictionary shows our growing collection of crochet stitch tutorials.
Gauge:
My gauge is 6 sc to 2 inches. However, gauge is not important in this pattern.
Resources and crochet tutorials you may find helpful in following this pattern: Crochet Abbreviations, US to UK Crochet Conversion Chart. Find links to stitches and basic crochet skills on the “Tutorial” menu: Getting Started will show basic stitches such as the slip stitch, single crochet, double crochet stitch and chain stitch used in many patterns and Crochet Stitch Dictionary shows our growing collection of crochet stitch tutorials.
Crochet Abbreviations:
- ch = chain
- BLO = back loop only
- dc = double crochet
- hdc = half double crochet
- RSC = reverse single crochet *
- sc = single crochet
- sl st = slip stitch
- st = stitch(es)
- tr = treble crochet
Finished Basket Size
Basket is 2.75” tall excluding ears (approximately 6” tall including ears) x 4.5” wide.
How to Crochet this Bunny Basket
The basket starts at the bottom with a magic ring and some increases. Then it’s worked even up the sides and finished with a row of reverse single crochet stitches. The ears each have two layers that are crocheted separately and joined together with a final round. Then you’ll finish things off by sewing on the ears to the inside back of the basket and sewing the buttons eyes and nose to the outside front. Let’s crochet this cutie:
Basket
Holding 2 strands of yarn together throughout, make a magic ring.
R1: 6 sc into ring. Place stitch marker and work in continuous rounds. (6 st)
R2: 2 sc in ea st. (12 st)
R3: *Sc in next st, 2 sc in next. Repeat from * around. (18 st)
R4: *Sc in next 2 st, 2 sc in next. Repeat from * around. (24 st)
R5: Sc in next st, 2 sc in next, *sc in next 3 st, 2 sc in next. Repeat from * around until last 2 st then sc in next 2 st. (30 st)
R6: *Sc in next 4 st, 2 sc in next. Repeat from * around. (36 st)
R7: Sc in next 2 st, 2 sc in next, *Sc in next 5 st, 2 sc in next. Repeat from * around until last 3 st then sc in next 3 st. (42 st)
R8: Working in BLO, sc around. (42 st)
R9-14: Working in both loops, sc around. (42 st)
R15: Working in both loops, sc around. At end of round, sl st to next st. (42 st)
R16: Ch 1 and RSC around. Fasten off and join to first st in round, then weave end through last stitches. (42 st)
Ear Notes:
Each ear is comprised of 2 layers: a back ear layer and a front ear layer. First, make a back ear and fasten off the yarn. Then make a front ear, but do not fasten off. Place back ear behind front ear with right sides facing up. Then continue to work stitches around to connect the two layers.
Ear Back (Make 2):
Holding 2 strands of yarn together, ch 11
R1: Sl st in 2nd ch from hook and next 2 ch, sc in next 2 ch, hdc in next 2 ch, dc in next 2 ch, 7 tr in last ch. Rotate work to work stitches on the opposite of chain as follows: dc in next 2 ch, hdc in next 2 ch, sc in next 2 ch, sl st in next 3 ch. Fasten off yarn.
Ear Front (Make 2):
Repeat row 1 of ear back, but do NOT fasten off. Place back ear behind ear front with right sides facing up. To seam: Turn to work back up the row with front facing you. Work into front stitch and corresponding back stitch at the same time as follows:
R2: Holding both layers of ear together and working through corresponding stitches on both pieces, ch 1, sc in next 9 st, 2sc in each of the next 7 st, sc in next 9 st. At end of round, join with sl st to 1st sc in row. Fasten off and leave a long strand for joining. (32 st)
Finishing:
Using tapestry needle and one strand of yarn, sew ears on inside back of basket. Bottom of ears cover last 3 rows of stitches. Sew securely up and around both ears where they touch the basket.
Sew button eyes and nose on outside of the front of the basket. The eyes are sewn between rounds 13 & 14 with 4 stitches visible between them. For the eyes, I was able to thread a piece of matching yarn through the shank of the button and then tie it on the wrong side and weave in the ends. You can also sew the buttons down with needle and matching thread.
For the nose, position the heart button upside down and use matching thread to sew it between rounds 12 & 13, centering between the eyes.
Perfect Pairings
If you love this crochet chick, you might also enjoy:
They all work beautifully together for a coordinated handmade Easter set.
Want to see all my free Easter patterns in ONE place? I’ve got you! Pop over to this post to see ALL my Free Easter Crochet Patterns
I love seeing your finished projects! If you enjoyed making this Bunny Basket Pattern I’d love to see yours on Instagram, be sure to tag me @crochet365knittoo. If you are on Facebook, stop over to the Crochet 365 Knit Too Facebook page or pop over to the Crochet365KnitToo Club and share a photo! I’d love to see your work!