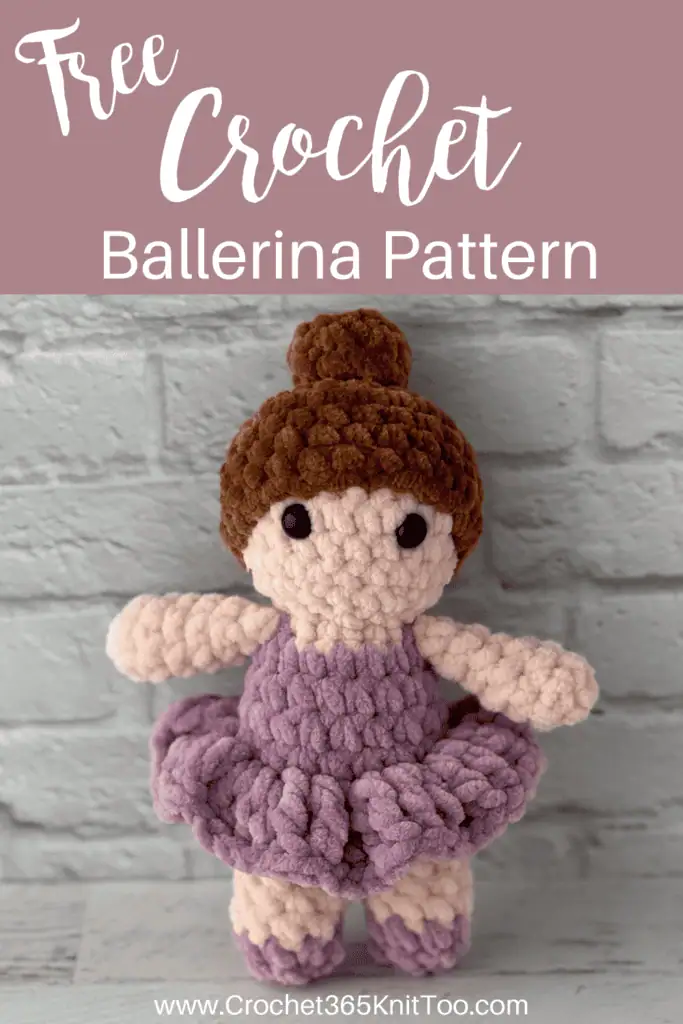
Violet Crochet Ballerina
This post may contain referral/affiliate links. Please read my disclosure for more info.
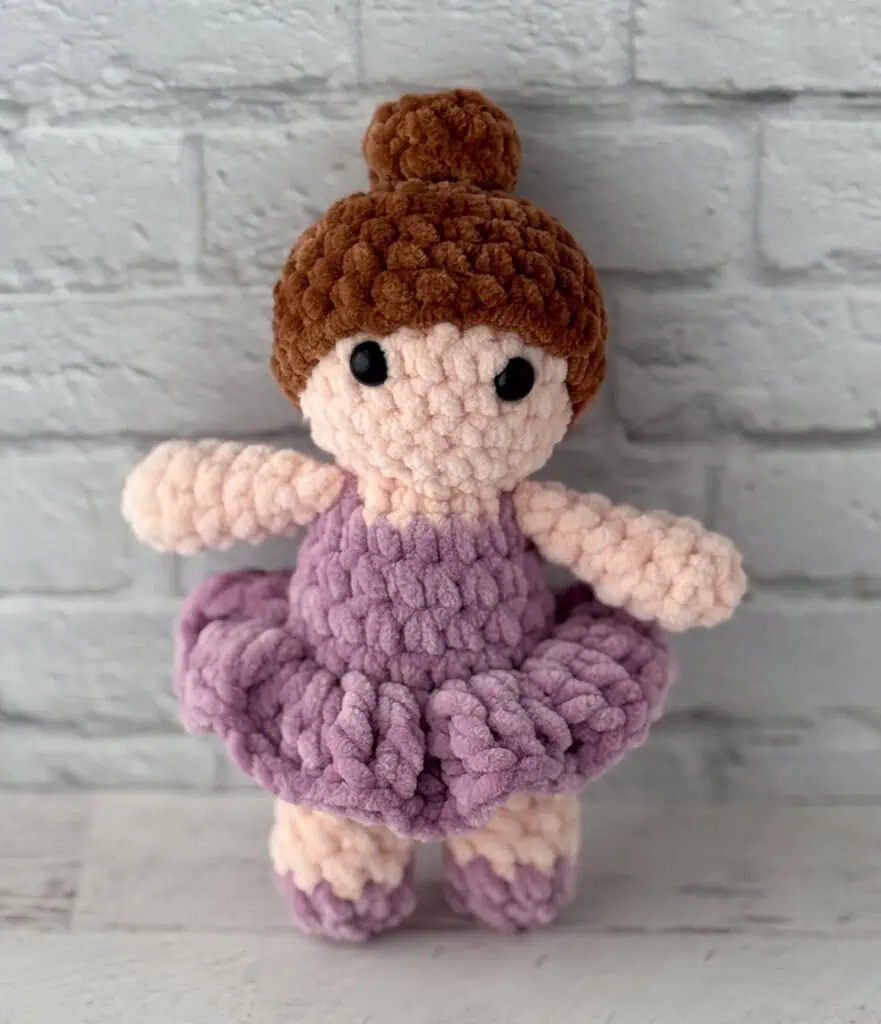
There is just something a little bit magical about a little crochet ballerina with soft plush yarn, sweet details and that perfect cuddly size that fits right in your hand.
I had so much fun designing this cute little ballerina. I love the purple hue of her dress and shoes. I love that she’s so soft and plush. And I love that she comes together so quickly as I love those one-evening crochet projects best of all!
Meet Violet the Ballerina
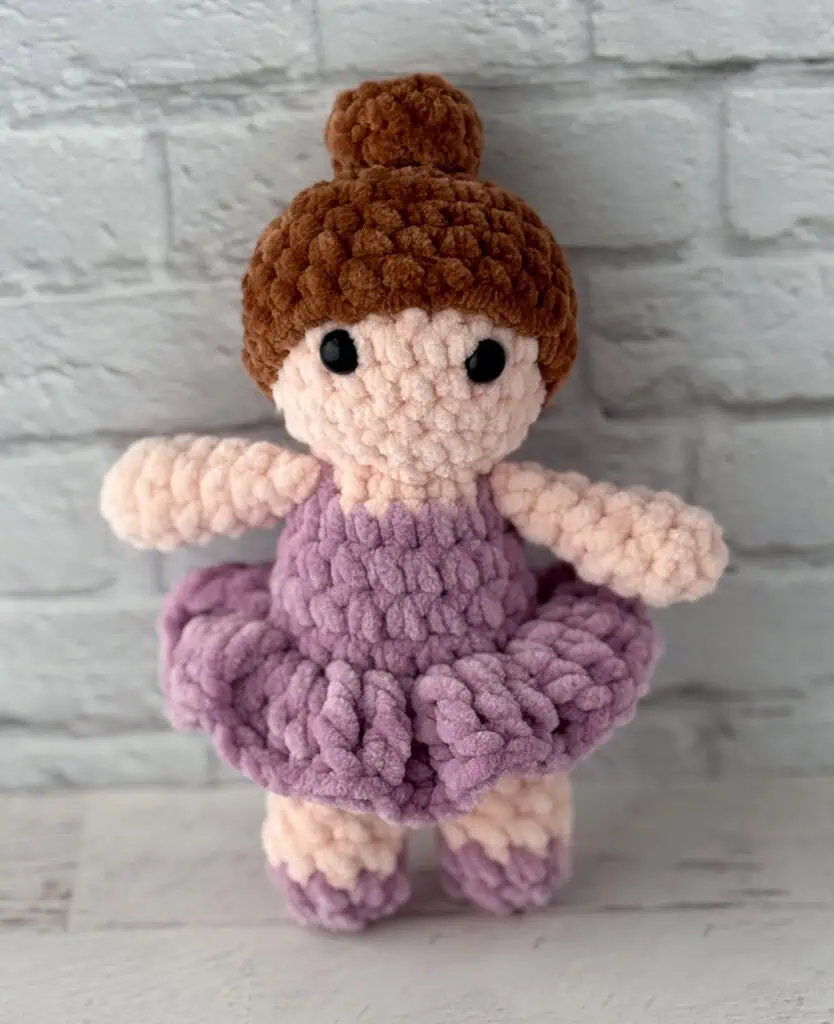
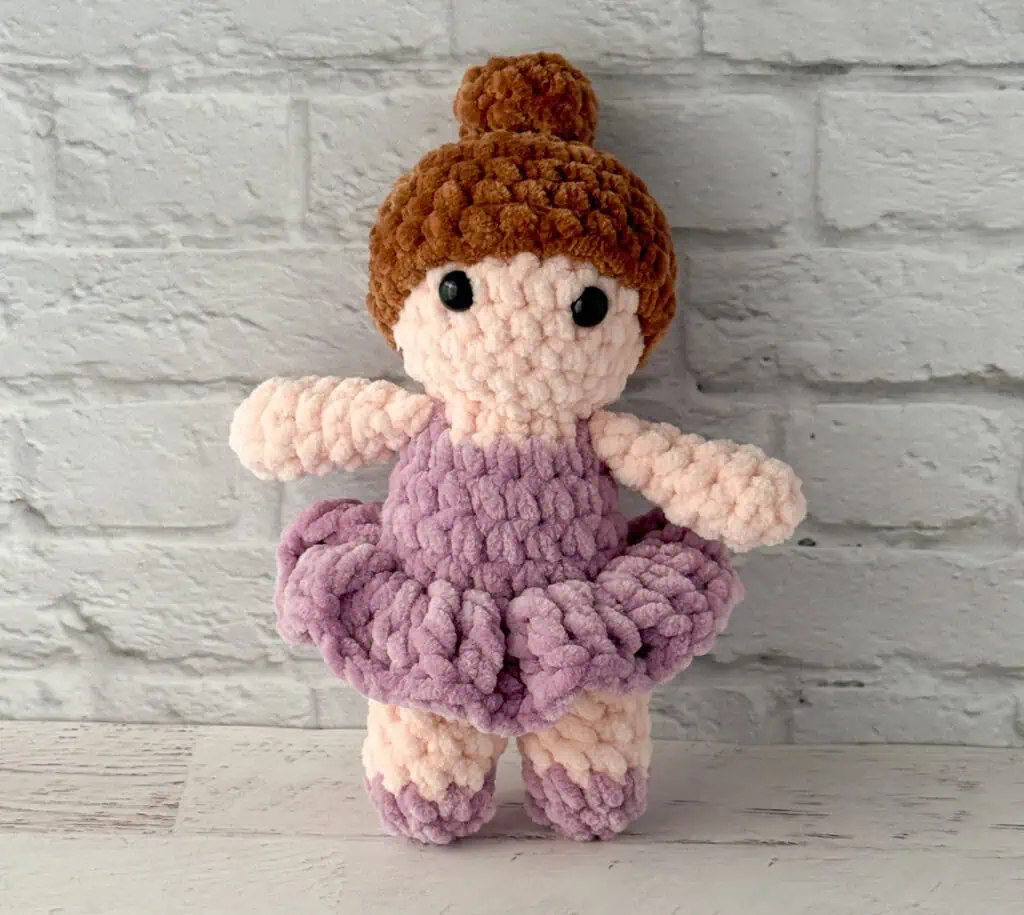
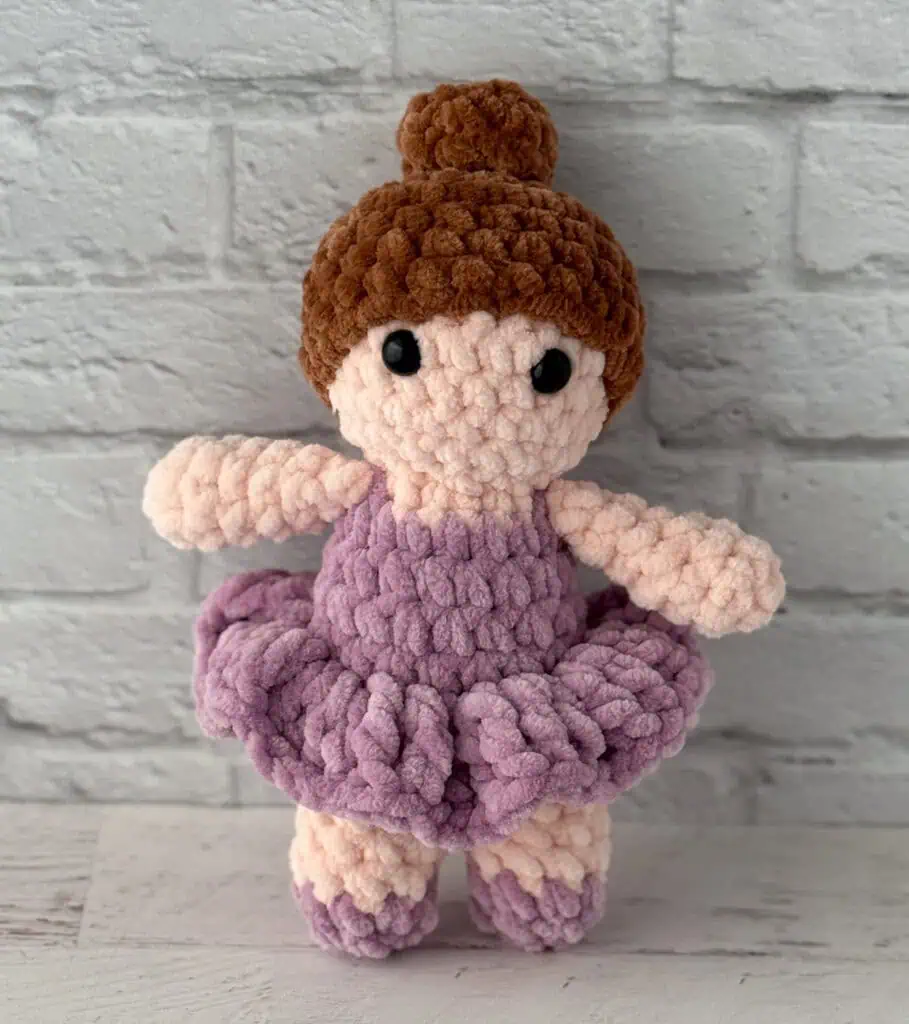
Let me introduce you to Violet the Ballerina—a completely adorable little plushie with the softest texture and a sweet personality all her own.
She’s made with Premier Parfait and Himalaya Dolphin yarn. They both are a size 6 super bulky weight plush yarn. It’s a bit lighter than the Premier Basix yarn I used for Buttercup the Chick and Blossom Bunny. It’s also got more of velvet like feel to the yarn, which I love.
I also used Premier Parfait in my Carl the Cardinal pattern and the very popular Toby the Turkey crochet patterns. It’s one of my favorite yarns because of how soft the finished amigurumi works out to be plus I’m a huge fan of a quick project with big impact.
If it’s possible to believe, Violet the Ballerina is even more adorable in person.
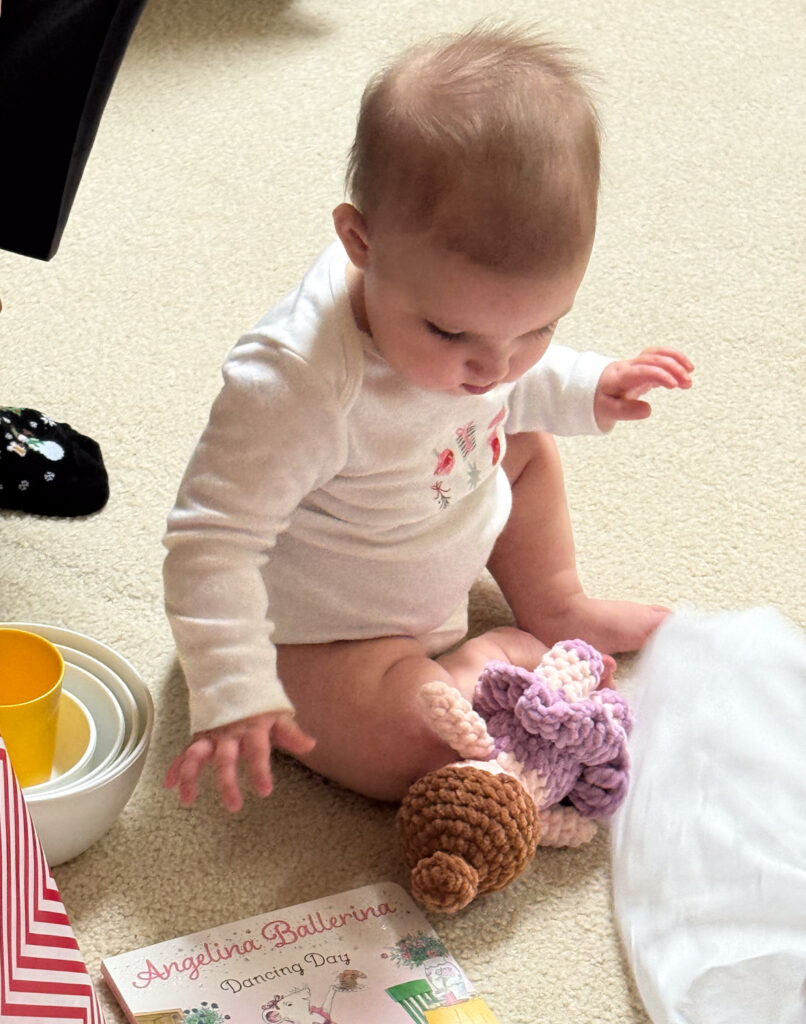
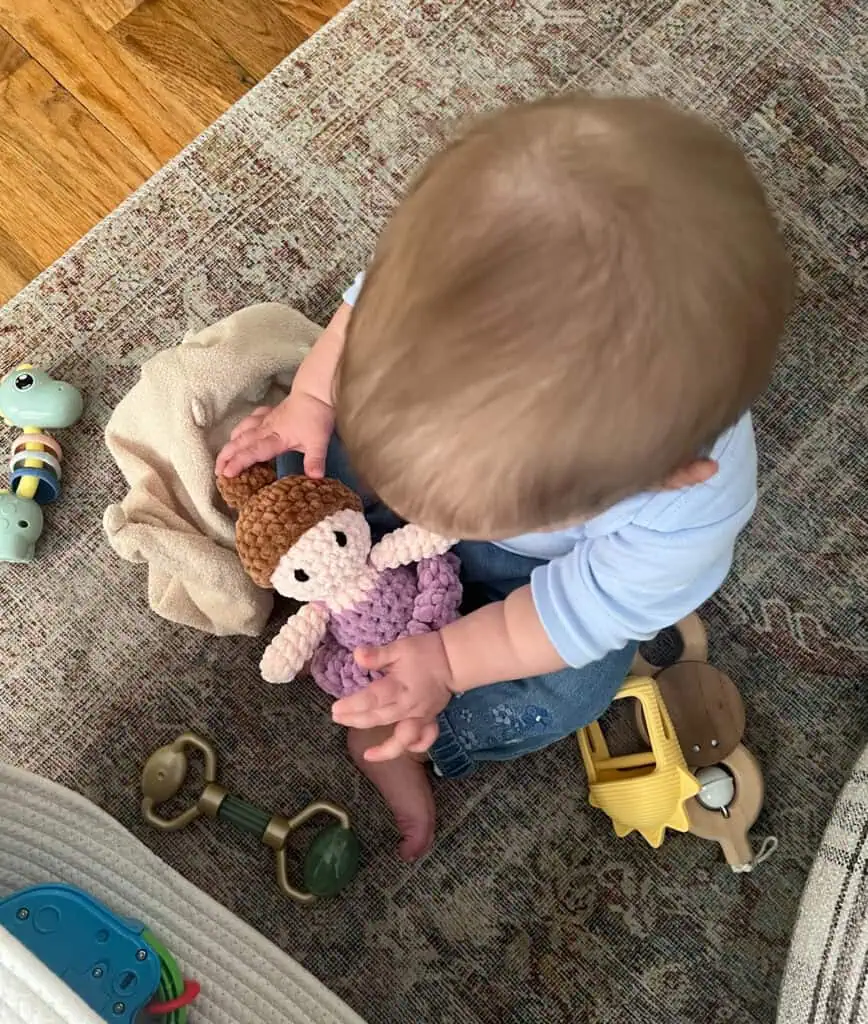
Here’s my littlest niece with her ballerina doll. I embroidered the eyes instead since the ballerina doll was made for a small child and I paired it with a darling little ballerina board book for a fun gift!
I love it when my crochet gifts are used and loved and I was so happy to receive this cute “action” shot of her playing with little Violet. Side note: don’t you just love those tiny little baby feet? I love every bit about new babies in the family and it’s so fun to share in all the first moments!
I even have my own special “aunt” name: “Cici”. Since my sister is her grandma and her grandma name is “Mimi”, we thought Cici would be perfect.
While You’ll Love This Ballerina Crochet Pattern
This plush crochet ballerina is:
- Soft and cuddly
- Hand-held and easy for little hands to carry
- Made with super bulky plush yarn for quick stitching
- Full of charming ballerina details
- Perfect for gifts, birthdays, or nursery décor
- A fun amigurumi project for plush yarn lovers
I love that the finished ballerina is full of squishy goodness thanks to the chenille yarn which makes her extra lovable and cozy.
If you adore plush amigurumi patterns, this little ballerina will fit right in with your collection.
What Yarn Works Best for a Plush Crochet Ballerina?
For this crochet ballerina doll, I used a super bulky chenille-style yarn to create that soft plush texture everyone loves right now. Plush yarn gives amigurumi such a cuddly, velvety feel and helps the doll work up faster than traditional yarns.
You can definitely switch things up and use a different yarn if you’d like. Just keep in mind:
- thinner yarn (like worsted weight) = smaller ballerina
- bulkier yarn (like Premier Basix Chenille or Bernat Blanket) = larger ballerina
Be sure to adjust your hook size to match your yarn.
Tips for Crocheting With Plush Yarn
If you’re newer to plush yarn amigurumi, here are a few quick tips that can make the process easier:
Use Stitch Markers
Chenille yarn can make stitches harder to see, so stitch markers are your best friend.
Be Mindful of Your Tension
Tight stitches can make plush yarn harder to work with and, at the opposite end of the spectrum, loose stitches can mean stuffing poking out. The key is to crochet and adapt. If you find it hard to get your hook into a stitch in the prior row, you need to loosen up your tension a bit. If it’s so loose you’re seeing stuffing peeking through, then work a little tighter.
Avoid Frogging Too Much
Plush yarn doesn’t always love being ripped out repeatedly, so working carefully can save frustration later. This is where using a stitch marker and being mindful is so helpful.
Count Your Stitches Often
Because the texture hides stitches a bit, counting as you go really helps keep everything on track.
Is This Crochet Ballerina Beginner Friendly?
I would call this one a bit adventurous. I wouldn’t make it as your very first crochet project, but it is a wonderful option for beginners who are ready to dip their toes into amigurumi.
You’ll be using simple, foundational stitches like:
- single crochet
- increases and decreases
- working in the round
The head and body are crocheted as one piece and then we separate things out for the legs. At the waistline we work a row in the back loops only which then leaves the front loops available to crochet that darling ruffled skirt.
Then you’ll work the arms and hair components and sew them on and your darling little ballerina is ready to go!
Ballerina Crochet Pattern Essentials
If this crochet ballerina is your first time trying an amigurumi pattern, here are a few helpful tips to get you started:
Start with a magic ring (sometimes called a magic circle) to keep your stitches nice and snug at the beginning. Not sure how it works? Take a peek at my magic ring tutorial!
This chick crochet pattern is worked mostly in single crochet along with a few increases and decreases to shape that sweet little round body. You’ll also use slip stitches and need a bit of stuffing and a tapestry needle to finish things off.
Like most amigurumi, this pattern is worked in continuous rounds, so it’s important to keep track of where each round begins and ends. I like to use stitch markers to mark my place as I go.
I mark the last stitch in a row, but some crocheters prefer placing the marker in the first stitch—or even using a scrap piece of yarn. There’s no wrong way—just choose what works best for you and stick with it!
print & stitch
Purchase the Beautifully Crafted AD-FREE PDF Download Today
Do you just want to relax and crochet? This nicely formatted pattern features clear instructions and perfectly sized photos for a more enjoyable crochet experience.
Get the free pattern below or purchase an ad-free pattern on Etsy or Ravelry
Crochet Ballerina Pattern
Here is what you will need:
- Himalaya Dolphin Baby, size 6 super bulky weight, 100% polyester, 131 yds/120m per 100g skein (try Amazon)
- 80343-Powder (light pink): 30 yards
- Premier Parfait Chunky, size 6 super bulky weight, 100% polyester, 131 yds/120m per 3.5 oz skein (try Herrschners, Amazon or Etsy)
- Dusty Mauve (purple): 25 yards
- Teddy Bear (brown): 18 yards
- US H8/5mm crochet hook
- 10 mm safety eyes. NOTE: if making for a baby or young child, embroider eyes instead
- Stitch Marker to keep track of rows
- Fiberfill
- tapestry needle and scissors
Resources and tutorials you may find helpful in following this pattern: Crochet Abbreviations, US to UK Crochet Conversion Chart. Find links to stitches on the “Tutorial” menu: Getting Started will show basic stitches used in many patterns and Crochet Stitch Dictionary shows our growing collection of crochet stitch tutorials.
Gauge:
My gauge is 6 sc to 2 inches. However, gauge is not important in this pattern.
Resources and crochet tutorials you may find helpful in following this pattern: Crochet Abbreviations, US to UK Crochet Conversion Chart. Find links to stitches and basic crochet skills on the “Tutorial” menu: Getting Started will show basic stitches such as the slip stitch, single crochet, double crochet stitch and chain stitch used in many patterns and Crochet Stitch Dictionary shows our growing collection of crochet stitch tutorials.
Crochet Abbreviations:
- ch(s) = chain(s)
- sc = single crochet
- sc2tog = single crochet 2 together
- sl st = slip stitch
- st = stitch(es)
- tr = treble crochet
Finished Ballerina Size
The ballerina is approximately 7.5” tall (excluding bun).
How to Crochet this Ballerina
Construction: The head and body are worked in one piece starting the top of the head, decreasing to the neck and then increasing to work the body. Then we’ll work on half of the stitches at a time to work each leg, ending at the bottom of the foot. The arms are worked separately and sewn on the sides at the neck.
Finishing the Foot: The fasten off for the bottom of the foot is a bit unconventional. We work down to 3 stitches which makes the foot seem to come to a point. Then we’ll fasten off, fold the work together, thread a yarn needle and make 1 stitch to close it off. Then insert needle into the center bottom of the foot and up into the leg and give a tug to pull the ending stitches inside the leg. This creates a rounded bottom. Knot the yarn and bury it securely in your work.

Ballerina Head and Body
Using light pink yarn yarn, make a magic ring.
R1: 6 sc into ring. Place stitch marker in last st and work in continuous rounds. (6 st)
R2: 2 sc in ea st. (12 st)
R3: *Sc in next st, 2 sc in next. Repeat from * around. (18 st)
R4: *Sc in next 2 st, 2 sc in next. Repeat from * around. (24 st)
R5-8: Sc around. (24 st)
R9: *Sc in next 2 st, sc2tog. Repeat from * around. (18 st)
R10: Sc2tog around. (9 st)
Insert safety eyes between rows 6 & 7, leaving 4 stitches in between them. Stuff head and continue to stuff body as you work.
R11: 2 sc in ea st, changing to purple yarn in the last st. (18 st)
R12-15: With purple yarn, sc around. (18 st)
R16: Working in Back Loop Only, sc around. (18 st)
R17: Sc around. (18 st)
Slip stitch in next stitch and fasten off.

Leg 1:
Flatten the body to determine center back of doll and attach light pink yarn with a sl st.
R1: Ch 1 and sc in the same st as joining, sc in next 8 st, skip remaining 9 sts. Then work continuous rounds in these 9 sts.
R2-4: Sc around. At end of R4, change to purple yarn (9 st)
R5: With purple, sl st in next st, sc in next 8 st. At end of round work a sc into the 1st sl st of round. Mark this stitch as the new last st in round. (9 st)
Stuff the leg, making sure the body and leg are both stuffed firm. Continue to add stuffing as needed as you finish up the leg.
R6: Sl st in next st, sc2tog, *sc in next st, sc2tog. Repeat from * around (6 st)
R7: Sc2tog around (3 st). This leaves a bit of a point at the bottom of the leg. Fasten off yarn, thread a yarn needle and make one whip stitch to hold the 2 sides together and pull tight, then insert the needle through the center of the foot and up into the leg and tug. This pulls the final stitches inside the work and makes a rounded end to the leg. Knot tight and bury the end inside the doll.
Leg 2:
Leg 2 is worked on the remaining 9 stitches of the body. Attach the yarn at the back of the 2nd leg, leaving a long strand for weaving in later and then repeat R1-7 of the first leg. When leg is complete, use the unworked yarn to sew up any opening between the legs of the doll.
Arms (Make 2):
With light pink yarn, make a magic ring.
R1: 6 sc into ring. (6 st)
R2-6: Sc around. (6 st)
Lightly stuff the hand. Leave the rest of arm unstuffed.
R7: *Sc in next st, sc2tog. Repeat from * once. (4 st)
Fasten off, leaving a long strand. Use a yarn needle to whip stitch top of arm closed and sew onto ballerina on the side, just below the neck.
Skirt:
The skirt is worked on the front loops on row 16 of the body. Position the doll so the head is facing downward to work the round.
R1: Attach purple yarn with a standing tr stitch to any free front loop on the back of the doll. Work 2 tr in same stitch. *Work 3 tr in each stitch around. Join with a slip stitch to the top of the starting stitch. Fasten off and weave in all ends.
Hair Cap
Using brown yarn, make a magic ring.
R1: 6 sc into ring. Place stitch marker in last st and work in continuous rounds. (6 st)
R2: 2 sc in ea st. (12 st)
R3: *Sc in next st, 2 sc in next. Repeat from * around. (18 st)
R4: *Sc in next 2 st, 2 sc in next. Repeat from * around. (24 st)
R5-7: Sc around. (24 st)
R8: Sc around. At end of round, sl st to next st and fasten off. Leave a long strand for joining. (24 st)
Hair Bun
Using brown yarn, make a magic ring.
R1: 8 sc into ring. Place stitch marker in last st and work in continuous rounds. (8 st)
R2: *Sc in next st, 2 sc in next st. Repeat from * around. (12 st)
R3: *Sc in next st, sc2tog. Repeat from * around (8 st).
Fasten off, leave a long strand for joining.
Finishing The Ballerina Doll
Sew hair cap to head, referring to photo. Sew bun to top of hair cap/head, stuffing lightly as you sew down.
Use a strand of purple yarn and make one stitch over each shoulder into the dress to represent straps on the dress. Be sure to knot off, burying the ends securely in your work, so the shoulder strap is secure on the dress.
Weave in any remaining ends.
Make It Your Own
One of my favorite things about this crochet ballerina pattern is how customizable it is!
Try:
- Pastel colors for spring
- Bright rainbow colors or team specific colors for something fun
- Adding a tiny bow or flower
- Use DK or Worsted weight yarn and turn it into a keychain or ornament
It’s almost impossible to make just one of these sweet little ballerinas and before too long you might find yourself with a whole dancing collection!
Final Thoughts on this Plush Crochet Ballerina
I had so much fun designing this cute little crochet ballerina. From her sweet face to her tiny ballet inspired details, she completely stole my heart. I hope you enjoy her as much as I do!
Whether you’re crocheting her for a gift, a child or simply just because, I hope you find joy in every stitch!
I love seeing your finished projects! If you enjoyed making the Ballerina Crochet Pattern I’d love to see yours on Instagram, be sure to tag me @crochet365knittoo. If you are on Facebook, stop over to the Crochet 365 Knit Too Facebook page or pop over to the Crochet365KnitToo Club and share a photo! I’d love to see your work!