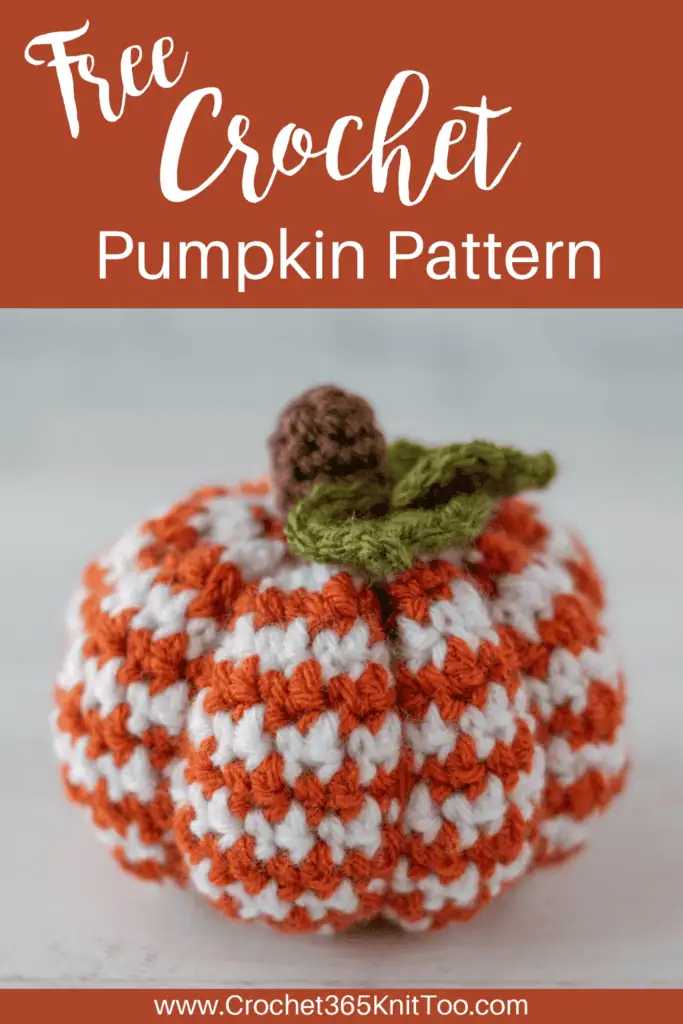
Houndstooth Crochet Pumpkin
This post may contain referral/affiliate links. Please read my disclosure for more info.
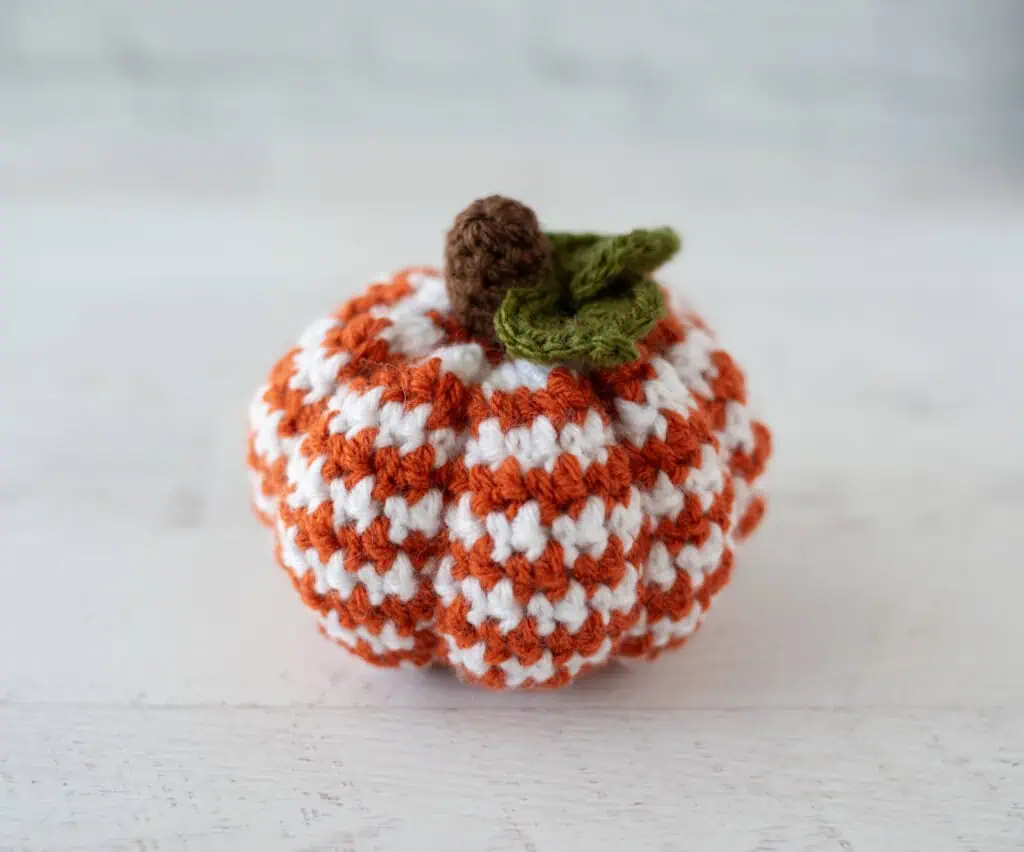
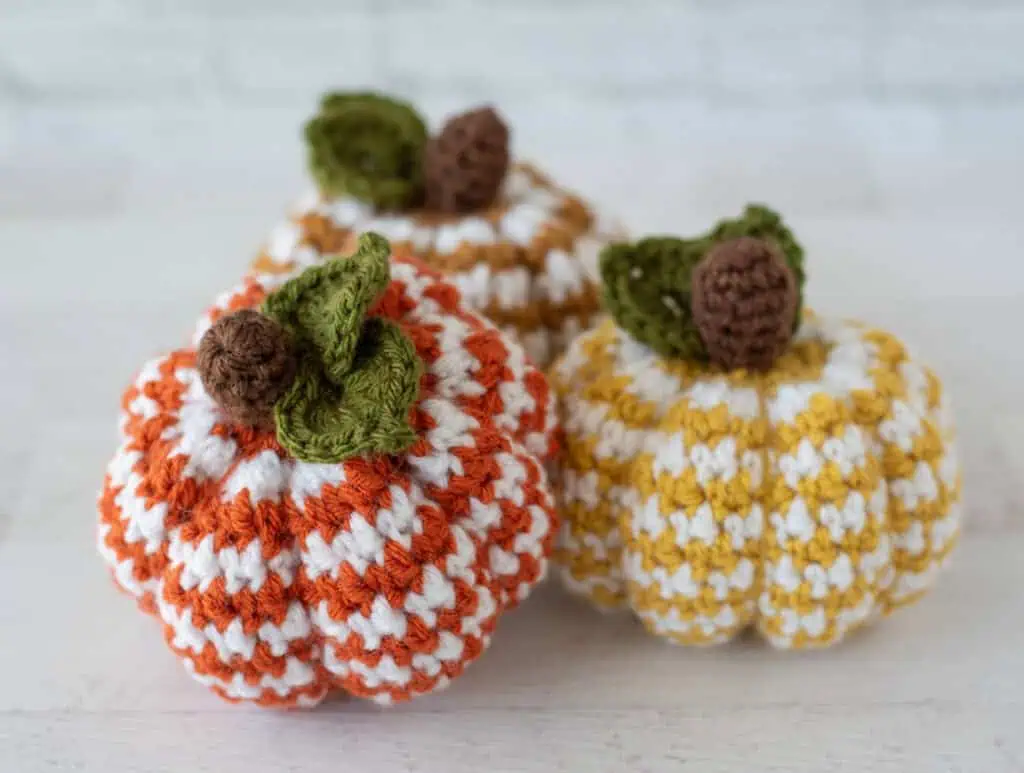
Oh do I ever love this houndstooth crochet pumpkin. There’s something about combining that classic houndstooth pattern (which is SO easy to achieve in crochet) with a classic pumpkin shape that makes me so very happy.
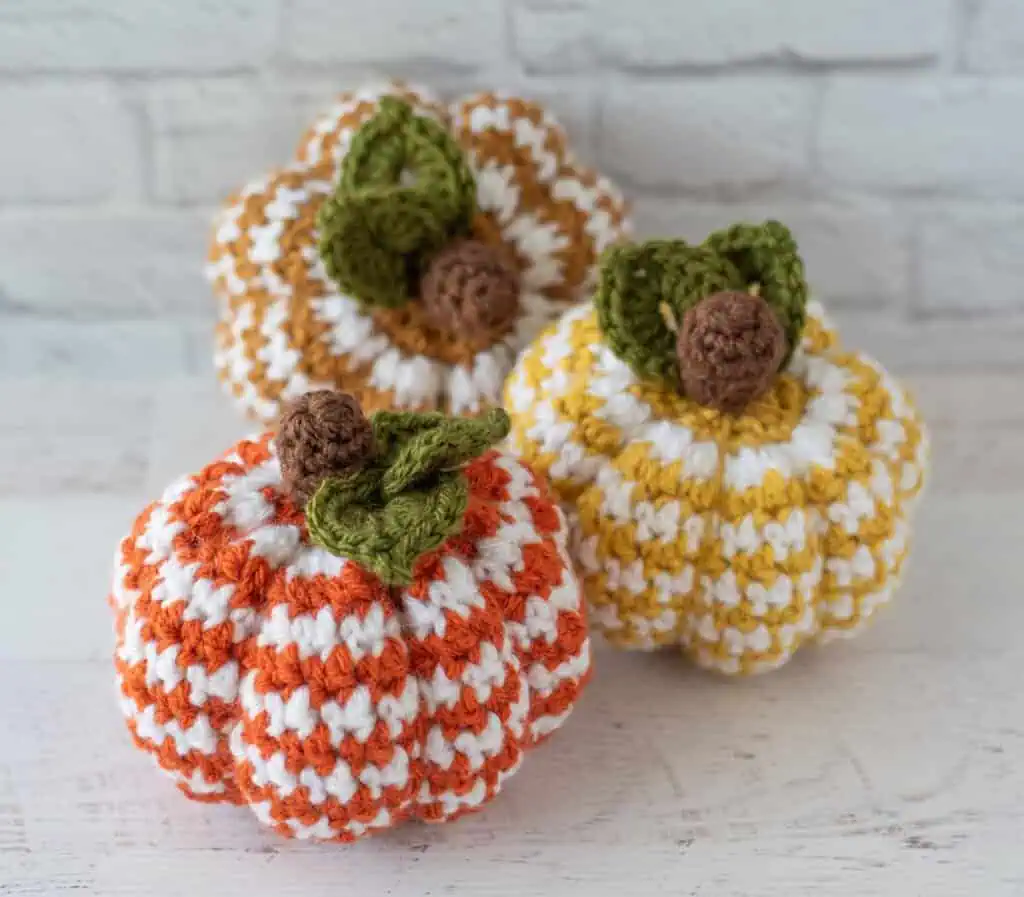
The end result is a classic pumpkin that looks perfect nestled in with other pumpkins or as the standout feature in your fall decor. I’m so in love.
Pumpkins. We love them. I feel like I’m making up for my dislike of the color orange all through childhood because now I can’t get enough of them. I love the colors of autumn an I especially love bringing them right into my house with a crochet pumpkin.
We’ve got quite a few of them here on Crochet 365 Knit Too. From the classic, juicy medium size crochet pumpkin to my textured crochet pumpkin and everything in between. You might have even thought there were no more pumpkin patterns I could possibly create.
And then THIS. This delectable, somewhat respectable houndstooth pattern. What I absolutely love about crocheting the houndstitch stitch is that is so incredibly simple. It’s just a simple single crochet, double crochet repeat that alternates in the next row with a different color.
Easy, right?
Easy to execute but high on the “looks impressive” front. From there it was just adding all the details to make this adorable crochet houndstooth pumpkin.
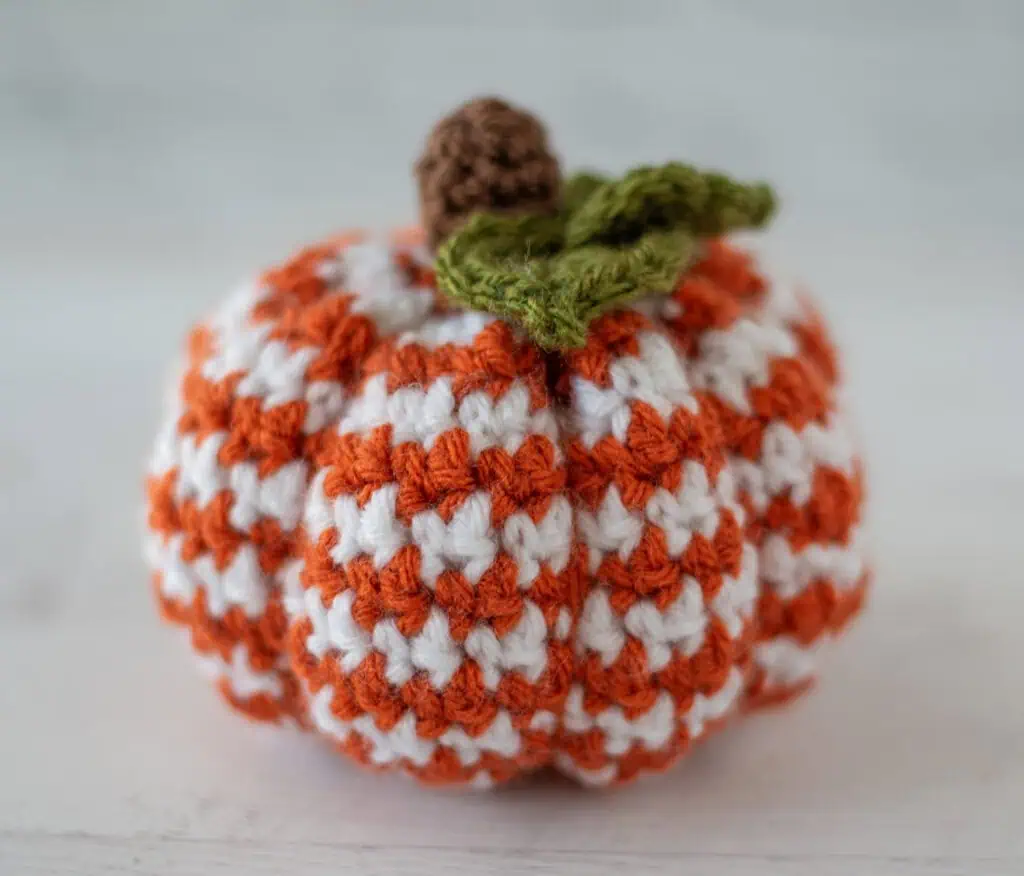
How to Crochet a Houndstooth Pumpkin
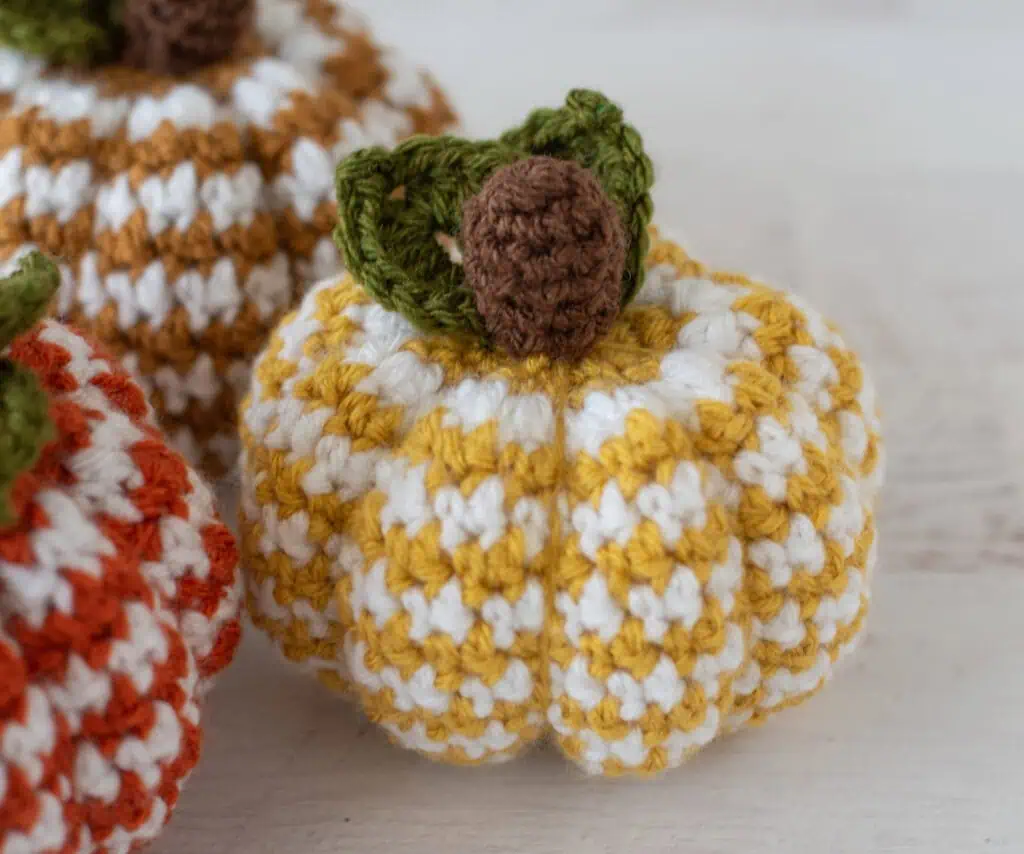
This is a one size looks gorgeous pumpkin pattern. The finished pumpkin stands about 4.5″ tall, depending on how tight you cinch in the sections at the end.
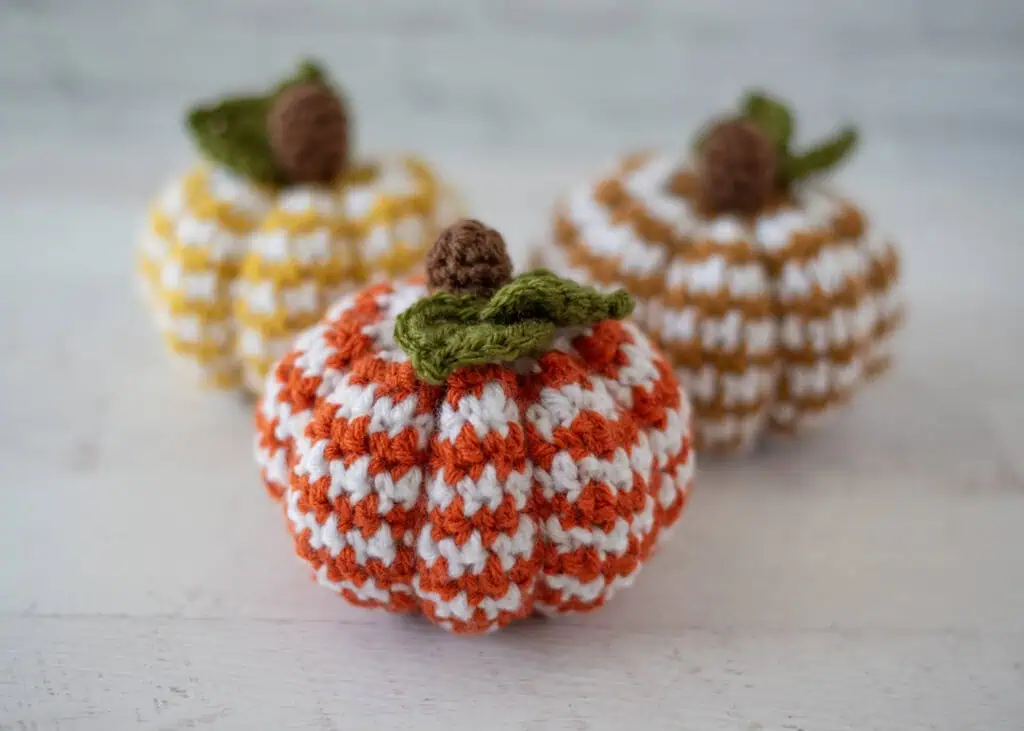
I returned to my favorite Vanna’s Choice yarn for this cutie pie, using terra cotta (orange), honey (tan) and mustard (yellow) alternated with white. I absolutely love the fall color range in this yarn collection for my pumpkins. It is a worsted weight yarn so you can easily substitute something else for it instead, if you’d prefer.
The Houndstooth Pumpkin pattern is worked a little bit differently to achieve the classic pumpkin look while maximizing the houndstooth effect. Let’s talk about how other pumpkins are worked first. My medium crochet pumpkin pattern is worked in a traditional amigurumi shape: you crochet a circle, then do several rows without increasing, then you decrease a bit, stuff, and continue to decrease to close up the pumpkin.
My Chunky Crochet Pumpkin features a ribbed design. That pattern is worked back and forth in rows to form a rectangle. Then you stitch the first row to the last row to form a tube. Finally you gather up the top, stuff, then gather up the bottom to form the pumpkin.
The Houndstooth Pumpkin borrows a little from both these techniques. Instead of starting with a magic ring, you start with a chain that you join to form a loop. This creates an opening. You then increase very quickly over the first few rows. This makes the work look really ruffled, but be patient because it all works out beautifully at the end.
After the increases you’ll work several rows without increasing for the sides of the pumpkin. After that, you’ll do some crazy fast decreasing and finish off without fully closing off the circle. What you’re left with at this point is a tube that’s partially gathered at the top and bottom. The magic happens AFTER this. You’ll use your leftover yarn strands to run stitches around the opening to gather it up tight. Stuff. Then repeat on the other side. Then you’ll form the indentations for the pumpkin ribs.
And viola! Your beautiful houndstooth pumpkin in all its glory!
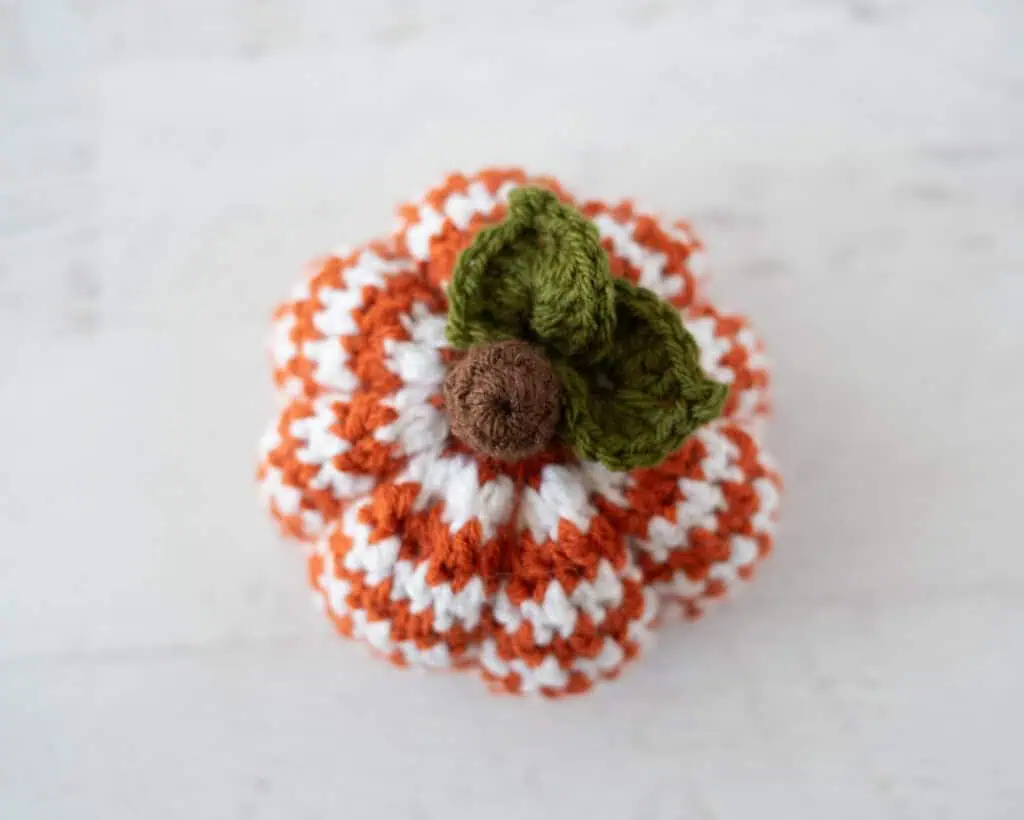
The crowning jewel of the houndstooth pumpkin is the darling stem and cute little leaves. If you’ve made my other pumpkin patterns, you’re familiar with both. The leaves are made by creating a circle loop out of chain stitches and then working around those stitches with various sized stitches to form the leaf shape.
Is This Houndstooth Crochet Pumpkin Pattern Beginner Friendly?
If you’ve made amigurumi before, you’ll feel right at home crocheting this pumpkin.
You’ll need to know a few basic amigurumi techniques, including:
- single crochet
- increases and decreases
- working in continuous rounds
- sewing pieces together
- basic stuffing and finishing
If you’re newer to amigurumi, don’t worry. This pumpkin uses simple stitches and color changes along with straight forward shaping. It’s a great project for building your skills. And don’t forget, I have an entire Beginner’s Guide to Amigurumi you might enjoy!
Why You’ll Love This Houndstooth Pumpkin
There’s so much to love about this darling pumpkin. The alternating single crochet and double crochet stitches combined with the change of color every row is what makes this pumpkin. It’s easy to do, despite looking far more complicated than it is.
I love that how a houndstooth pattern is so timeless. It takes something ordinary and gives it a pizzaz. Put this crochet pumpkin in your decor and it’s the star of the show. The feature. The main attraction.
It’s just gorgeous and no one but you will know how easy it actually is to crochet.
What Yarn is Best for a Crochet Houndstooth Pumpkin?
I designed this pumpkin in a #4 worsted weight yarn.
However one of my most favorite things about amigurumi patterns is that they are easy to make a bit smaller or larger simply by changing yarn size. It will stay in proportion to itself. So you if you want a bigger pumpkin and have some #6 yarn around, go for it.
Looking for a smaller pumpkin? Then try DK or fingering weight yarn instead. Just remember to adjust your hook size an make sure that your pumpkin is firm enough so you don’t see stuffing poking through.
Ready to Crochet A Houndstooth Pumpkin?
I’m so excited for you to crochet your own Houndstooth pumpkin. You’re going to love how fast and easy it is to get that classic houndstooth stitch pattern and before long you’ll have a whole pumpkin patch to enjoy!
Ready to make your own? Let’s crochet!
print & stitch
Purchase the Beautifully Crafted AD-FREE PDF Download Today
Do you just want to relax and crochet? This nicely formatted pattern features clear instructions and perfectly sized photos for a more enjoyable crochet experience.
Crochet Pumpkin Pattern
Here is what you will need:
- Lion Brand Vanna’s Choice, size 4 worsted weight, 100% acrylic, 170 yds per 3.5 oz. skein, 30 yds contrast color and 33 yds white per pumpkin. Pumpkin yarn shown: Terra Cotta (orange), Honey (tan), Mustard (yellow) and White
- Scraps of size 4 worsted weight yarn in brown and green for stem and leaves.
- US G6/4.0mm crochet hook
- Stitch Marker
- Fiberfill
- tapestry needle and scissors
Resources and tutorials you may find helpful in following this pattern: Crochet Abbreviations, US to UK Crochet Conversion Chart. Find links to stitches on the “Tutorial” menu: Getting Started will show basic stitches used in many patterns and Crochet Stitch Dictionary shows our growing collection of crochet stitch tutorials.
Gauge:
In established pattern, 8 stitches = 2 inches. Gauge is not important in this pattern. Make sure stitches are tight enough so that stuffing does not peek through stitches when finished.
Resources and crochet tutorials you may find helpful in following this pattern: Crochet Abbreviations, US to UK Crochet Conversion Chart. Find links to stitches and basic crochet skills on the “Tutorial” menu: Getting Started will show basic stitches such as the slip stitch, single crochet, double crochet stitch and chain stitch used in many patterns and Crochet Stitch Dictionary shows our growing collection of crochet stitch tutorials.
Crochet Abbreviations:
- ch(s) = chain(s)
- sc = single crochet
- dc = double crochet
- sl st = slip stitch
- st = stitch(es)
Special Stitches:
To maintain the houndstooth stitch pattern, I used a special decrease method.
hdec (houndstooth stitch decrease): Insert hook and pull up a loop (2 stitches on hook), yarn over, insert hook in the next stitch and pull up a loop (4 stitches on hook), yarn over and pull through 2 loops (3 stitches on hook), yarn over and pull through 3 loops.
Finished Pumpkin Size
Pumpkin measures 4.5” wide by 4.5” tall.
Pumpkin
Using orange (or chosen color) and leaving a long tail, chain 14 and join to form a loop.
R1: Ch 1, sc in each chain. At end of round, join with sl st to 1st st. (14 st)
R2: Ch 1, 2 sc in ea st, changing to white yarn in last st. Join with sl st to 1st st. (28 st)
R3: With white yarn, ch 1, *(sc, dc) in next st. Repeat from * around, changing to orange yarn in last st. Join with sl st to 1st st. (56 st)
R4: With orange yarn, ch 1, *dc in next st, sc in next st. Repeat from * around, changing to white yarn in last st. Join with sl st to 1st st. (56 st)
R5: With white yarn, ch 1, *sc in next st, dc in next st. Repeat from * around, changing to orange yarn in last st. Join with sl st to 1st st. (56 st)
R6-13: Repeat rounds 4 & 5
R14: Repeat round 4
R15: With white yarn, hdec around, changing to orange yarn in last st. Join with sl st to 1st st. (28 st)
R16: With orange yarn, hdec around. Join with sl st to 1st st. Fasten off, leaving a very long tail. (14 st)
Using the long starting tail, weave around the beginning stitches and cinch tight to close one end of the pumpkin. Secure and weave in end.
Stuff the pumpkin. Then use remaining end to gather up and close the opening, cinching tight and knotting the yarn to hold it tight. Wrap yarn over and around pumpkin to the starting point to divide pumpkin in half. Pull tight and knot at center over the same yarn you used to make the wrap. Now divide in half again to form 4 equal sections, wrapping the yarn up and around. Loop under the knot you made and tighten it up. Knot whenever you feel like you need to hold the yarn at the end of a wrap. Divide the pumpkin 2 more times to have a total of 8 sections. Knot securely at center and finish off.
At this point you have a choice which side of your crochet pumpkin you want to show as the top and which to show as the bottom.
Pumpkin Stem
Make a magic ring
R1: 8 sc into ring (8 st).
R2-5: Sc around. At end of 5th round, slip stitch to next stitch and finish off, leaving a long strand for sewing. Stuff. Sew in place at top center of pumpkin.
Pumpkin Leaves
Picot: Ch 3, sl st in third ch from hook
Chain 8 and join to form ring.
Leaf 1: Ch 2, work (6 dc, picot, 6 dc, ch 2, sl st) in ch-8 loop. First leaf made. Do NOT fasten off.
Leaf 2: Ch 8, sl st to 8th ch from hook, repeat instructions for Leaf 1 in this second ch-8 loop. Fasten off, leaving a long strand for attaching.
Sew the leaves in place on top of the pumpkin at base of stem. Weave in ends.
Make It Your Own
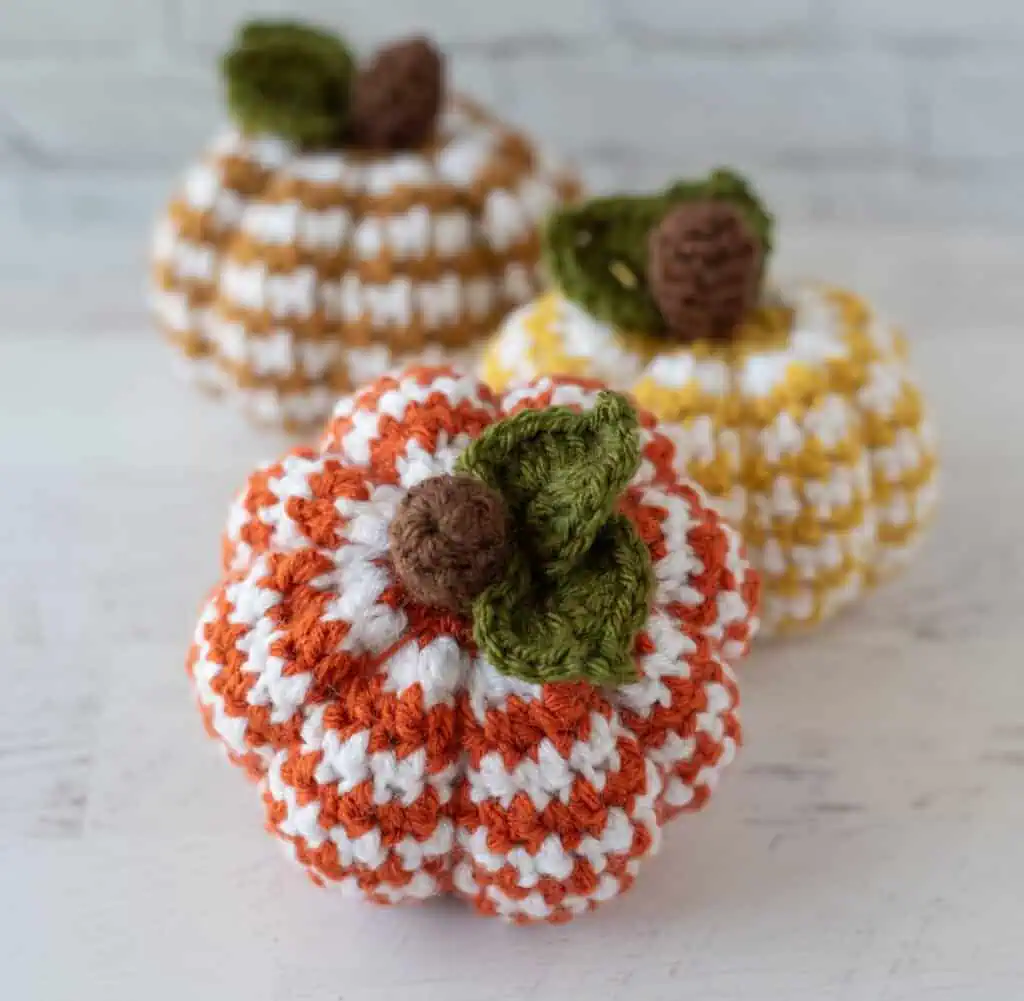
One of the most fun things about this Houndstooth Crochet Pumpkin is playing around with the colors. The houndstooth pattern really comes to life when you pair two contrasting shades, and there are so many different directions you can take it!
Try:
- Classic black and white for a traditional houndstooth look
- Orange and white for a fun twist on a classic fall pumpkin
- Mustard, rust, tan or other warm autumn shades paired with cream or white
- Neutral shades like beige, brown, gray or cream for a softer look
- Colors that coordinate with your own fall decor
- A heavier yarn for a bigger, chunkier pumpkin or a lighter yarn for a cute little version
- Making several in coordinating colors for your own houndstooth pumpkin patch
You can even change up the stem and leaves to make each pumpkin a little different.
Whether you go traditional, colorful or completely unexpected, this is one of those patterns that’s just begging to be made more than once. And since that impressive-looking houndstooth is actually so easy to crochet, you just might find yourself making an entire collection!
Final Thoughts on this Houndstooth Crochet Pumpkin
I had so much fun designing the Houndstooth Crochet Pumpkin. I love the combination of a classic houndstooth pattern with one of my favorite things to crochet: pumpkins!
There’s something especially satisfying about a project that looks complicated but is actually surprisingly easy to make. A simple combination of single and double crochet stitches, a color change every round and suddenly you have that gorgeous houndstooth pattern.
And then there are all the possibilities! I love these pumpkins in warm fall colors paired with white, but you could go in so many directions. Try black and white for a classic houndstooth look, use your favorite autumn shades or choose colors that coordinate perfectly with your own fall decor.
Add that cute little stem and leaves and you have a crochet pumpkin that looks every bit as good sitting on its own as it does tucked into a whole pumpkin display.
And really, why stop at one? Pick a few favorite colors and before you know it, you’ll have your own little houndstooth pumpkin patch!
I hope you love crocheting this Houndstooth Pumpkin as much as I loved designing it. For more autumn crochet patterns like this one, take a look at my full fall collection.
I love seeing your finished projects! If you enjoyed making this houndstooth pumpkin I’d love to see yours on Instagram, be sure to tag me @crochet365knittoo. If you are on Facebook, stop over to the Crochet 365 Knit Too Facebook page or pop over to the Crochet365KnitToo Club and share a photo! I’d love to see your work!