Plush Crochet Pumpkin
This post may contain referral/affiliate links. Please read my disclosure for more info.
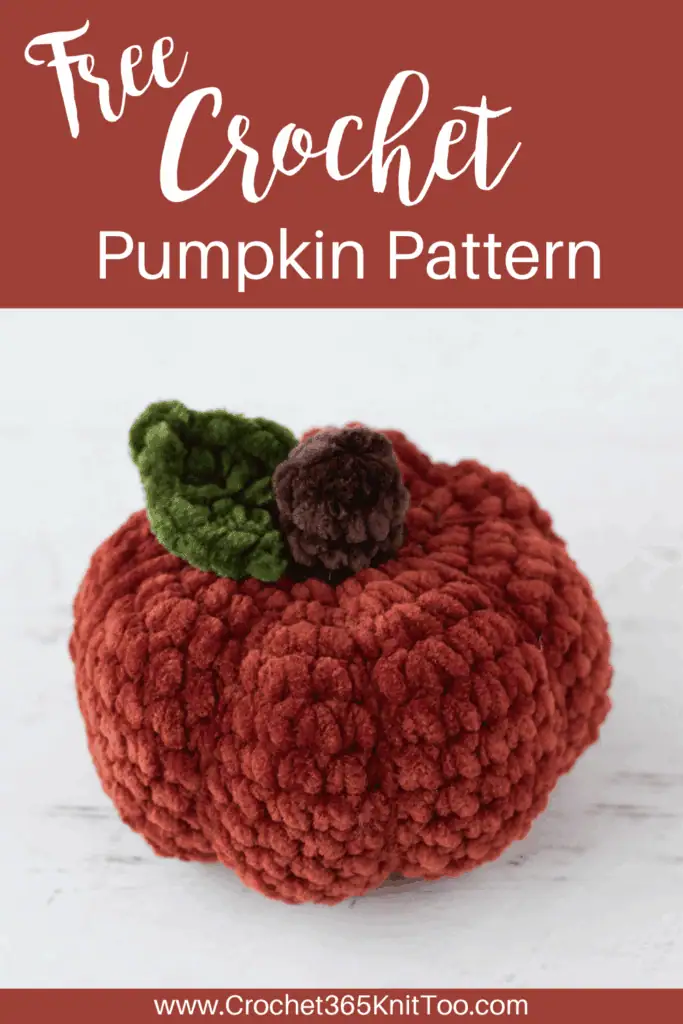
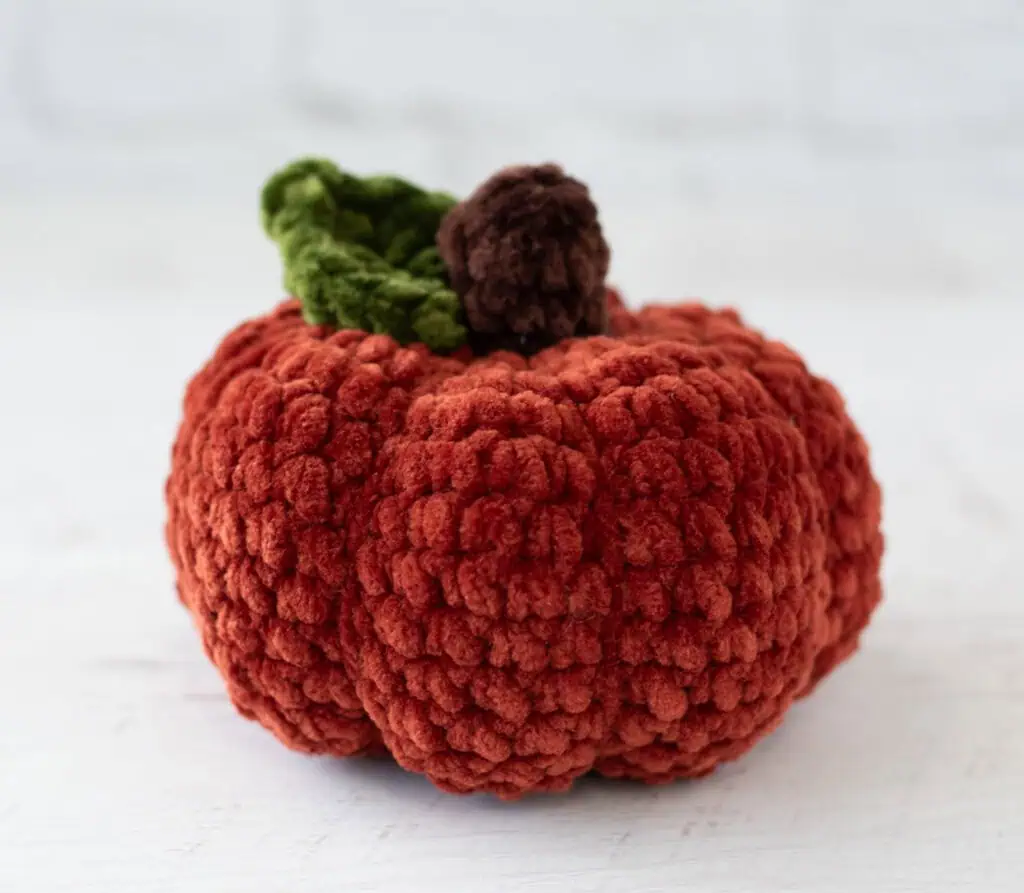
Say hello to my latest love — this darling plush crochet pumpkin!
It’s squishy. It’s cozy. And it’s just the thing to make your home feel like fall.
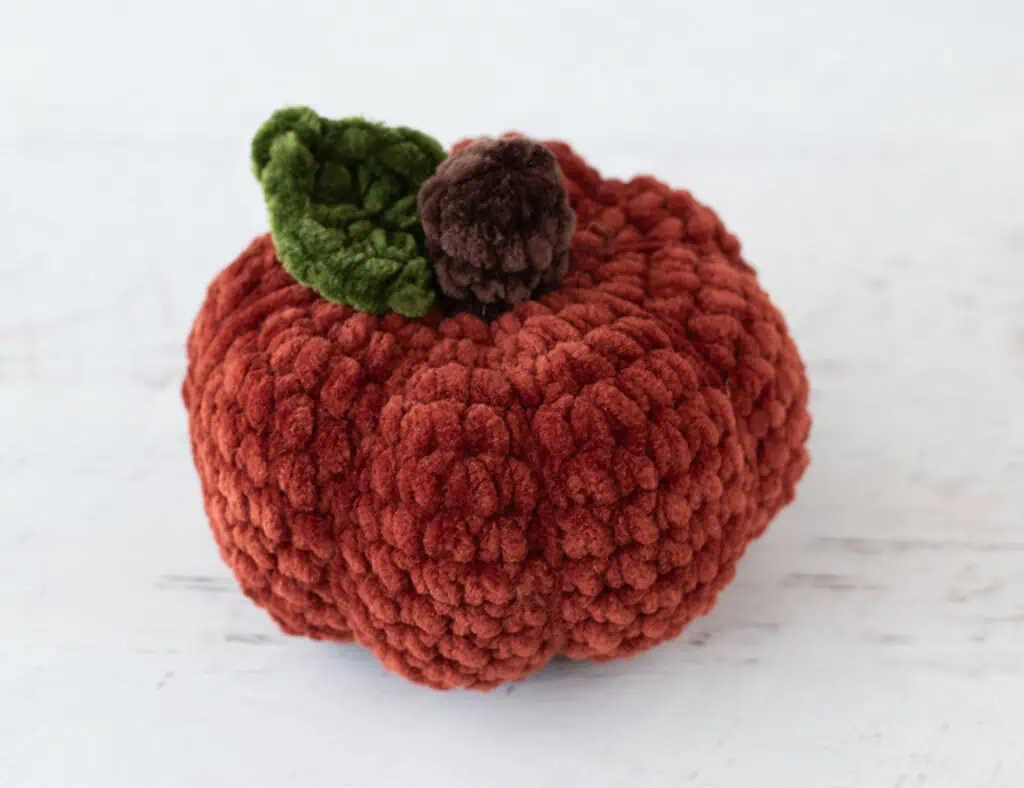
Can we just take a moment to appreciate how perfectly plump this pumpkin turned out? I love that it has that soft, cuddly vibe — the kind that makes you want to scatter a whole bunch across your mantel, dining table, or bookshelf.
This pumpkin is constructed top down in one piece starting at the stem.. yay for no sewing. Ok, ok.. so technically you do have to sew the the leaf on and the little bit of wrapping to get the pumpkin sections. But it’s so mindless it doesn’t seem like work at all.
This plush crochet pumpkin works up fast and is beginner-friendly. Whether you’re making one or a whole little pumpkin patch, these pumpkins are perfect for gift giving, markets and craft fairs, or for adding a little bit of handmade charm to every corner of your home.
Like my other easy crochet projects, this pumpkin uses simple stitches and a clever construction that makes it both fun and satisfying to make. I used soft, Super Bulky Weight yarn crocheted with a smaller than normal hook size.
I absolutely love Premier Parfait Chunky yarn for this project. I also tried out a new to me yarn: Himalaya Dolphin Baby for that cute little leaf. This yarn is a dream too. It’s identical in weight and feel to Premier Parfait making them interchangeable for any of my chenille style patterns like my darling little crochet birds.
Purchase the Beautifully Formatted AD-FREE PDF DOWNLOAD
For the Premier Parfait yarn, pop over to Herrschner’s for the best pricing on or Amazon. If you can’t locate a color, this Etsy shop seems to stock them all and has pretty fast shipping. The best (and fastest) source for the Himalaya Dolphin Baby Yarn is on Amazon where a huge variety of colors await!
I’m loving the rich, vibrant fall colors in this plush style pumpkin, aren’t you? Add to the fact that this is a one evening, quick to work project with perfect squish and this pattern is such a win!
Ready to get stitching? Let’s crochet!
Plush Crochet Pumpkin
Materials
- Premier Parfait Chunky, size 6 super bulky weight, 100% polyester, 131 yds/120m per 3.5 oz skein (try Herrschners, Amazon or Etsy)
- Harvest (Orange color): 45 yards
- Chocolate (Brown color): 7 yards
- Himalaya Dolphin Baby, size 6 super bulky, 100% polyester, 131yds/120m per 3.5oz/100g skein
- #80361 (Green Color): 2 yards
- US H8/5.00 mm crochet hook these are my absolute favorite hooks I recommend to everyone!)
- Stitch markers to keep track of rows
- Fiberfill
- Tapestry needle and scissors
Resources and tutorials you may find helpful in following this pattern: Crochet Abbreviations, US to UK Crochet Conversion Chart. Find links to stitches on the “Tutorial” menu: Getting Started will show basic stitches used in many patterns and Crochet Stitch Dictionary shows our growing collection of crochet stitch tutorials.
Gauge:
My gauge is 6 sc to 2 inches. However, gauge is not important in this pattern. You may use other weights of yarn. Adjust hook size to fit your needs.
Resources and crochet tutorials you may find helpful in following this pattern: Crochet Abbreviations, US to UK Crochet Conversion Chart. Find links to stitches and basic crochet skills on the “Tutorial” menu: Getting Started will show basic stitches such as the slip stitch, single crochet, double crochet stitch and chain stitch used in many patterns and Crochet Stitch Dictionary shows our growing collection of crochet stitch tutorials.
Crochet Abbreviations:
- sc = single crochet
- sc2tog = single crochet 2 together
- sl st = slip stitch
- st = stitch(es)
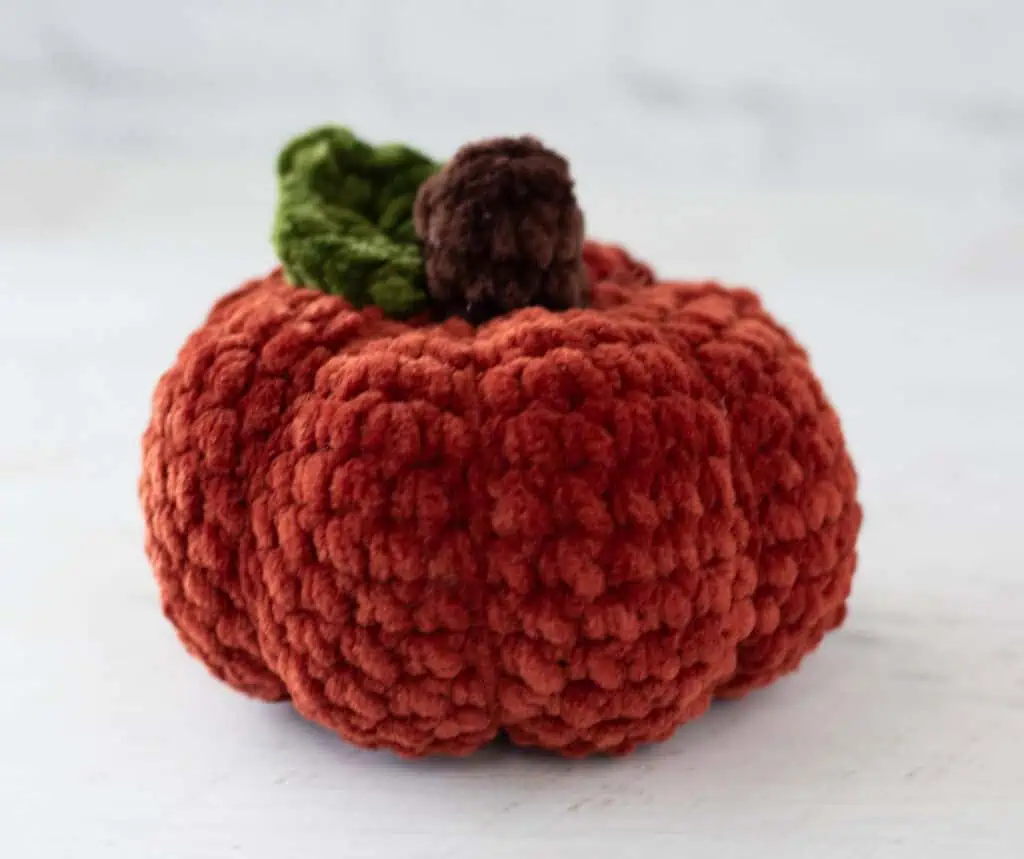
Finished Crochet Plush Pumpkin Size
The pumpkin is approximately 4” wide x 4” tall (note: height can vary depending on how tight you cinch the pumpkin sections).
How to Crochet a Plushie Pumpkin
This pumpkin is worked from the top down, starting with the top of the stem, then changing color for the main part of the pumpkin. You’ll fasten off the yarn and leave an extra long strand to cinch the pumpkin sections. The leaf is sewn to the base of the pumpkin stem for a finishing touch.
Plush Pumpkin
With brown yarn, make a magic ring. Pumpkin is worked in continuous rounds.
R1: 6 sc into ring. (6 st)
R2-3: Sc around. (6 st)
R4: *Sc in next 2 st, 2 sc in next, repeat from * around. Change to orange yarn in last stitch. (8 st)
R5: 2 sc in ea st (16 st)
R6: *sc in next st, 2 sc in next. Repeat from * around. (24 st)
R7: *sc in next 2 st, 2 sc in next. Repeat from * around. (32 st)
R8: *sc in next 3 st, 2 sc in next. Repeat from * around. (40 st)
R9-16: sc around. (40 st)
R17: *sc in next 3 st, sc2tog. Repeat from * around. (32 st)
Begin stuffing the pumpkin.
R18: *sc in next 2 st, sc2tog. Repeat from * around. (24 st)
R19: *sc in next st, sc2tog. Repeat from * around. (16 st)
R20: * sc2tog. Repeat from * around. (8 st) Fasten off, leaving 3-4 feet of yarn for wrapping the pumpkin sections. Then firmly stuff the rest of the pumpkin and weave end through last stitches, pull tight and knot off.
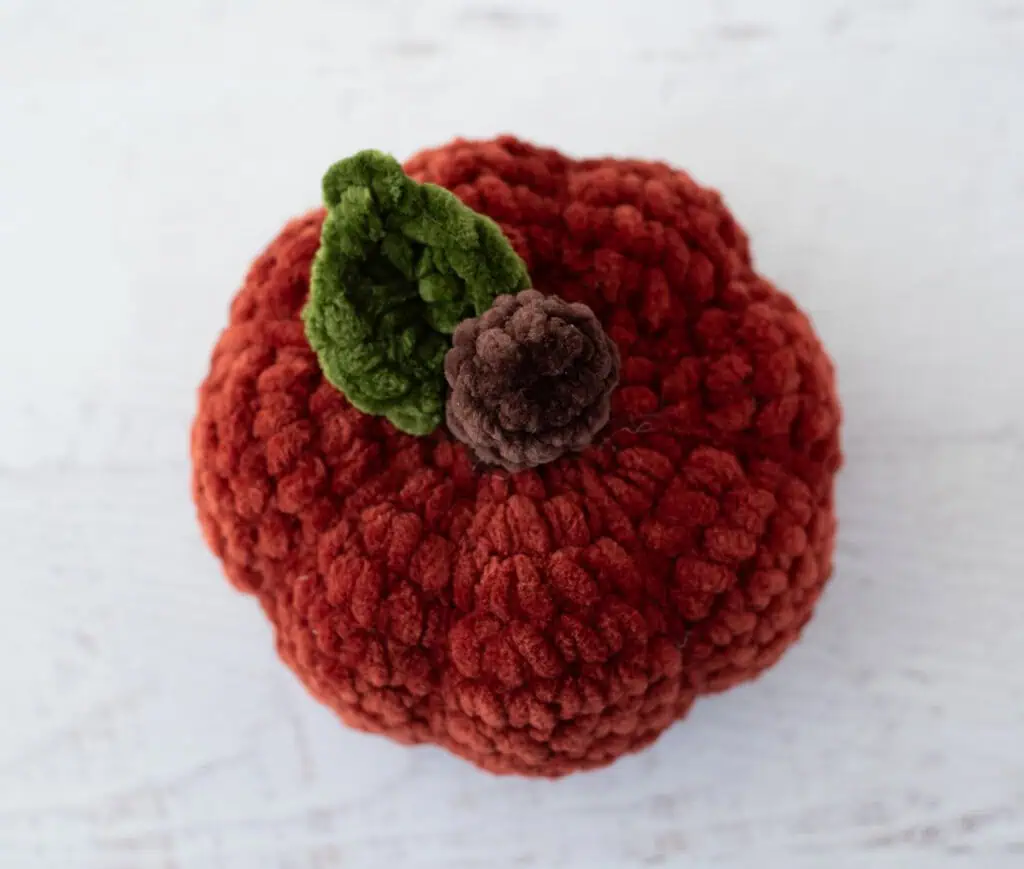
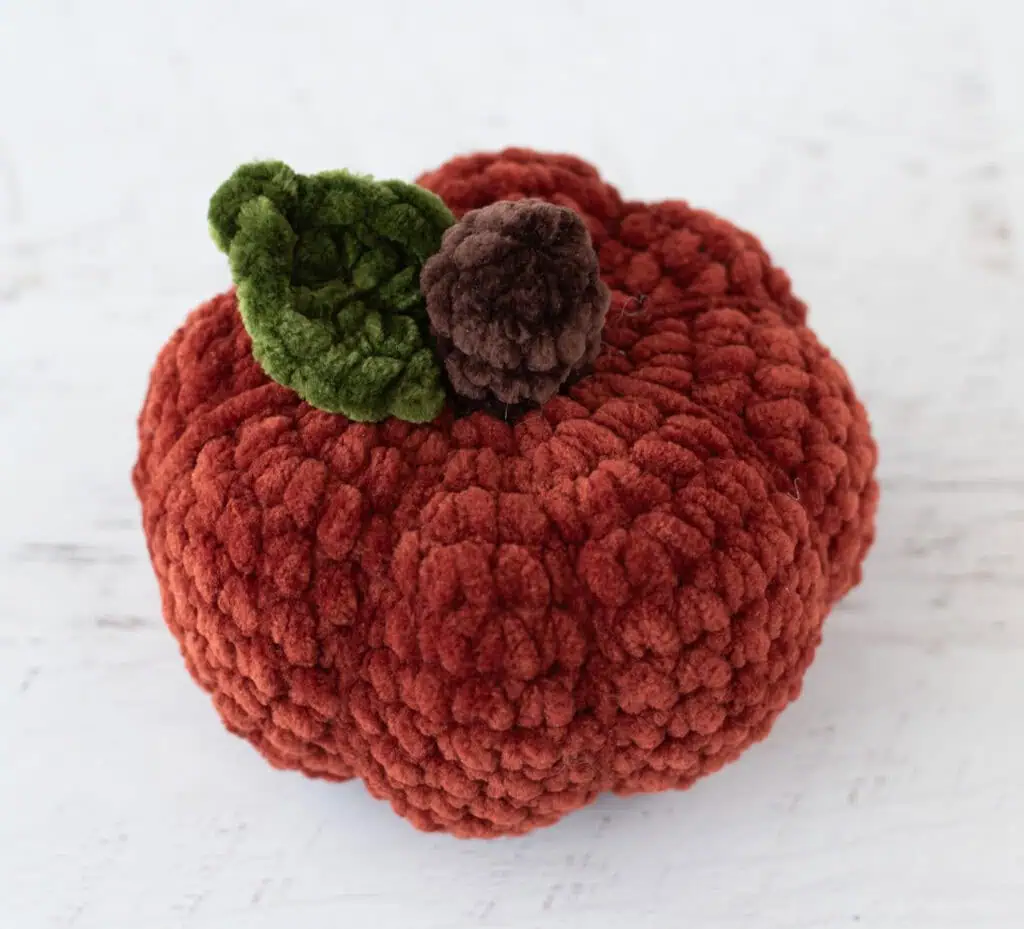
Shape the Pumpkin Sections
Form the sections of the pumpkin as follows: Thread a tapestry needle with the yarn strand you used to finish the bottom of the pumpkin. Insert the needle all the way through the center, through the stuffing, towards the top center of the pumpkin to the base of the stem and pull yarn through.
Wrap yarn around outside of pumpkin and then reinsert yarn back through the center of the pumpkin, coming out at the base of the stem on the opposite side of the pumpkin. Pull yarn tight to create an indentation. Continue to make each section by stitching through the center of the pumpkin. Pull tight after each pass. I found it easiest to first divide the pumpkin in half, then in quarters and then again to get 8 equal sections. Tie off yarn and secure.
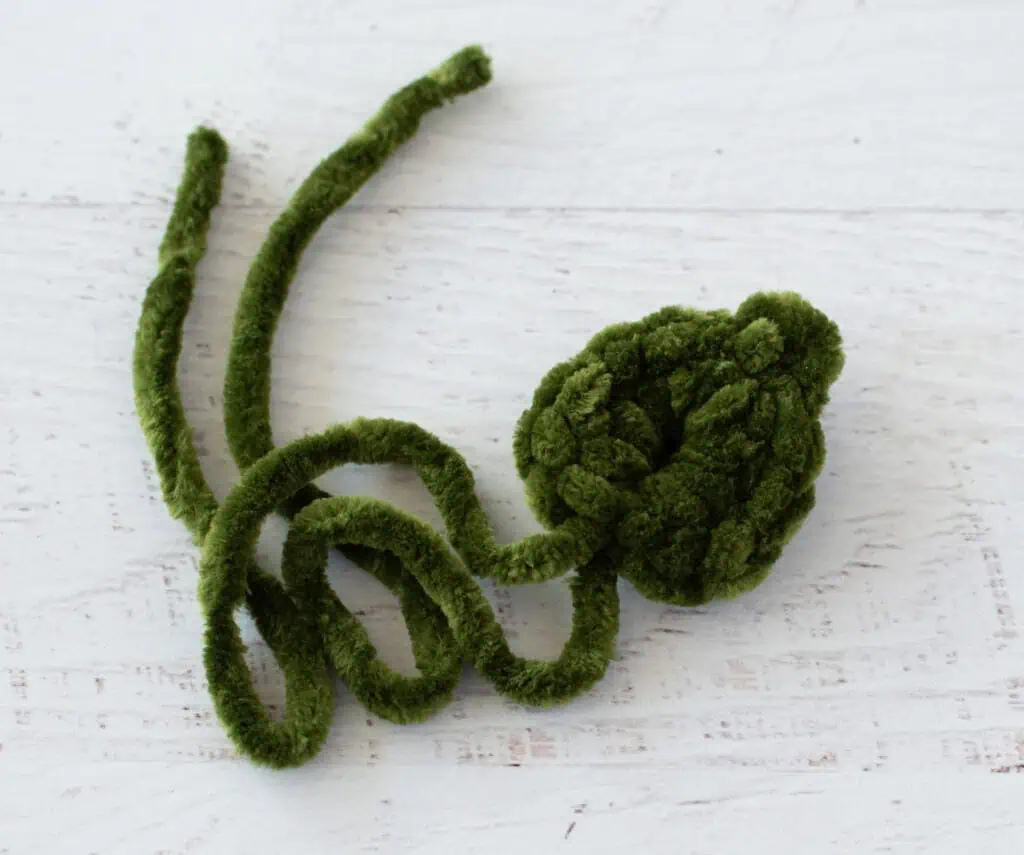
Pumpkin Leaf
With green yarn, chain 5 and join to form a ring.
Picot: ch 2, sl st in second ch from hook
Leaf: ch 1, work (4 hdc, picot, 4hdc, ch 1, sl st) in ch-5 loop. Leaf made. Fasten off, leaving a long strand for sewing.
Sew the leaf in place on top of the pumpkin at base of stem. Weave in ends.
I love seeing your finished projects! If you enjoyed making this Crochet Pumpkin pattern, I’d love to see yours on Instagram, be sure to tag me @crochet365knittoo. If you are on Facebook, stop over to the Crochet 365 Knit Too Facebook page or pop over to the Crochet365KnitToo Club and share a photo! I’d love to see your work!