Masie the Crochet Lamb
This post may contain referral/affiliate links. Please read my disclosure for more info.
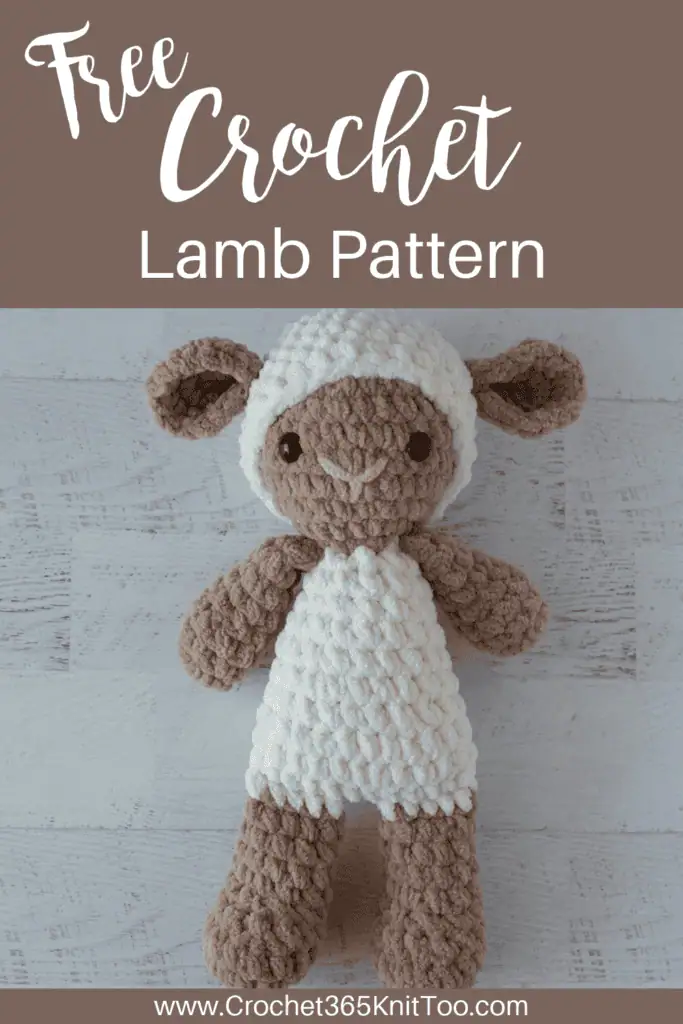
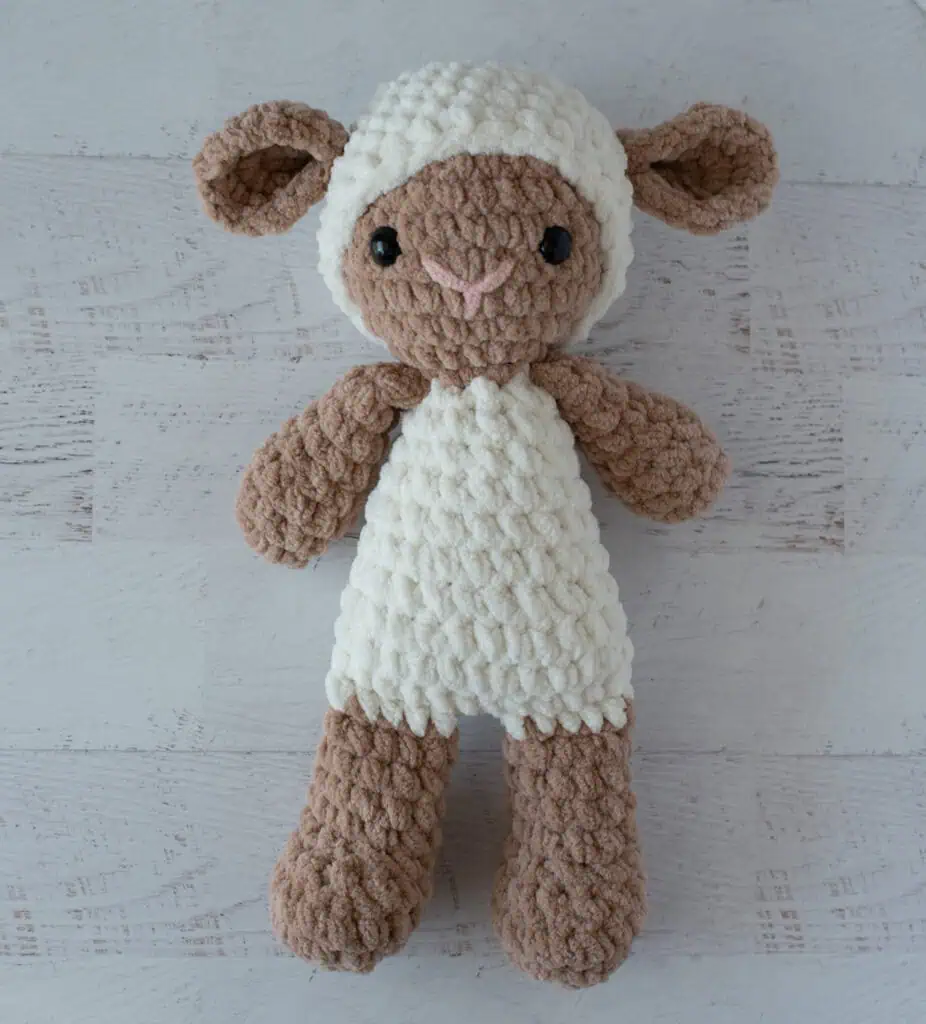
There’s something about a sweet crochet lamb that makes me want to pull on some PJs, grab my blanket and take this little cutie along for little nap. Isn’t this lamb just the sweetest thing?
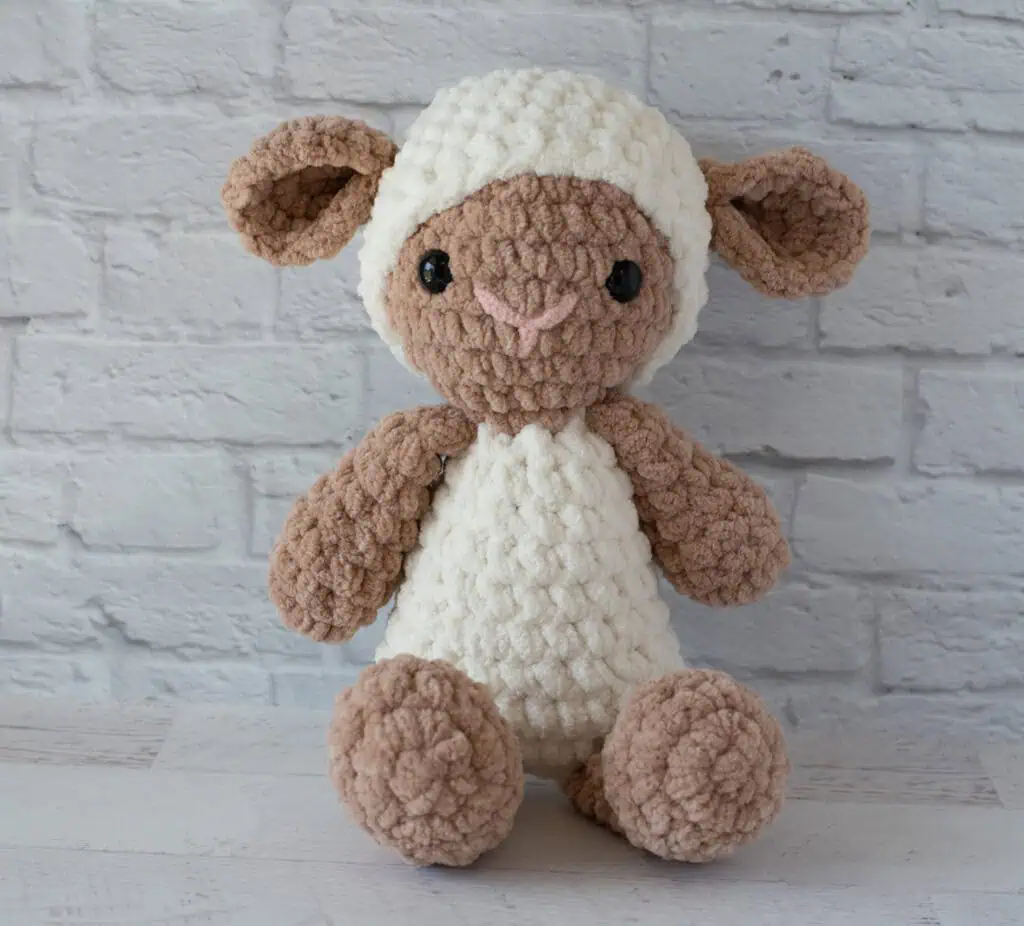
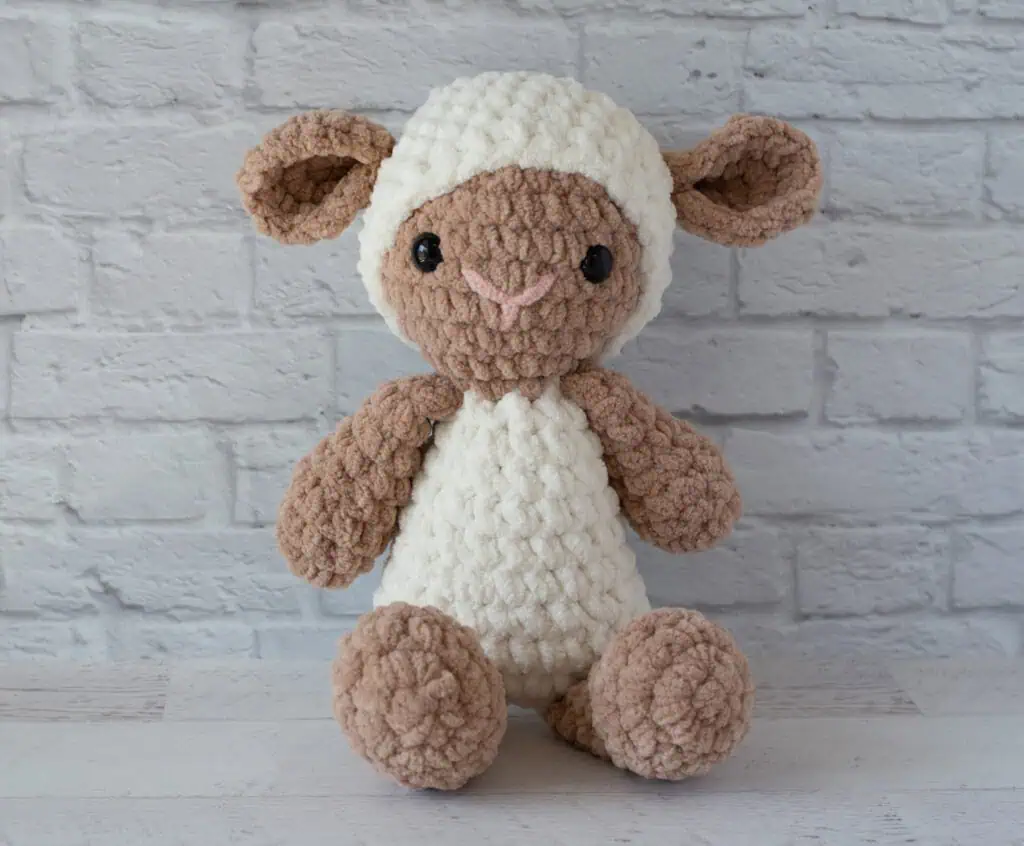
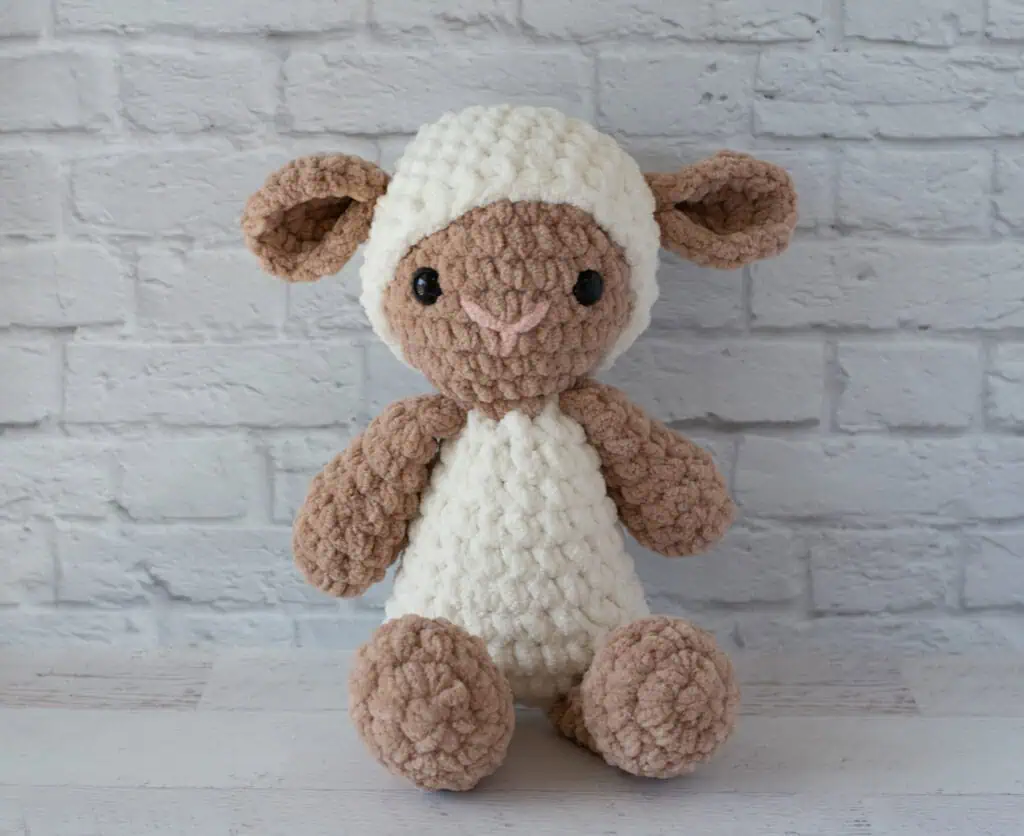
Meet Maisie the Lamb! She’s sweet and snuggly with cream-colored fleece, a soft tan face, and the most adorable pink nose. What’s not to love?
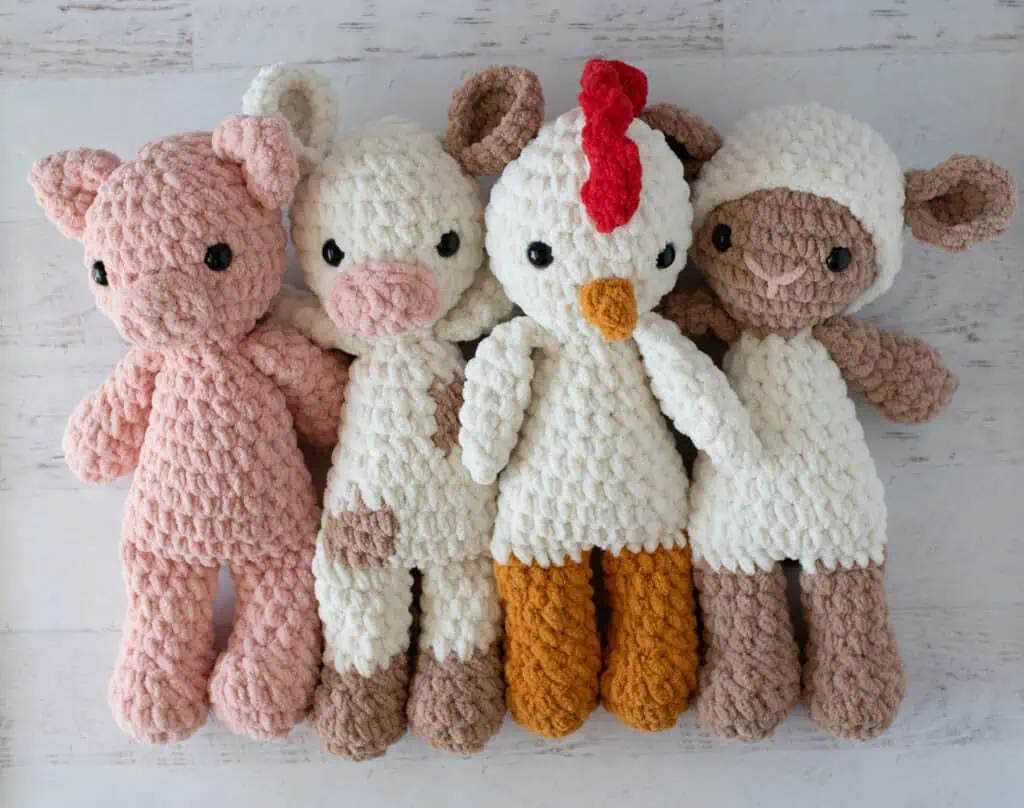
Maisie is one of my four new Farmyard Friends, along with Poppy the Chicken, Sweet Pea the Pig and Clover the Cow.
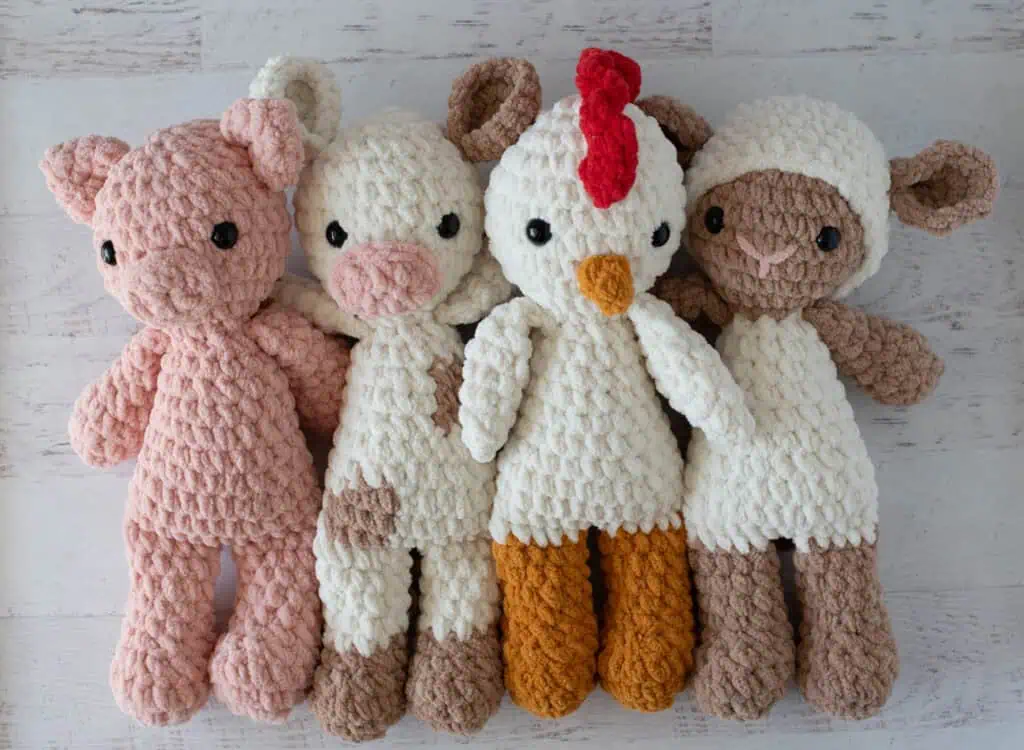
The entire collection is available in one fabulous bundle in my Etsy shop here if you’d like a sneak peek before the others make their debut on the blog.
Whether you call Maisie a lamb or a little sheep, she’s a natural for Easter baskets come spring. But honestly? She’s far too sweet to save for just one season (or even one nap).
My favorite part of designing amigurumi is when all the details come together and I love working in a thicker yarn because little touches make a big impact. With a lamb it’s all about how the fleece is presented and that sweet little face!
Lucky for me, Premier Basic Chenille does all the heavy lifting. The Winter White color yarn is the perfect shade of plushy goodness that makes her body perfect. And for her head, we just crochet her a little hat add some ears and presto.. she’s a darling little lamb! Add in the little nose detail and a sweet tail and she’s perfection.
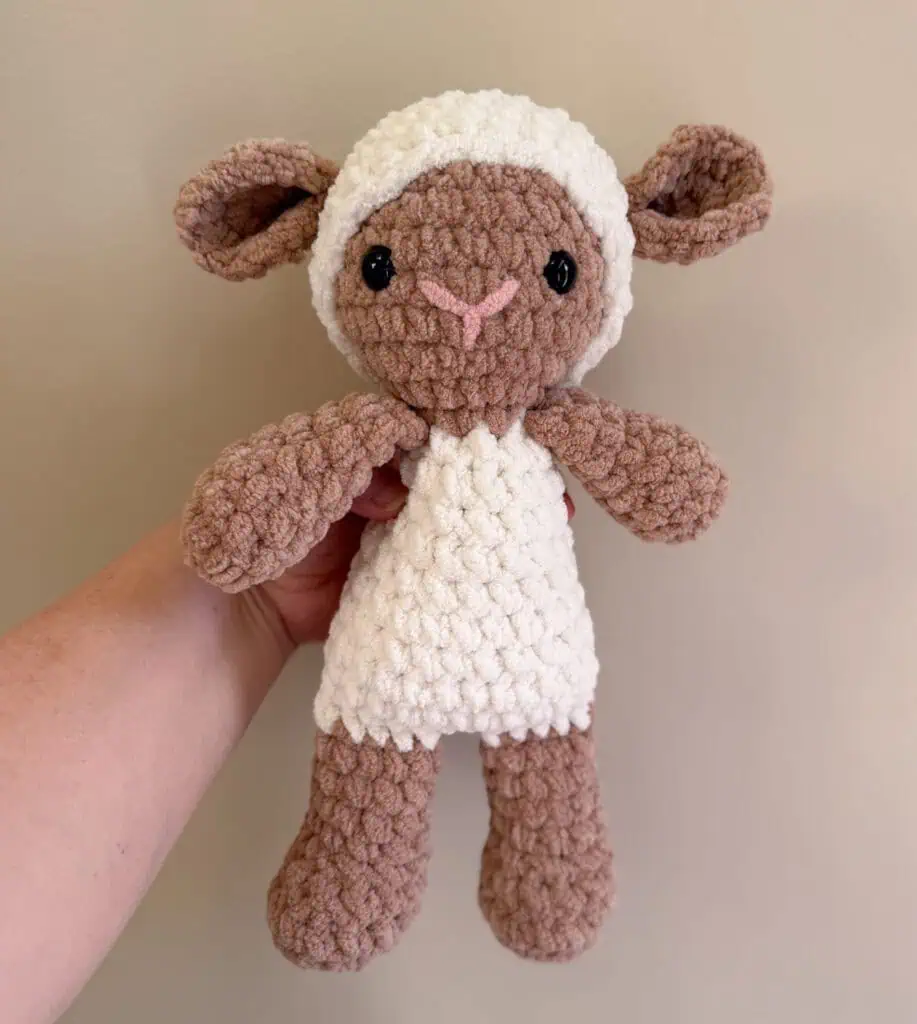
In fact, I just love ALL the soft shades of Premier Basix Chenille Brights yarn for my little lamb. I’m using Winter White, Toast and Blossom. This yarn is a chenille style #6 super bulky weight yarn. It works up quickly and is the perfect amount of plush! I love it so much! Pop over to Herrschner’s or Amazon to pick some up.
Purchase the Beautifully Formatted AD-FREE PDF DOWNLOAD
Maisie starts at her tan feet. The two legs are joined together, and then her white body and tan head are worked in one piece from there. Her arms, hair cap, ears and tail are crocheted separately and sewn on.
Her face is finished with a little embroidery, and the pattern walks you through each stitch so you can shape that sweet nose and mouth just right.
Let’s crochet!
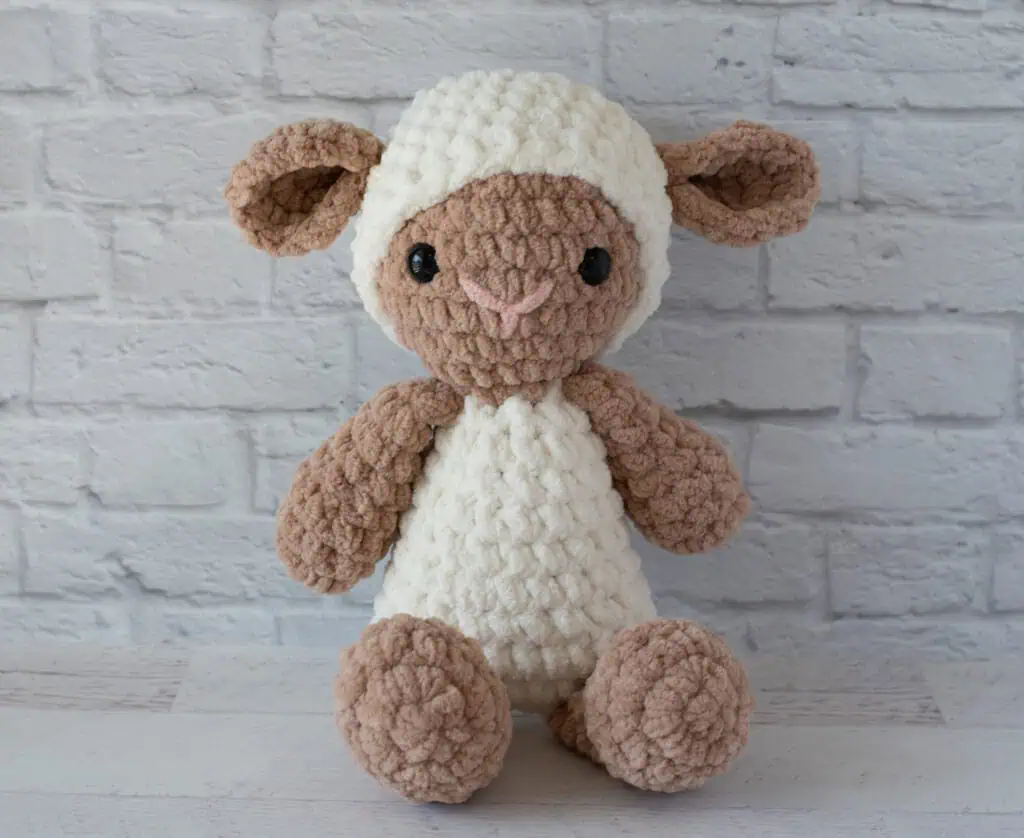
Crochet Lamb
Materials
- Premier Basix Chenille Brights, size 6 super bulky weight, 100% polyester, 112 yds/103 m per 5.3 oz skein (try Herrschners, Amazon or Etsy)
- Toast (Tan): 75 yards
- Winter White: 85 yards
- Blossom: 1 yard
- US K10.5/6.5mm crochet hook
- 15 mm safety eyes. NOTE: if making for a baby or young child, embroider eyes instead
- Stitch marker to keep track of rows
- Fiberfill
- Tapestry Needle
Resources and tutorials you may find helpful in following this pattern: Crochet Abbreviations, US to UK Crochet Conversion Chart. Find links to stitches on the “Tutorial” menu: Getting Started will show basic stitches used in many patterns and Crochet Stitch Dictionary shows our growing collection of crochet stitch tutorials.
Gauge:
Gauge is not critical for this project. Ensure that your stitches are tight enough so the stuffing won’t show through.
Crochet Abbreviations:
ch = chain
dc = double crochet
hdc = half double crochet
sc = single crochet
sc2tog = single crochet 2 together
sl st = slip stitch
st = stitch(es)
tr = treble crochet
Finished Crochet Lamb Size
Approximately 13” tall, from top of head (excluding ears) to bottom of feet.
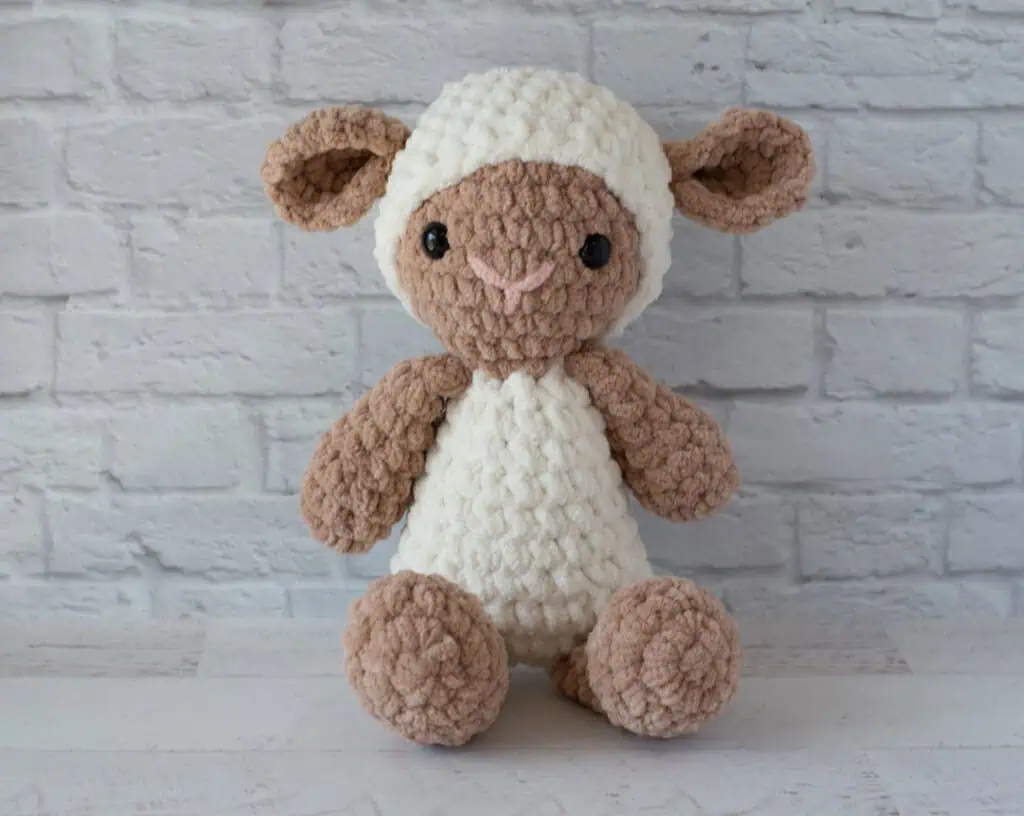
How to Crochet a Lamb
The legs of this crochet lamb are worked first in tan and joined together. Then the body is worked in white and the head in tan, all in one piece, decreasing at the neck and increasing to shape the head. Finally, we crochet the arms, hair cap, ears and tail, and embroider her nose and mouth.
Legs (Make 2)
Using tan yarn, make a magic ring.
R1: 6 sc into ring. Place stitch marker and work in continuous rounds. (6 st)
R2: 2 sc in ea st. (12 st)
R3: Sc in next 2 st, 2 sc in next 2 st, sc in next 8 st. (14 st)
R4: Sc around. (14 st)
R5: Sc in next 2 st, sc2tog twice, sc in next 8 st. (12 st)
R6: Sc in next st, sc2tog twice, sc in next 7 st. The 2 decrease stitches in this row are the top center of the foot. To more easily identify this later, place a stitch marker in the first decrease. (10 st)
R7-10: Sc around. (10 st)
Stuff foot only (approximately R1-7). Leave remainder of leg unstuffed.
For leg 1: Sl st to next st and fasten off.
For leg 2: Change to white yarn in last st of R10, do NOT fasten off; continue to work joining round and then body.
Join Legs and Set Up for Body (sample photos show different doll)
Flatten tops of legs so that toes are pointed forward. (The stitch marker placed earlier indicates the center right stitch to help with positioning the foot.) The set up round is worked holding the front and back of the leg together and crocheting through both stitches. (Note sample photos show different doll.)
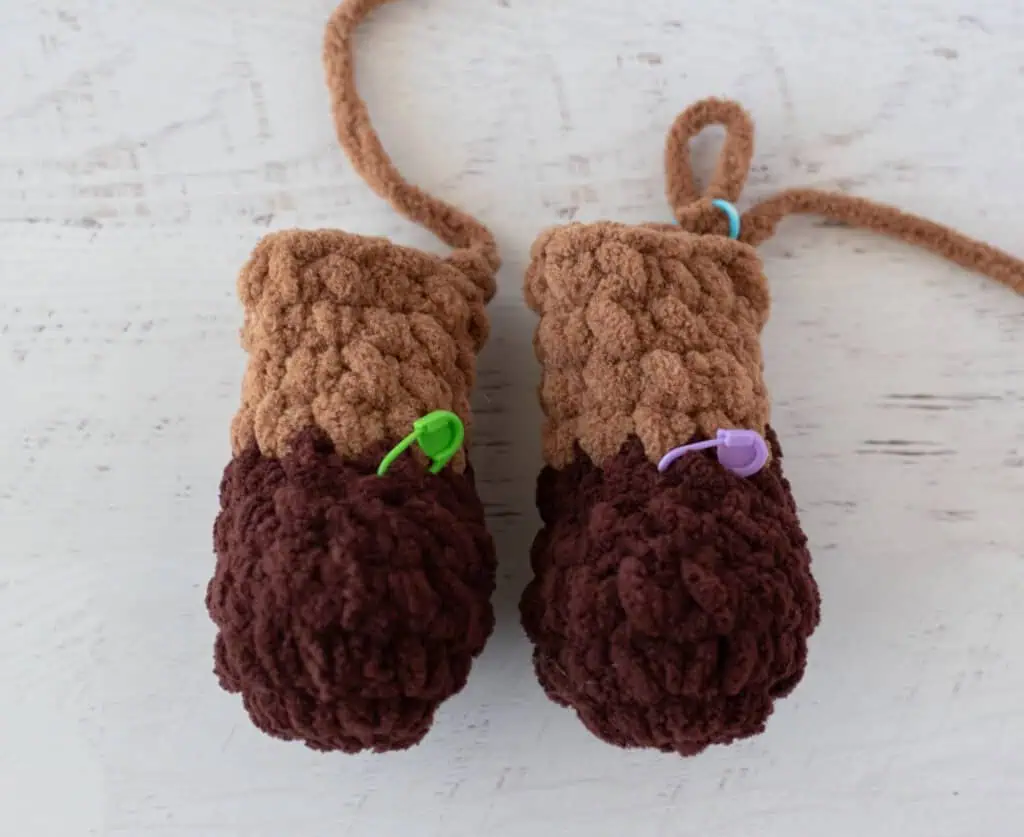
The working yarn (which is the white yarn) should be at the right side. Holding the top of the last leg worked together and working through both the front and the back stitches, sc across the top of the leg (5 st), ch 2, then hold the top of the 2nd leg stitches together and sc across those 5 st. (12 st)
At the end of the set-up round, place a stitch marker in the front loop only of the first stitch and the last stitch in the row. The stitch markers will help you locate these stiches on the first body round.
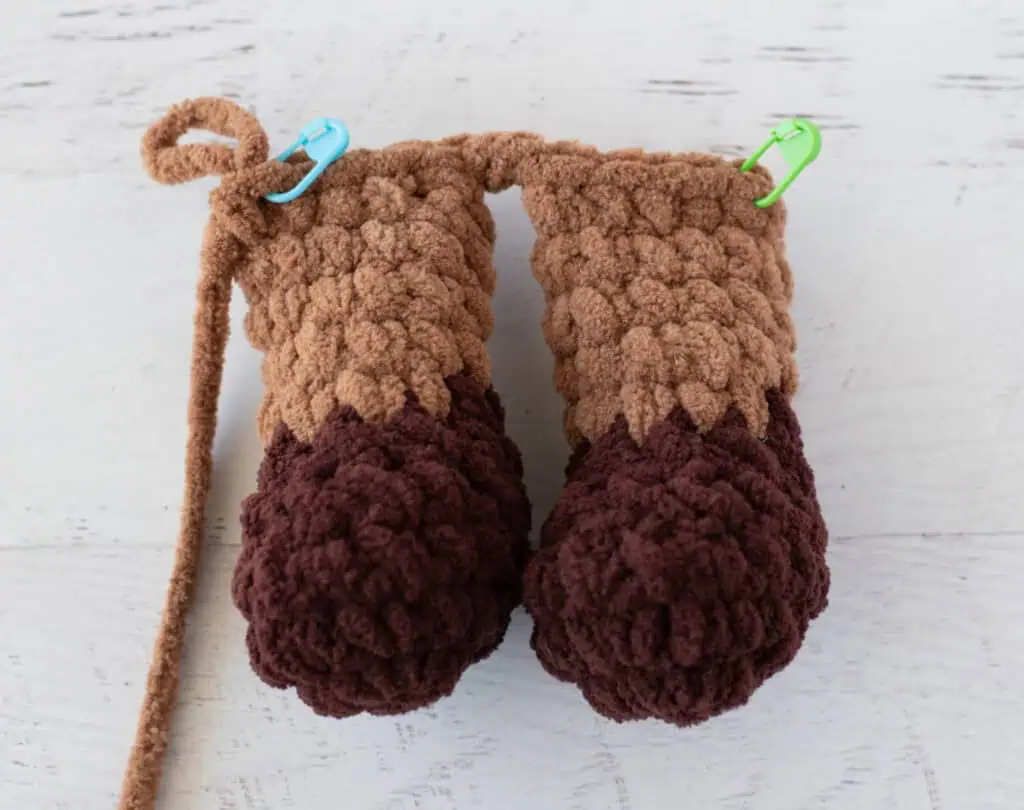
Body
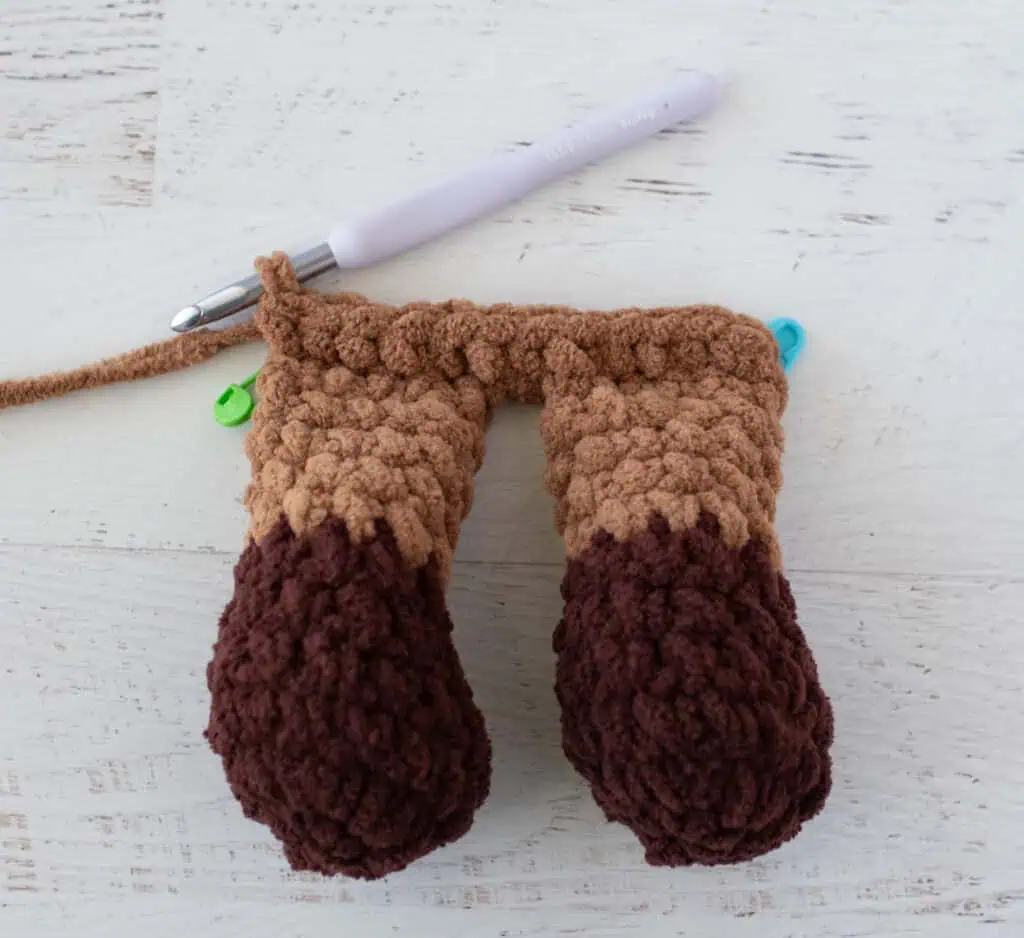
The first round is worked in the front and back loops of the set-up round and gets us back to working in continuous rounds again.
R1: Continuing with white yarn, turn work so that the backs of the legs are facing you. Working in the front loop only, sc across legs, working a sc into each front loop of the legs and the chain separating them (See photo below).
Then turn work and sc into each front loop on the opposite side of the set up round. (The stitch markers you placed will help you locate those front loops. See photo below.)
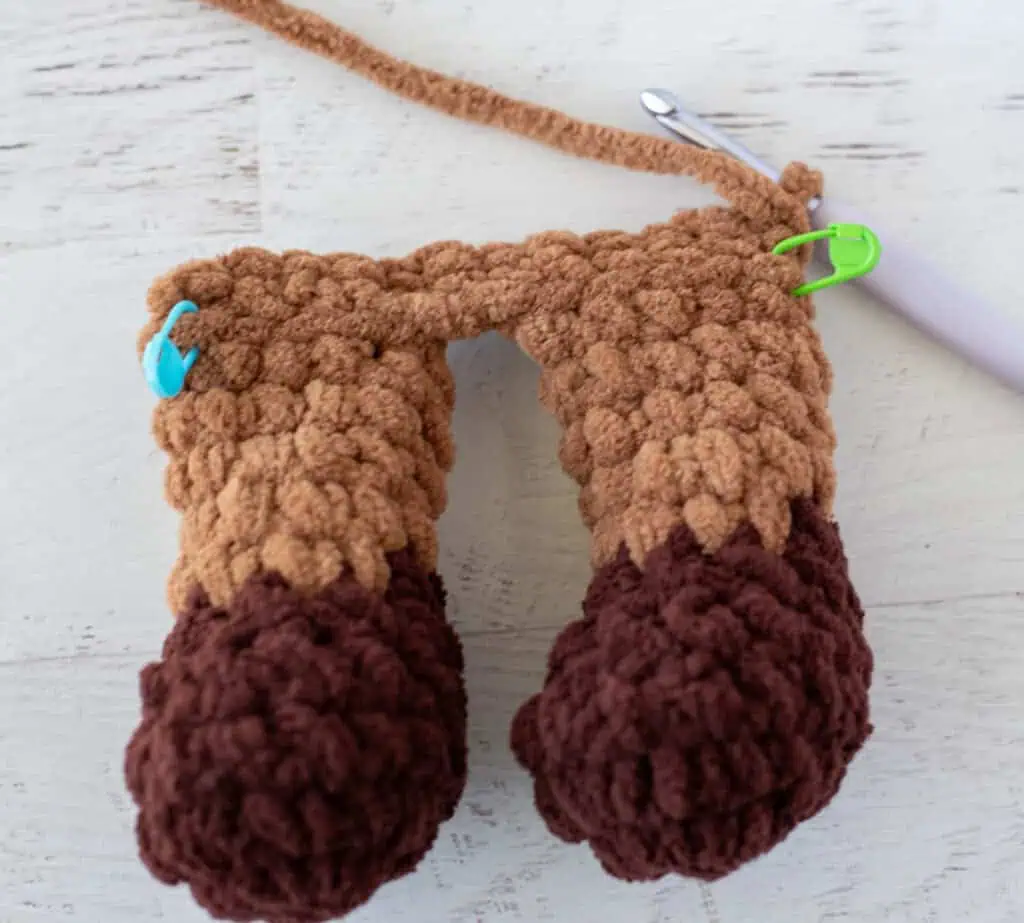
Mark the last stitch of round with a stitch marker and work in continuous rounds. (24 st)
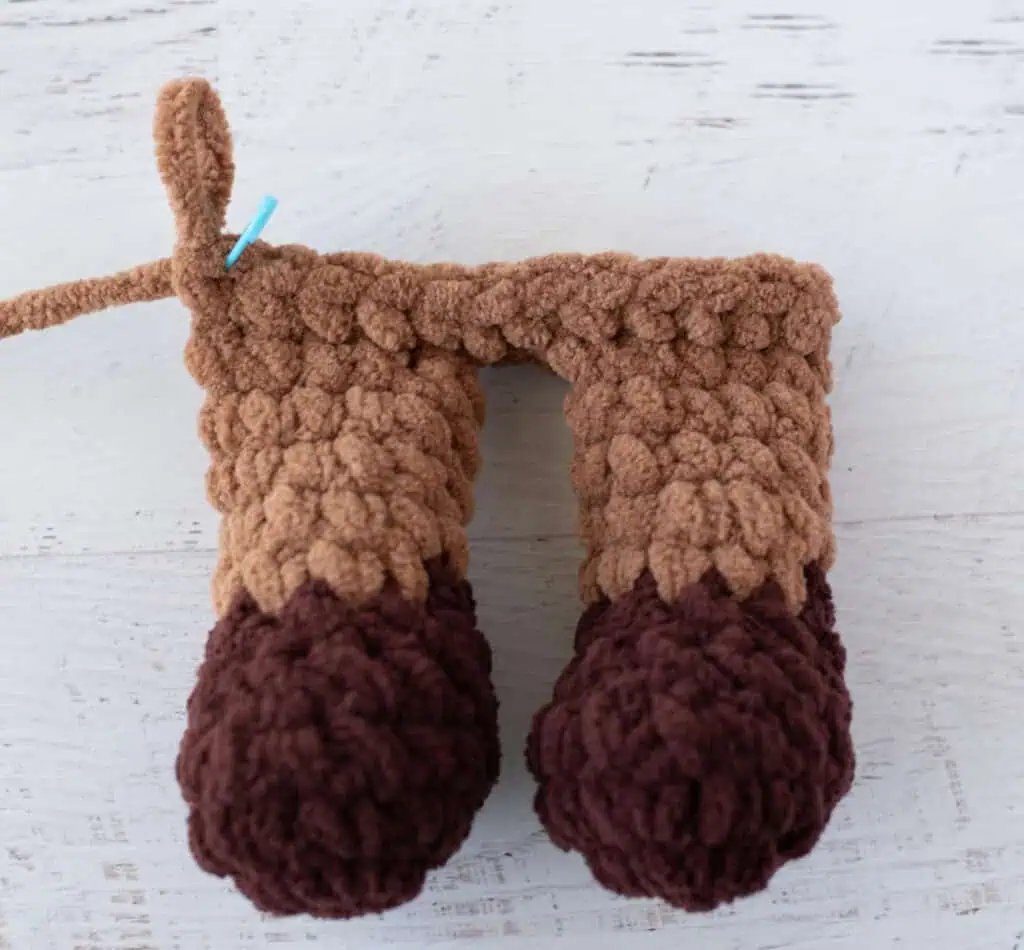
R2-3: Sc around. (24 st)
R4: *Sc in next 4 st, sc2tog. Repeat from * around. (20 st)
R5: Sc around. (20 st)
R6: *Sc in next 8 st, sc2tog. Repeat from * once. (18 st)
R7: Sc around. (18 st)
R8: *Sc in next 4 st, sc2tog. Repeat from * around. (15 st)
R9: Sc around. (15 st)
Stuff body and continue to stuff body and head as you work.
R10: *Sc in next 3 st, sc2tog. Repeat from * around. (12 st)
R11: *Sc in next st, sc2tog. Repeat from * around, changing to tan yarn in last st. (8 st)
Head
The next rounds form the head.
R1: With tan yarn, 2 sc in ea st. (16 st)
R2: *Sc in next st, 2 sc in next. Repeat from * around. (24 st)
R3: *Sc in next 7 st, 2 sc in next. Repeat from * around. (27 st)
R4-8 Sc around. (27 st)
R9: *Sc in next st, sc2tog. Repeat from * around. (18 st)
Insert safety eyes between rows 5 & 6, leaving 6 stitches in between them. Stuff remainder of head as you work.
R10: *Sc in next st, sc2tog. Repeat from * around. (12 st)
R11: *Sc2tog. Repeat from * around. (6 st)
Fasten off, weave end through last stitches and pull tight.
Arms (Make 2)
Using tan yarn, make a magic ring.
R1: 8 sc into ring. Place stitch marker and work in continuous rounds. (8 st)
R2: *Sc in next 3 st, 2 sc in next st. Repeat from * around. (10 st)
R3-4: Sc around. (10 st)
R5: *Sc in next 3 st, sc2tog. Repeat from * around. (8 st)
Stuff hand only, leaving remainder of arm unstuffed.
R6-8: Sc around. (8 st)
R9: Fold top of arm flat and work through both pieces, sc in next st, sc2tog, sc in next st. (3 st).
Fasten off and sew to either side of body at neck.
Hair Cap
Using white yarn, make a Magic Ring.
R1: 6 sc into ring. Place stitch marker and work in continuous rounds. (6 st)
R2: 2 sc in ea st. (12 st)
R3: *Sc in next st, 2 sc in next. Repeat from * around. (18 st)
R4: *Sc in next 2 st, 2 sc in next. Repeat from * around. (24 st)
R5: *Sc in next 7 st, 2 sc in next. Repeat from * around. (27 st)
R6-9: Sc around. (27 st)
R10: Sc around. At end of round, sl st to next st, and fasten off, leaving a long strand for joining. (27 st)
Position hair cap on lamb as shown and sew down.
Ears (Make 2)
Using tan yarn, make a Magic Ring.
R1: 8 sc into ring. Place stitch marker and work in continuous rounds. (8 st)
R2: 2 sc in ea st around. (16 st)
R3: *Sc in next st, 2 sc in next st, repeat from * 6 times. Sc in next st. Leave remaining 3 st unworked. (19 st)
Fasten off. Fold the ear in half along the flat (unworked stitches in last round). Then working through the double thickness, whip stitch 3 stitches together. Sew to top of head covering rows 6-7 of the hair cap (or as desired) on either side of head.
Finishing
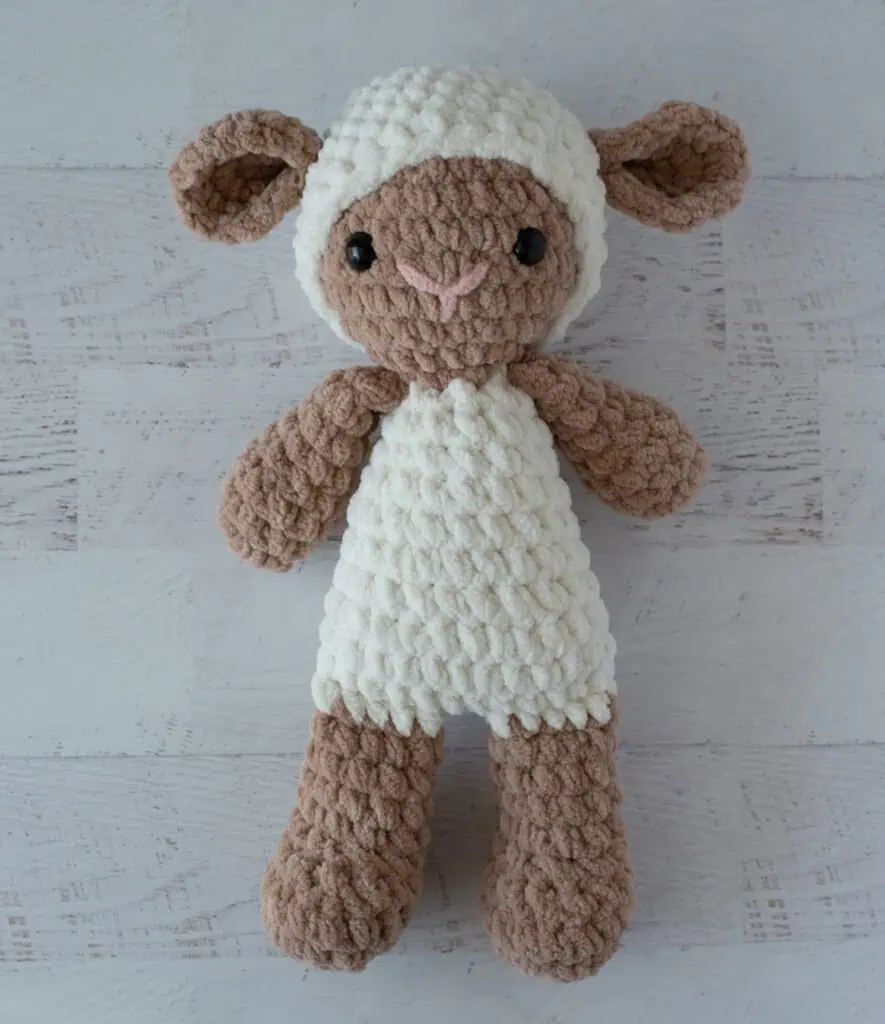
Using a strand of pink yarn, embroider the nose and mouth. We make a loose stitch (think of a smile shape) and then capture it with a single downward stitch in the next step.
The first stitch comes up through the bottom of the chin, where you’ll leave the end to tie off later. Bring the needle up near the inner side of the left eye. Then insert the needle into the corresponding spot on the inner side of the right eye and bring the needle back up between row 4 and 5 on the head. Do not tighten the stitch yet. The next stitch captures the loose stitch and pulls it downward. Position the needle so that it can capture the not-yet-tightened stitch and then carefully pull the stitch to form the gentle curve of the nose. Then insert the needle 1 stitch down into center of the face between rows 3 and 4 of the head and come out at the chin where you started.
Adjust the yarn so it lays nicely and forms the nose and mouth.
Then knot the end of the yarn close to the head and bury the knot inside the lamb. Thread the starting strand and knot and bury that end in the head too.
Tail
Using tan yarn, make a Magic Ring.
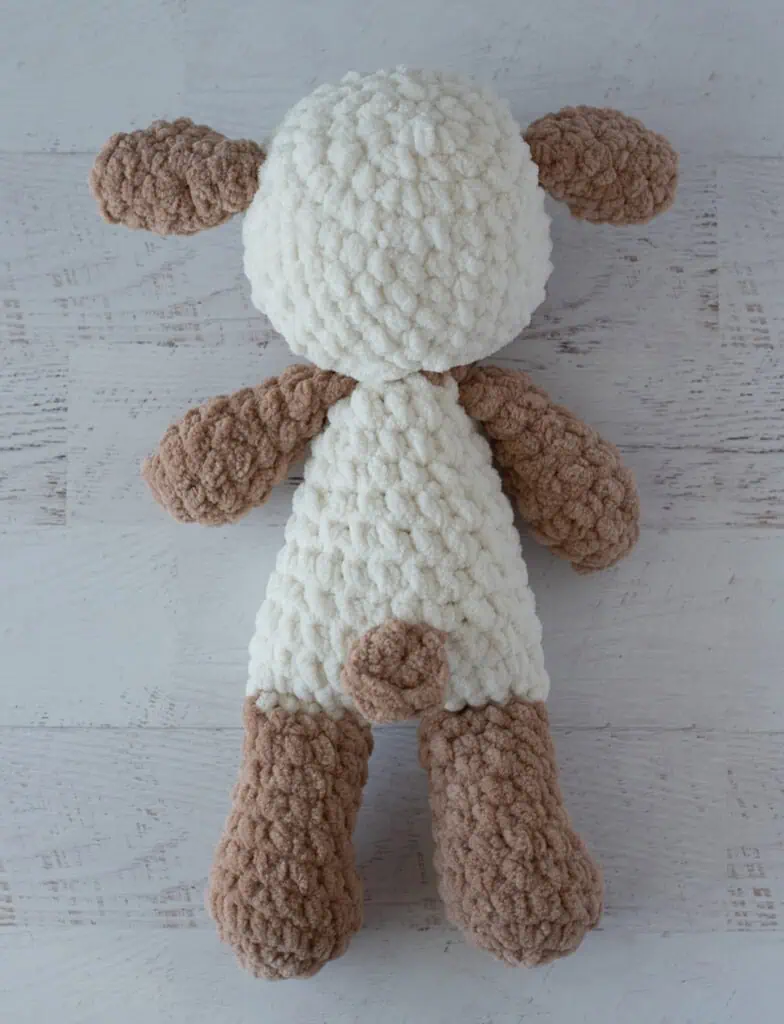
R1: Work all of the following into the magic ring: sc, hdc, dc, tr, dc, hdc, sc. Pull magic ring tight to close, but do not join. Fasten off.
Sew to center back bottom of lamb between rows 3 & 4 of the body (or as desired).
Final Thoughts on Maisie the Lamb
I had so much fun designing Maisie and the rest of the Farmyard Friends! There’s something so satisfying about watching that sweet little face come together with all her darling finishing touches. And best of all? She’s a quick make too!
From her fleecy hair cap to her tan ears and tiny tail, Maisie is full of the little details that make a crochet project feel extra special. I love that she looks so sweet just sitting there, waiting for a snuggle.
And now that all four of my Farmyard Friends are finished, I have to say, I love how different they are from one another. Poppy has her bright red comb, Sweet Pea is pretty in pink, Clover has her tan spots and floppy ears, and Maisie? Well, she’s soft and sweet from her fleecy cap to her tiny tail!
Whether you’re crocheting Maisie for a little one’s Christmas Gift or Easter basket, making her as a special handmade gift, or adding another cuddly friend to your amigurumi collection, I hope you enjoy every stitch.
And who knows? Maybe Maisie will inspire you to make the whole farmyard! You can find all four patterns together in my Farmyard Friends Collection on Etsy.
I love seeing your finished projects! If you enjoyed making this Crochet Lamb pattern, I’d love to see yours on Instagram, be sure to tag me @crochet365knittoo. If you are on Facebook, stop over to the Crochet 365 Knit Too Facebook page or pop over to the Crochet365KnitToo Club and share a photo! I’d love to see your work!