Poppy the Crochet Chicken
This post may contain referral/affiliate links. Please read my disclosure for more info.
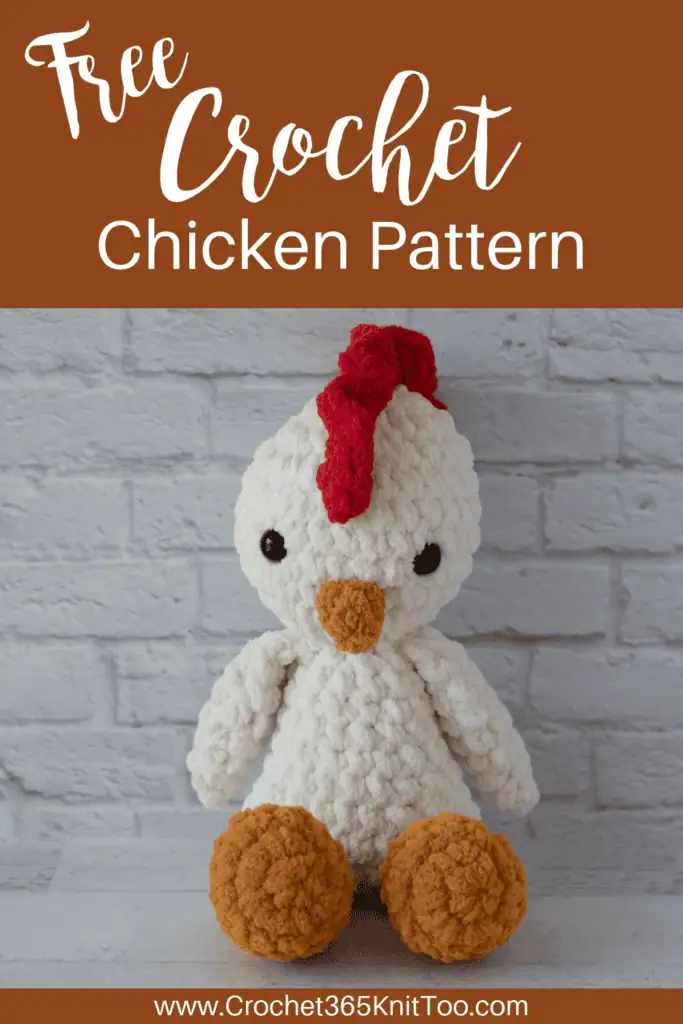
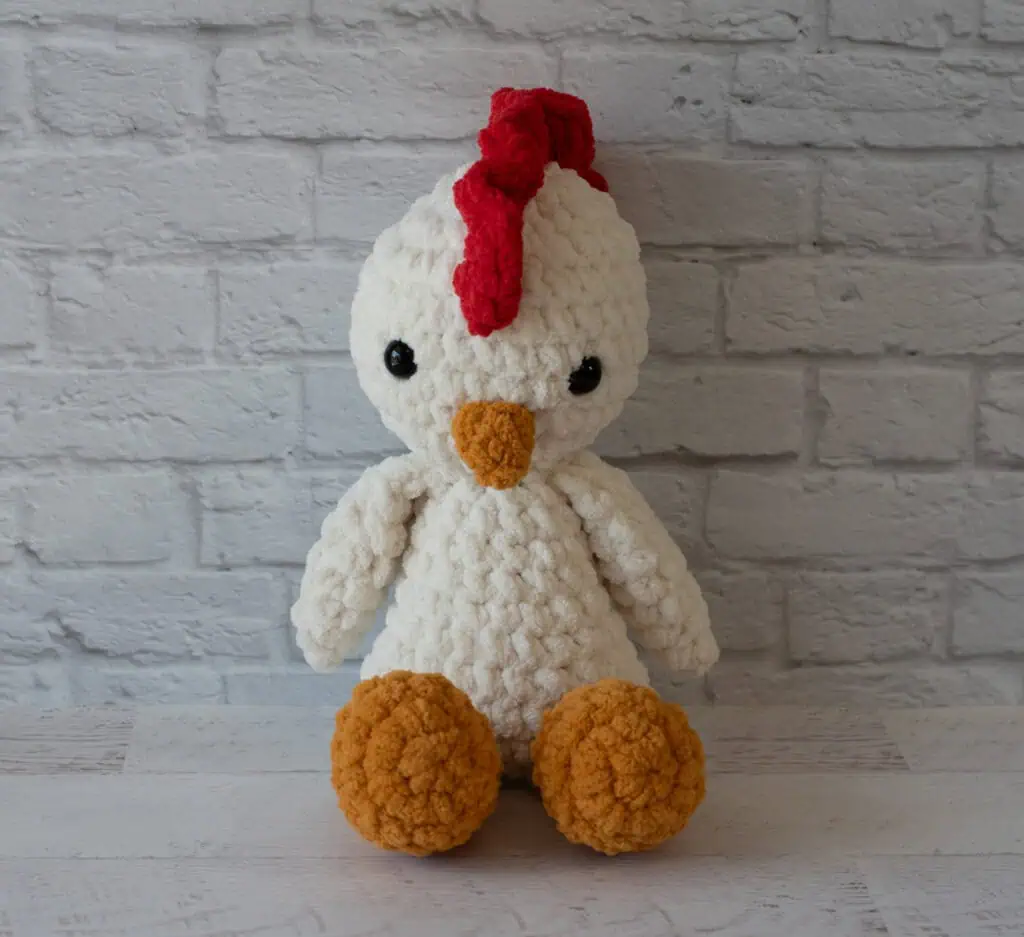
What’s cute, adorable and guaranteed to make you smile? This darling Crochet Chicken, that’s what!
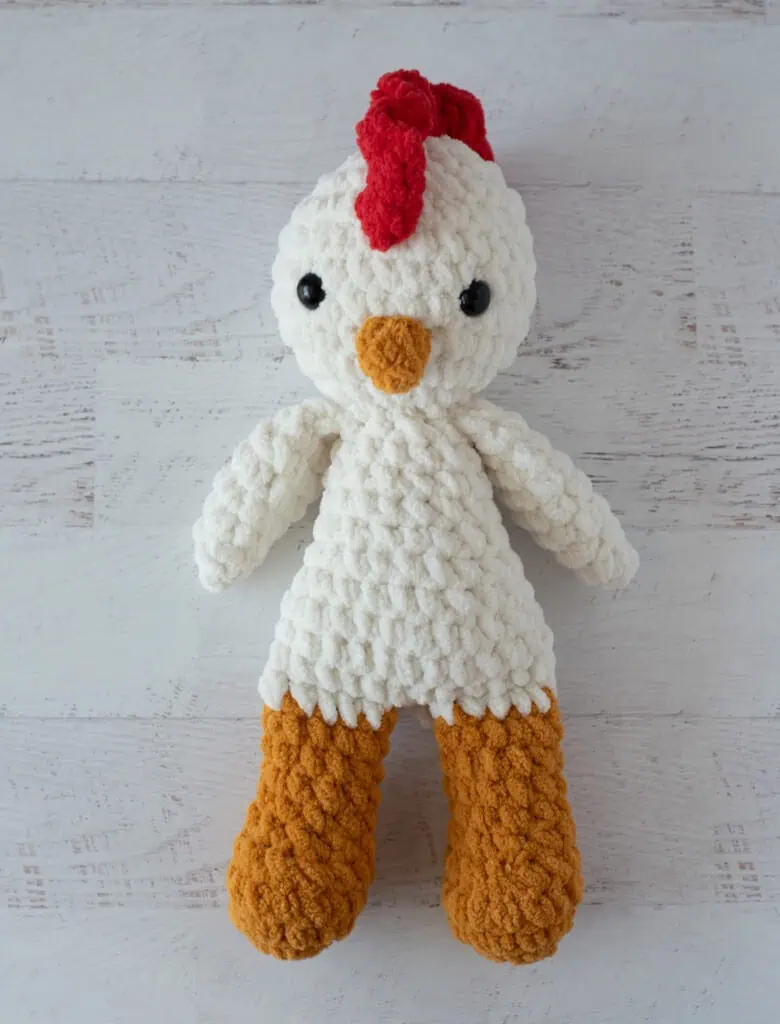
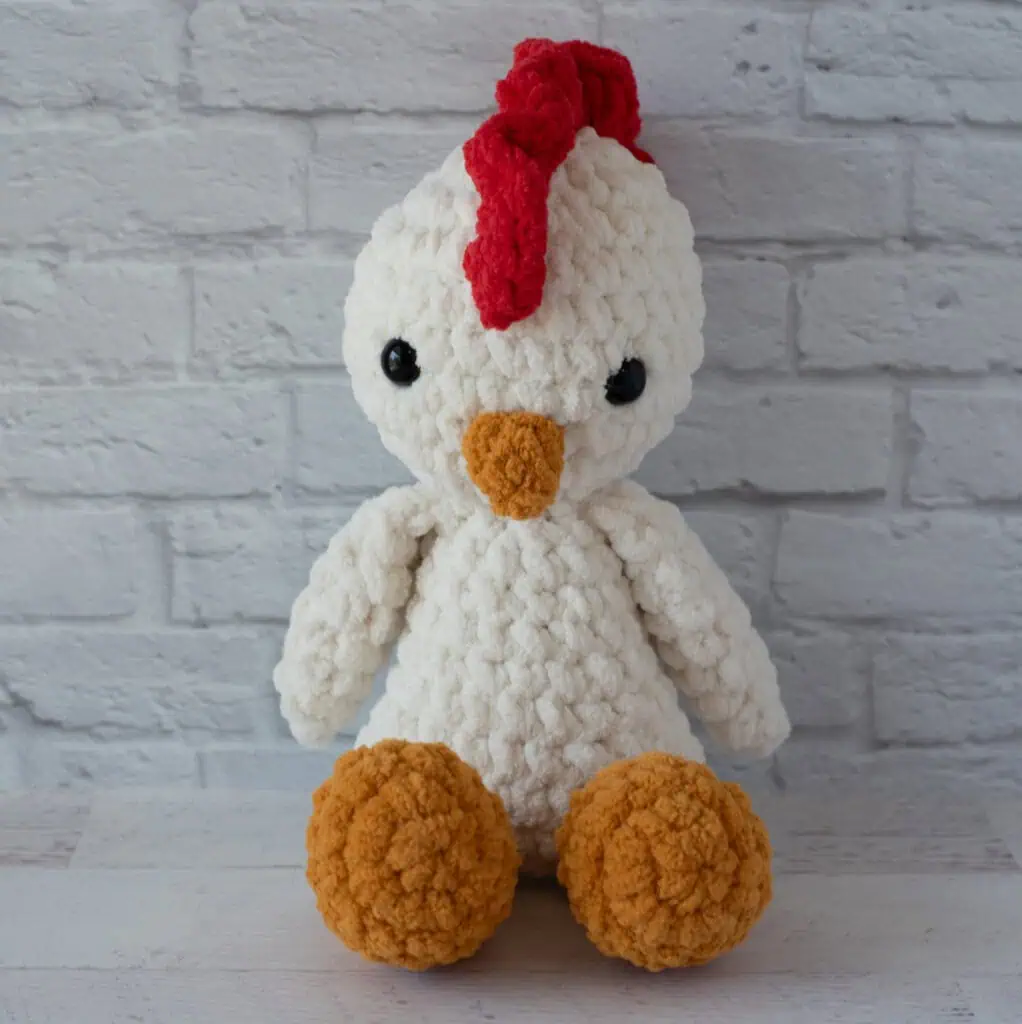
I don’t know what it is about this bit of fluff that makes smile, but I’m so here for it. That tuft of red on her head is perfection and that sunny yellow on her legs and beak remind me of sunny, relaxing days.
She’s the perfect size too. At 13 inches tall, she perfect for snuggles or just toting around. And because we’re using a chenille style #6 yarn and a larger size hook, this is a quick one to two evening make which is totally my favorite kind of project.
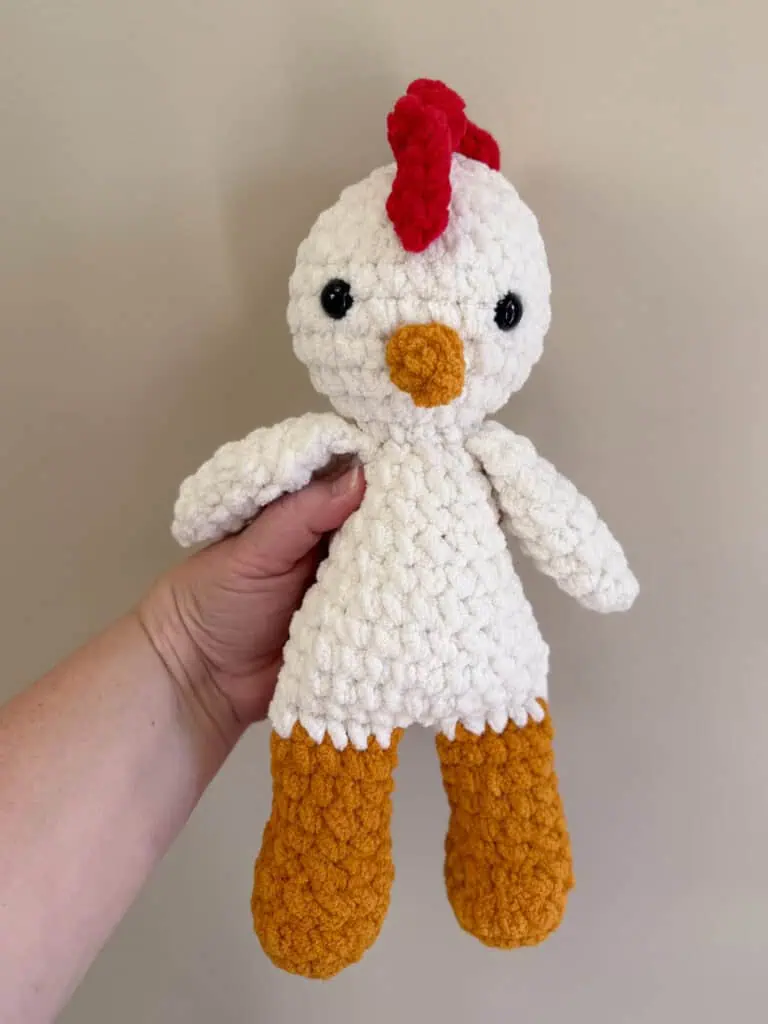
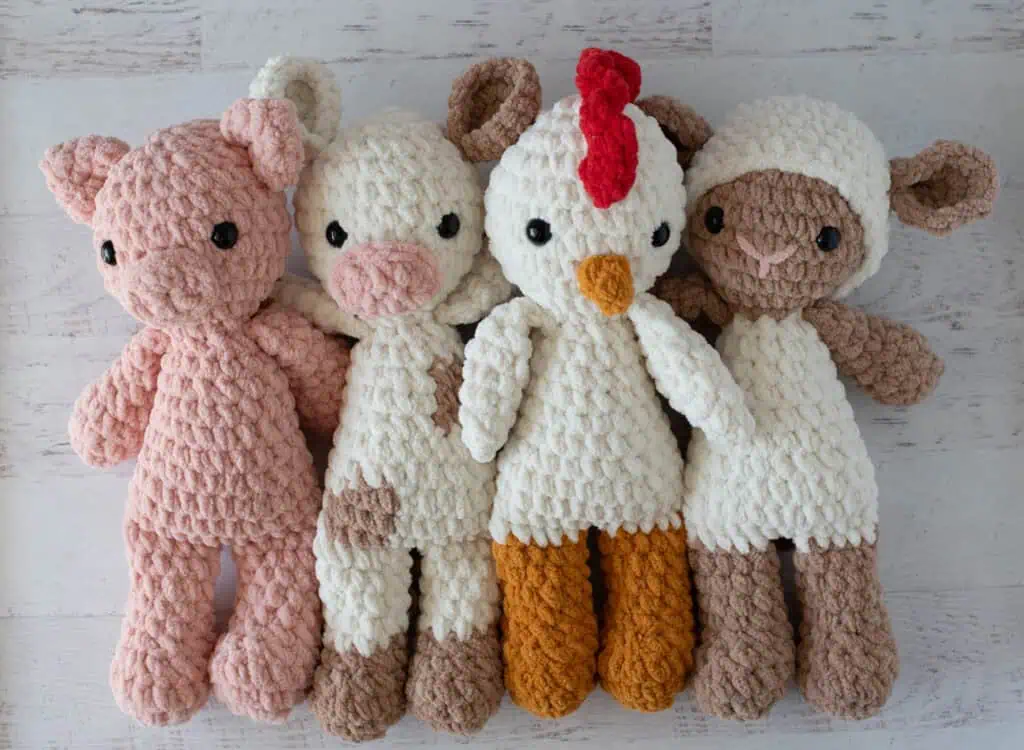
Just think.. you.. your yarn.. something wonderful on TV and in no time at all you have the most darling gift made. Pair it with my other Farmyard Friends: Clover the Cow, Sweet Pea the Pig and Maisie the Lamb and you have a complete set.
I love that!
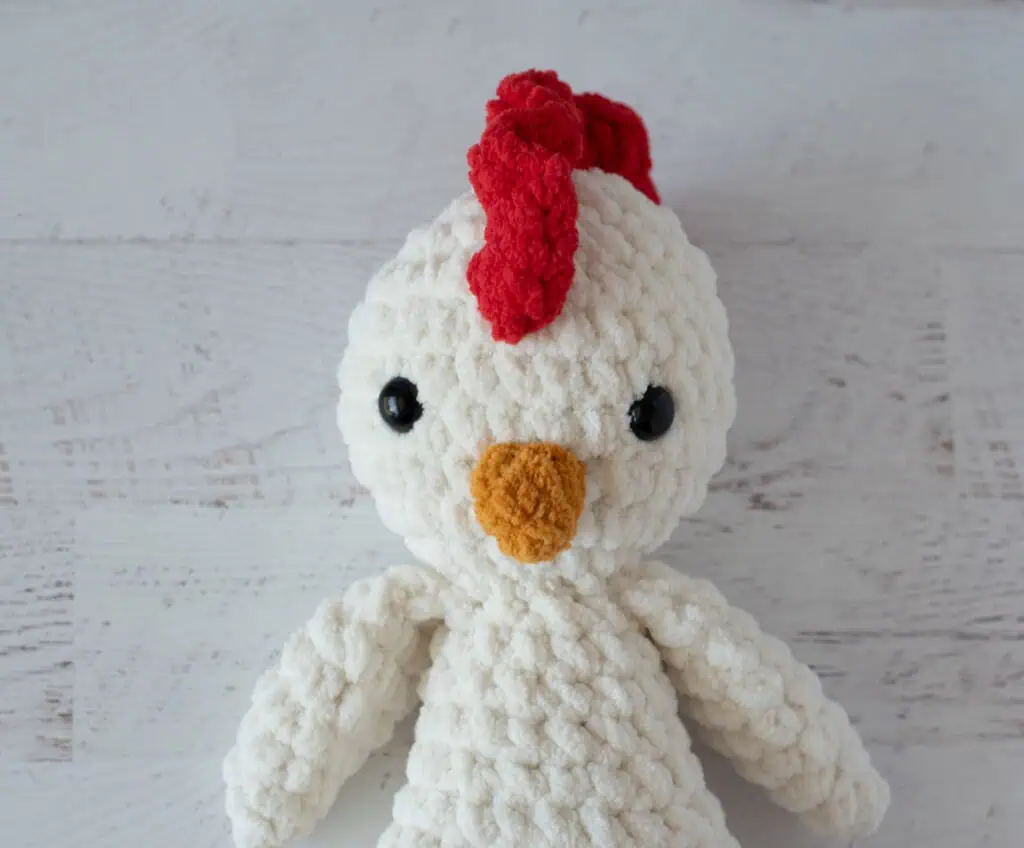
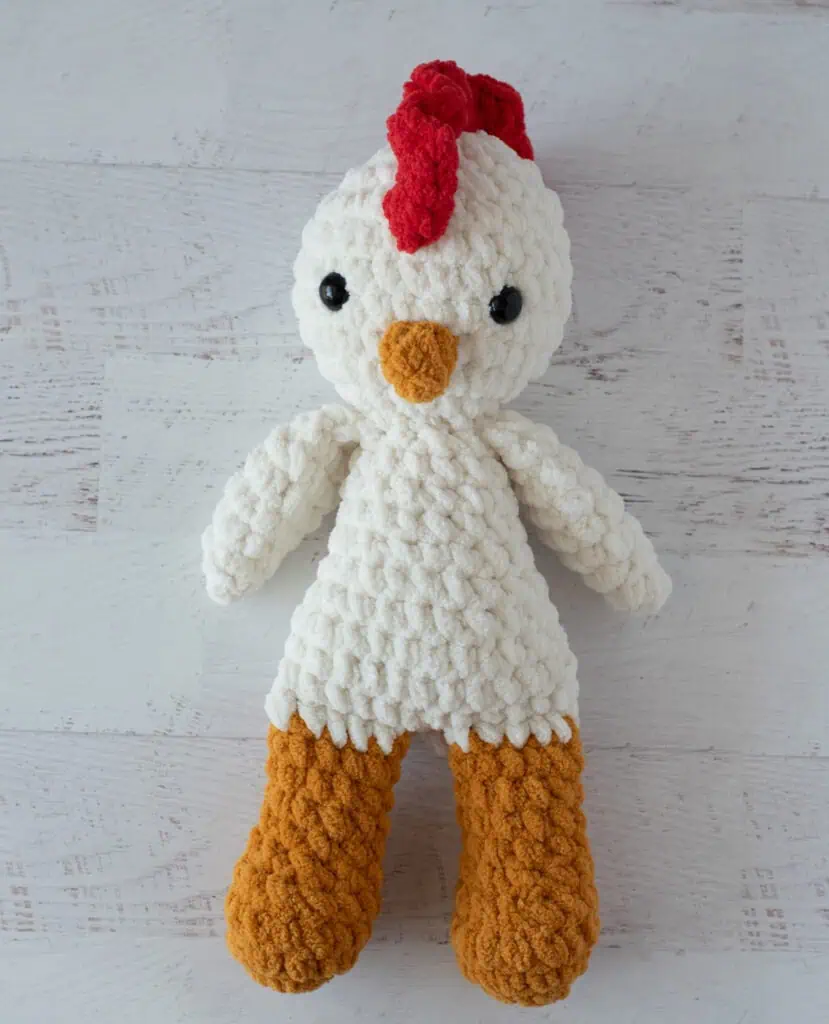
I think it’s all the little details that really make Poppy special. Her bright red comb is crocheted right onto her head, and then there’s that sweet yellow beak, her little white wings and the cutest loopy tail. I just love how it all comes together!
Purchase the Beautifully Formatted AD-FREE PDF DOWNLOAD
For this project, I’m using Premier Basix Chenille Brights yarn in Winter White, Sunny and Poppy (yes, her comb is crocheted in a color called Poppy!), which is a chenille style #6 super bulky weight yarn. Pop over to Herrschner’s or Amazon to pick some up.
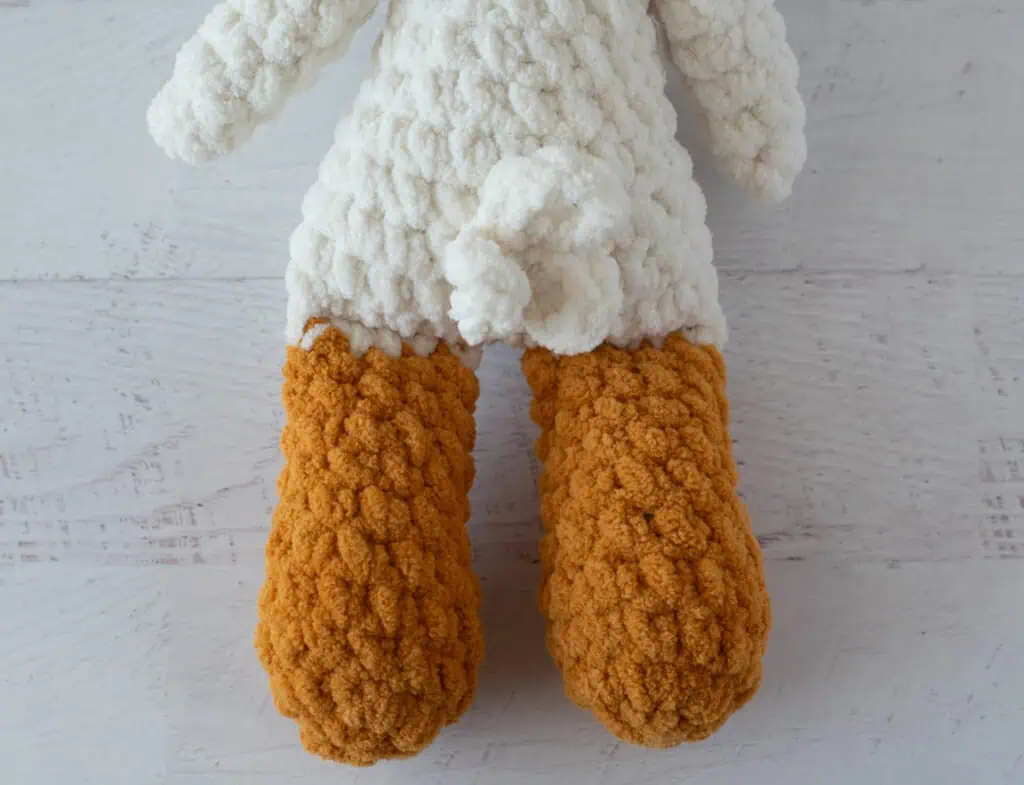
Poppy starts at her sunny little feet. The two legs are joined together, and then the body and head are worked in one piece from there. The wings, beak, comb and tail are added at the end.
Her comb is made with surface crochet, worked right onto her head. If you’ve never tried this technique, my surface crochet tutorial walks you right through the process.
And just like that, she’s ready to rule the roost!
Let’s dive right into the pattern!
Crochet Chicken
Materials
- Premier Basix Chenille Brights, size 6 super bulky weight, 100% polyester, 112 yds/103 m per 5.3 oz skein (try Herrschners, Amazon or Etsy)
- Winter White: 65 yards
- Sunny (yellow): 27 yards
- Poppy (red): 8 yards
- US K10.5/6.5mm crochet hook
- 15 mm safety eyes. NOTE: if making for a baby or young child, embroider eyes instead
- Stitch marker to keep track of rows
- Fiberfill
- Tapestry Needle
Resources and tutorials you may find helpful in following this pattern: Crochet Abbreviations, US to UK Crochet Conversion Chart. Find links to stitches on the “Tutorial” menu: Getting Started will show basic stitches used in many patterns and Crochet Stitch Dictionary shows our growing collection of crochet stitch tutorials.
Gauge:
Gauge is not critical for this project. Ensure that your stitches are tight enough so the stuffing won’t show through.
Crochet Abbreviations:
- ch = chain
- dc = double crochet
- hdc = half double crochet
- sc = single crochet
- sc2tog = single crochet 2 together
- sl st = slip stitch
- st = stitch(es)
Finished Crochet Chicken Size
Approximately 13” tall, from top of head (excluding comb) to bottom of feet.
How to Crochet a Chicken
The legs of this crochet chicken are worked first in yellow and joined together. Then the body and head are worked in one piece in white, decreasing at the neck and increasing to shape the head. Finally, we crochet the wings, beak, comb and tail, with the comb worked right onto the head in surface crochet.
Chicken Legs (Make 2)
Using yellow yarn, make a magic ring.
R1: 6 sc into ring. Place stitch marker and work in continuous rounds. (6 st)
R2: 2 sc in ea st. (12 st)
R3: Sc in next 2 st, 2 sc in next 2 st, sc in next 8 st. (14 st)
R4: Sc around. (14 st)
R5: Sc in next 2 st, sc2tog twice, sc in next 8 st. (12 st)
R6: Sc in next st, sc2tog twice, sc in next 7 st. The 2 decrease stitches in this row are the top center of the foot. To more easily identify this later, place a stitch marker in the first decrease. (10 st)
R7-10: Sc around. (10 st)
Stuff foot only (approximately R1-7). Leave remainder of leg unstuffed.
For leg 1: Sl st to next st and fasten off.
For leg 2: Change to white yarn in last st of R10, do NOT fasten off; continue to work joining round and then body.
Join Legs and Set Up for Body (sample photos show different doll)
Flatten tops of legs so that toes are pointed forward. (The stitch marker placed earlier indicates the center right stitch to help with positioning the foot.) The set up round is worked holding the front and back of the leg together and crocheting through both stitches.
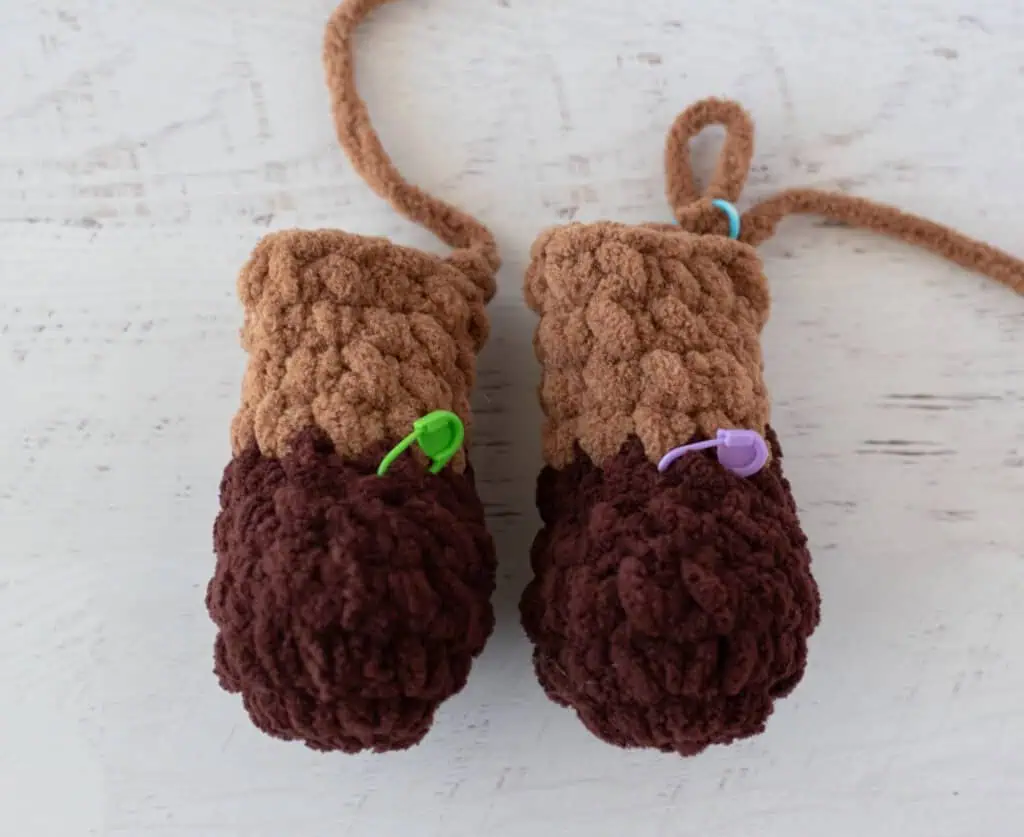
The working yarn (which is the white yarn) should be at the right side. Holding the top of the last leg worked together and working through both the front and the back stitches, sc across the top of the leg (5 st), ch 2, then hold the top of the 2nd leg stitches together and sc across those 5 st. (12 st)
At the end of the set-up round, place a stitch marker in the front loop only of the first stitch and the last stitch in the row. The stitch markers will help you locate these stiches on the first body round.
Crochet Chicken Body
The first round is worked in the front and back loops of the set-up round and gets us back to working in continuous rounds again.
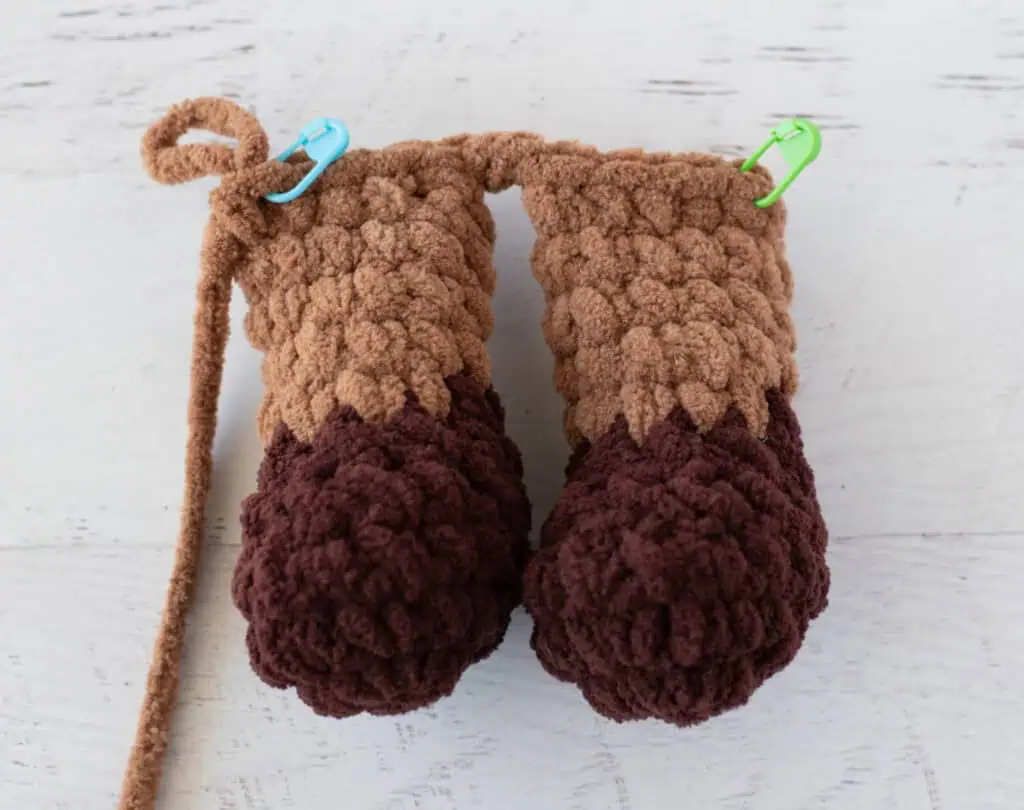
R1: Continuing with white yarn, turn work so that the backs of the legs are facing you. Working in the front loop only, sc across legs, working a sc into each front loop of the legs and the chain separating them (See Step 1 in photo below).
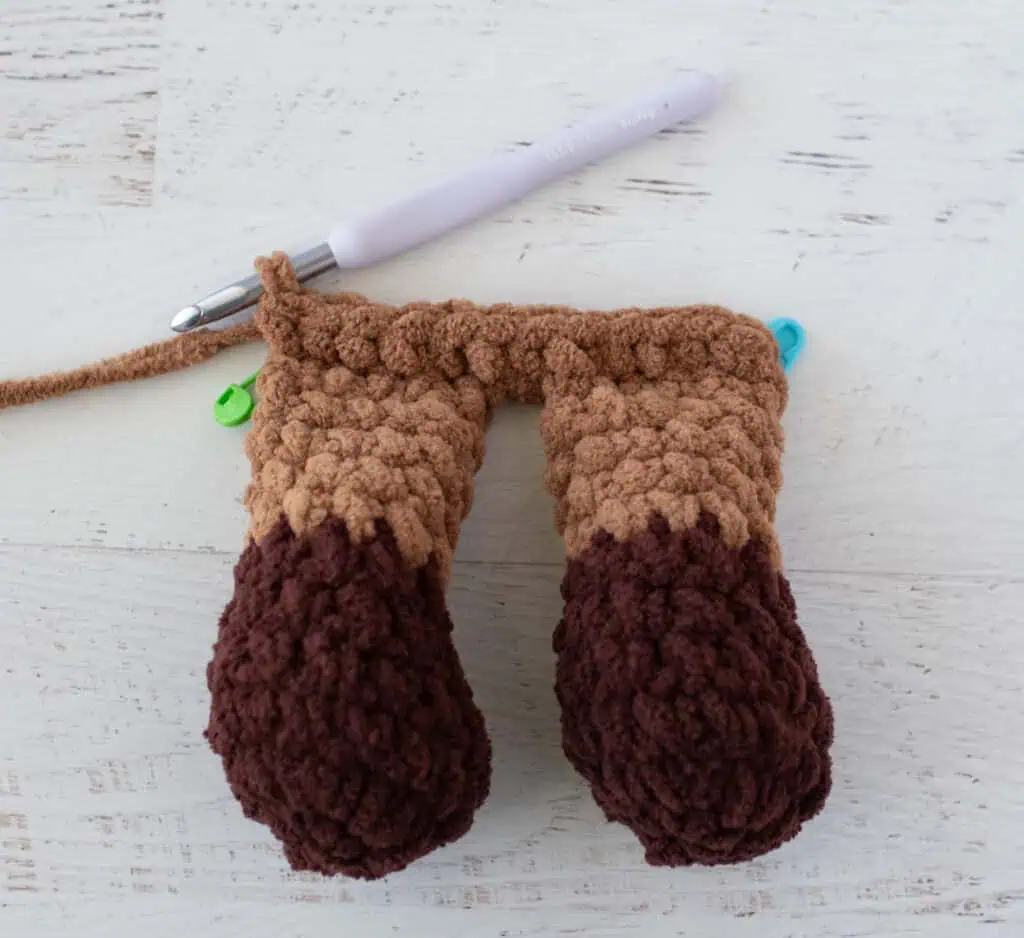
Then turn work and sc into each front loop on the opposite side of the set-up round. Then turn work and sc into each front loop on the opposite side of the set up round. (The stitch markers you placed will help you locate those front loops. See photo below.)
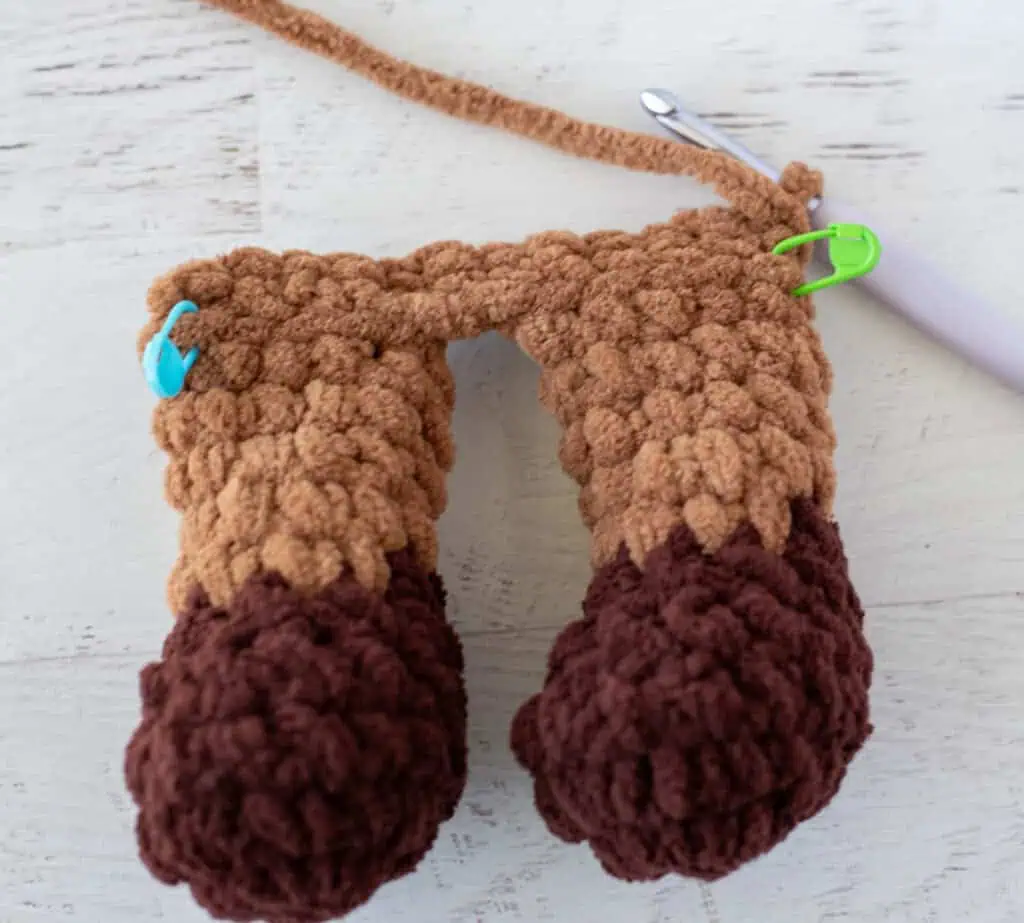
Mark the last stitch of round with a stitch marker and work in continuous rounds. (24 st)
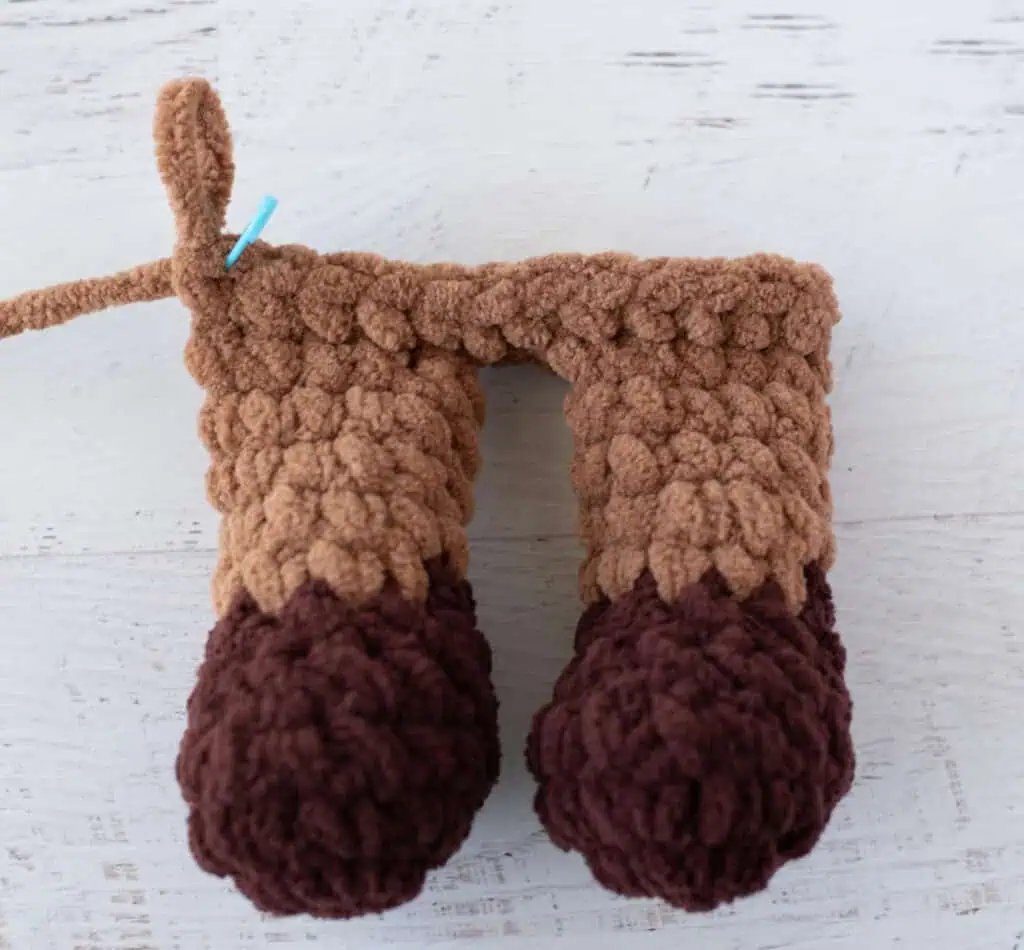
R2-3: Sc around. (24 st)
R4: *Sc in next 4 st, sc2tog. Repeat from * around. (20 st)
R5: Sc around. (20 st)
R6: *Sc in next 8 st, sc2tog. Repeat from * once. (18 st)
R7: Sc around. (18 st)
R8: *Sc in next 4 st, sc2tog. Repeat from * around. (15 st)
R9: Sc around. (15 st)
Stuff body and continue to stuff body and head as you work.
R10: *Sc in next 3 st, sc2tog. Repeat from * around. (12 st)
R11: *Sc in next st, sc2tog. Repeat from * around. (8 st)
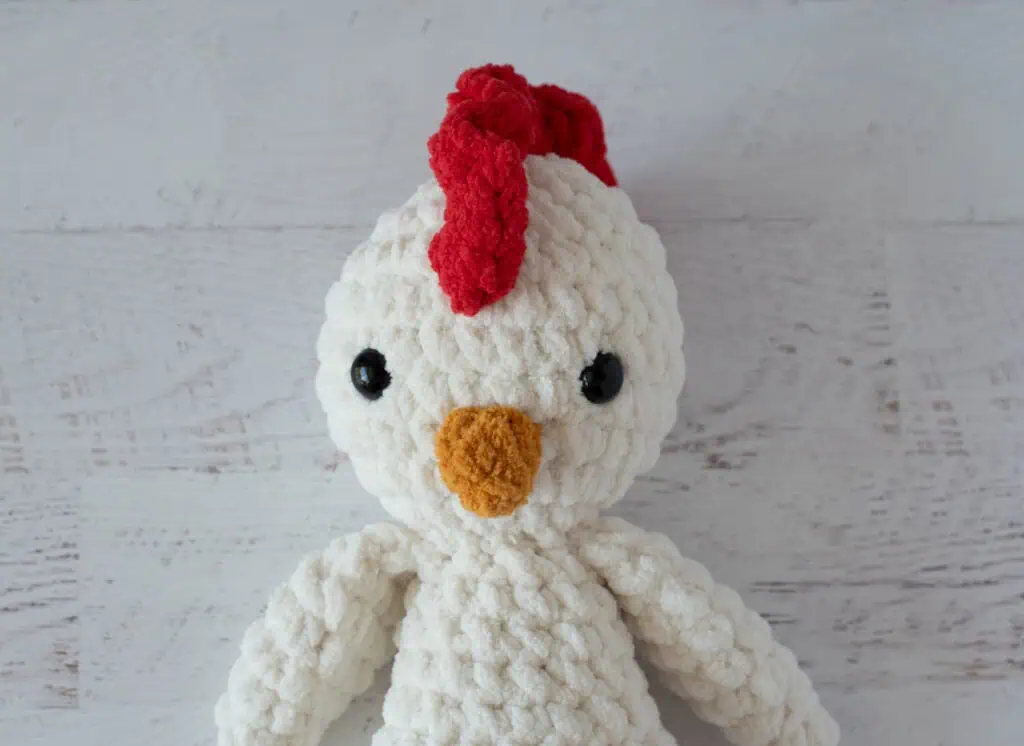
Chicken Head
The next rounds form the head.
R1: 2 sc in ea st. (16 st)
R2: *Sc in next st, 2 sc in next. Repeat from * around. (24 st)
R3: *Sc in next 7 st, 2 sc in next. Repeat from * around. (27 st)
R4-8 Sc around. (27 st)
R9: *Sc in next st, sc2tog. Repeat from * around. (18 st)
Insert safety eyes between rows 5 & 6, leaving 6 stitches in between them. Stuff remainder of head as you work.
R10: *Sc in next st, sc2tog. Repeat from * around. (12 st)
R11: Sc2tog around. (6 st)
Fasten off, weave end through last stitches and pull tight.
Crochet Chicken Wings (Make 2)
Using white yarn, make a magic ring.
R1: 4 sc into ring. Place stitch marker and work in continuous rounds. (4 st)
R2: *Sc in next st, 2 sc in next st. Repeat from * once. (6 st)
R3: *Sc in next 2 st, 2 sc in next st. Repeat from * once. (8 st)
R4: *Sc in next 3 st, 2 sc in next st. Repeat from * once. (10 st)
R5-7: Sc around. (10 st)
R8: *Sc in next 3 st, sc2tog. Repeat from * once. (8 st)
Do NOT stuff wing.
R9: Fold top of wing flat and work through both pieces, sc in next st, sc2tog, sc in next st. (3 st).
Fasten off and sew to either side of body at neck.
Beak
With yellow yarn, make a magic ring.
R1: 4 sc into ring (4 sts). Work in rounds.
R2: (Sc in next st, 2 sc in next st) twice (6 st). Fasten off, using an invisible join if you prefer.
Sew beak between and below eyes. Beak covers all of row 4 and parts of rows 3 & 5 (or as desired).
Comb for Chicken
The comb starts with surface crochet stitches. If you are unfamiliar with working surface crochet stitches, you can find a tutorial on my blog here. Note that the tutorial shows surface crochet worked on a flat piece, but the process is very similar.
With red yarn, attach yarn center front on row 8.
R1: Surface crochet 10 slip stitches from the front to the back of the head working 1 surface crochet slip stitch on each row. Turn. (10 st).
R2: Ch 2, 2 hdc in 1st st, 3 hdc in ea remaining st. Fasten off and weave in ends. (30 st)
Chicken Tail
With white yarn, *ch 7, sl st in next 7th ch from hook to form a loop, repeat from * 2 more times (3 loops). Fasten off and sew to the lower back of bird.
Sew to center back bottom of chicken between rows 3 & 4 of the body (or as desired).
Final Thoughts on Poppy the Chicken
I had so much fun designing Poppy and the rest of my Farmyard Friends! There’s just something about watching a little personality come together, one stitch at a time, that makes me smile.
And now that all four animals are finished, I have to say I love how they turned out! Maisie with her fluffy cream fleece, Sweet Pea looking pretty in pink, Clover with her tan spots and floppy ears, and of course, darling Poppy with that bright red comb.
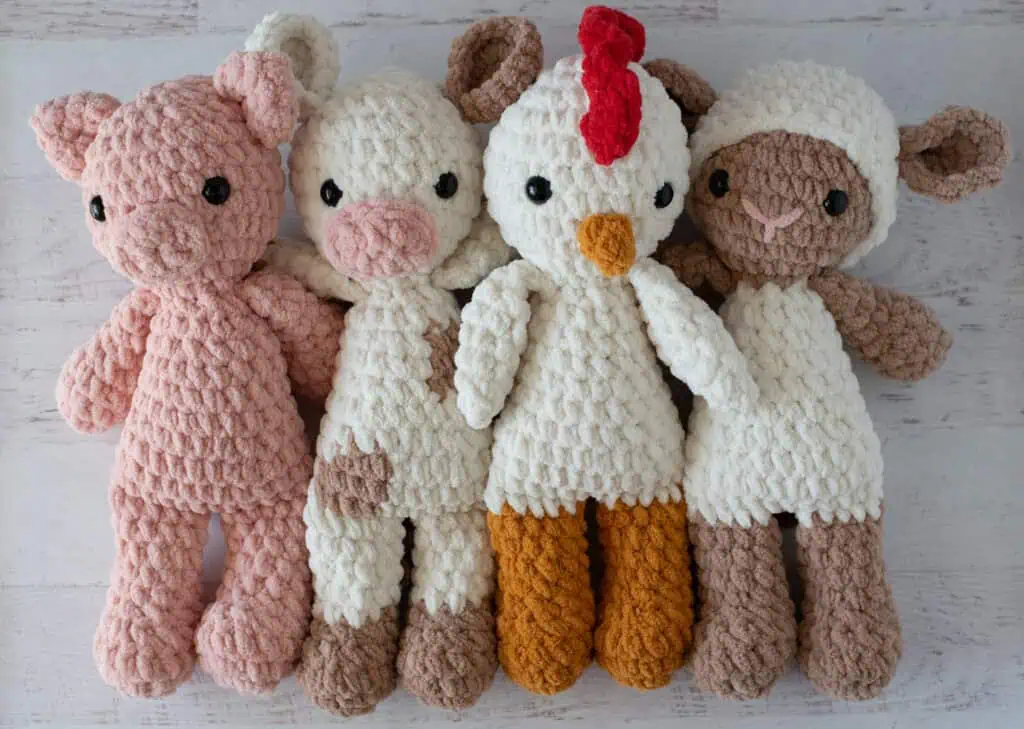
I honestly don’t know which one I love most!
Whether you’re making Poppy for someone who loves chickens or just because you can’t resist her sweet little face, I hope you have as much fun crocheting her as I did designing her.
And if one farmyard animal just isn’t enough, you can find all four patterns together in my Farmyard Friends Collection on Etsy.
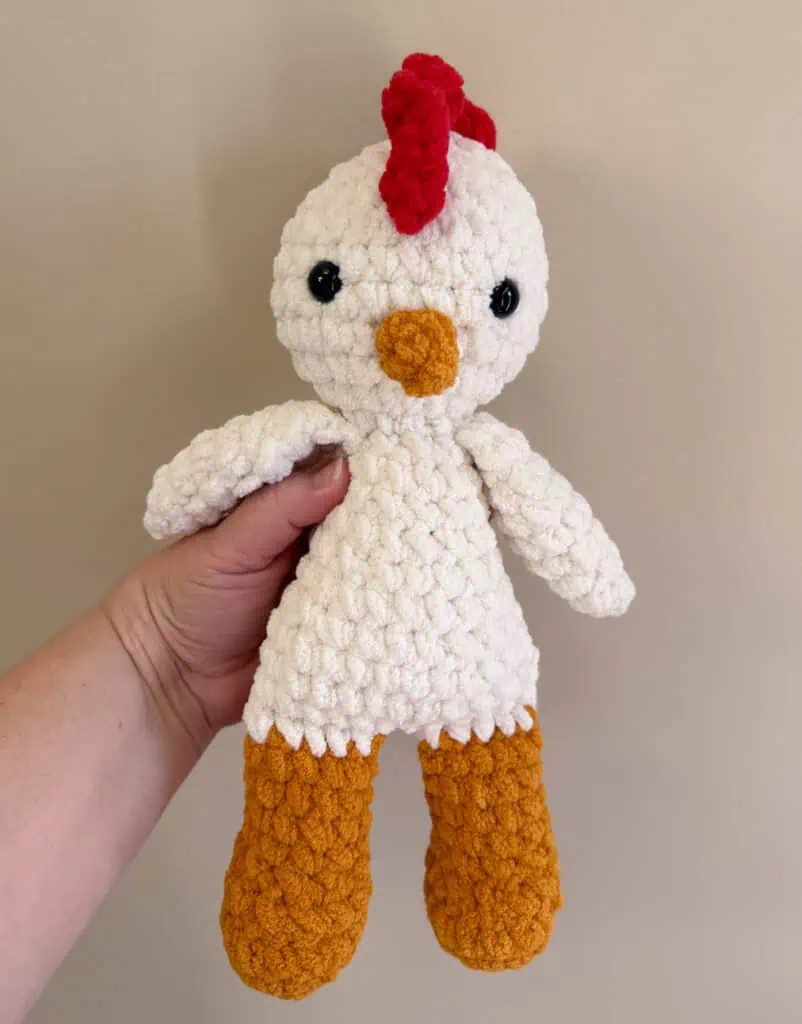
And if you love little feathered friends, be sure to peek at my chick crochet pattern too!
I love seeing your finished projects! If you enjoyed making this Crochet Chicken pattern, I’d love to see yours on Instagram, be sure to tag me @crochet365knittoo. If you are on Facebook, stop over to the Crochet 365 Knit Too Facebook page or pop over to the Crochet365KnitToo Club and share a photo! I’d love to see your work!