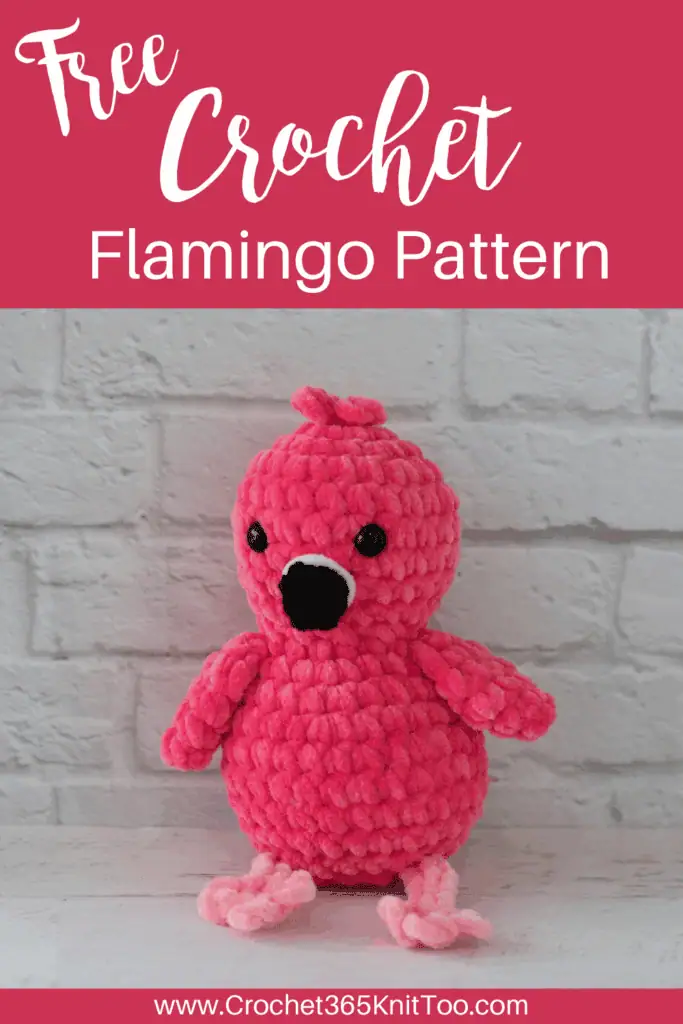
Floyd The Crochet Flamingo
This post may contain referral/affiliate links. Please read my disclosure for more info.
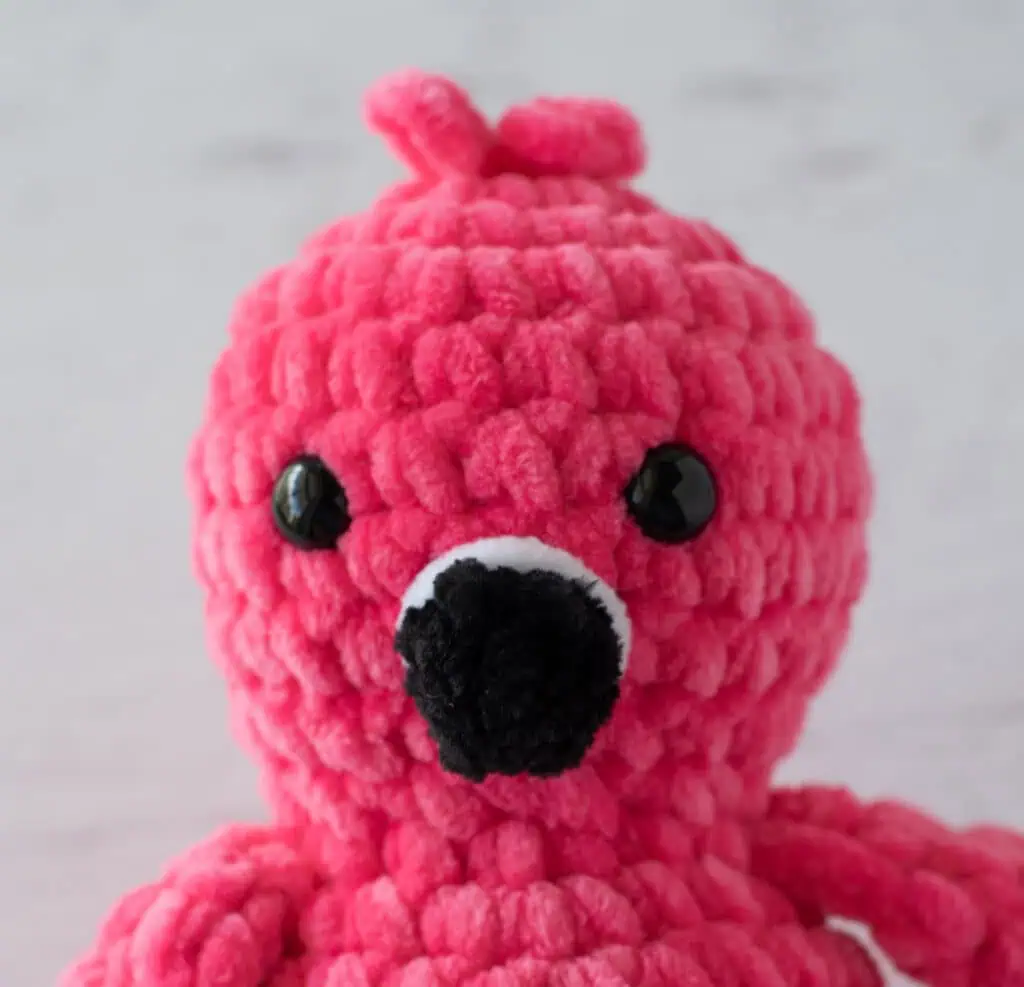
Say hello to my newest feathered friend – this darling crochet flamingo. He’s pink. He’s playful. He’s sure to steal your heart.
Meet Floyd: my latest crochet bird pattern!
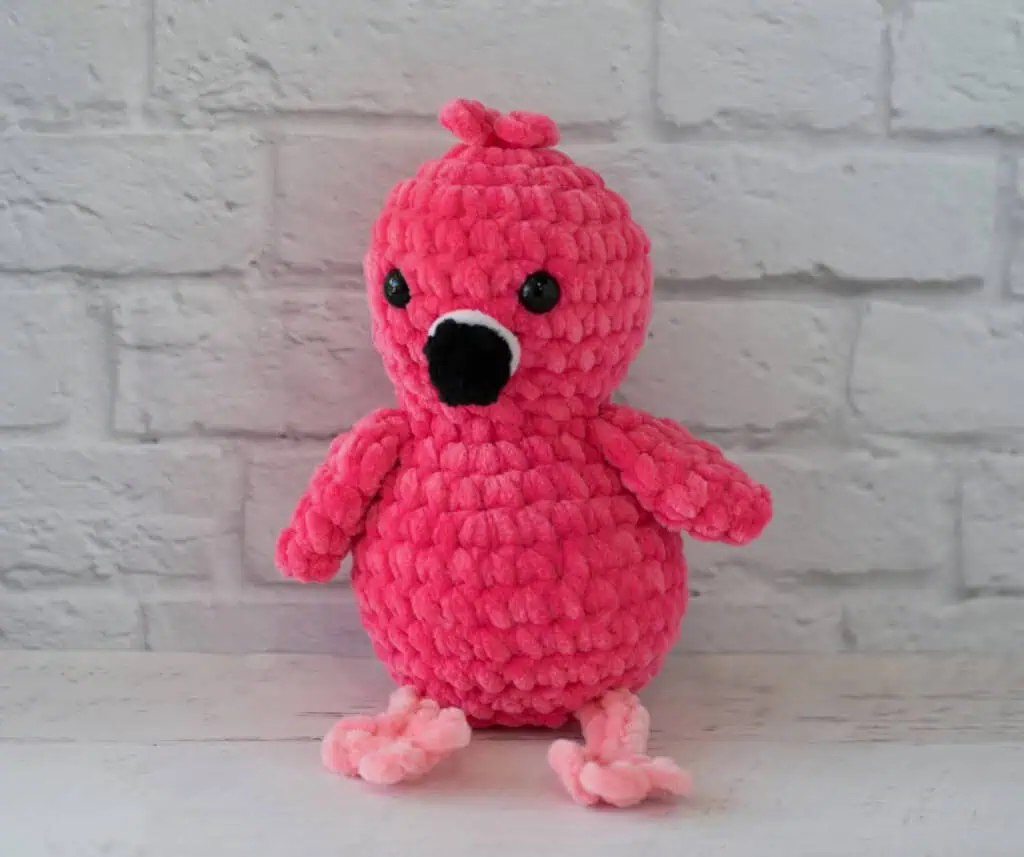
Can we just take a moment to enjoy the little combo that is Floyd the Flamingo? I love that he’s got the whole squishy vibe like my other crochet birds. But let’s be honest, that little face of his looks like he’s hiding a secret opinion about something, doesn’t it?
It seriously makes me smile every time I look at him! Such cuteness!
I love how fast my crochet birds work up. In a short evening you can crochet a little cutie that is perfect for gift giving or tucking into the little corners of your world.
I’m loving his little legs and feet. Aren’t they so cute? Everything about Floyd is easy and fun. He’s mostly worked in bright pink yarn with just little bits for the legs and beak, so this flamingo pattern can be a great stash buster project.
Like my other birds, Floyd is worked with a Super Bulky Weight yarn crocheted with a smaller than normal hook to give the piece just the right amount of stiffness. I absolutely love using Premier Parfait Chunky yarn for this project.
Purchase the Beautifully Formatted AD-FREE PDF DOWNLOAD
Pop over to Herrschner’s for the best pricing or Amazon. If you can’t locate a color, this Etsy shop seems to stock them all and has pretty fast shipping.
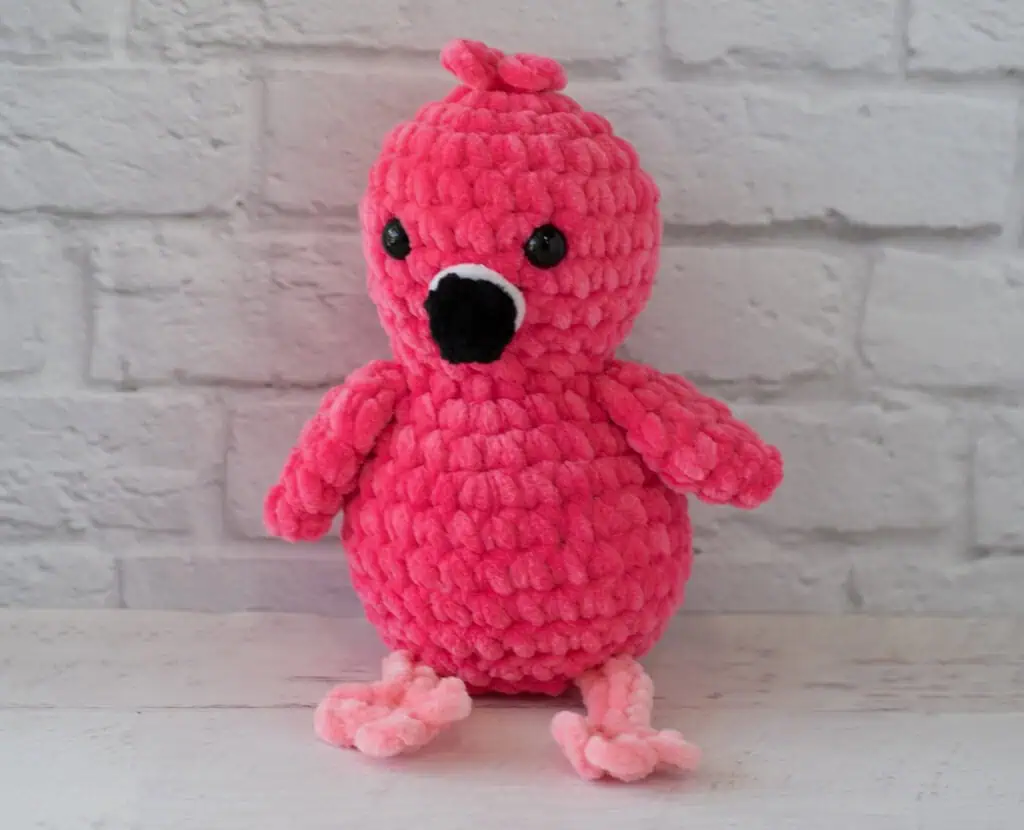
The head and body is worked in 1 piece. The tummy has a few extra stitches for that adorable pudgy look.
The details on this little guy make all the difference. Designing with a bulky weight yarn can make it a challenge to get small pieces with a lot of detail. You’ll find the beak, feet, feathers have very few stitches, but very intentional placement. It’s so fun and quick to crochet these little elements.
Let’s crochet!
Crochet Flamingo
Materials
- Premier Parfait Chunky, size 6 super bulky weight, 100% polyester, 131 yds/120m per 3.5 oz skein (try Herrschners, Amazon or Etsy)
- Hibiscus (Bright Pink color): 35 yards
- Pink Lemonade (Light Pink): 3 yards
- Black: 1.5 yards
- White: Scraps for beak detail
- US H8/5.00 mm crochet hook these are my absolute favorite hooks I recommend to everyone!)
- 10 mm safety eyes. NOTE: if making for a baby or young child, embroider eyes instead
- Stitch markers to keep track of rows
- Fiberfill
- Tapestry needle and scissors
Resources and tutorials you may find helpful in following this pattern: Crochet Abbreviations, US to UK Crochet Conversion Chart. Find links to stitches on the “Tutorial” menu: Getting Started will show basic stitches used in many patterns and Crochet Stitch Dictionary shows our growing collection of crochet stitch tutorials.
Gauge:
My gauge is 6 sc to 2 inches. However, gauge is not important in this pattern. You may use other weights of yarn. Adjust hook size to fit your needs.
Resources and crochet tutorials you may find helpful in following this pattern: Crochet Abbreviations, US to UK Crochet Conversion Chart. Find links to stitches and basic crochet skills on the “Tutorial” menu: Getting Started will show basic stitches such as the slip stitch, single crochet, double crochet stitch and chain stitch used in many patterns and Crochet Stitch Dictionary shows our growing collection of crochet stitch tutorials.
Crochet Abbreviations:
- ch = chain
- sc = single crochet
- sl st = slip stitch
- st = stitch(es)
Finished Crochet Flamingo Size
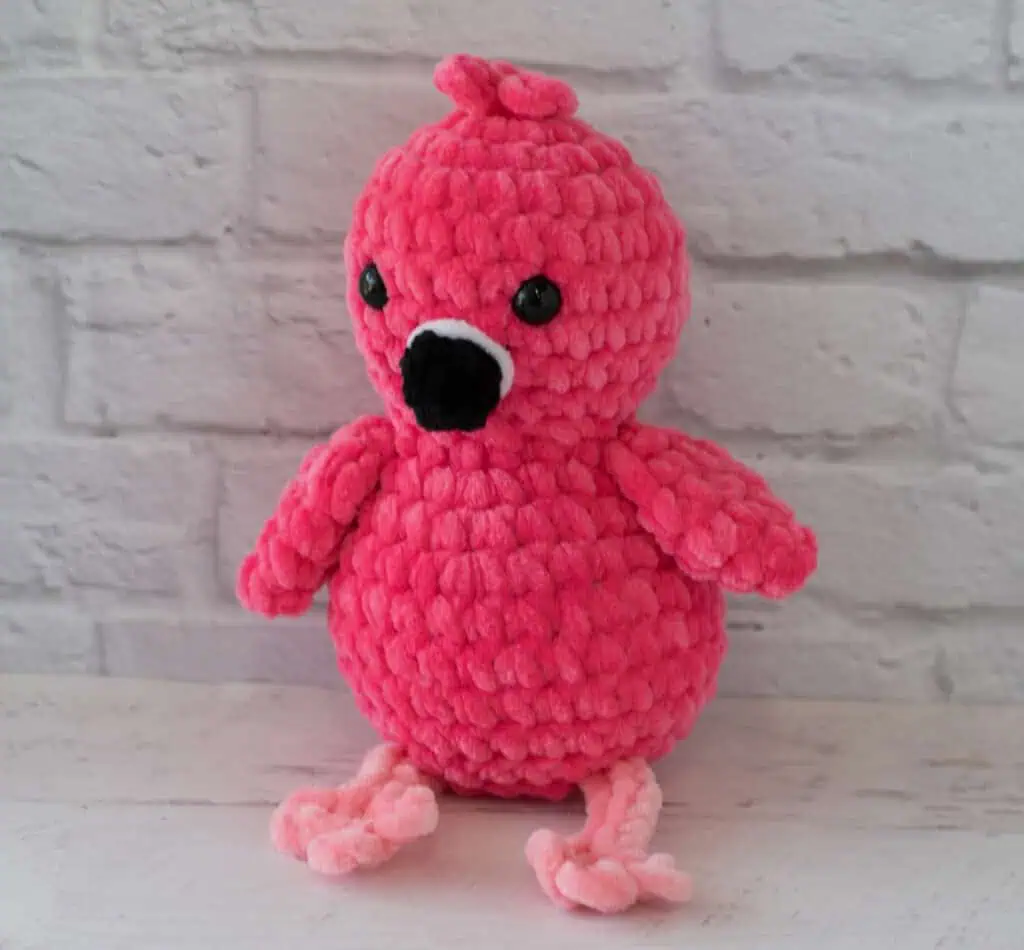
The flamingo is approximately 6” tall x 4.5” wide (excluding legs).
How to Crochet a Bird
The head and body of the crochet flamingo are worked in one piece, starting at the top of the head, decreasing at the neck and then increasing to work the body. Then we crochet the beak, wings, legs with feet and top and tail feathers.
Flamingo Head and Body
Using bright pink yarn, make a magic ring.
R1: 6 sc into ring. Place stitch marker and work in continuous rounds. (6 st)
R2: 2 sc in ea st. (12 st)
R3: *Sc in next st, 2 sc in next. Repeat from * around. (18 st)
R4: *Sc in next 2 st, 2 sc in next. Repeat from * around. (24 st)
R5-8: Sc around. (24 st)
R9: *Sc in next 2 st, sc2tog. Repeat from * around. (18 st)
R10: *Sc in next st, sc2tog. Repeat from * around. (12 st)
Insert safety eyes between rows 6 & 7, leaving 4 stitches in between them. Stuff head and continue to stuff body as you work.
R11: *sc in next st, 2 sc in next. Repeat from * around. (18 st)
R12: *Sc in next 2 st, 2 sc in next. Repeat from * around. (24 st)
R13: Sc around (24 st)
R14: *Sc in next 5 st, 2 sc in next. Repeat from * around. (28 st)
R15-18: Sc around. (28 st)
R19: *Sc in next 5 st, sc2tog. Repeat from * around. (24 st)
R20: *Sc in next st, sc2tog. Repeat from * around (16 st) Firmly stuff body the rest of the way.
R21: *Sc2tog. Repeat from * around. (8 st) Fasten off, weave end through last stitches and pull tight.
Beak
With Black yarn, make a magic ring.
R1: 4 sc into ring (4 sts). Work in rounds
R2: (Sc in next st, 2sc in next st) twice (6 st). Fasten off, using an invisible join if you prefer.
Sew beak between and below eyes. Beak covers all of row 8 and parts of rows 7 & 9 (or as desired).
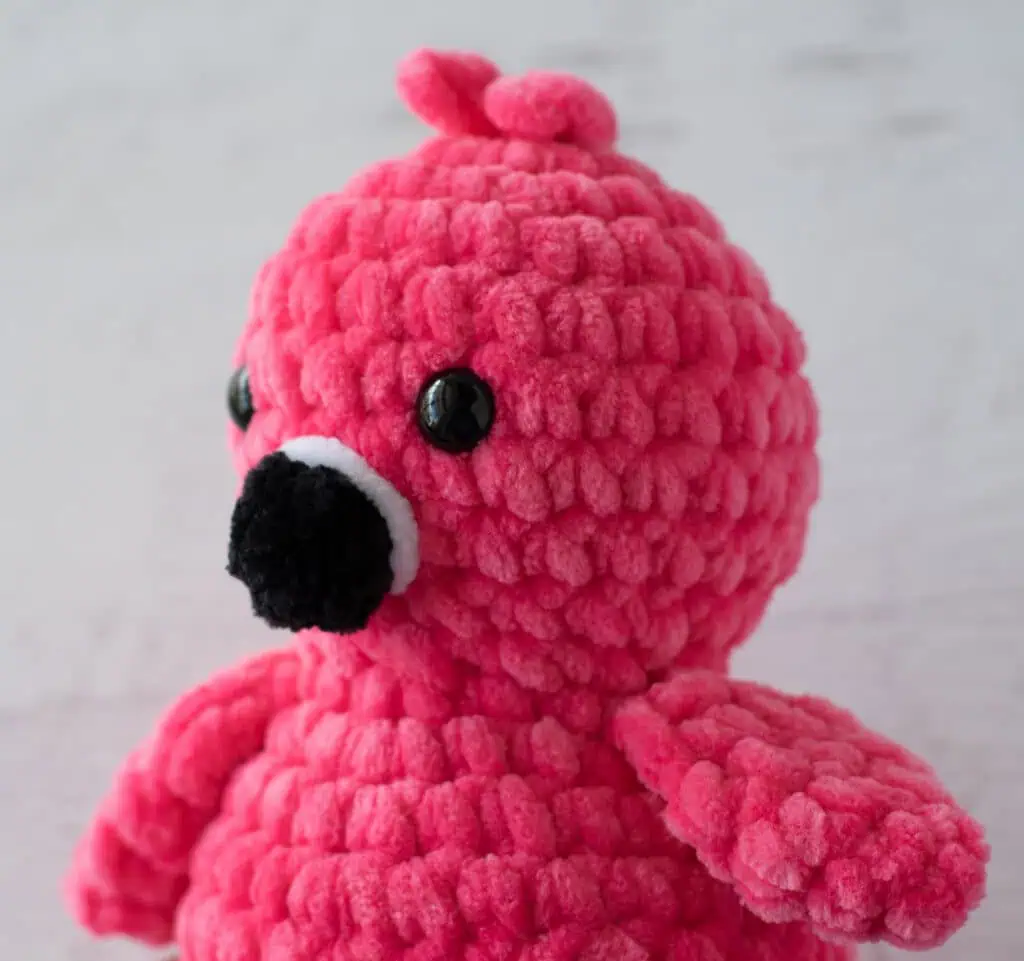
White Accent Stripe Around Beak
The white stripe around the beak is made with a single stitch, looped over and around the beak. Here’s how: Thread a yarn needle with a long strand of white yarn.
Tie a knot at the end of the yarn. Then use the needle to come up through the body and stuffing, pushing the needle out through the middle of the underside of the beak where it meets the body. Tug on the yarn so that the knot pops into the stuffing and hides the end.
The threaded strand of yarn is now coming out from under the center of the beak. Carefully take the strand of yarn and wrap it around the outside of the beak to form a circle around the bottom edge of the beak where it meets the face. When you come back to the bottom, insert the needle back into the same spot, so that the yarn makes a complete circle around the beak.
Pull the needle out the back of the body of the flamingo and pull tight, making sure that the white stripe is lying neatly around the beak.
To secure the yarn, knot it, then bury the knotted end inside of the stuffing on the body.
Cut the yarn close to the work.
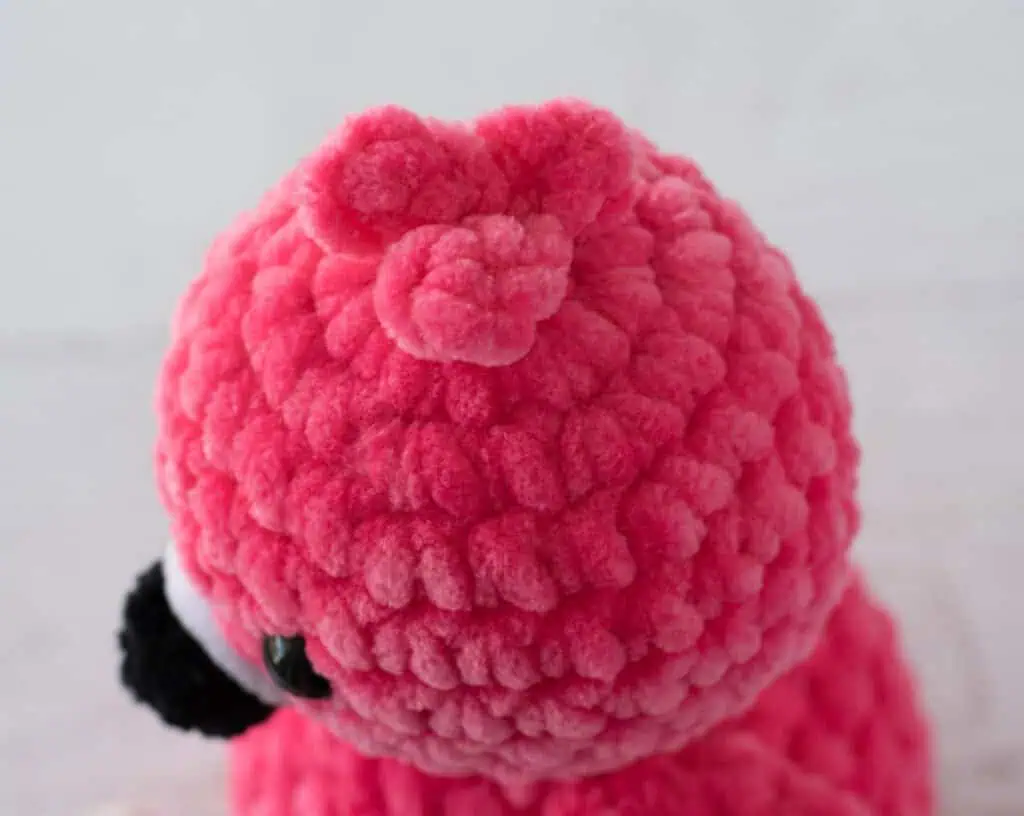
Top Feathers (Hair)
With bright pink yarn, *ch 3, sl st in next 2 st, repeat from * 2 more times. Fasten off and sew to top of head.
Wings (Make 2)
With bright pink yarn, make a magic ring.
R1: 4 sc into ring (4 sts). Work in rounds
R2: (Sc in next st, 2sc in next st) twice (6 st).
R3: (Sc in next 2 st, 2sc in next st) twice (8 st)
R4: Sc around (8 st)
R5: Fold piece in half, then carefully sc across the double thickness (4 st)
R6: Ch 1, (sc2tog) twice. (2 st) Fasten off leaving a long strand for joining.
Sew a wing on either side of the body near neck.
Tail Feathers
With bright pink yarn, *ch 7, sl st in next 7th ch from hook to form a loop, repeat from * 2 more times (3 loops). Fasten off and sew to the lower back of bird.
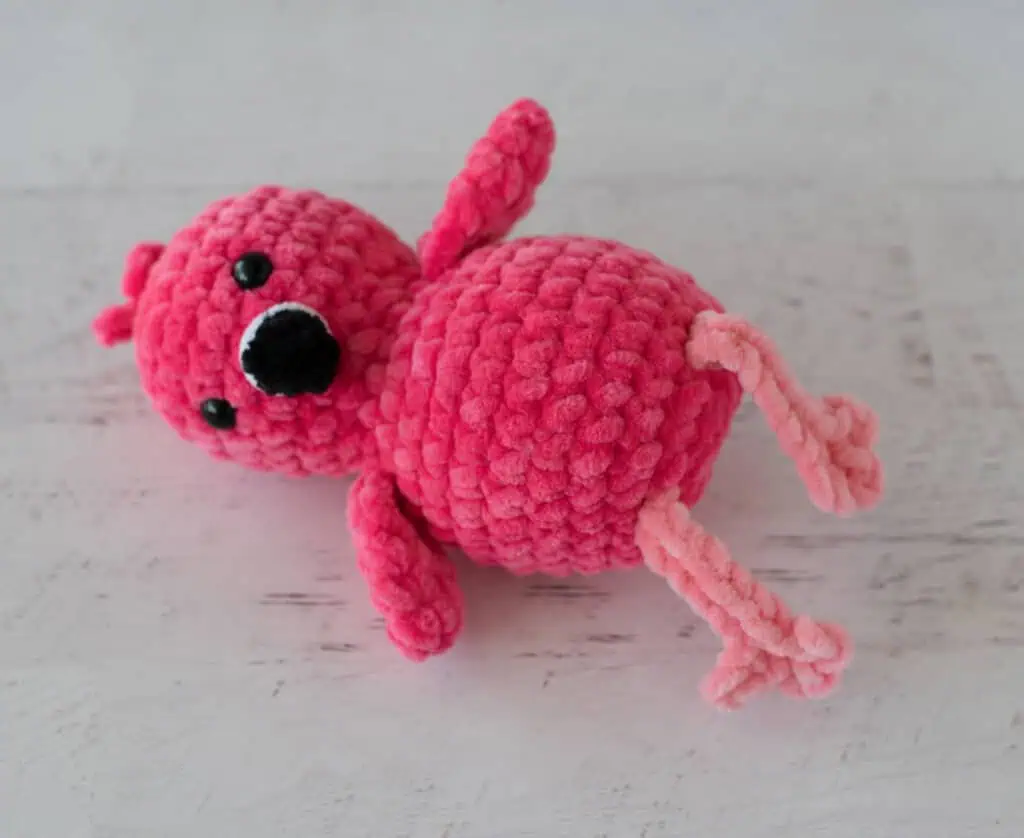
Legs and Feet (Make 2)
With light pink yarn, ch 9.
R1: Sl st in 2nd ch from hook (1st toe made), *ch 2, sl st in 2nd ch from hook. Repeat from * once (3 toes made). Then, skip next chain and sl st to next chain to connect the toes back to the starting chain. (Note: this is the 6th ch from the very start.) Slip stitch on remaining 5 chains to return to starting point. Fasten off leaving a long strand for joining.
Sew legs between rows 19 and 20 of body, or as desired.
Weave in any loose ends.
I love seeing your finished projects! If you enjoyed making this Crochet Flamingo pattern, I’d love to see yours on Instagram, be sure to tag me @crochet365knittoo. If you are on Facebook, stop over to the Crochet 365 Knit Too Facebook page or pop over to the Crochet365KnitToo Club and share a photo! I’d love to see your work!